HOW TO STYLE YOUR KIDS' SHELVES IN 4 EASY STEPS!
If you’ve been blessed with becoming a parent, surely you are realizing that all of the toys, books, photos, stuffed animals (aka stuff) needs to be stored somewhere. It is likely that a bookshelf of some sort has made its’ way into your child’s room and if not, now is the perfect time to get one!
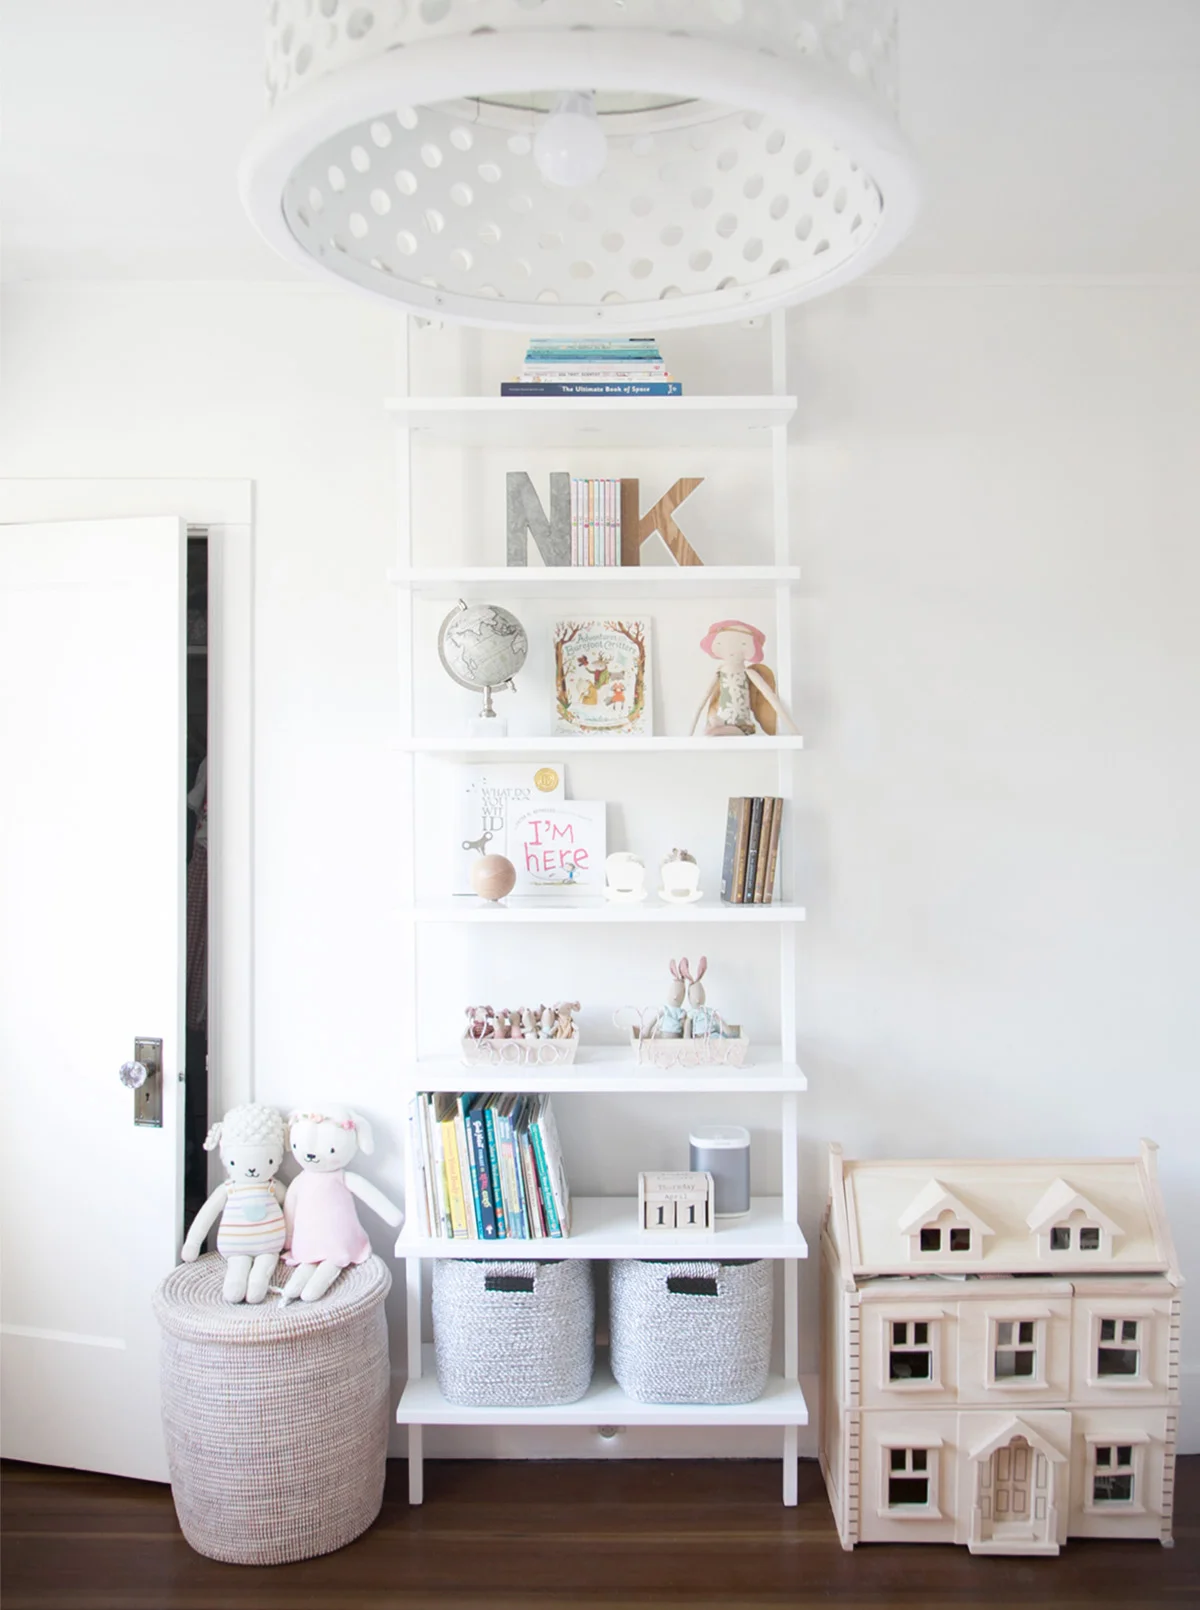
Pretty (and functional!) shelves aren’t as simple as they look but with careful thought, everyone can turn a mediocre bookshelf into something you will proud to see and use everyday. We love this plain white bookshelf that goes from floor to ceiling.

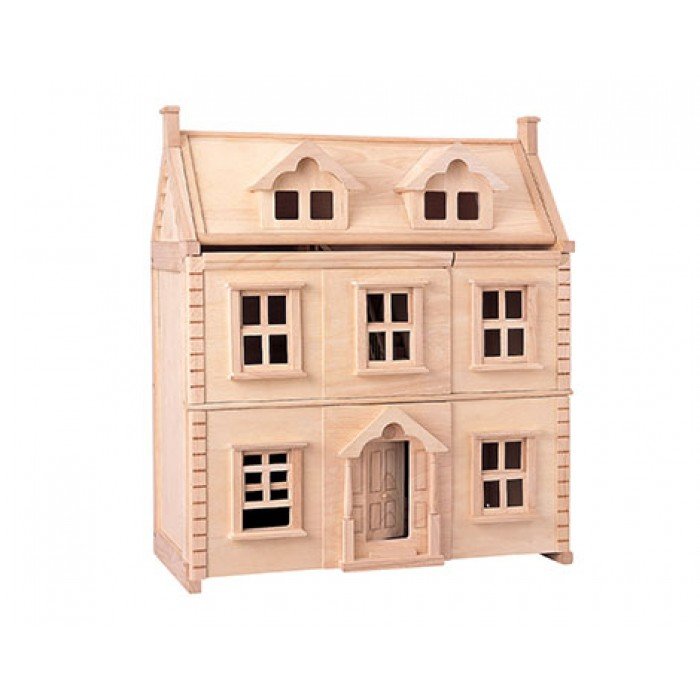
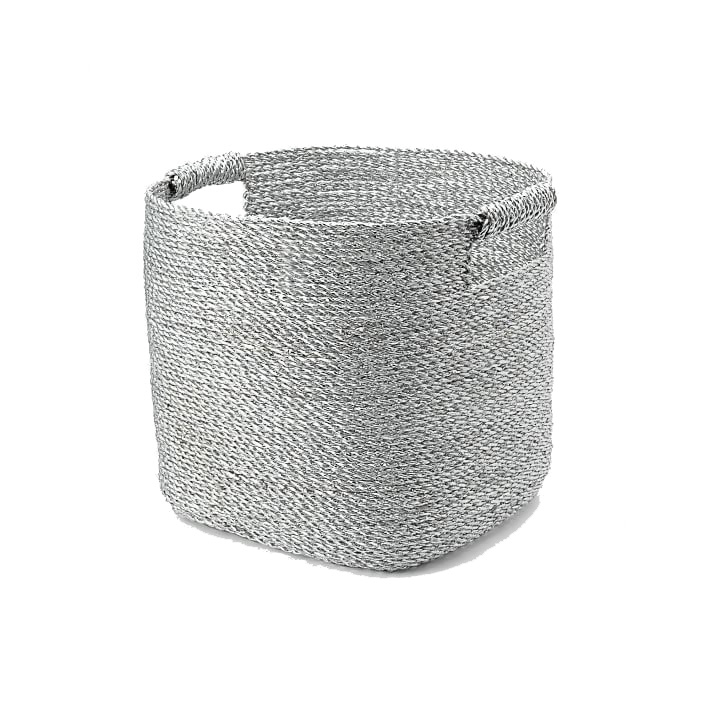
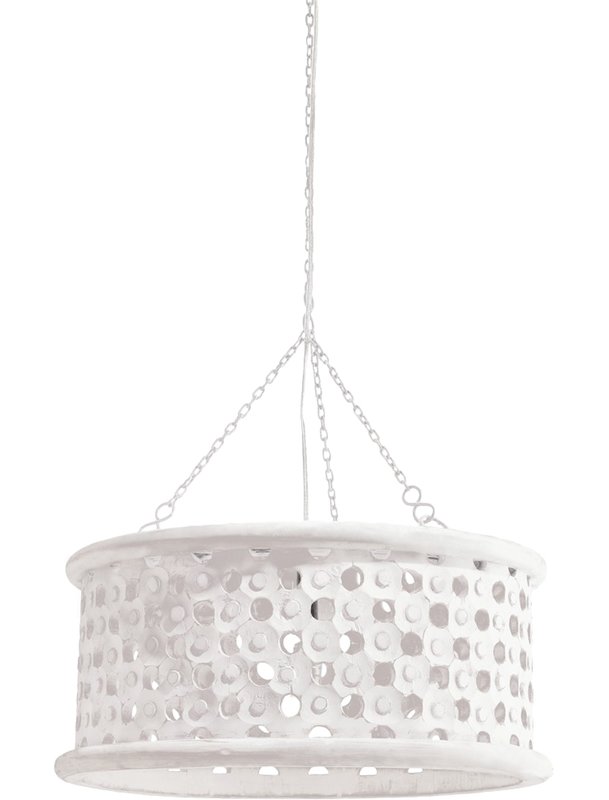
SHOP THE LOOK…


Styling kids shelves starts with the most obvious step of all, but one that so many people often overlook.
STEP 1: CLEAR YOUR SHELVES
If you want to tackle the job of styling your shelves properly, start by taking everything off and giving them a good dust / clean. By starting with a clean blank slate, you will already be on your way to successful shelf styling!

STEP 2: ADD BOOKS
Now that your shelves are clear, take this chance to go through the books and donate any that your children have finished with. This may sound like a no-brainer, but trust me on this one! Kids interests change quickly and you will surely find at least a few that are no longer needed.
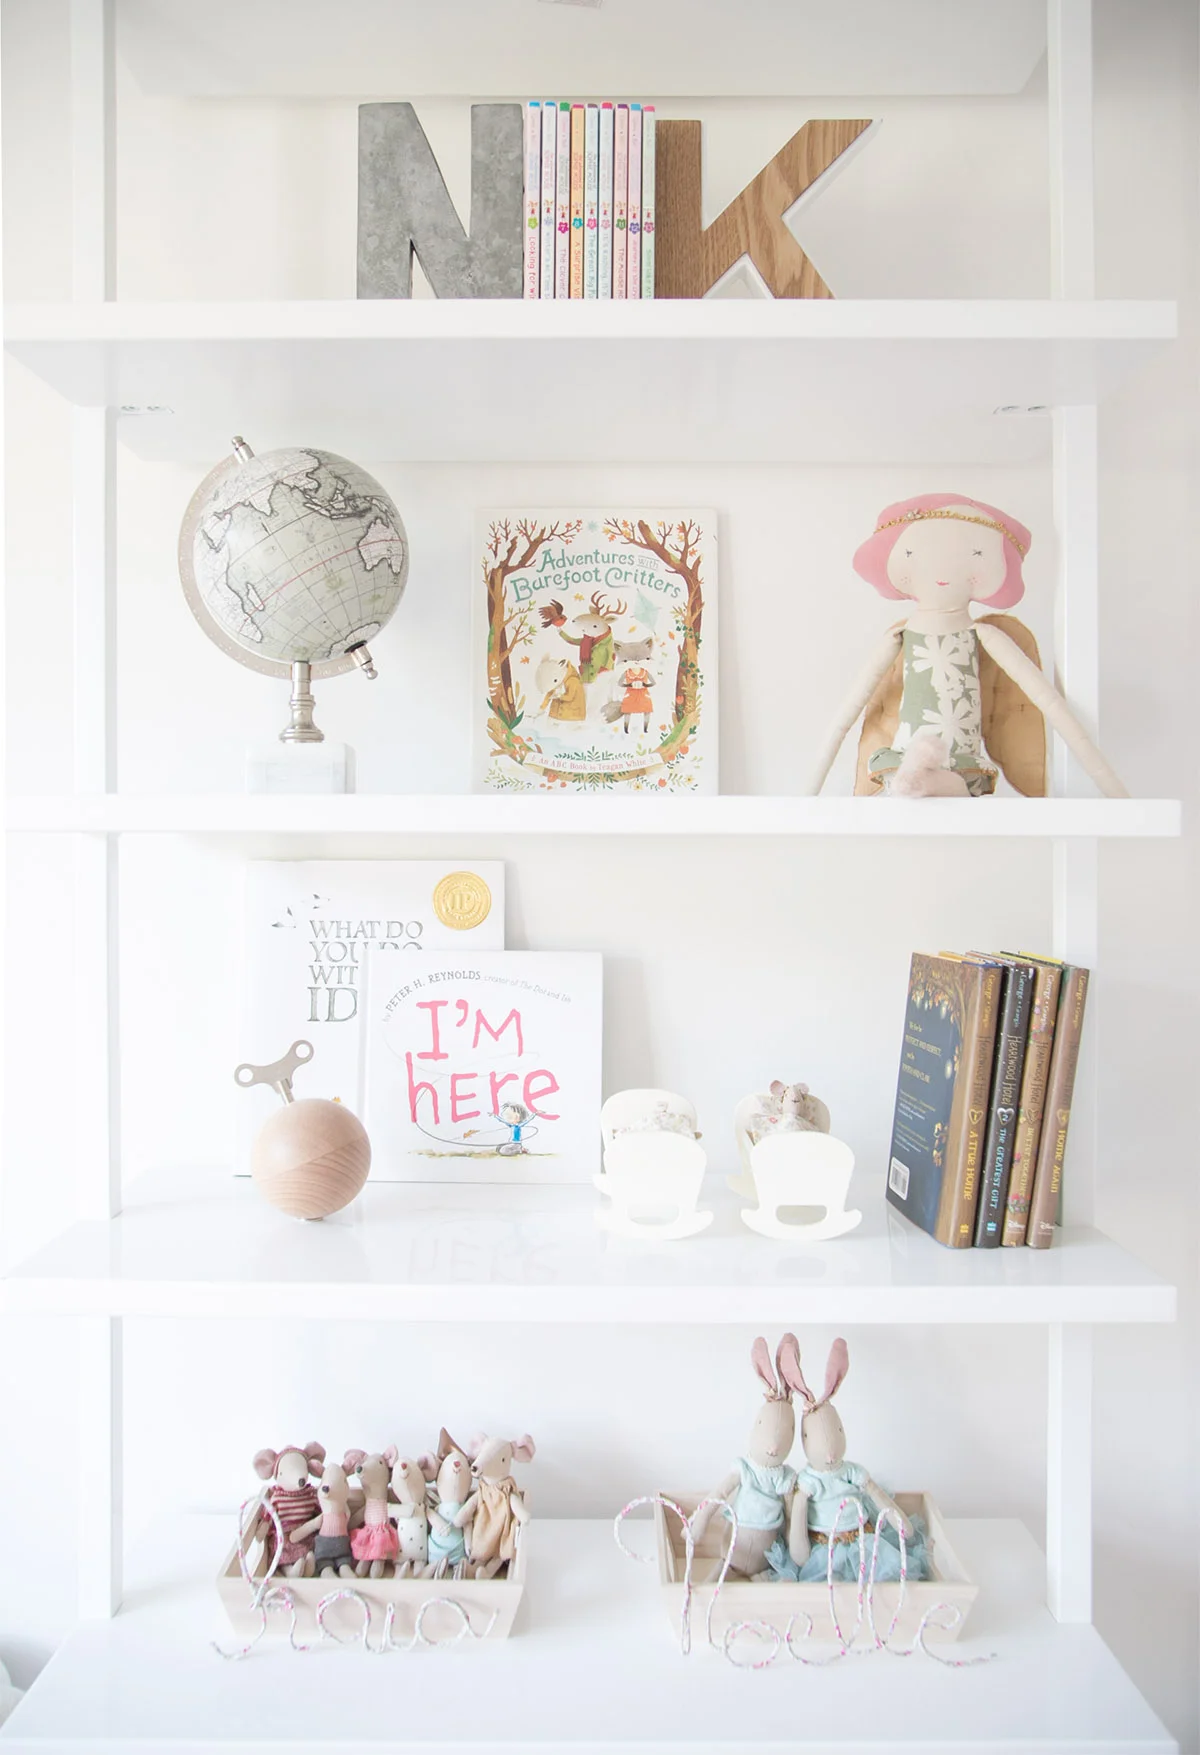
Once you have all the books that are going back on the shelf, break them up into sections, such as board books on one shelf or chapter book series grouped together. IF you are super particular with the way the shelves LOOK, you can also get as choosy as same size books or same colour spines together. You can also use special books, photos or actual art pieces and lean them against the back of the shelf or wall. By doing this, it adds an extra layer of depth making shelves appear deeper.
In the photo below, there are 57 books! If you have many more than this, fill up every second shelf leaving the bottom shelf empty for baskets or bins.

STEP 3: ADD STORAGE BASKETS AND SMALL CONTAINERS
Start with your biggest storage baskets or bins on the bottom shelf. We used metallic baskets for everyday items that get left on the floor. It keeps the floor tidy and the kids know where to find items that they have left around the house. As kids get older, I find the toys get smaller! This means that there are lots of little ‘treasures’ and it’s handy to have little boxes in their rooms for these items.

STEP 4: ADD ACCESSORIES (AKA THE FUN PART!)
This is where the true fun comes in! Keep in mind that empty or white space is just as important as the items you place on the shelves. Here’s your chance to add little vases, candles, wooden toys for younger kids, or in my twins’ case, the Maileg collection that has grown over the years. These are perfect for adding to the shelves along with their mini globe (similar), daily calendar, and letter bookends. If you aren’t sure where to place things, just try it and then stand back and see what you think. Try to add smaller items next to larger and mix it up between placing things right in the centre or 1/3 of the way in on either side.


If you have any questions about how to style a functional and pretty shelves for your kids, ask away in the comments below and if you redo the shelves at home, I’d love to see!
SHOP THIS POST…