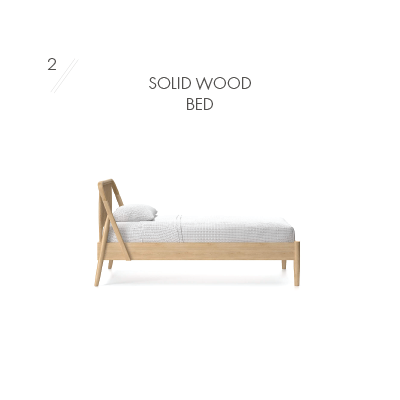
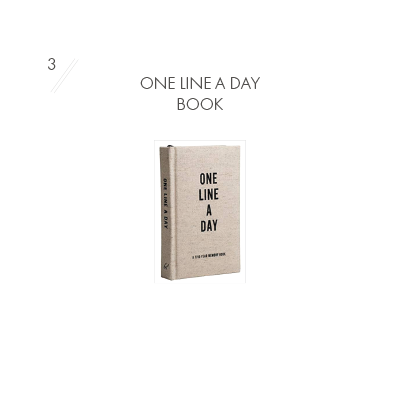
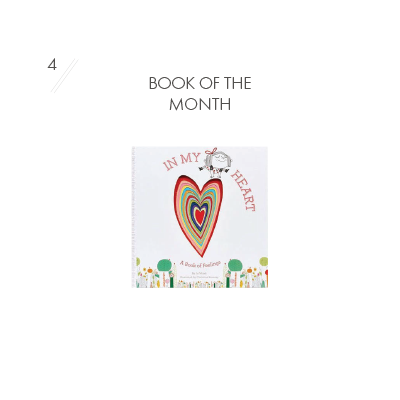
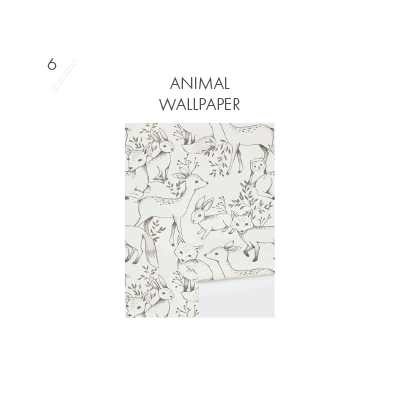
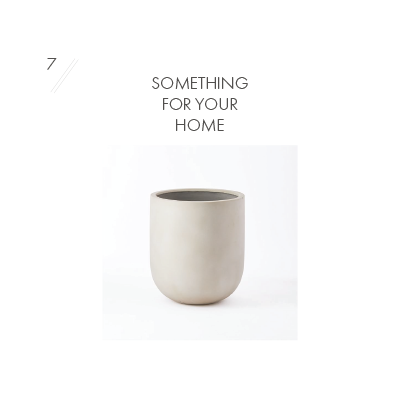
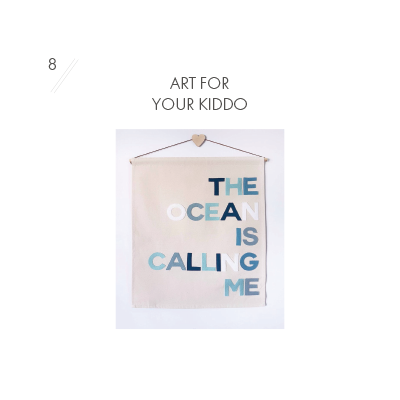
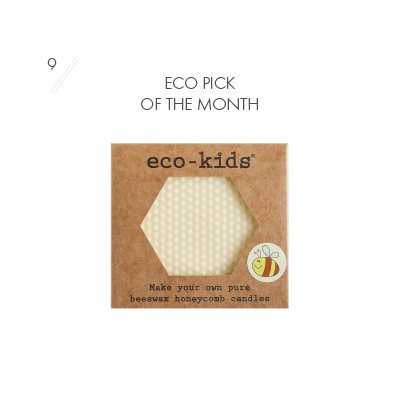
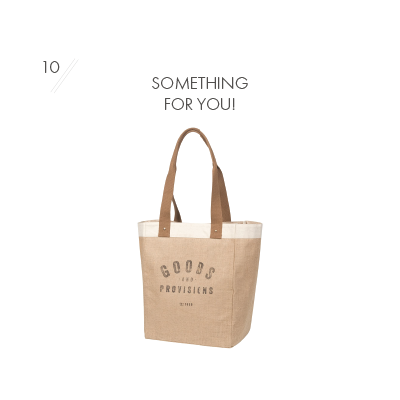
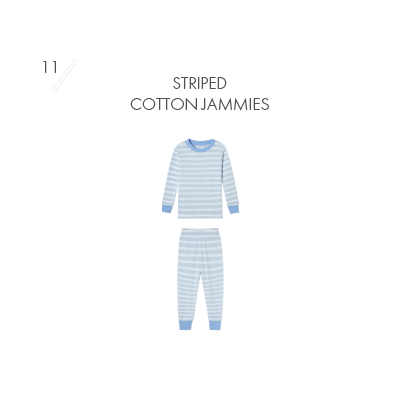
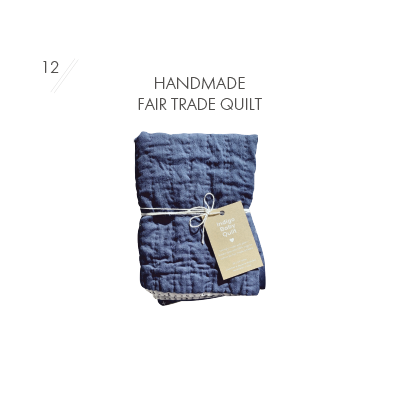
THE FEBRUARY EDIT: FAVOURITE PICKS OF THE MONTH
February is here and that means we are through the shortest and darkest days of the year. Hurray for that! This months’ edit is all about the everyday…things you’ll find around my home and a beautiful fair trade quilt by newcomer Kindred Baby.

SHOP OUR PICKS!


IF YOU LIKE THIS, YOU MAY LIKE THESE TOO…


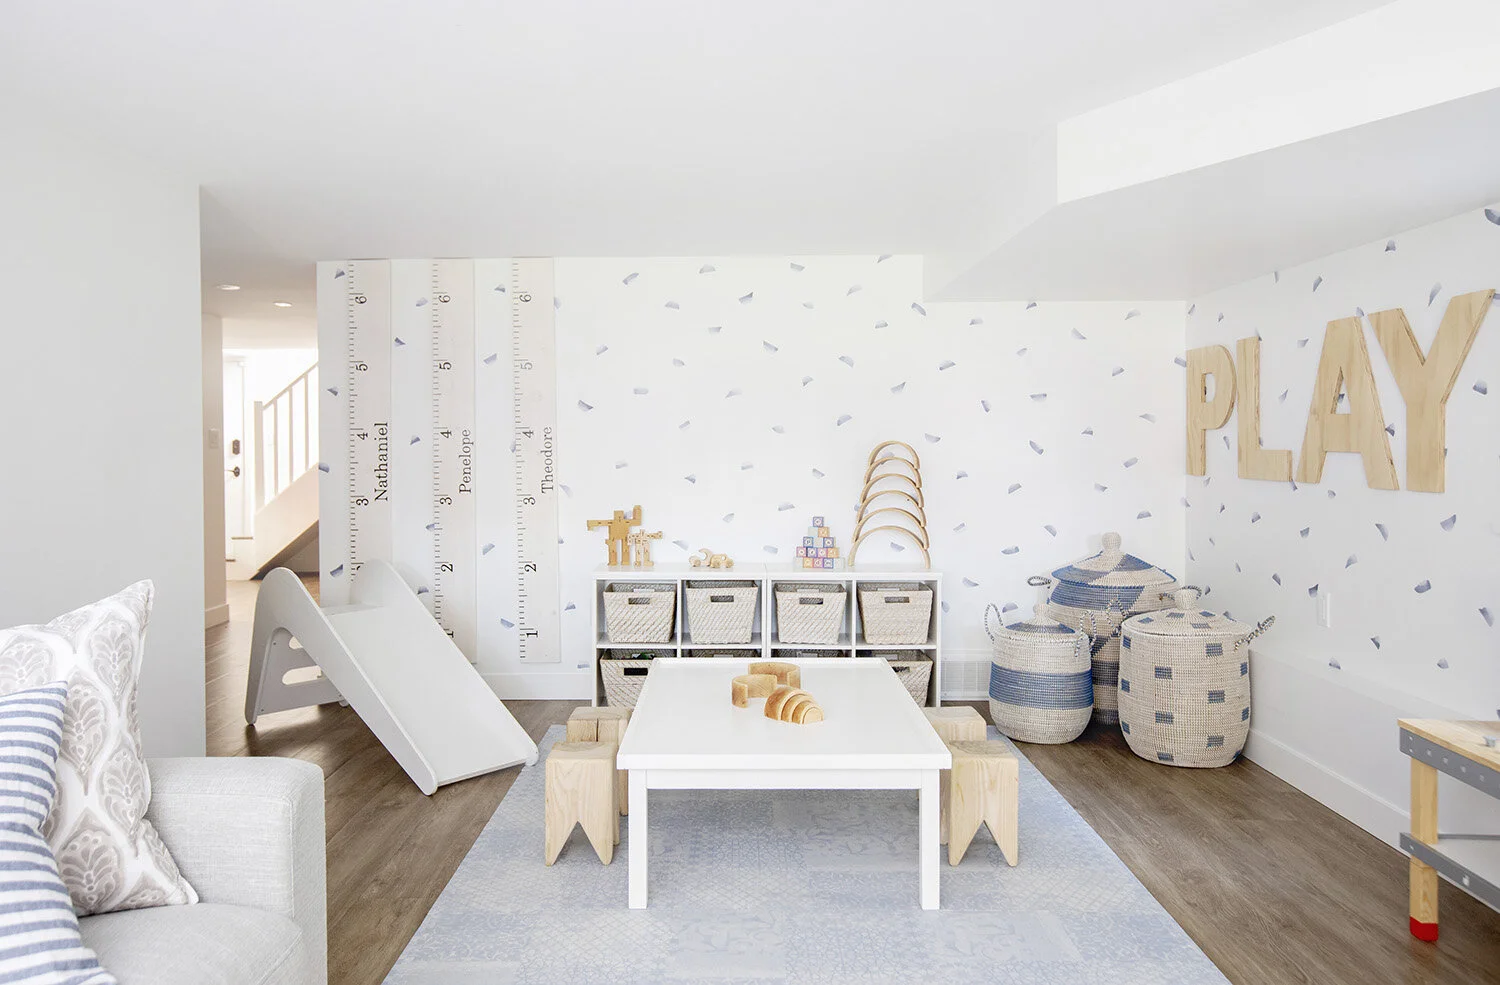
16 OF OUR FAVOURITE PLAY TABLES FOR KIDS
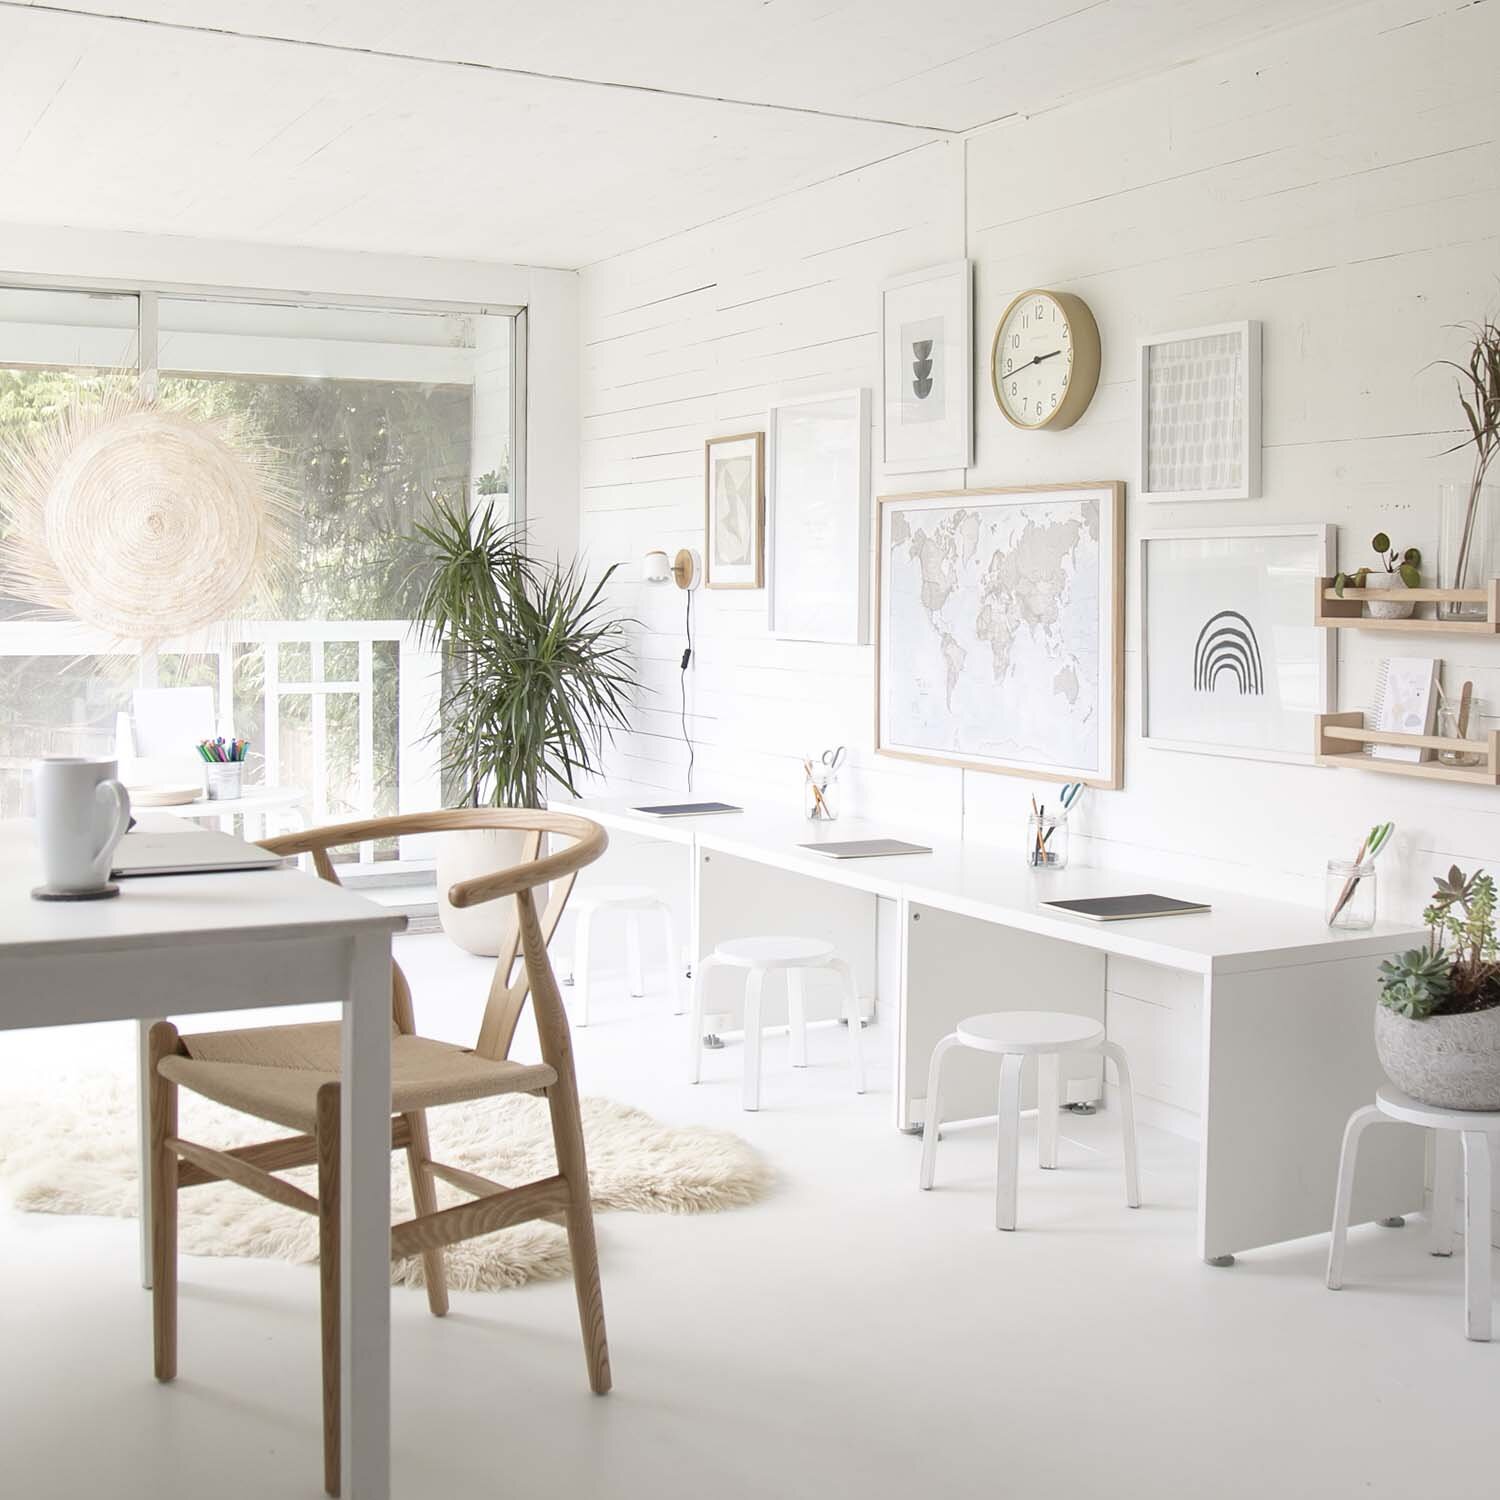
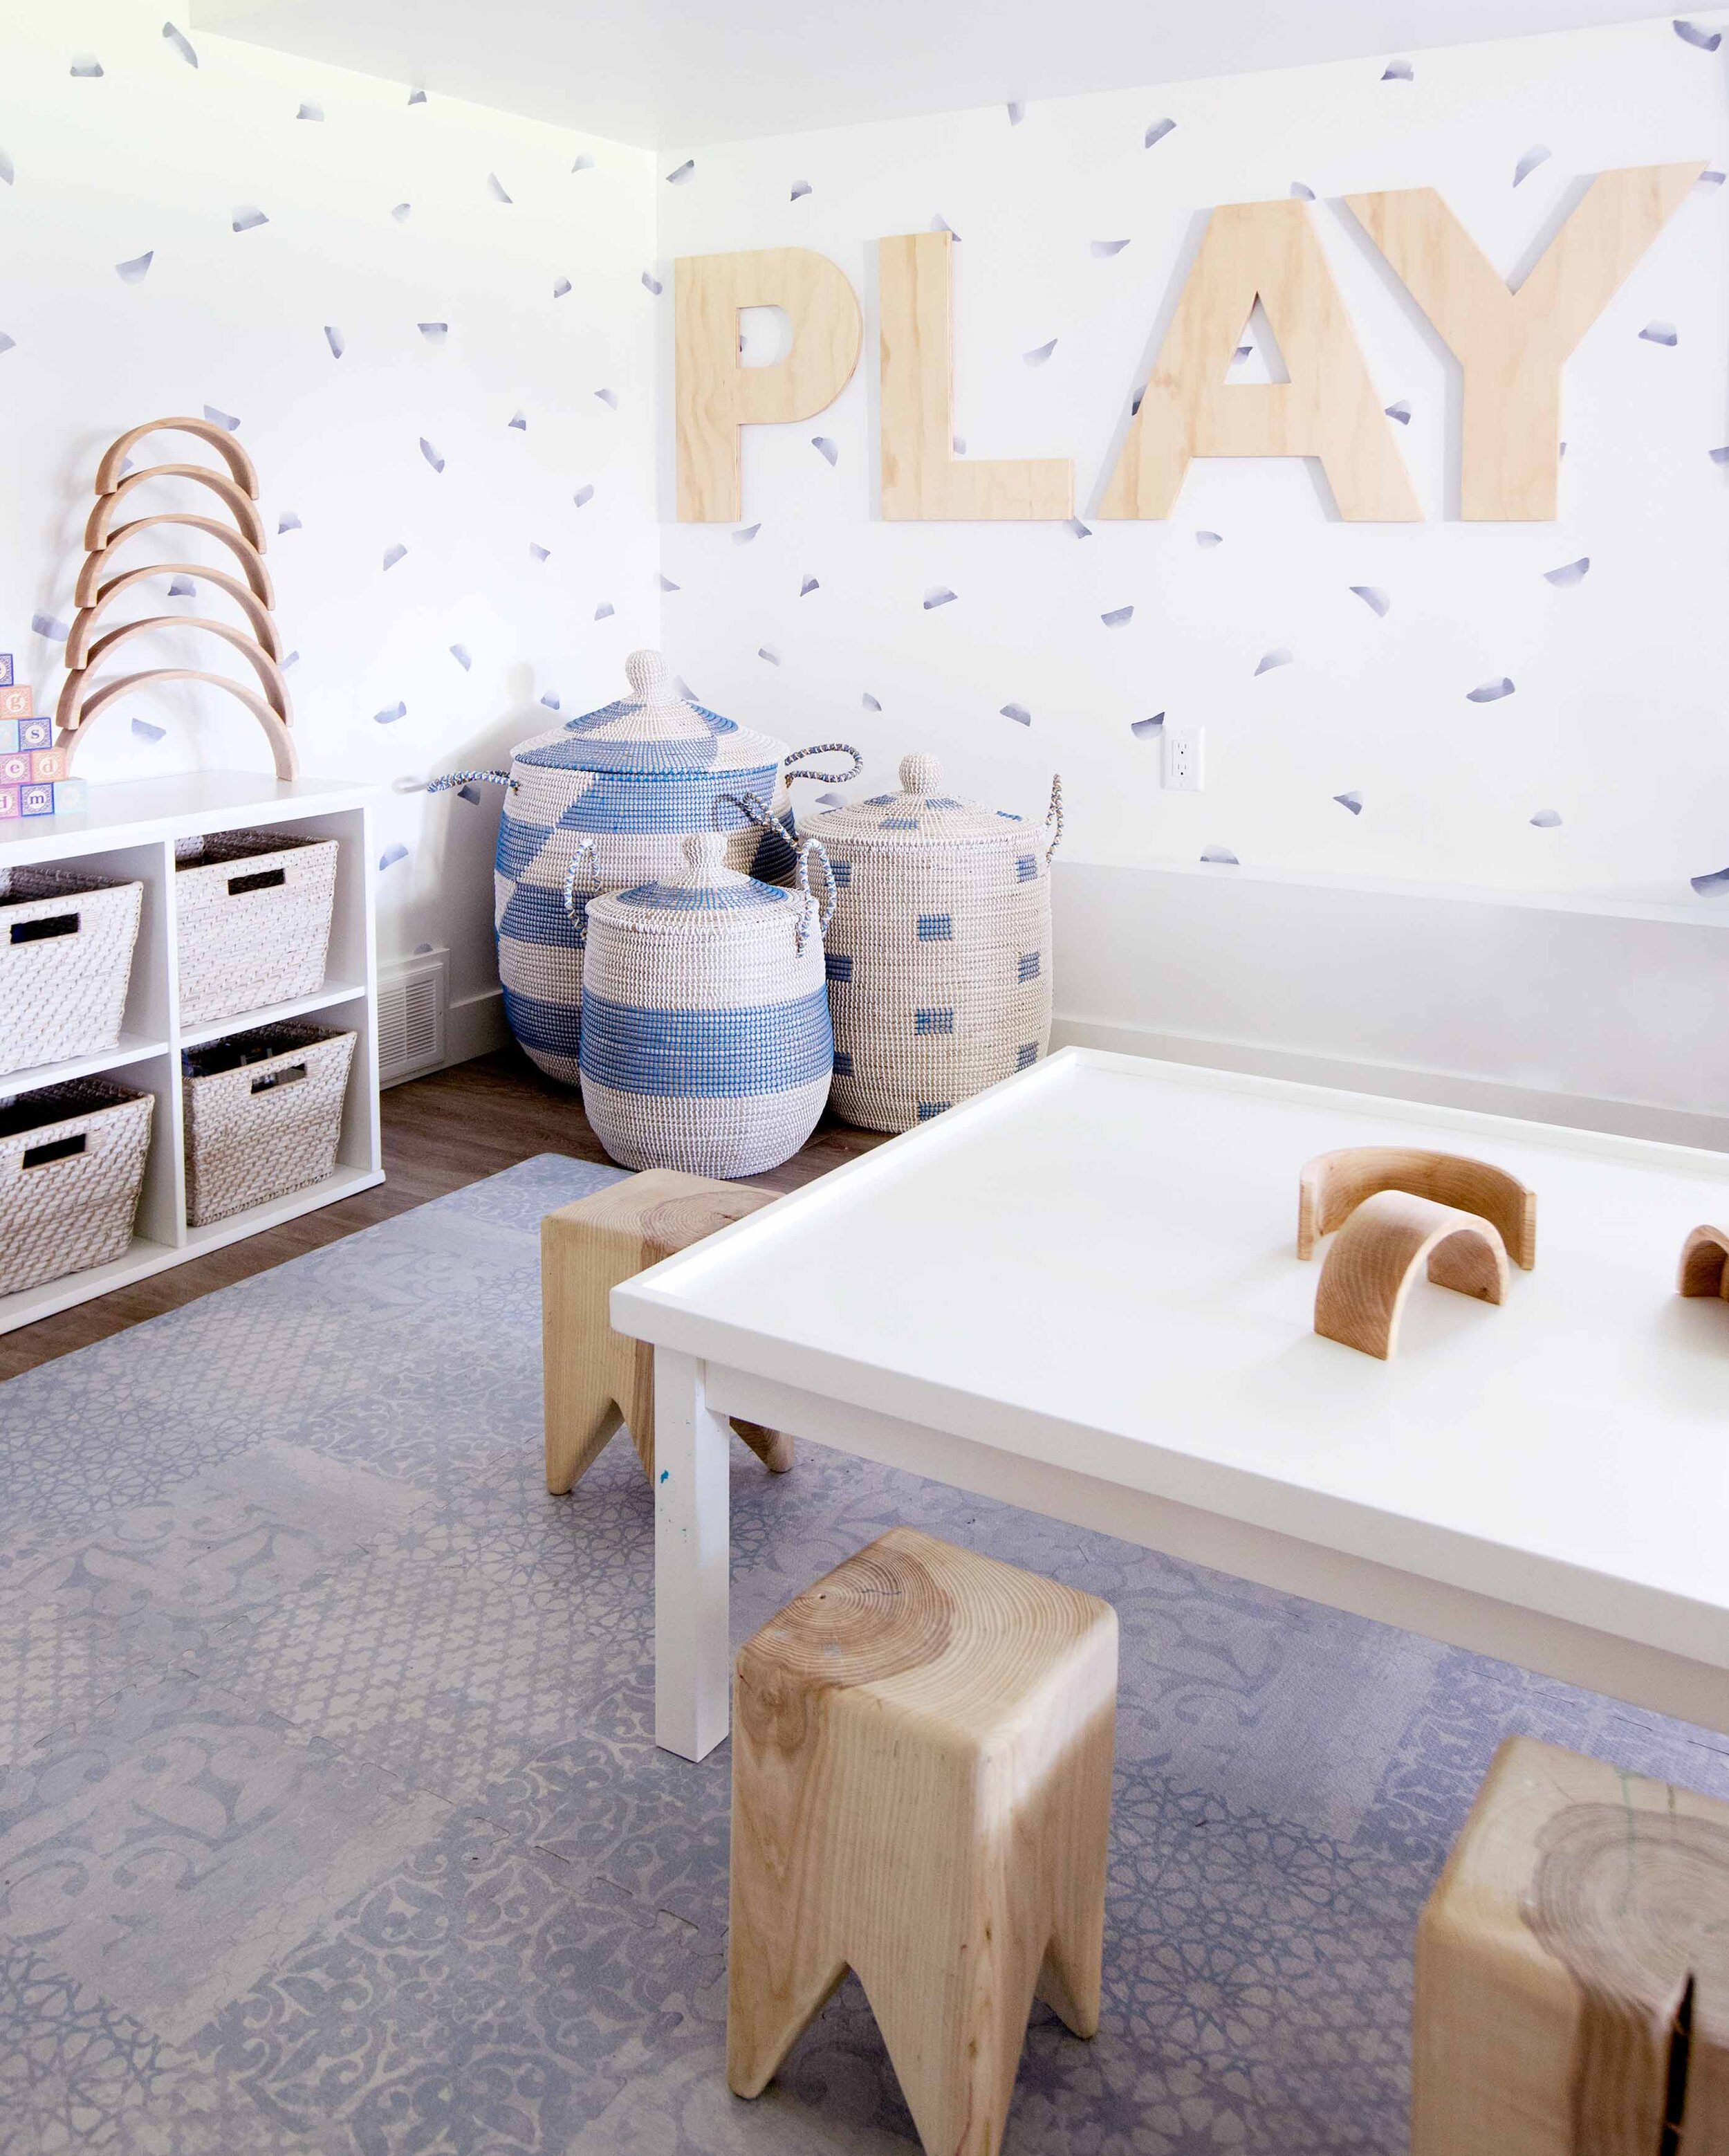
Let’s talk play tables! One of the biggest requests’ clients have when we create playrooms is to design a space that will grow with their child. Each item is chosen intentionally for the age and stage that children are in and play tables are no different. While a low kids table is ideal for toddlers and very young children, once kids are over six, I find something a little higher is slightly more comfortable.
While chairs and stools are great to have, many toddlers prefer to stand up at a table and ensuring the right size table is a good start for keeping kids interested in what’s on the table to play with. As we know, entertained toddlers are the happiest toddlers! So, in order to accommodate our youngest clients and also children over 6, I’ve rounded up my favourite play tables in two categories:
Play tables that are 20” and under; and
Play tables that are over 20” in height
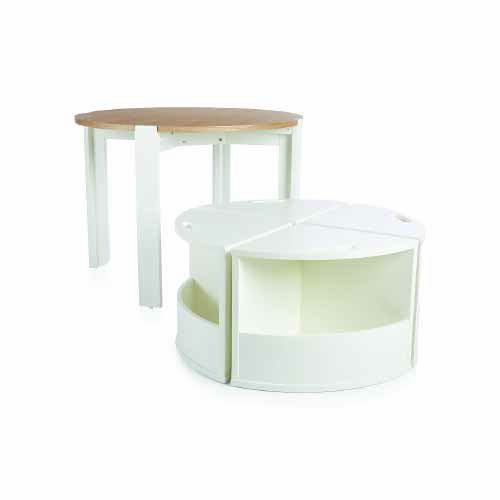
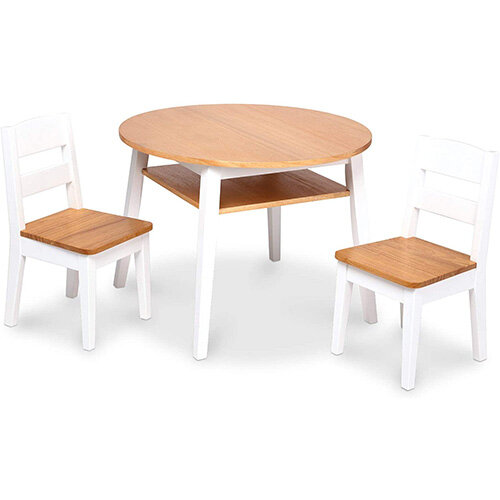
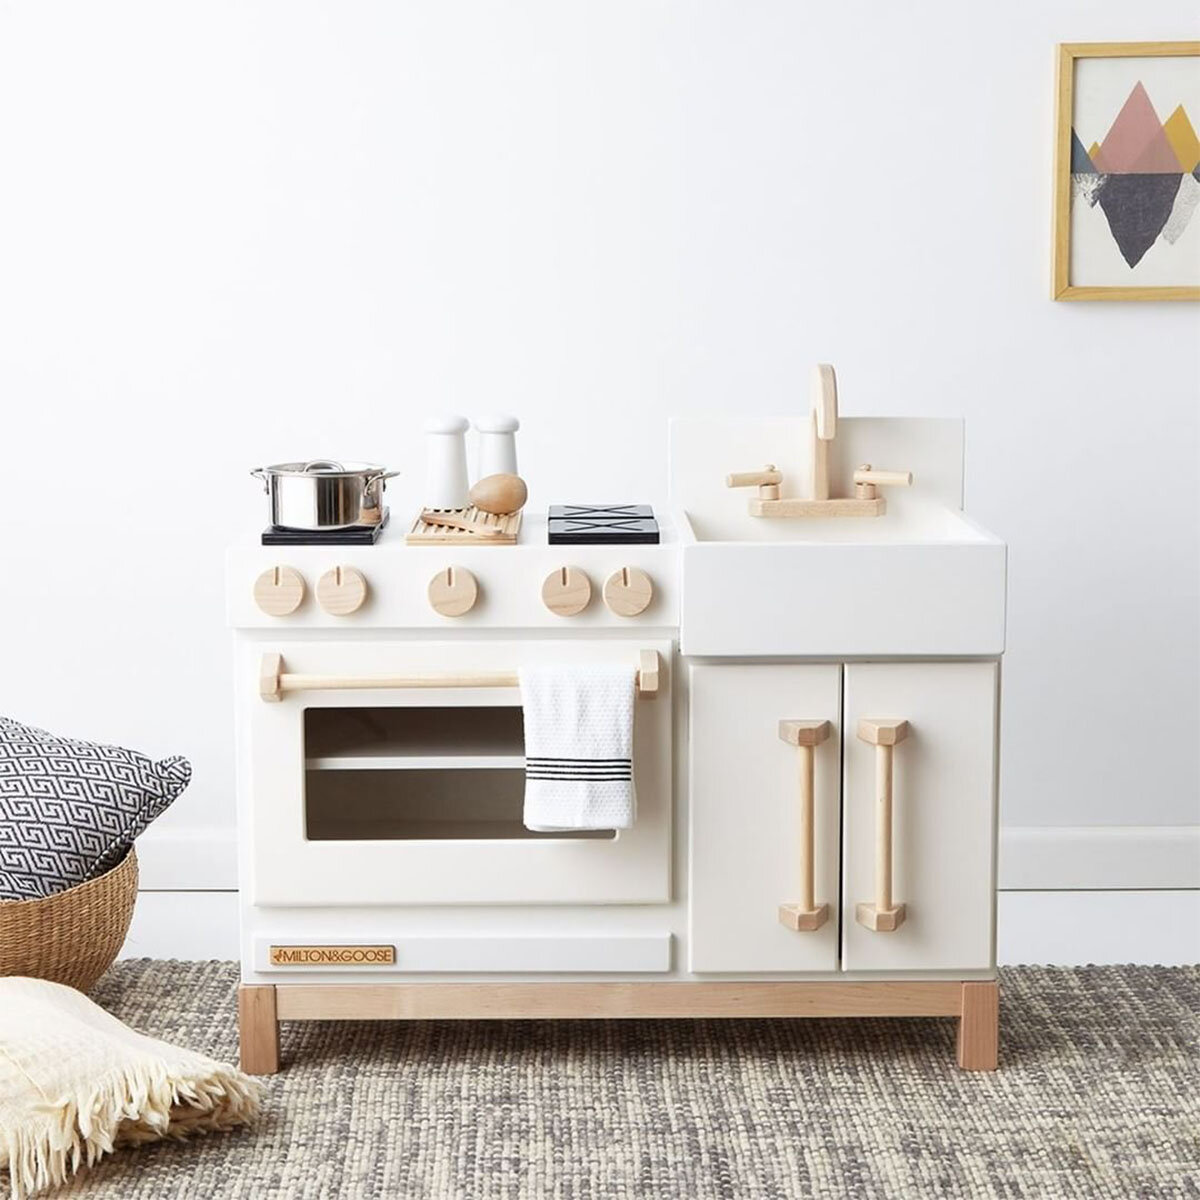
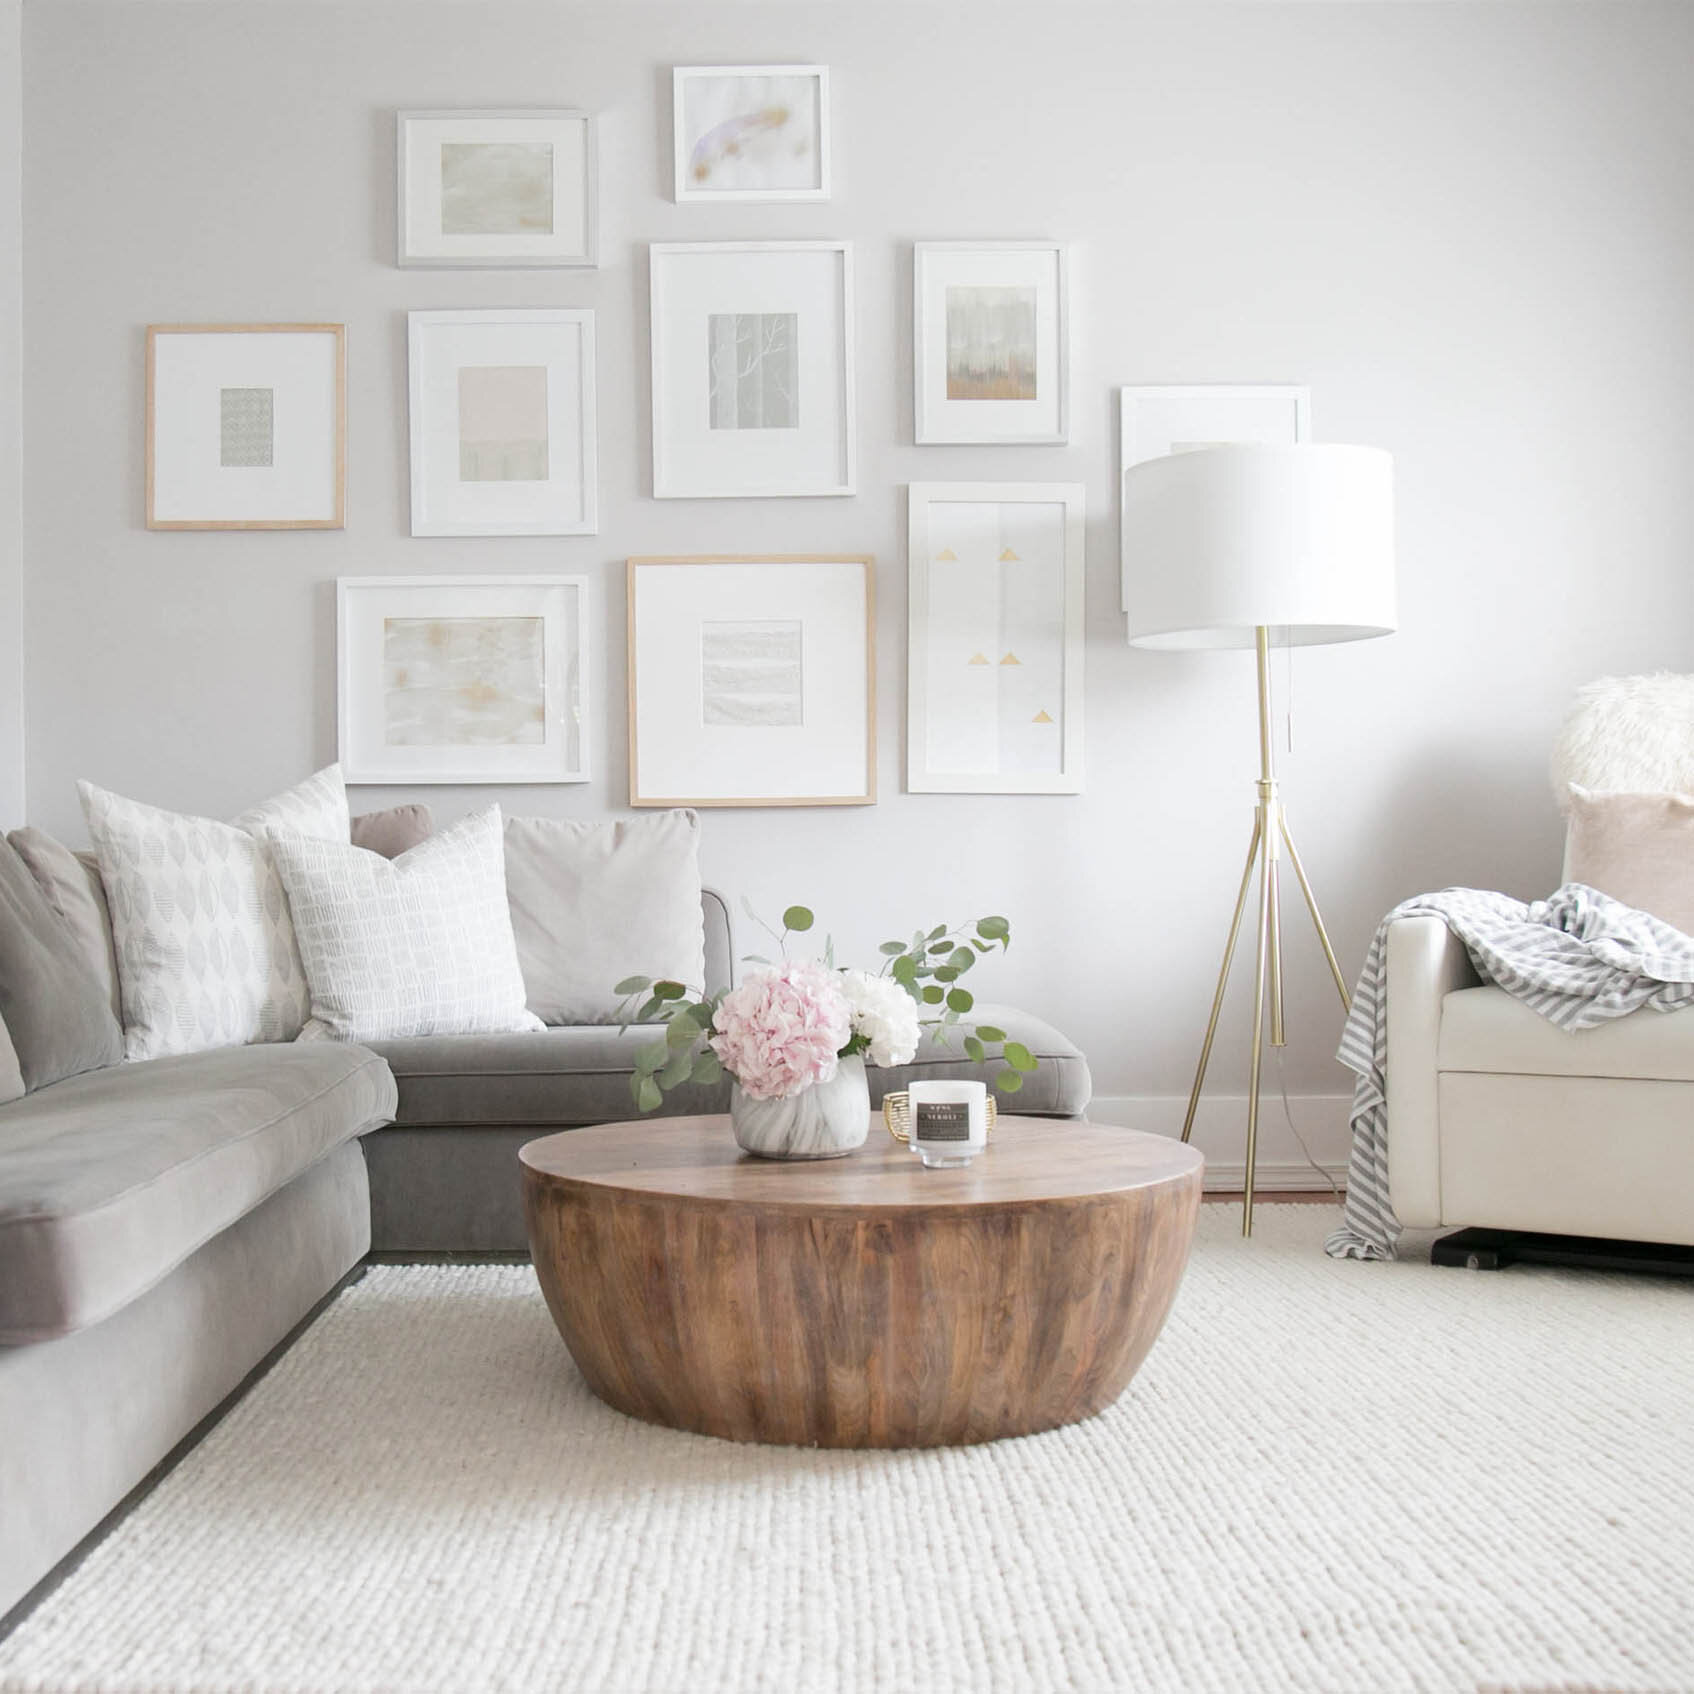
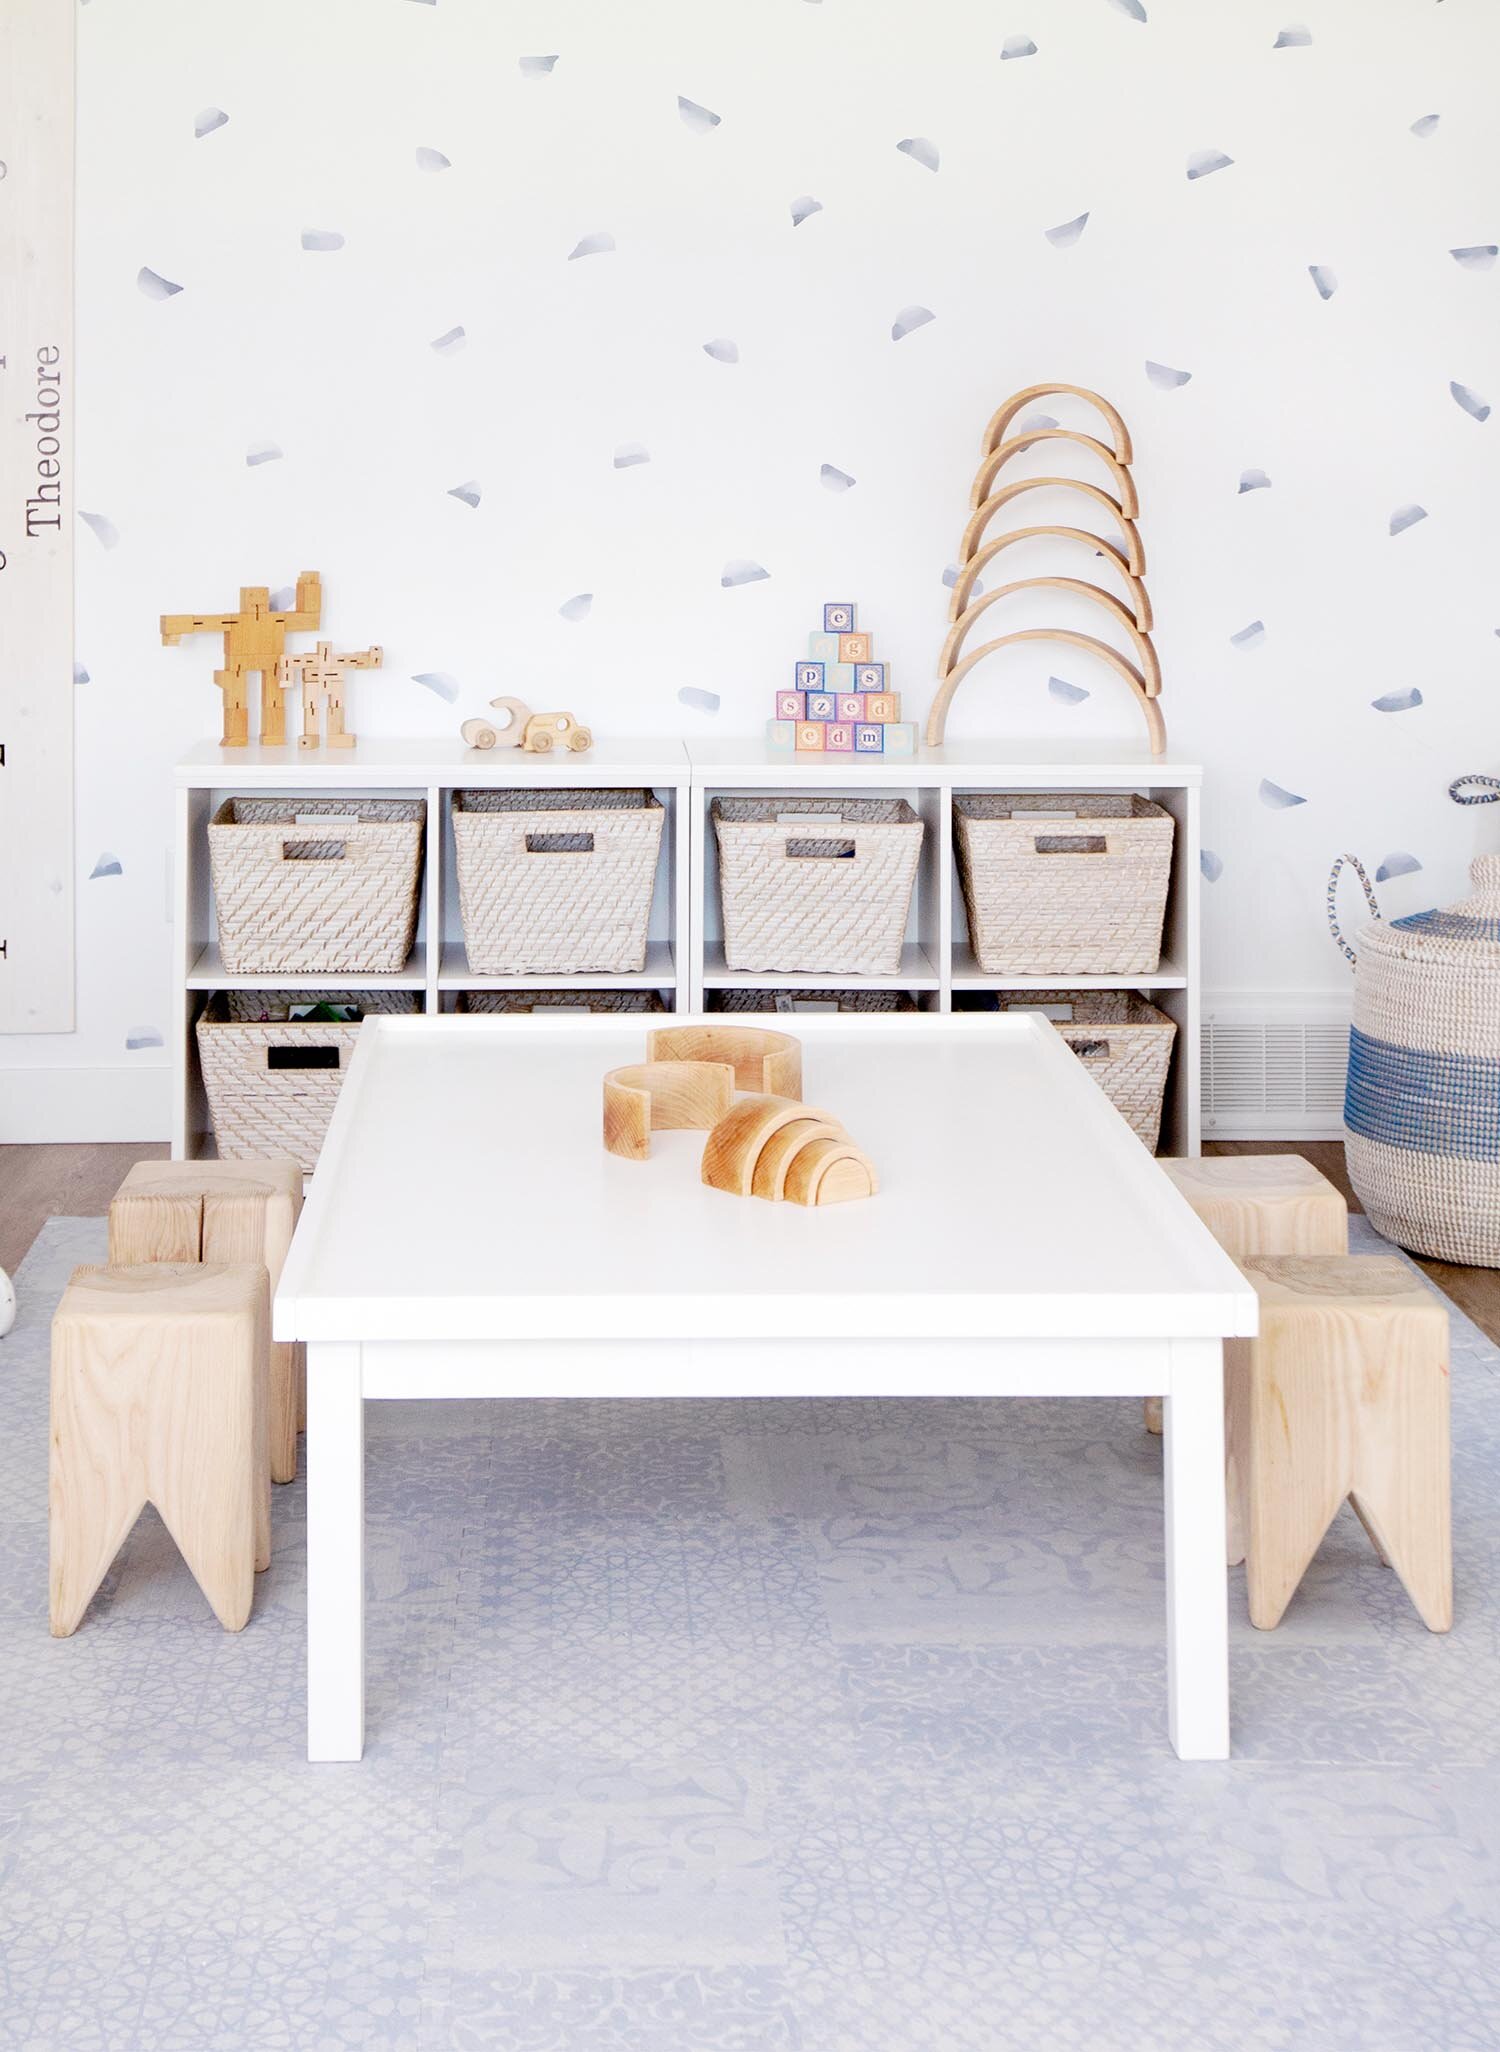
Some come with chairs and some do not so we’ve included a few extra chairs sets to match these adorable tables just for kids. This play table (below) is one of our most commonly asked about tables. It’s the perfect simple white table that will last until kids are 10-12 years old. With no edges to hold in toys, this table works best for arts and crafts, games, etc. and could even be used as a desk.
SHOP THE LOOK…
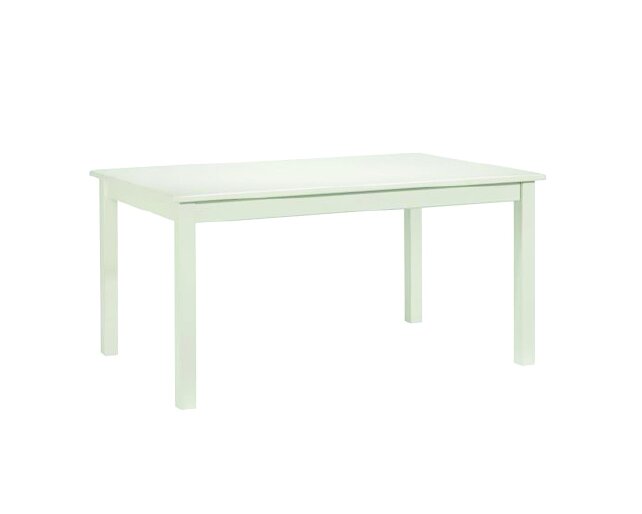


Source: Courtney Nye Design
What to look for when shopping for tables:
Size:
When it comes to choosing the perfect table for your little one(s), consider the height, the number of children who can be seated at the table as well as the space you have for the table to fit in. If you are working with a small corner, consider a round table for 2-4 kids. If you have a bigger space (like above), choose a table that can accommodate more. You will find the bigger size useful for little cousins or friends, playdates or making bigger projects as kids grow.
Shape:
While this really comes down to personal preference, a round table allows all children to be facing each other and is well suited to a corner situation. If given the option between a round play table or a square one (both fitting the same number of kids), I choose the round to eliminate sharp corners. A small rectangular table can be placed against a wall and a larger rectangular table can be great for two kids working at each end; especially useful to give kids their own independent space or for arguing toddlers (speaking from experience here!).
Style:
Whether modern or traditional, or a different style all together, a play table can fit with your other home decor beautifully if you choose carefully. I love a simple white table because it is easy to clean and most marks can be removed without changing the colour.
Now that you’ve considered all of the different angles of the perfect play table for you, here are our favourites!
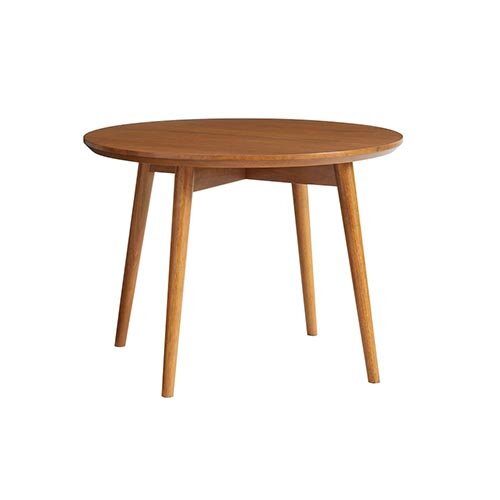
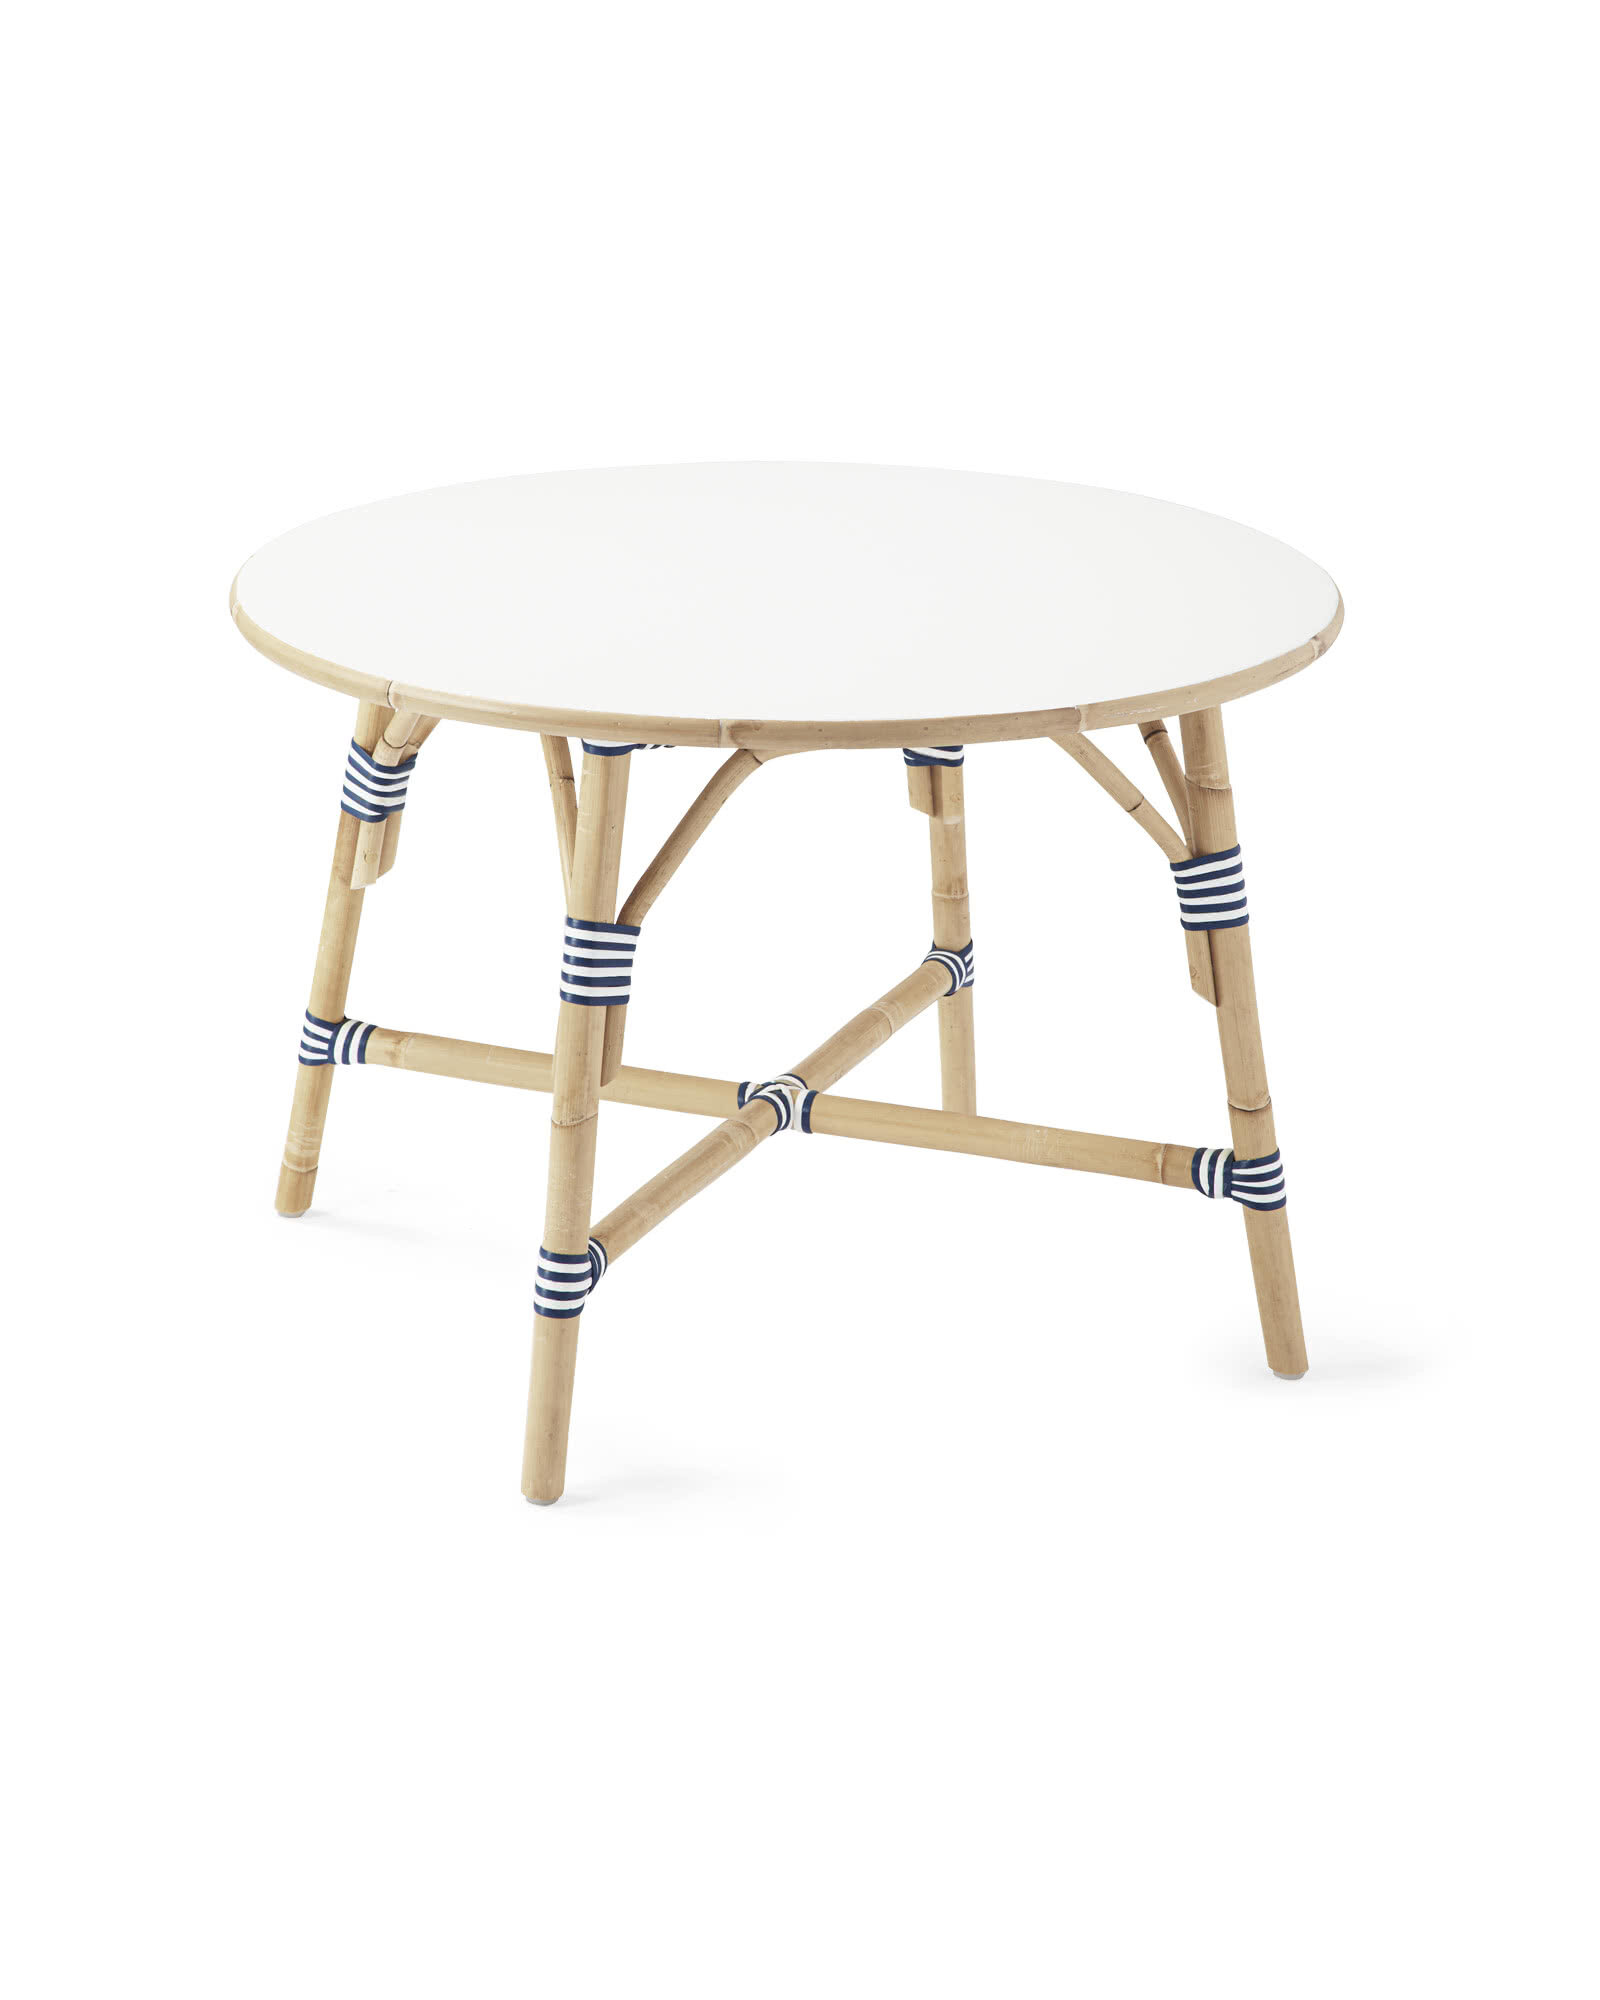
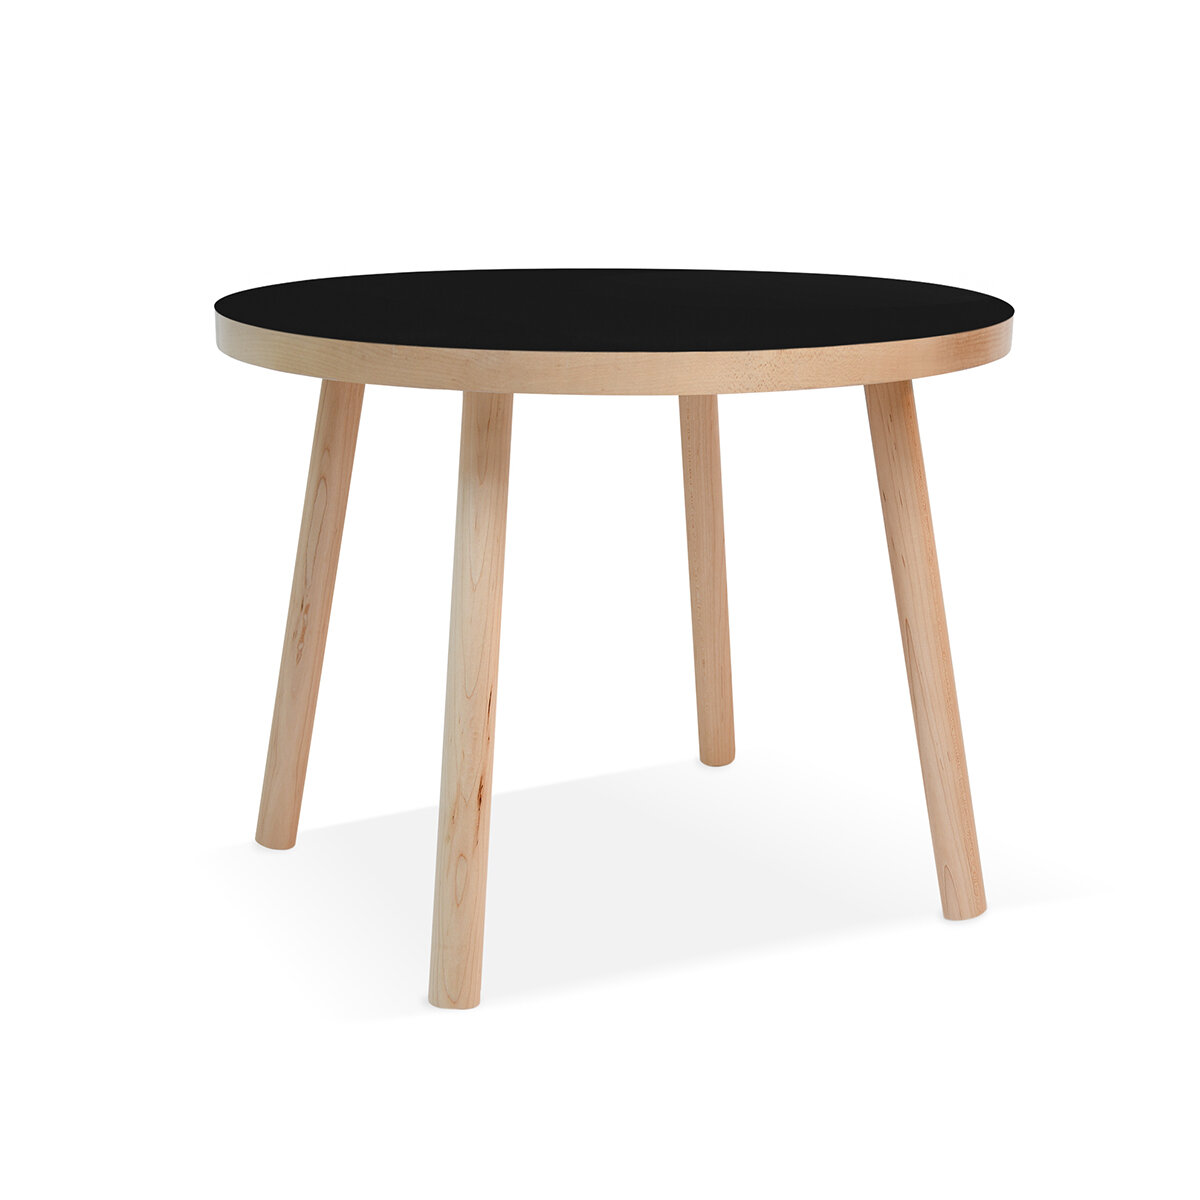
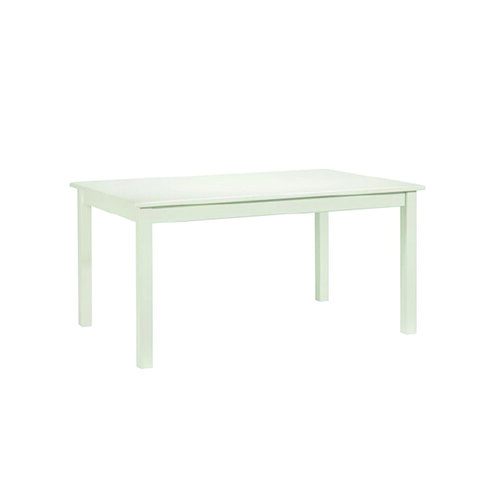
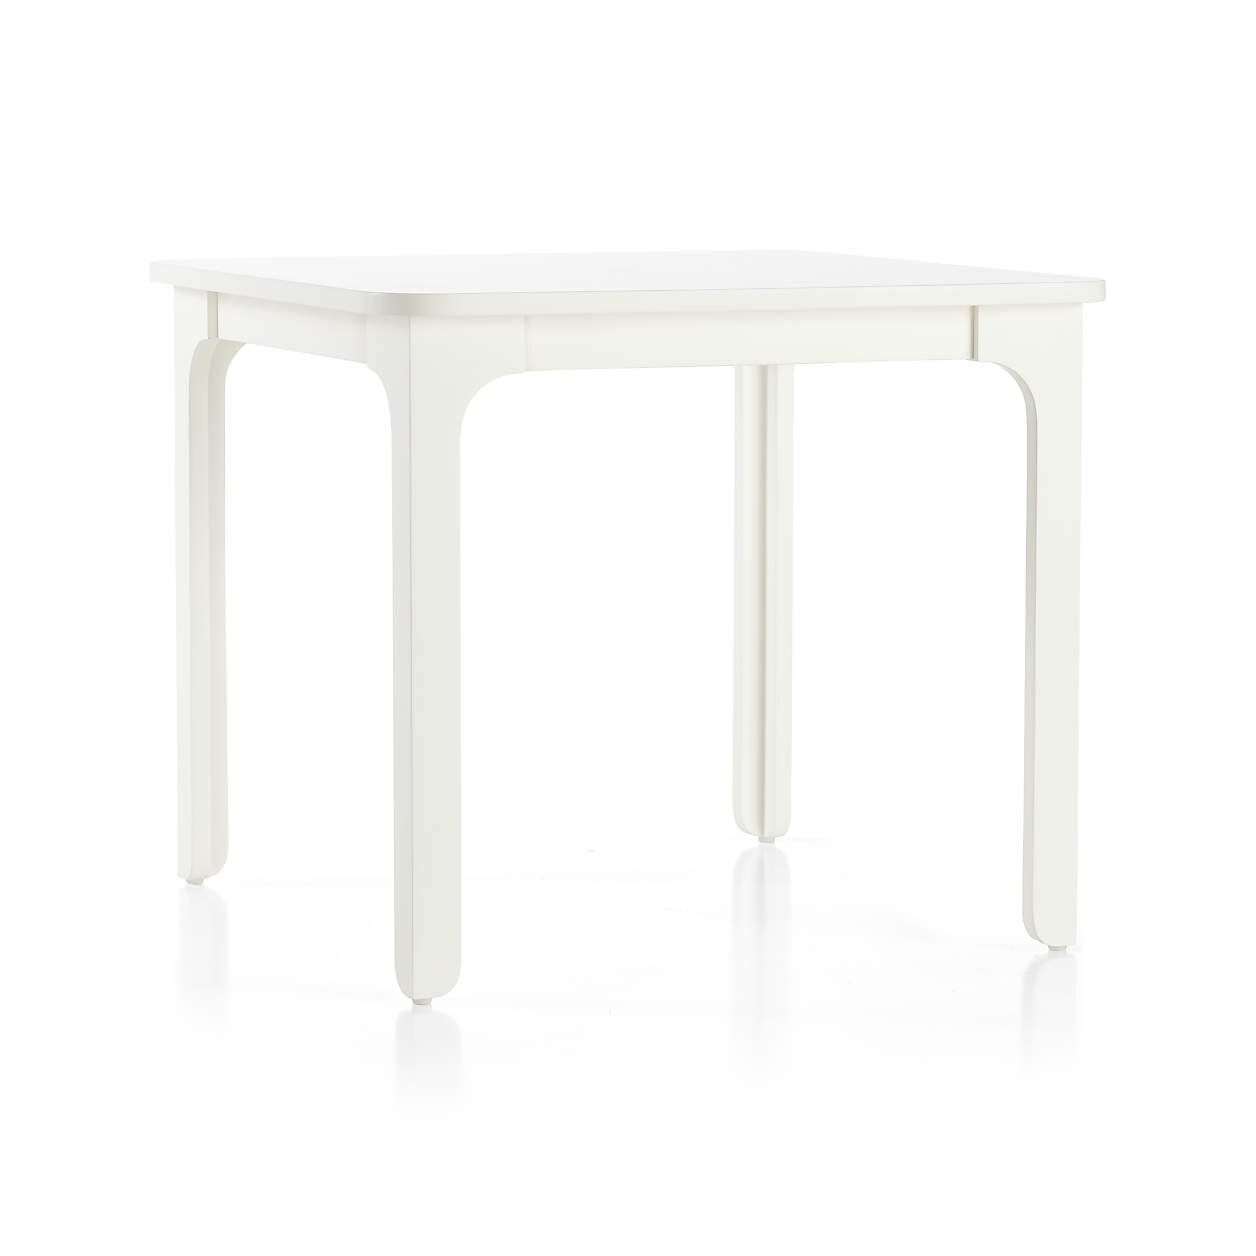
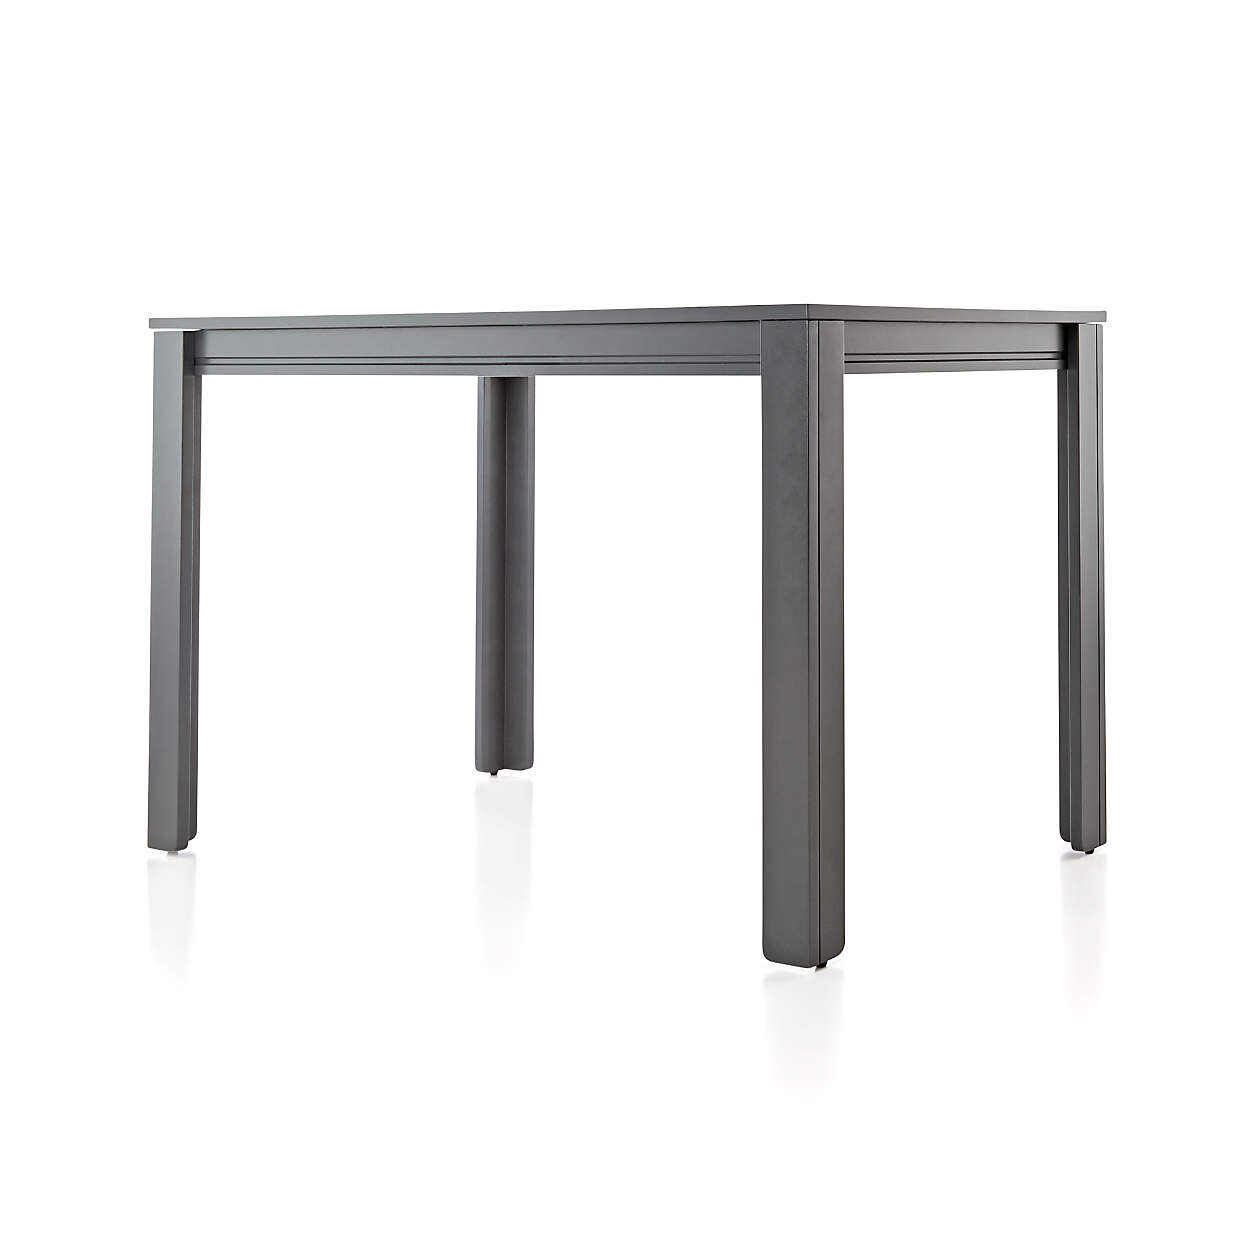
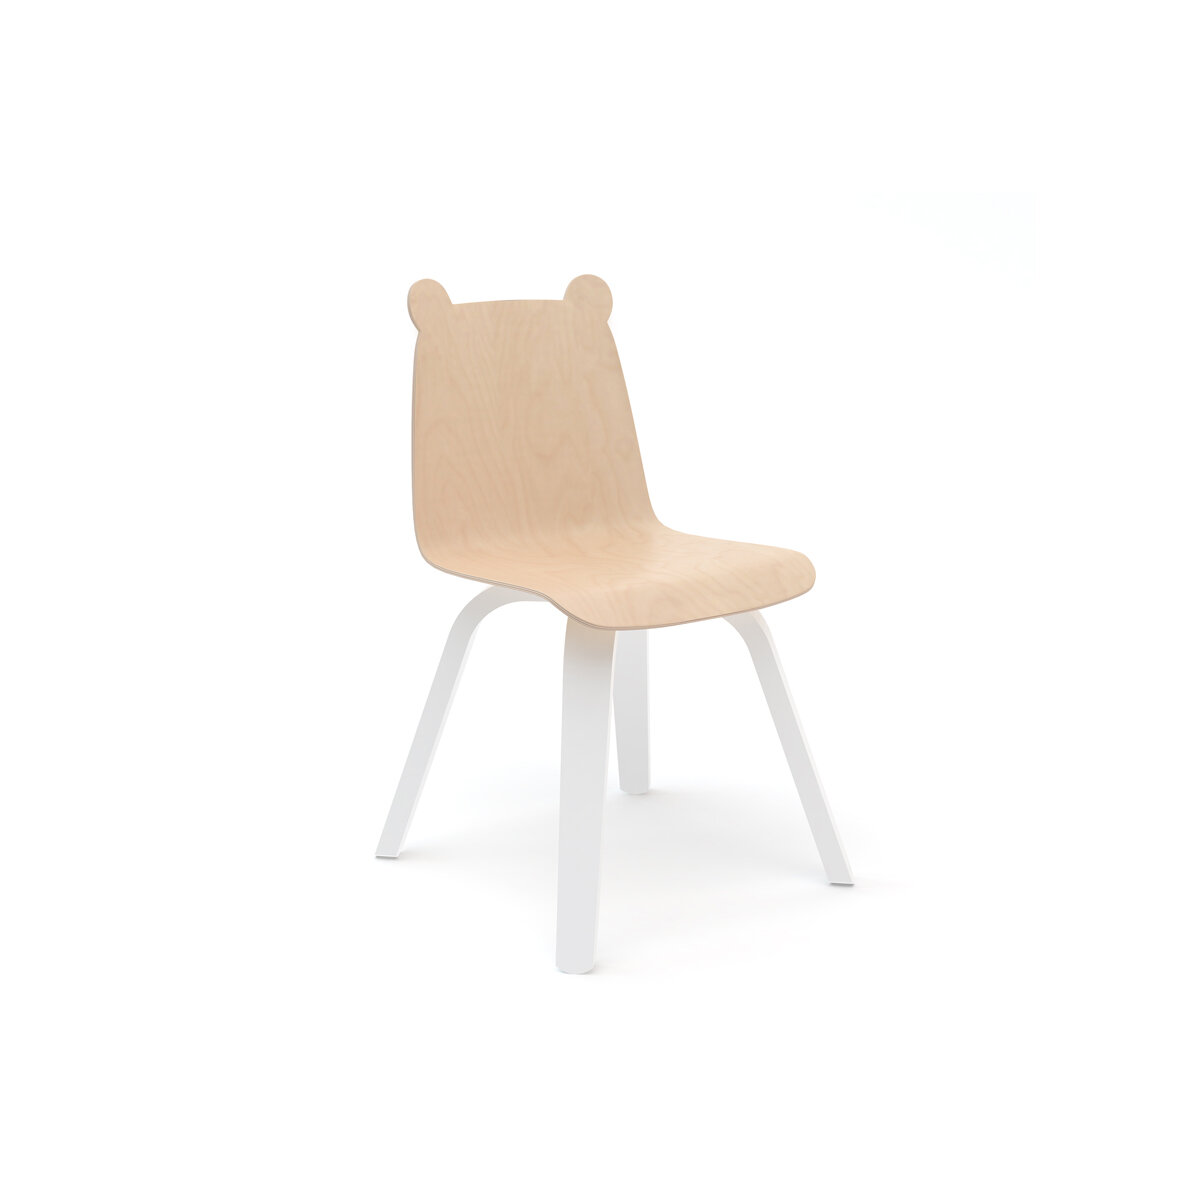
PLAY TABLES (20” high or under):

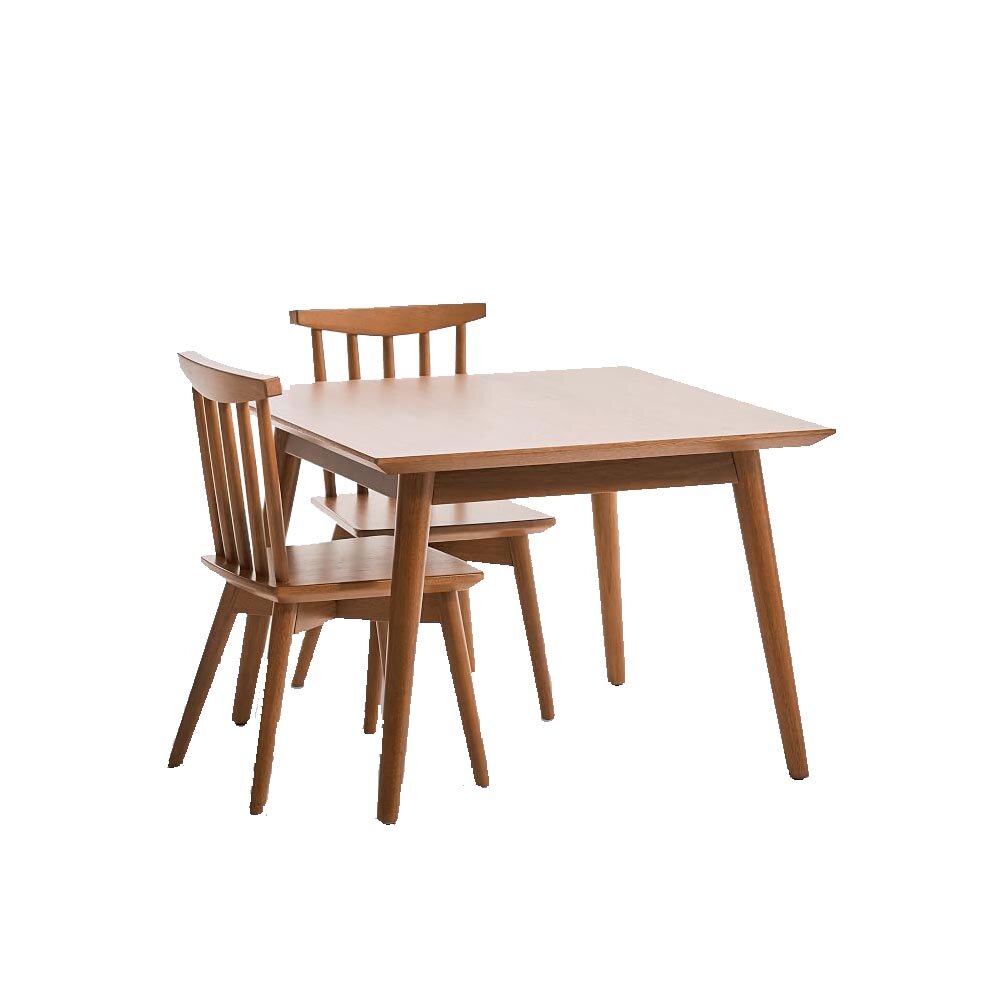
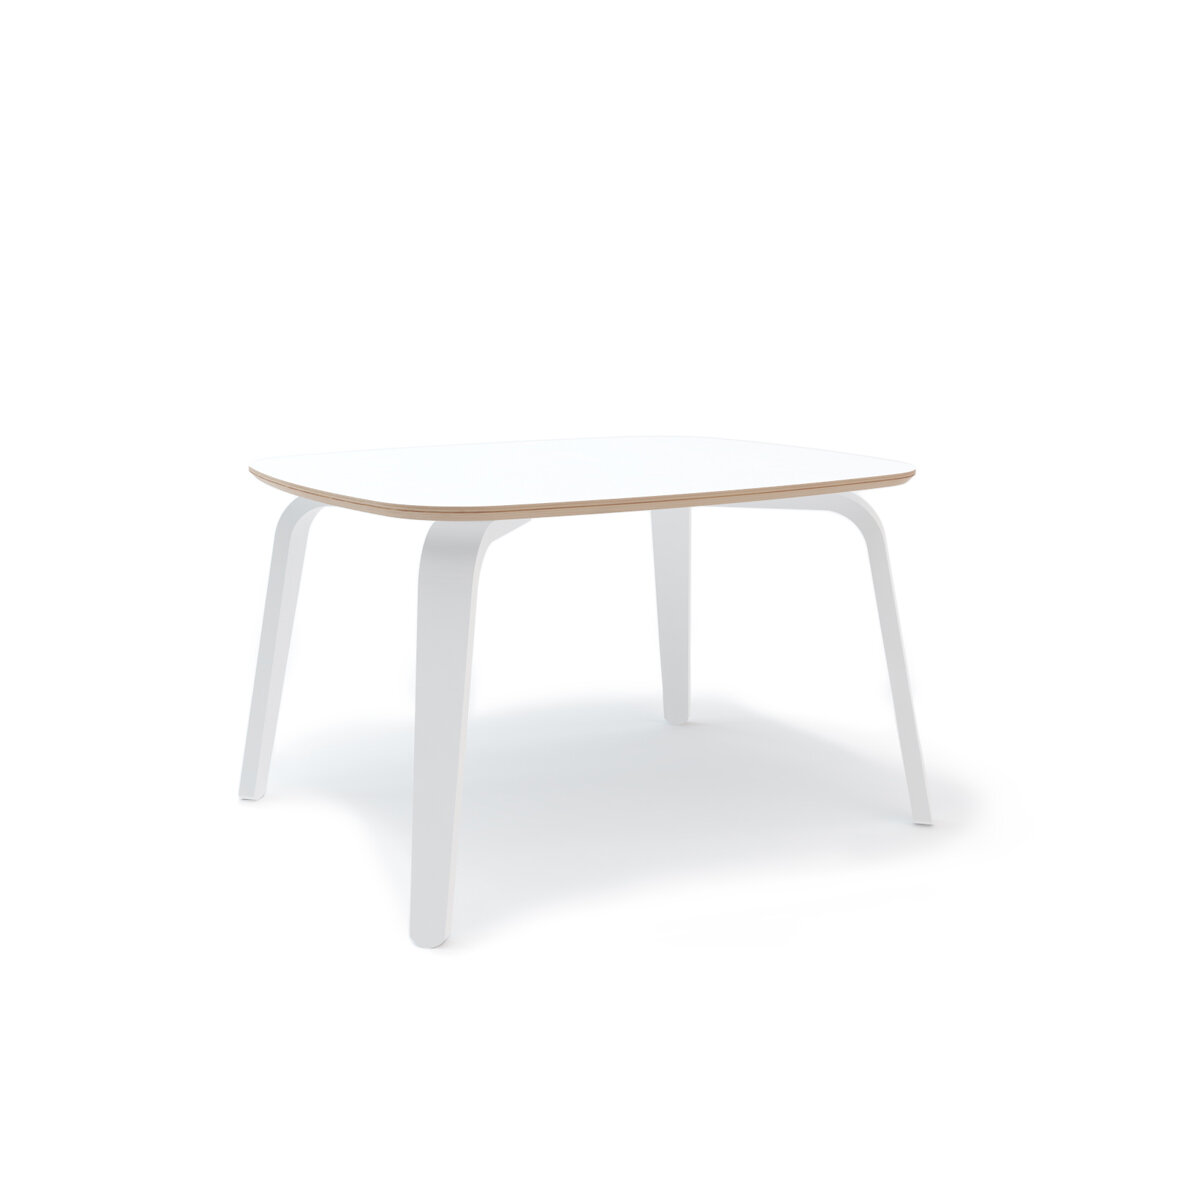
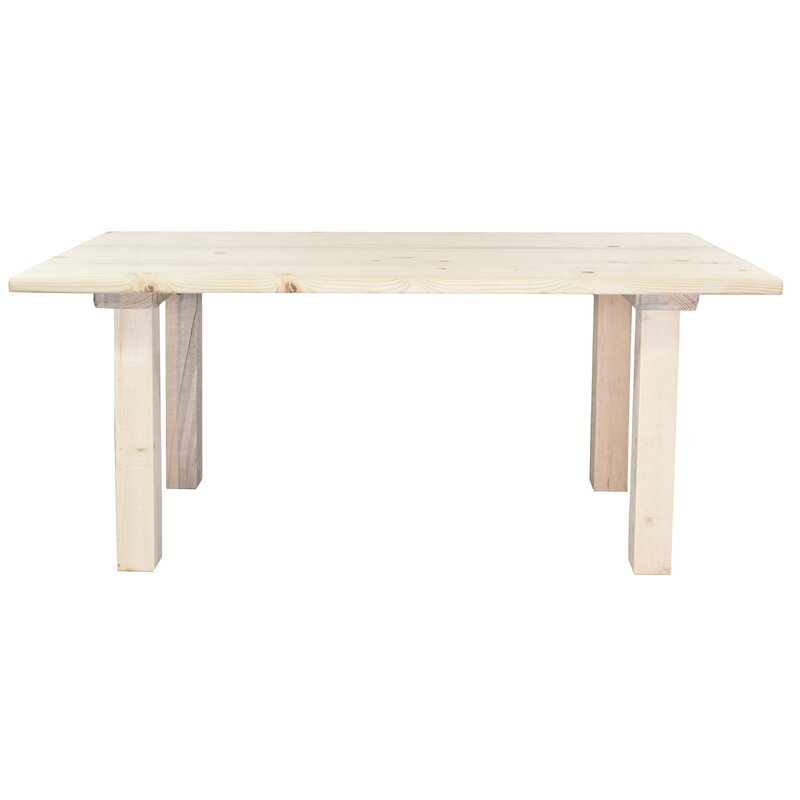
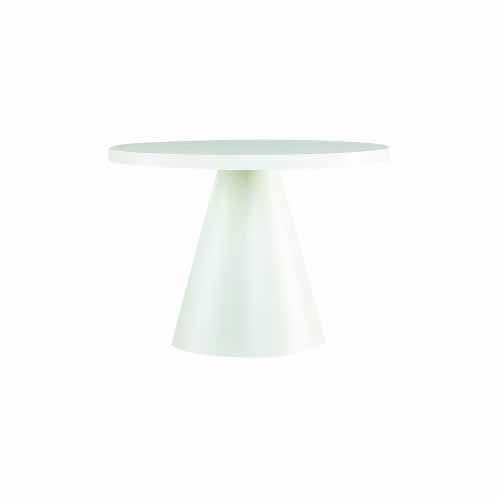
PLAY TABLES (over 20” high):
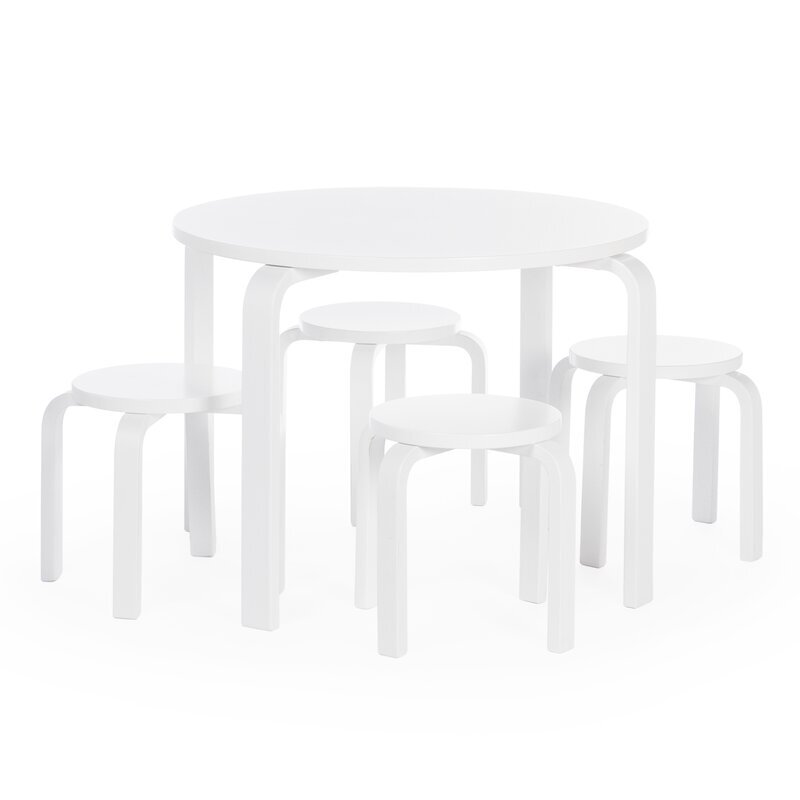
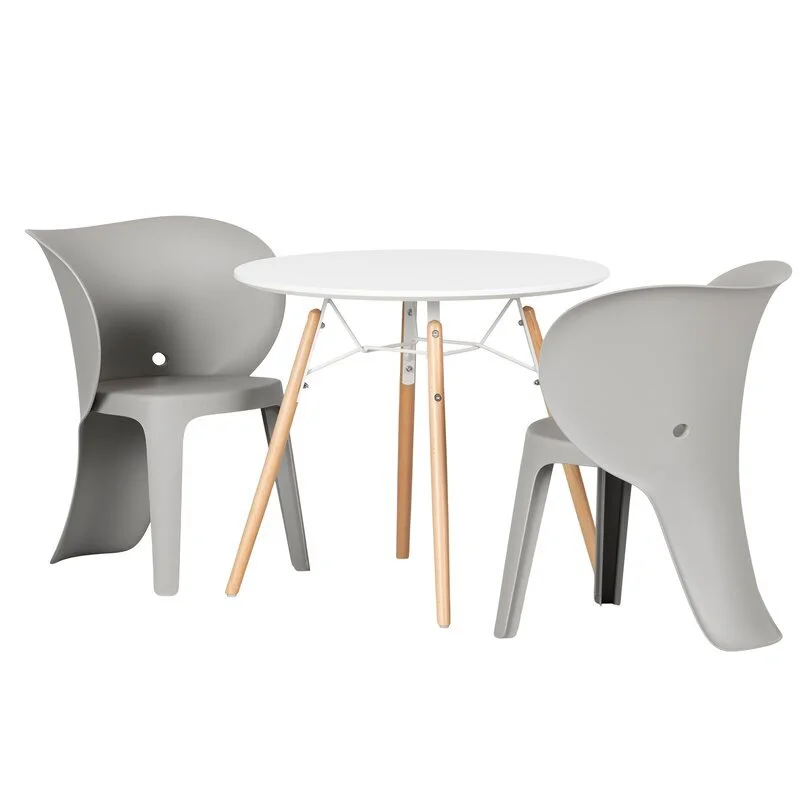
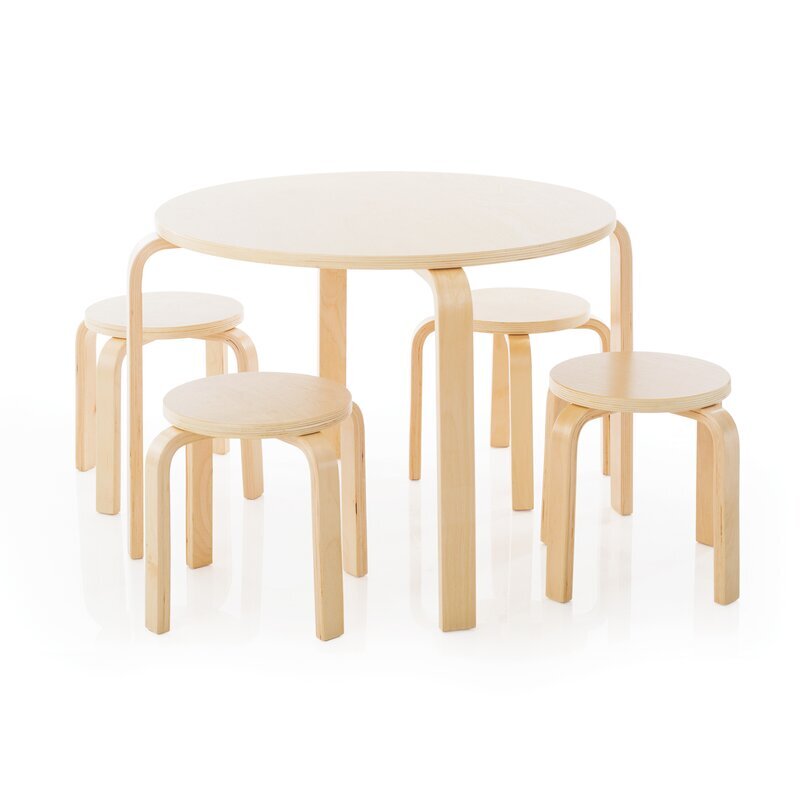
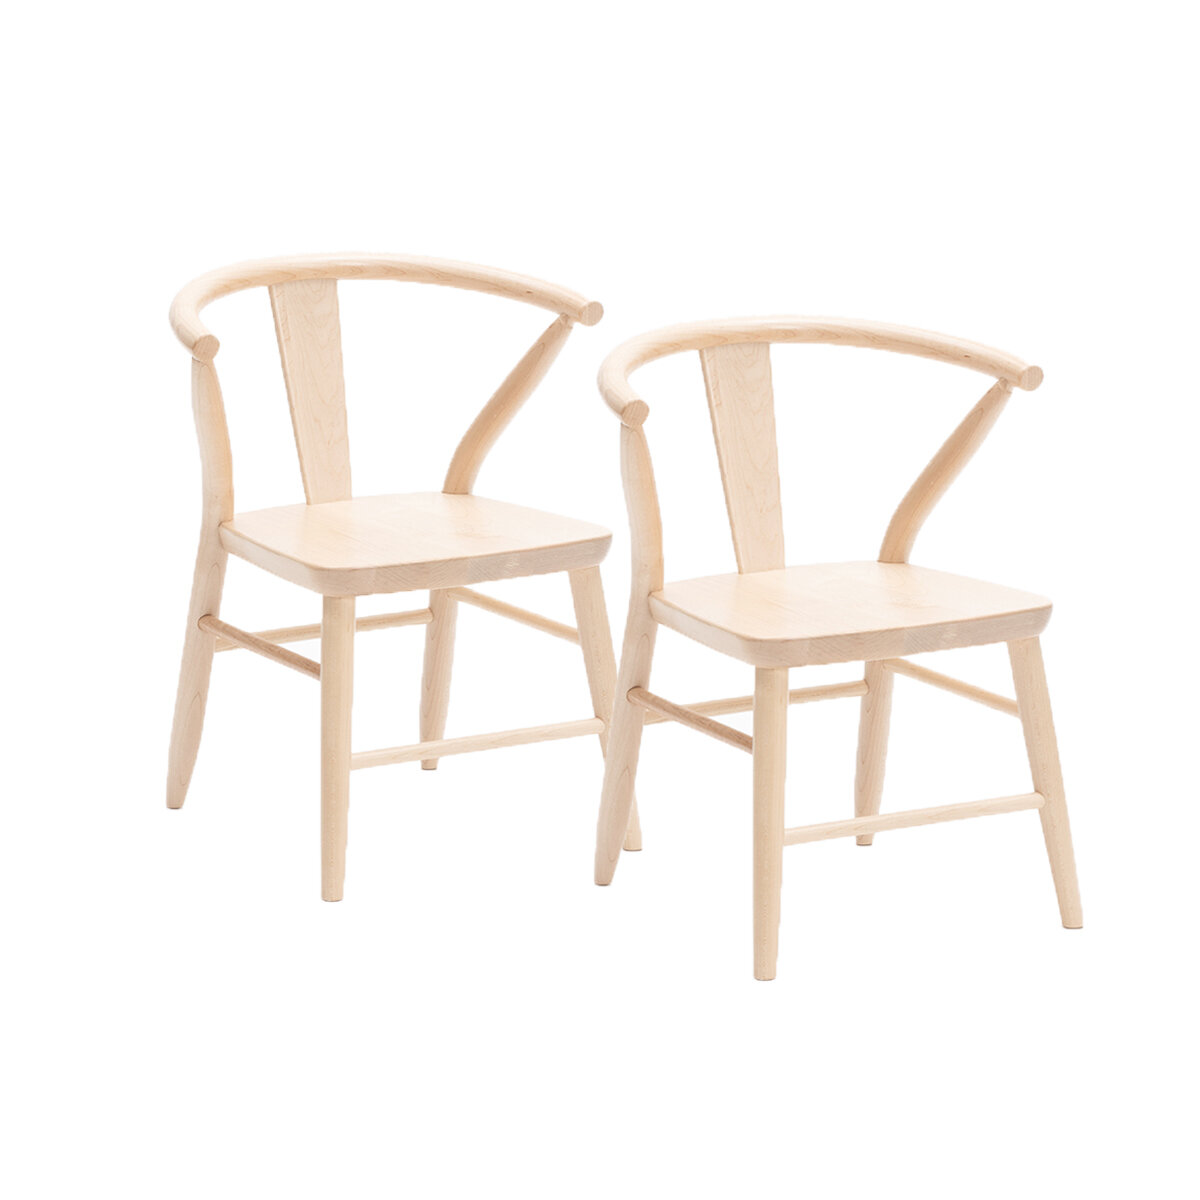
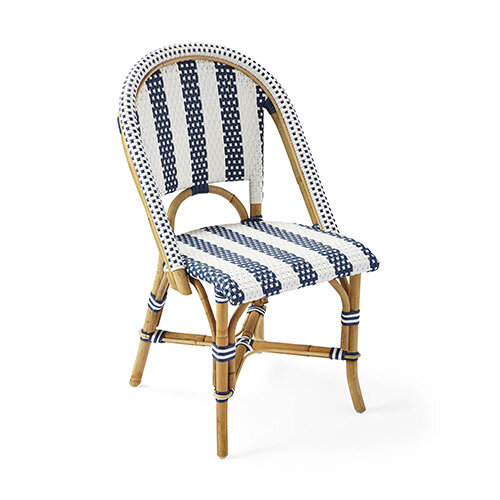
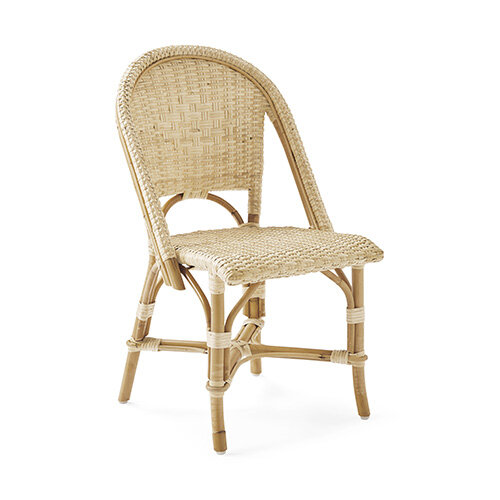
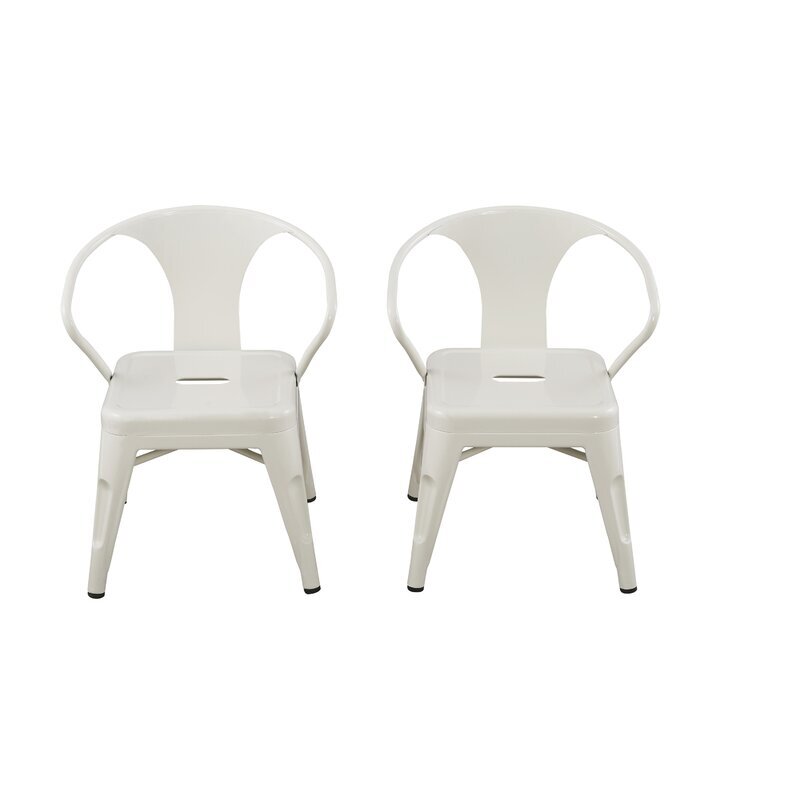
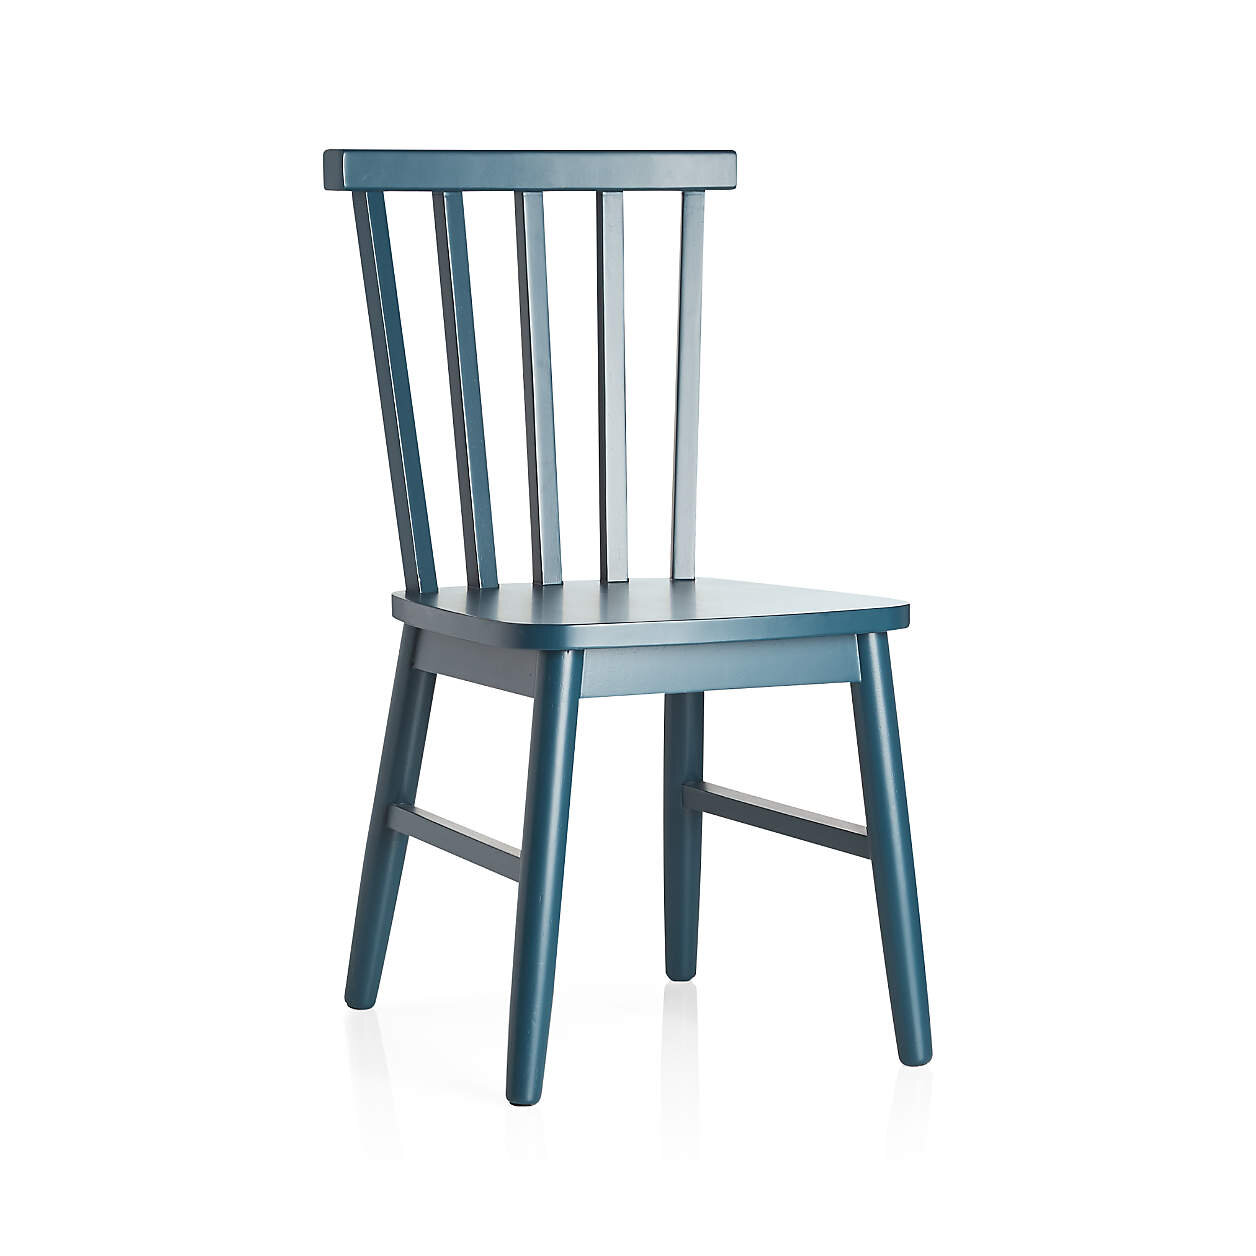
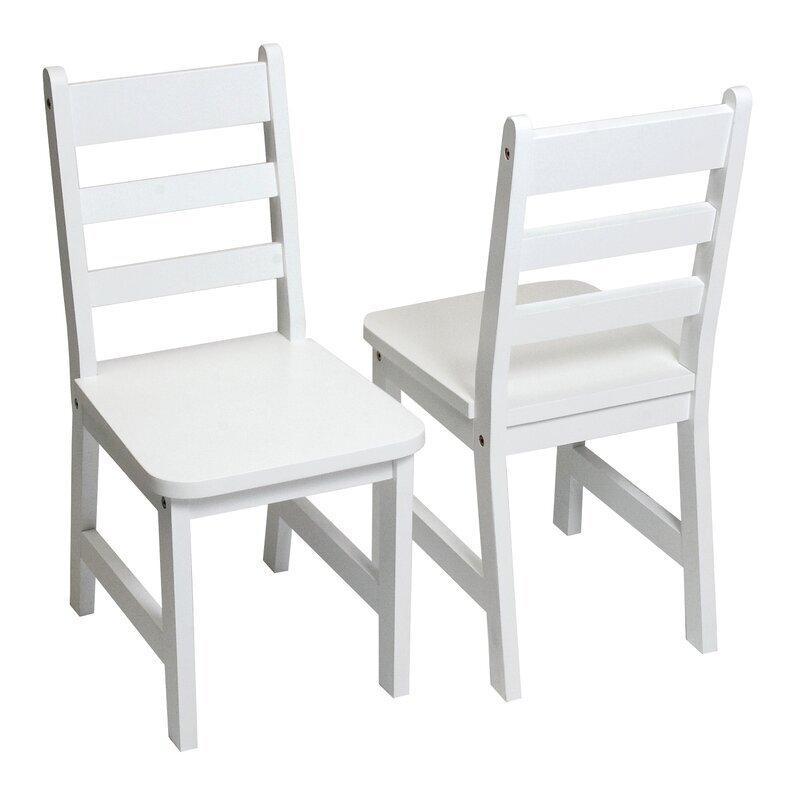
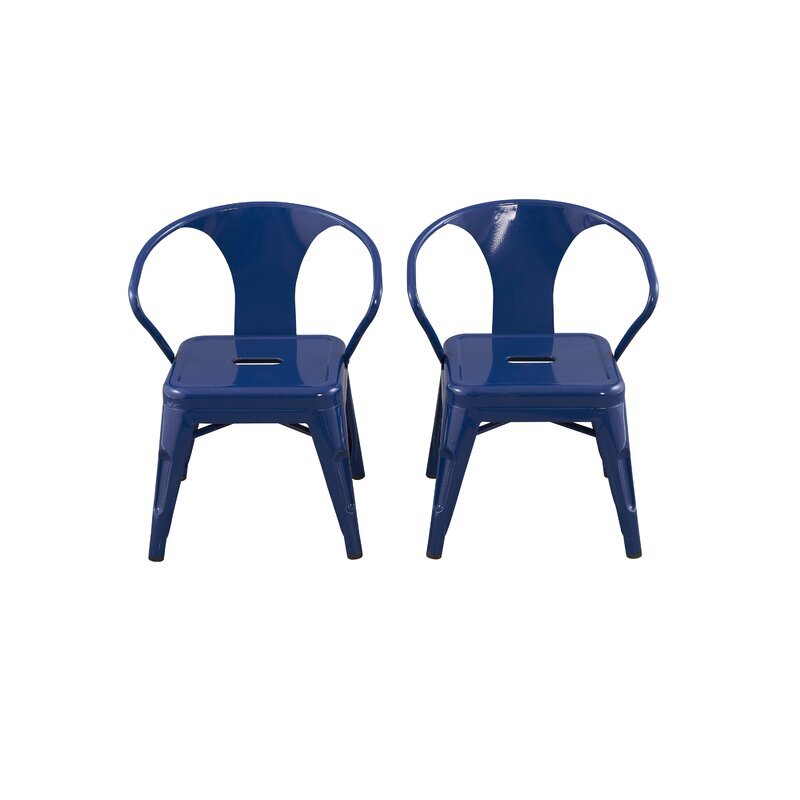
EXTRA CHAIRS AND STOOLS TO MATCH:
IF YOU LIKED THIS POST, YOU MAY LIKE THESE TOO…


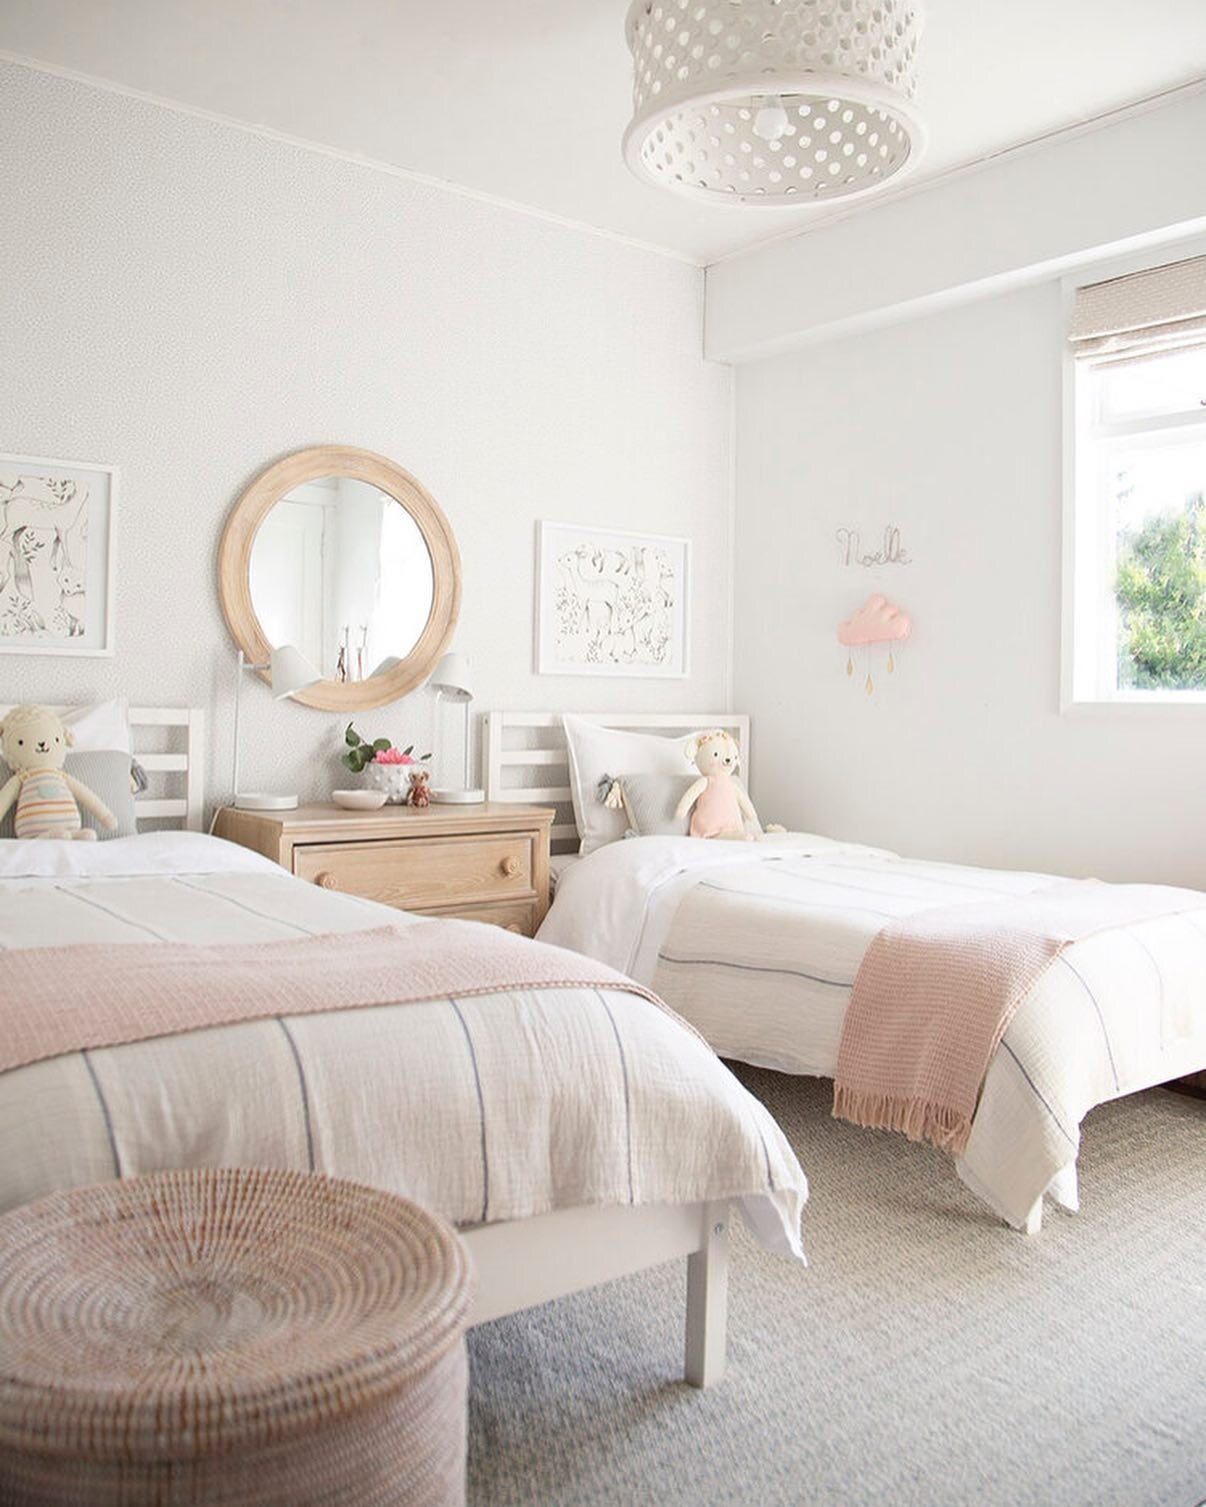
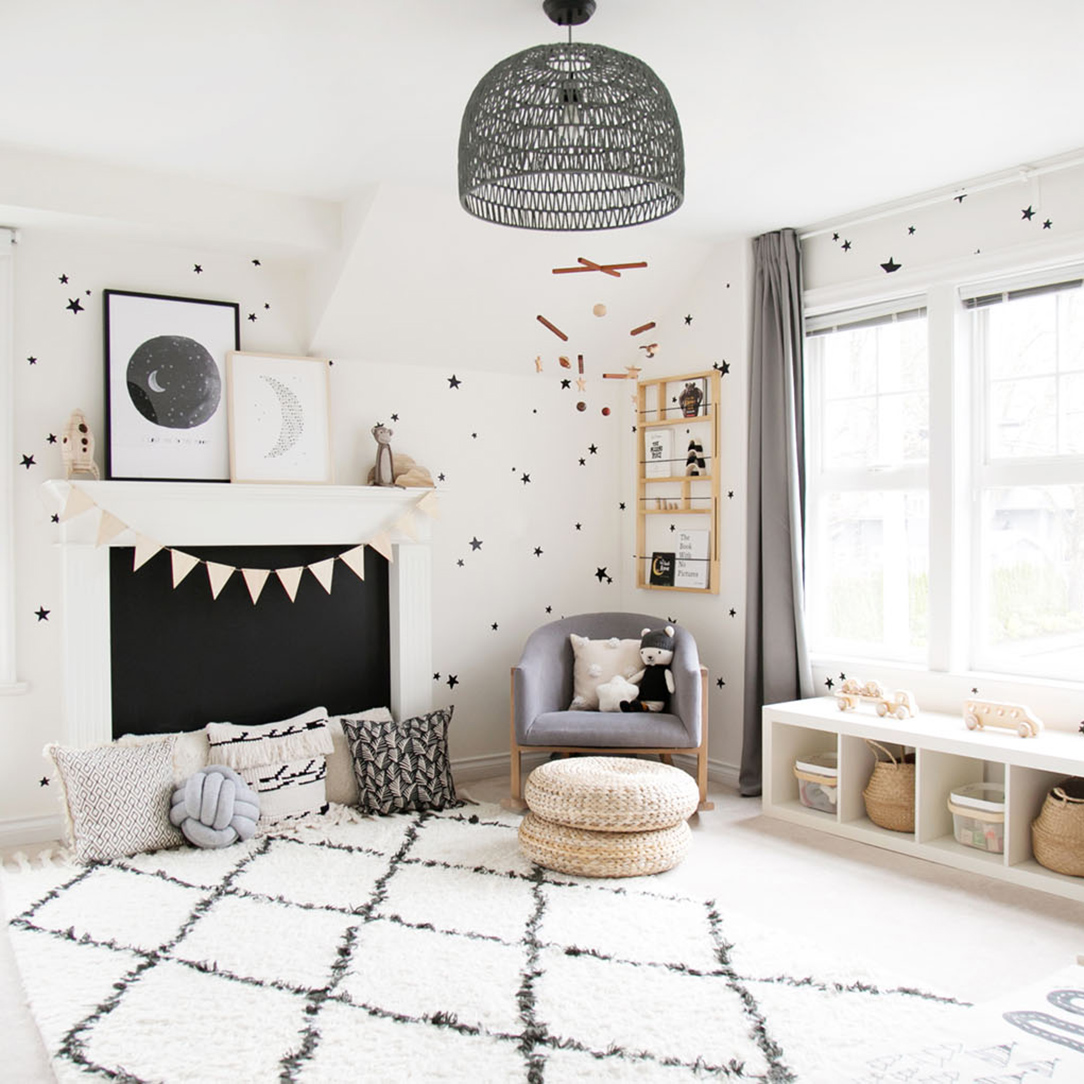
5 WAYS TO DECORATE A BLANK WALL {IN A KIDS SPACE}
Big blank walls can be intimidating, but they don’t have to be! Here are my tried and true ways to turn a blank wall into something special for a nursery, child’s bedroom or play space!
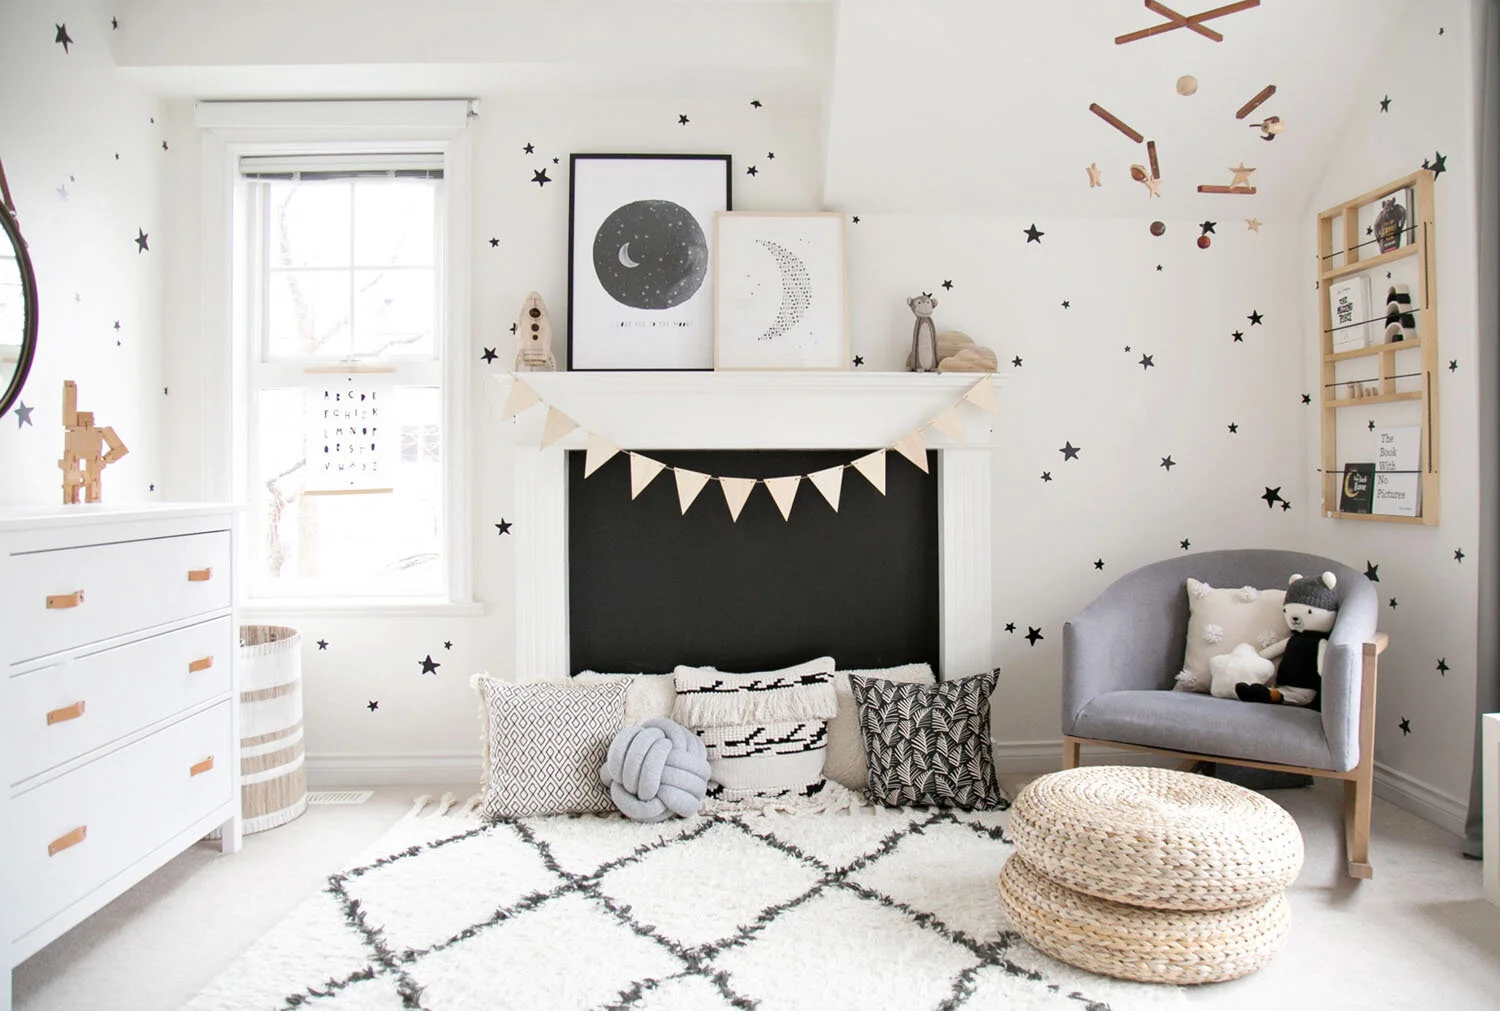
1.Use wallpaper (or decals):
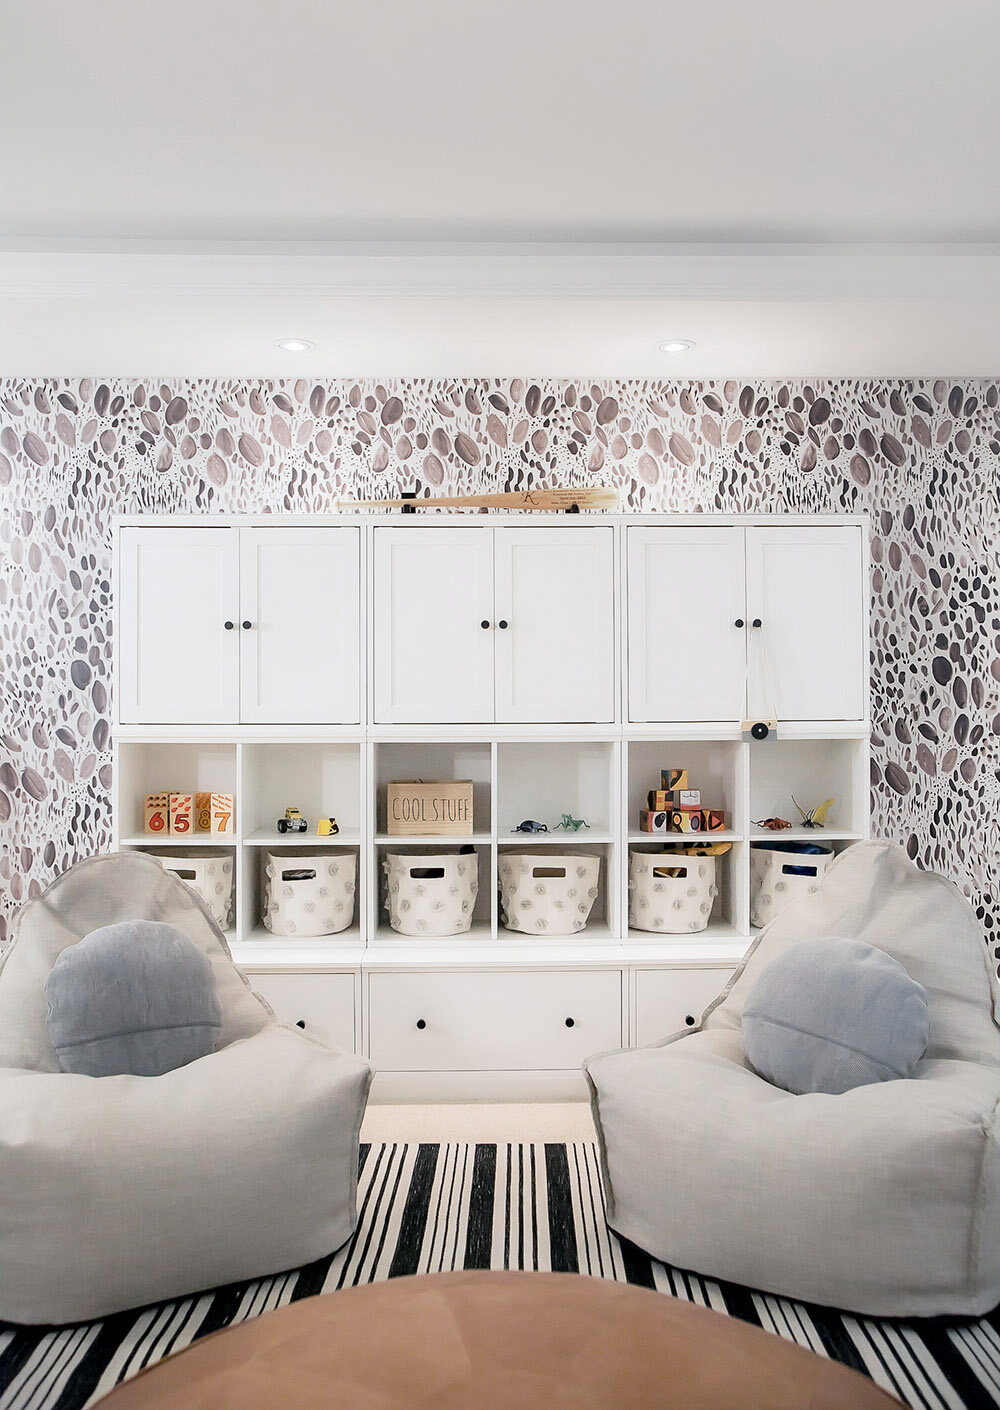
Wallpaper provides instant gratification and BIG impact. I mean, why not?! Kids’ spaces are the perfect opportunity to do something temporary or different than you would do in other parts of your home and it is FUN! Why not try a bold pattern? Or a print that really speaks to you in this moment? While old traditional wallpaper can be difficult to remove, the new paste on wallpaper is relatively simple to remove and there are SO many peel and stick options now that there really is no good reason to skip this fun trend. If you haven’t already, see our roundup of favourite wallpapers that will transform any blank wall in sight.
2. Add a bold focal point:
A huge piece of art, large letters, a big storage unit, even a fireplace - these all add a point of focus when you walk in the room. Try to make the key focus the wall opposite where you enter the room to give the most immediate eye catching detail.
3. Create a gallery wall:
You know I love them and they fill a wall so well! You can choose a simple grid pattern or get creative and create a more eclectic gallery wall; both will work equally well to decorate a blank wall and add personality. A quick tip for keeping gallery walls cohesive is to space the frames 2-3 inches apart.


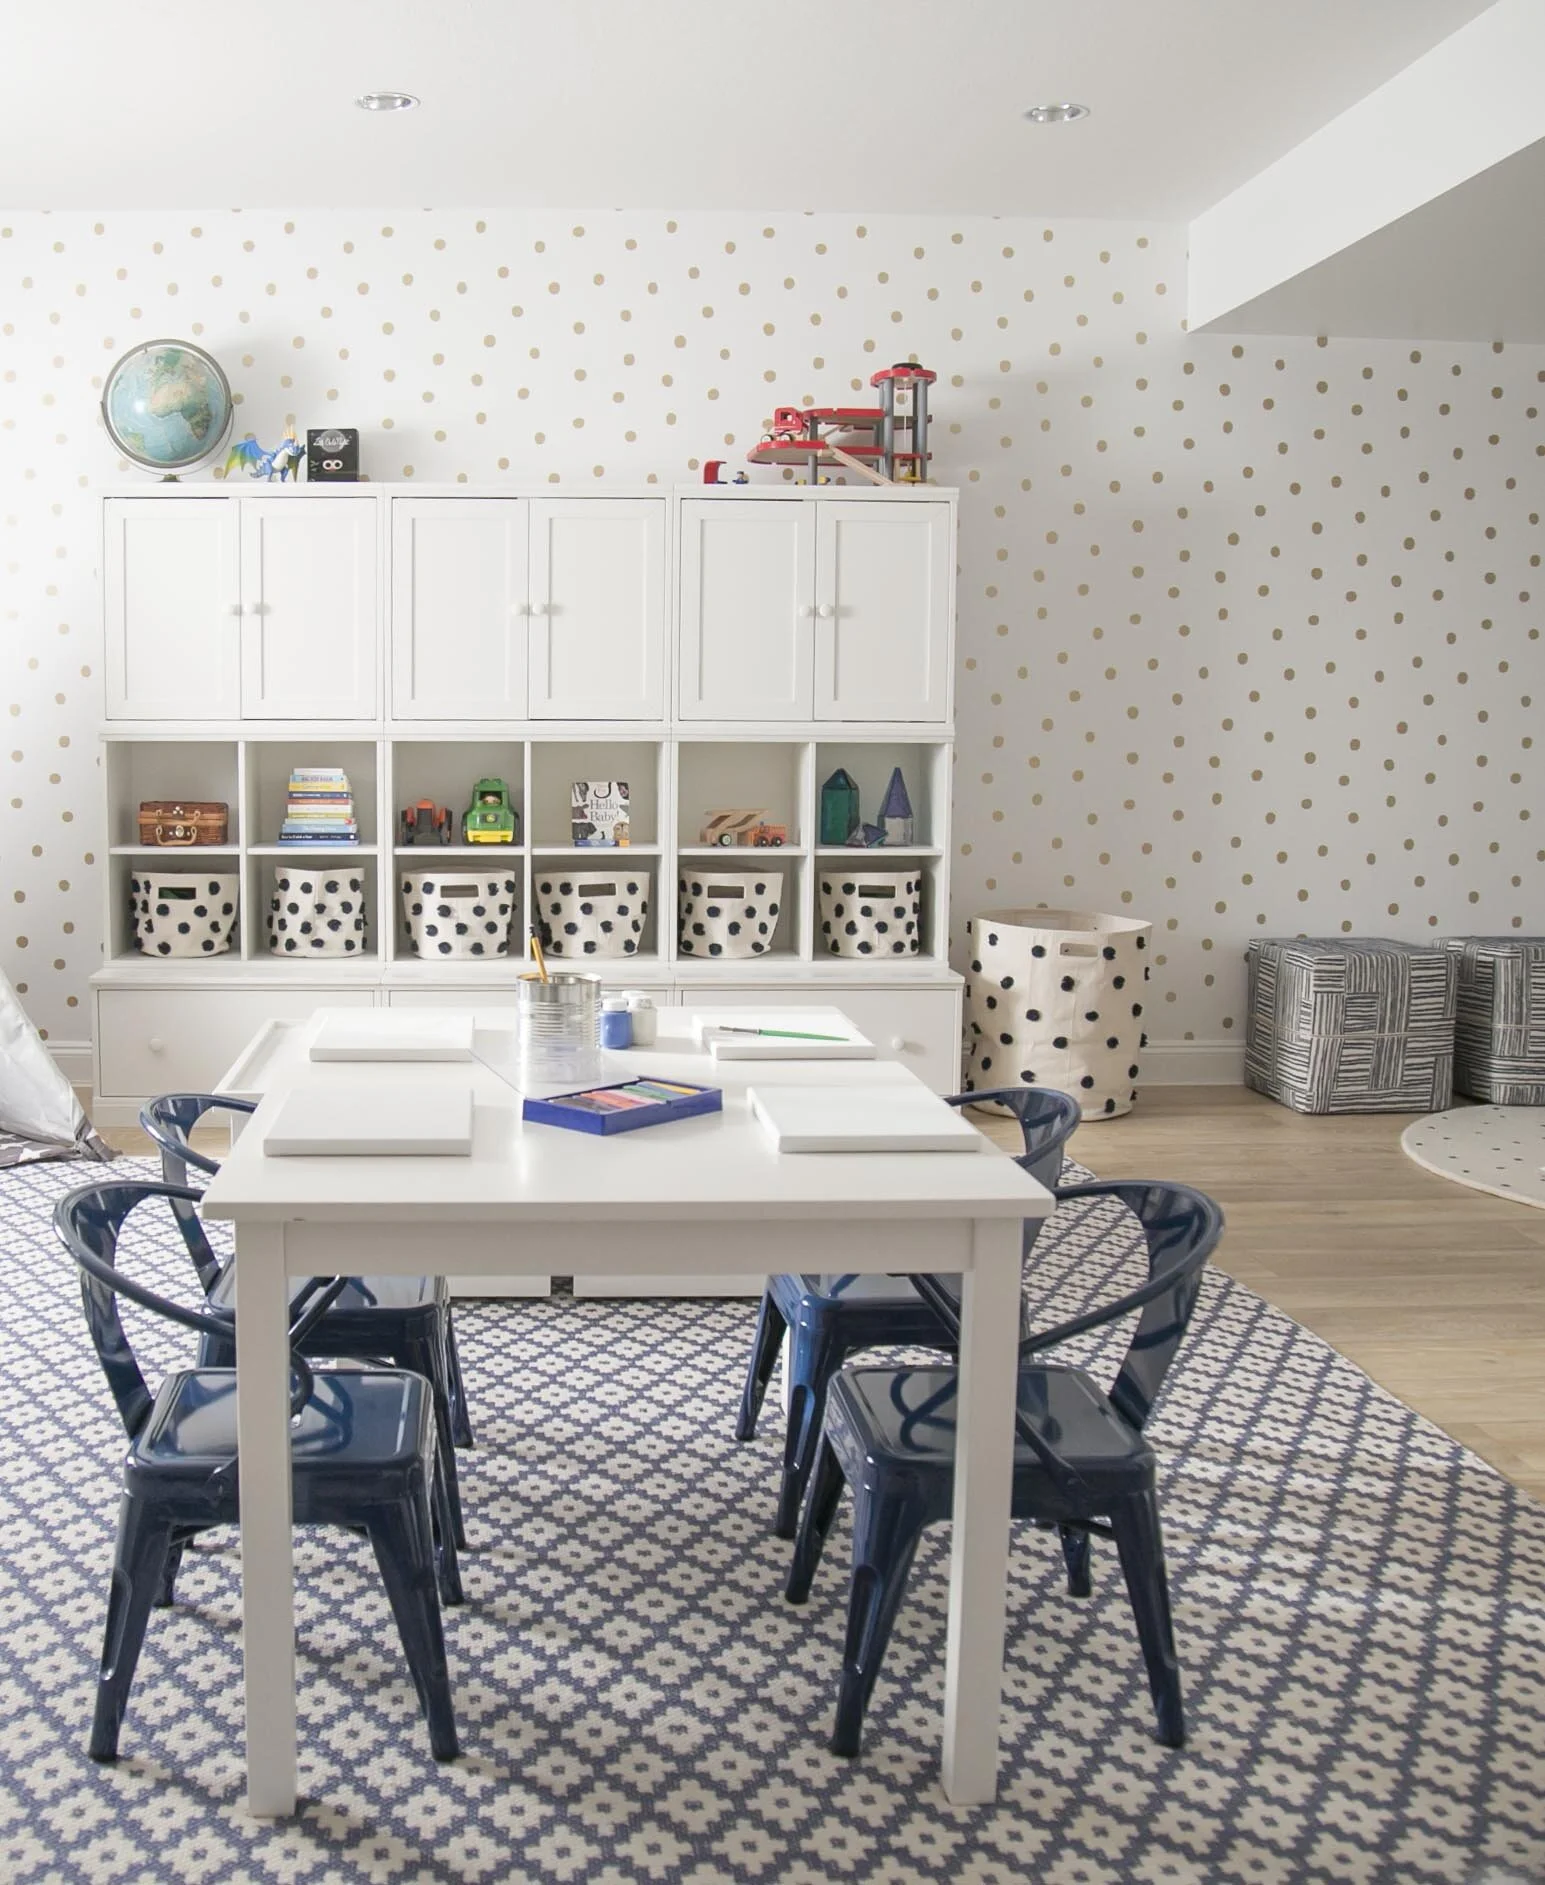
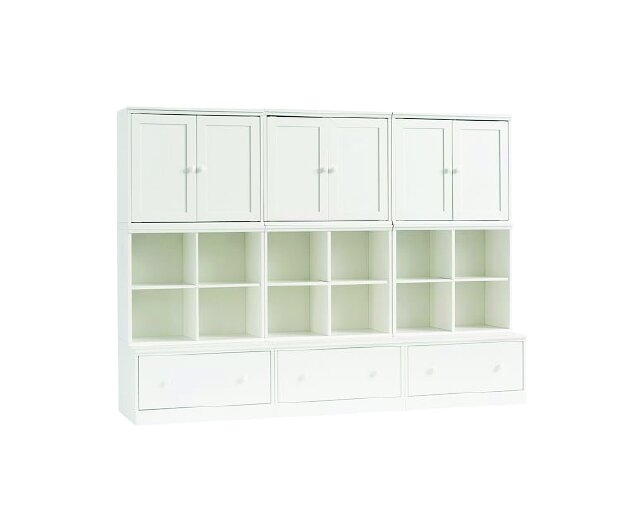
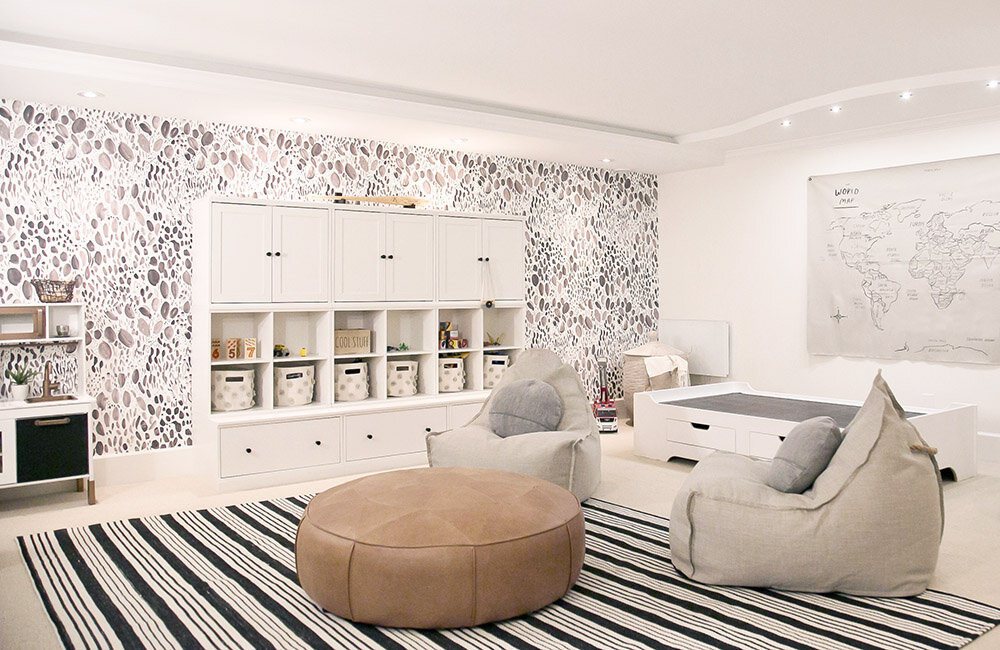
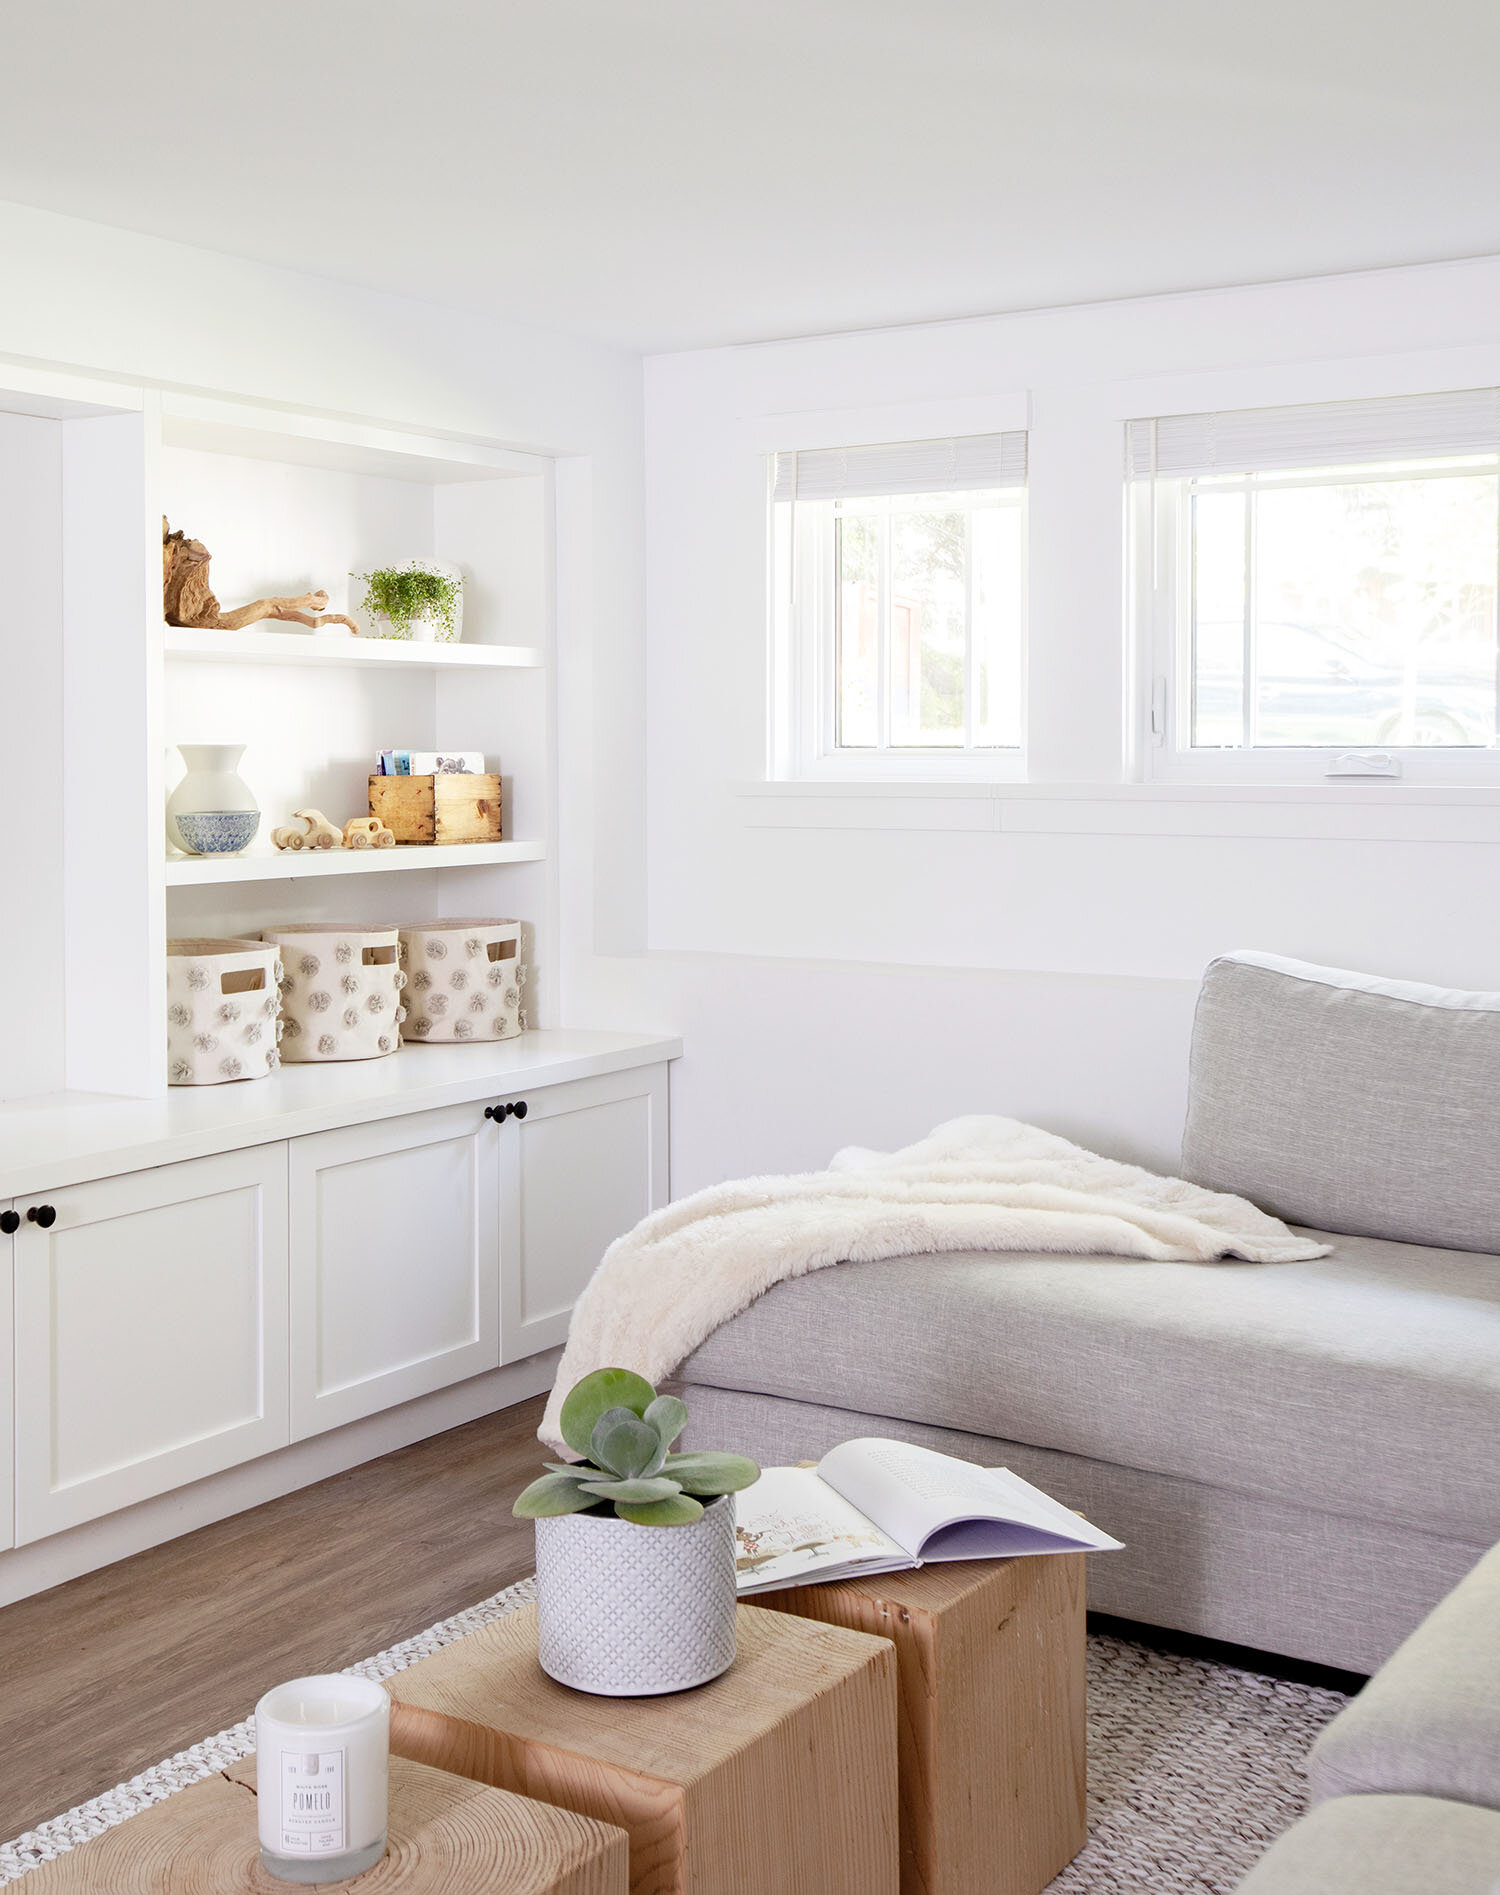
4. Add a storage unit or shelving
Serving dual purposes of decoration and adding functional storage, a storage unit or shelving can be a lovely way to fill a blank wall! If you are wanting the most storage, consider at least one part closed storage while leaving some shelving open for styling favourite objects or rotating seasonal toys. I love using a mix of open and closed shelving to fill a huge wall, like we did in the playroom below.


5. Get creative with paint!
The most affordable way by far to decorate a blank wall is to get creative with paint. There really are SO many options - a bold colour, a half wall, a mountain scene, a mural! This is the perfect opportunity to try your hand with paint and an interesting colour.

Source: Room to Bloom
IF YOU LIKED THIS POST, YOU MAY LIKE THESE TOO

THE JANUARY EDIT: FAVOURITE PICKS OF THE MONTH
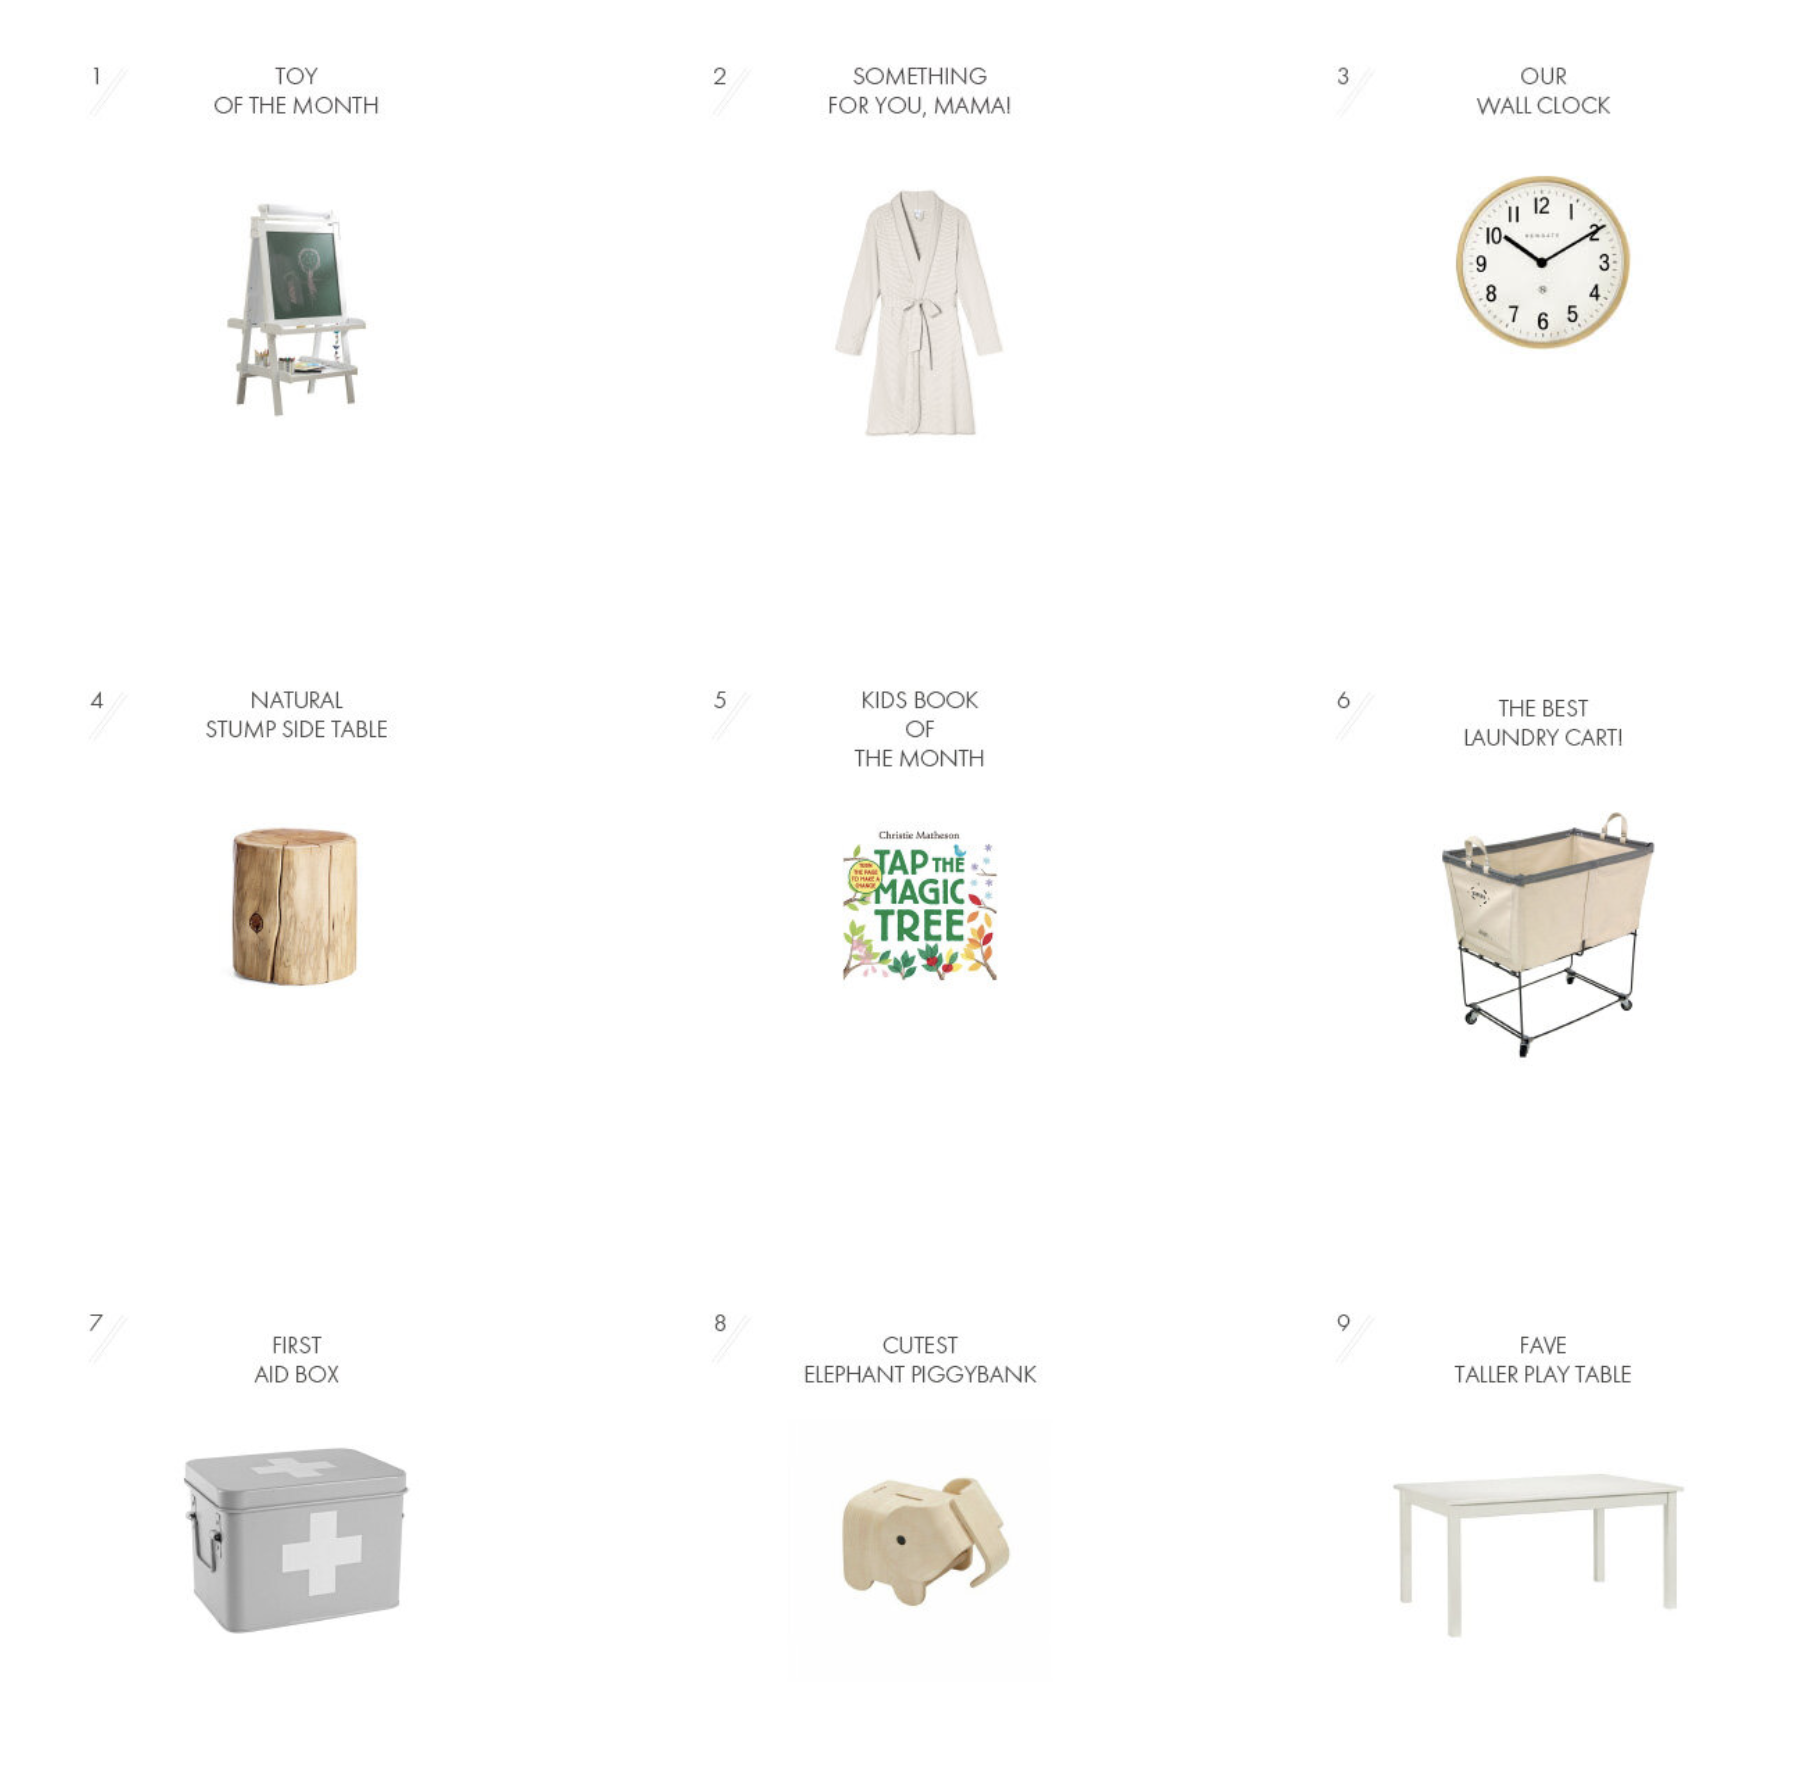
A little later than usual but our monthly edit is back! If you are new to the blog, each month we choose 12 of our favourite items…from toys to furniture, kids books to something for you!
This month, we’ve rounded up toys we have, the blanket we used in one of our rooms, our favourite lunch box and more.

SHOP OUR PICKS!


IF YOU LIKE THIS POST, YOU MAY LIKE THESE TOO…


ORGANIZING KIDS SPACES: HOW TO GET STARTED
2021 has officially begun and that means new routines and fresh starts for many. I love hitting the reset button at this time of year and setting plans in place for the year to come. Many of those plans revolve around getting more organized (at home and in life!) and today, we are sharing how to get started in organizing kids play items.
Bright & Fresh Playroom Project
As we all know, life with kids can become messy quickly! When you scroll Instagram or Pinterest, it can be easy to feel overwhelmed by the perfect images you see of all kids toys put away and playrooms that look unrealistically clean. Spoiler alert: many are! Designers and bloggers are often shooting rooms before the children have ever played in them and let’s be real, sometimes unsightly toys are pushed out of the frame just for the photo!
While those things are true, we have found some key ways to keep toys, crafts and books organized.
STEP 1: WHERE TO START

Start with the biggest toys first!
While built-in storage is the ultimate dream (see above!), custom storage (especially in kids’ spaces) is certainly not in everyone’s budget. Think about what type of closed storage you already have. Is there a closet near where your kids’ play? Could you keep your child’s favourite cruiser vehicle there and pull it out when needed? Use this to store big items if you can.
If not, there are some excellent ready made choices, like this storage unit, that house a large number of toys and crafts, and is streamlined and versatile enough to suit many different families and their needs. This unit is particularly great to have when kids are young as you can keep craft items up high (and out of reach) and use the surface on top of the drawers as a play area for toddlers to pull up on. To add a custom touch, consider changing the handles like we did in Kase’s playroom project, below.
STEP 2: NEXT…
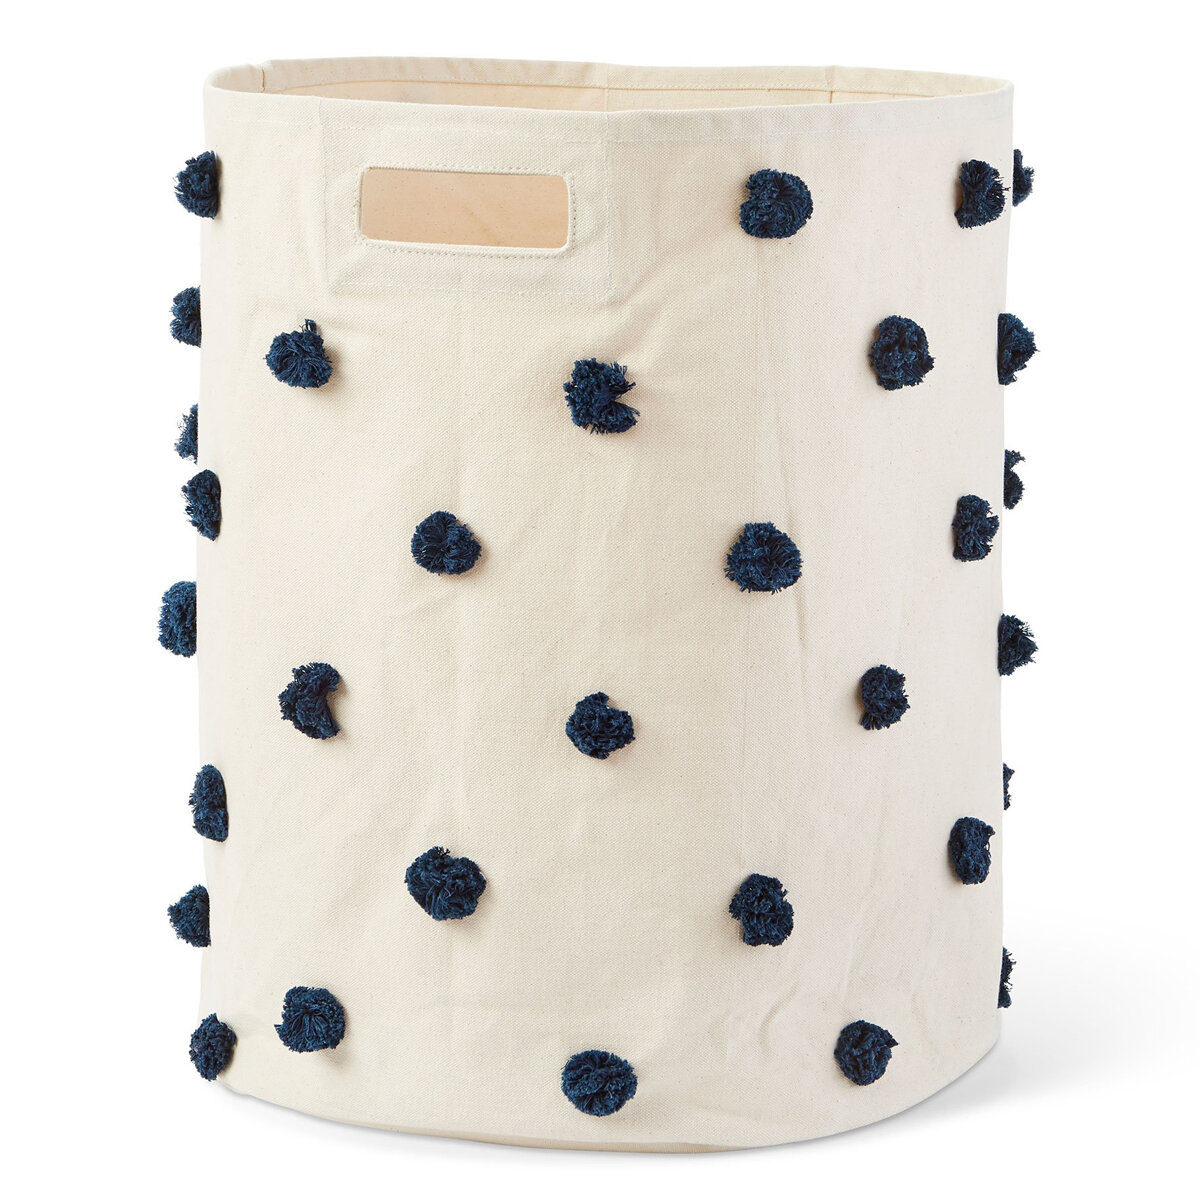
From there, think medium sized toys. Play farms, toy towers, puzzles, games or any plastic toy that you’d rather not view after the kids are in bed, I like to put in the cupboard sections in the unit above (or similar) or big baskets. Our favourite baskets come in 3 sizes, with the large one fitting a giant fire engine toy amongst other things. Size large is HUGE, trust me, and also perfect for dozens of stuffed animals that you may prefer not strewn all over the floor. A set of these baskets is so versatile that you can use them for a play space, but they also come in a more neutral colour if you want to incorporate one in your living room (blankets, pillows)or anywhere else in your home (laundry hamper!). I love items that work for a variety of functions like this.

STEP 3: BASKETS & BINS
This next step is all about grouping like items together. Pull out your child’s toys and start to group them. Magnatiles? One bin. Have a set of Paw Patrol figures? Put them together in a basket. Blocks? Another basket. A set of cars? Another. You get the idea. See our post about best baskets and bins for pretty options if you like. Yes, it takes time to separate and organize everything, but once it’s done the first time, it’s much easier to teach your little one to put their toys back in the right place. At first, it will definitely be you picking up the toys and putting them back in their place, but starting this system helps to create some much needed order as kids grow. If you’re lucky enough, you might even have one kiddo who LIKES putting things away in an organized manner. It’s highly possible that you won’t though (there’s a mixed bag over here!) but at least it helps to know where things actually belong.
From there, go smaller. Add hooks for a place for dress up clothes, and think vertical (book wall or shelves) for displaying little figures or toys cars.
If you are finding you have toys that don’t fit in these categories, comment below and I’ll reply so everyone can read. If you are on an organizing roll, I’d love to see. Tag me on Instagram and I will share my favourites with you all!
IF YOU LIKED THIS POST, YOU MAY LIKE THESE TOO…


HELLO!
WINTER DAISY was created when Melissa Barling was laying on the couch while pregnant with twins. She dreamed of a beautiful baby room but couldn't get up and make it happen. The babies were born and in those mid night wakes and early morning feeds, she decided to leave her corporate job to start a design studio + blog. Welcome to WINTER DAISY.
Follow along on Instagram
POPULAR POSTS...


CATEGORIES
- BOOKS WE LOVE
- BOYS ROOMS
- DESIGN TIPS
- DIGITAL
- DIYs
- EFFICIENT MAMA
- FAVOURITE FINDS
- FREE PRINTABLES
- GARDENING WITH KIDS
- GIRLS ROOMS
- GIVEAWAYS
- HELLO
- HOLIDAY
- HOMESCHOOL SPACES
- HOW TO...
- I'M MELISSA
- INSPIRATION
- KID STYLE
- KIDS ROOMS
- MINI GATHERINGS
- MY FAMILY
- NURSERIES
- OH MONDAY!
- ORGANIZATION
- PICKS
- PLAYROOMS
- RECIPES
- RENTAL HOUSE
- RENTAL HOUSE #1
- RENTAL HOUSE #2
- RENTAL HOUSE #3
- REVIEWS
- ROUNDUPS
- SHARED ROOMS
- SHOPPING
- SHOPS WE LOVE
- STYLING
- TODDLER ROOMS
- TRENDS
- gift guide
SUBSCRIBE
Disclosure
WINTER DAISY BLOG contains affiliate links as well as advertising banners. I may receive a small commission on purchases made through links from this site. The content is always reflective of items, things and experiences that I genuinely like and I only work with companies whose aesthetic is in line with the WINTER DAISY brand.
Sponsored posts will always be clearly disclosed.