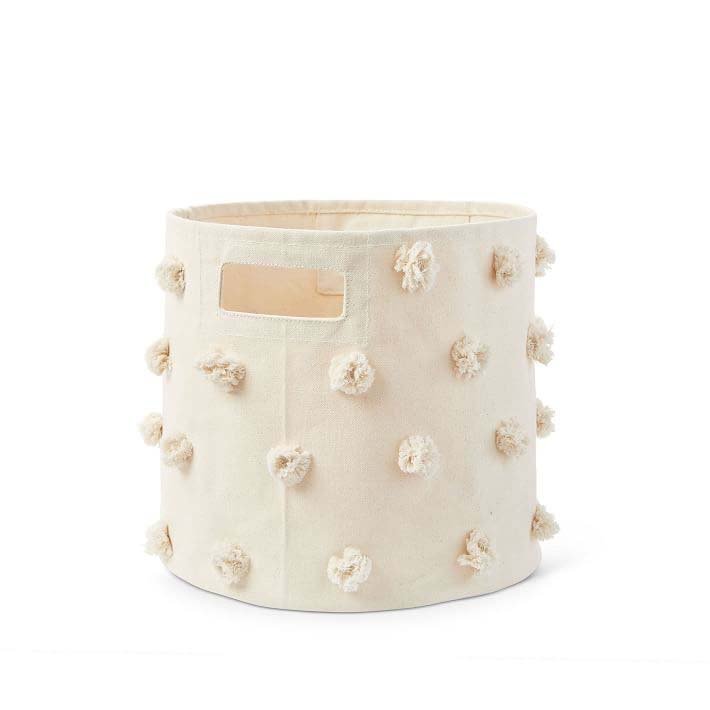
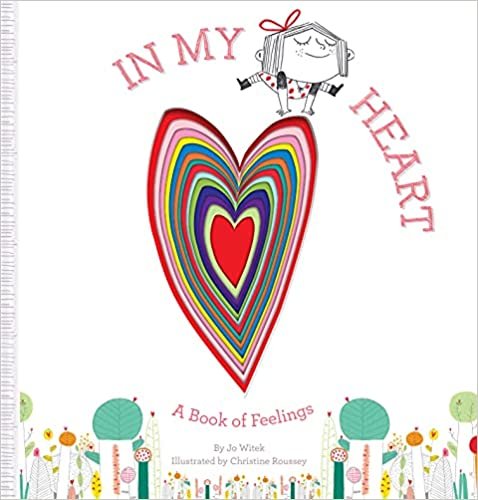
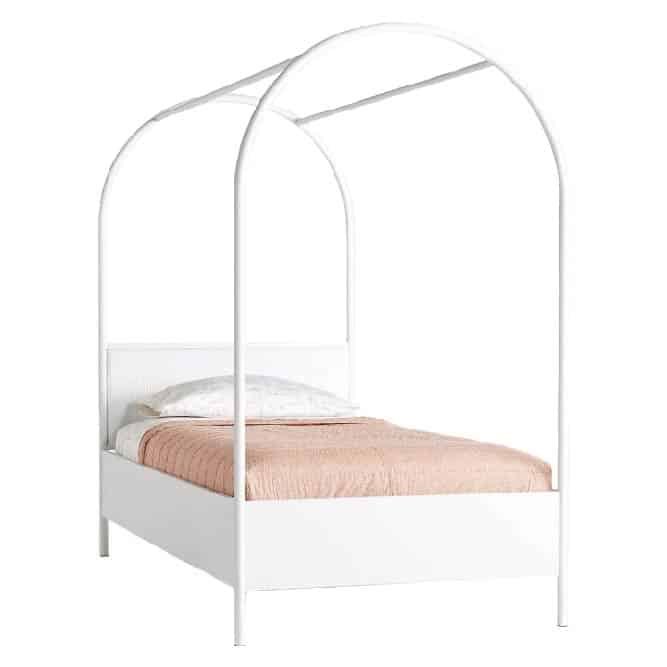
THE JANUARY EDIT: FAVOURITE PICKS OF THE MONTH
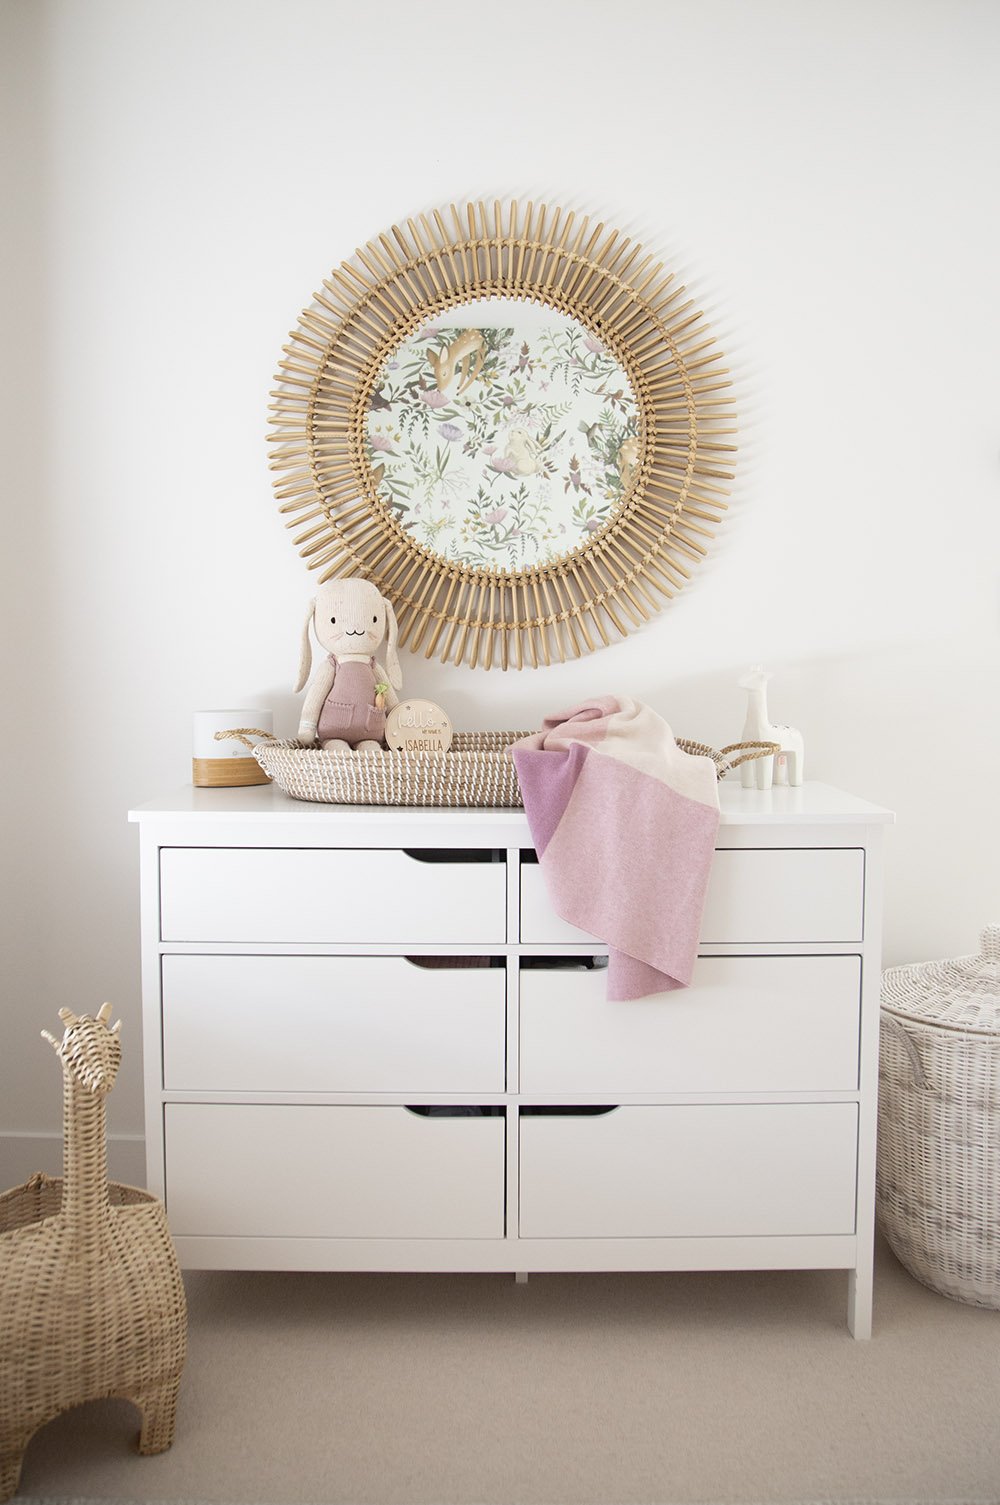
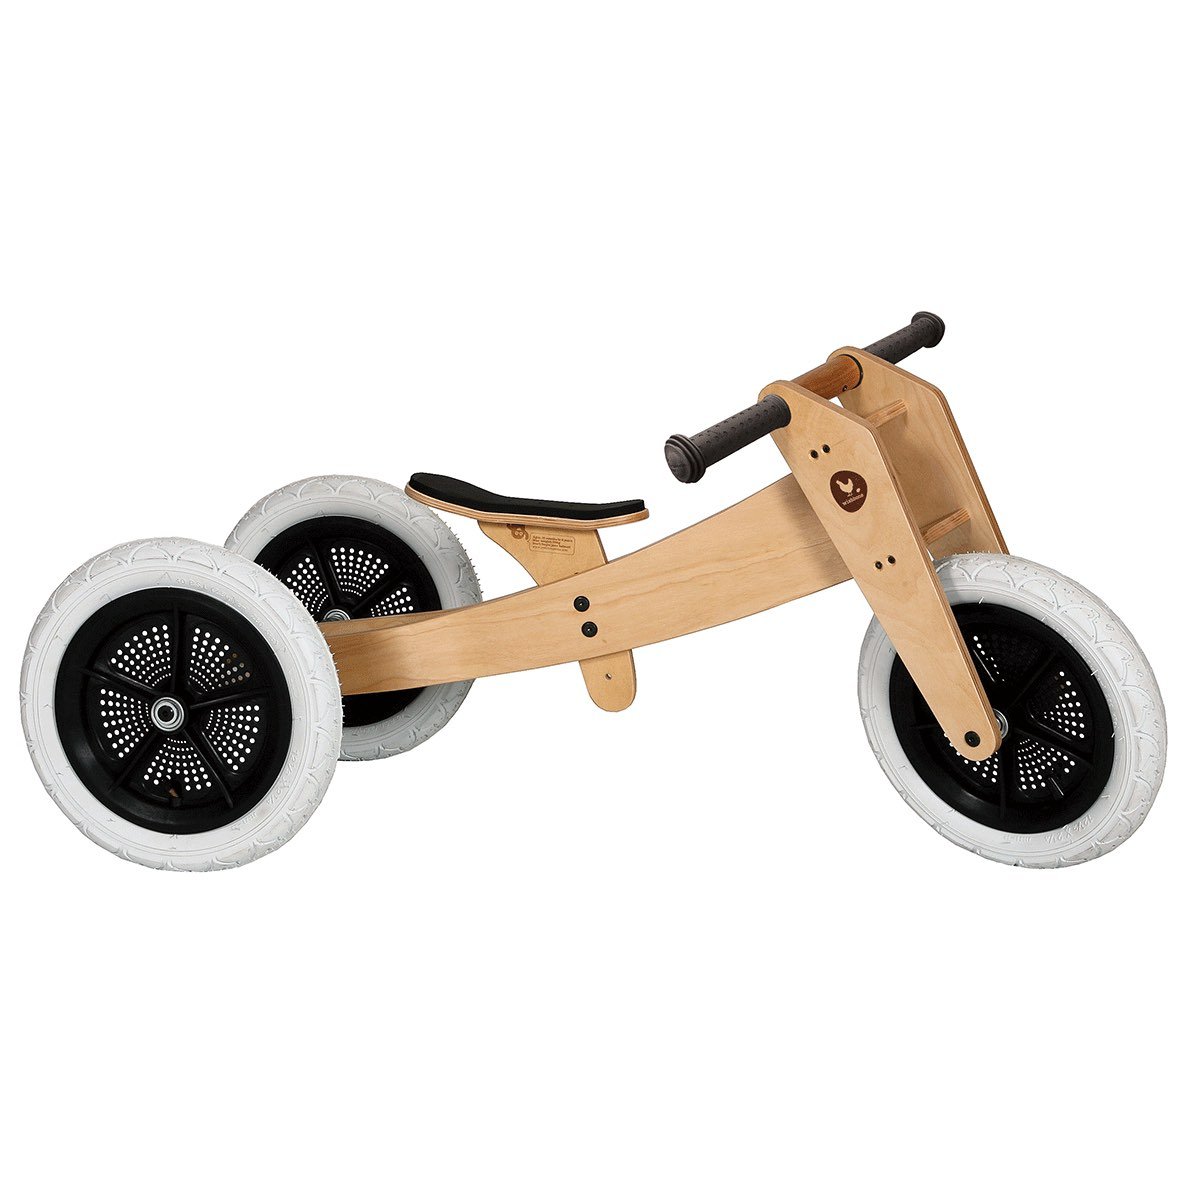
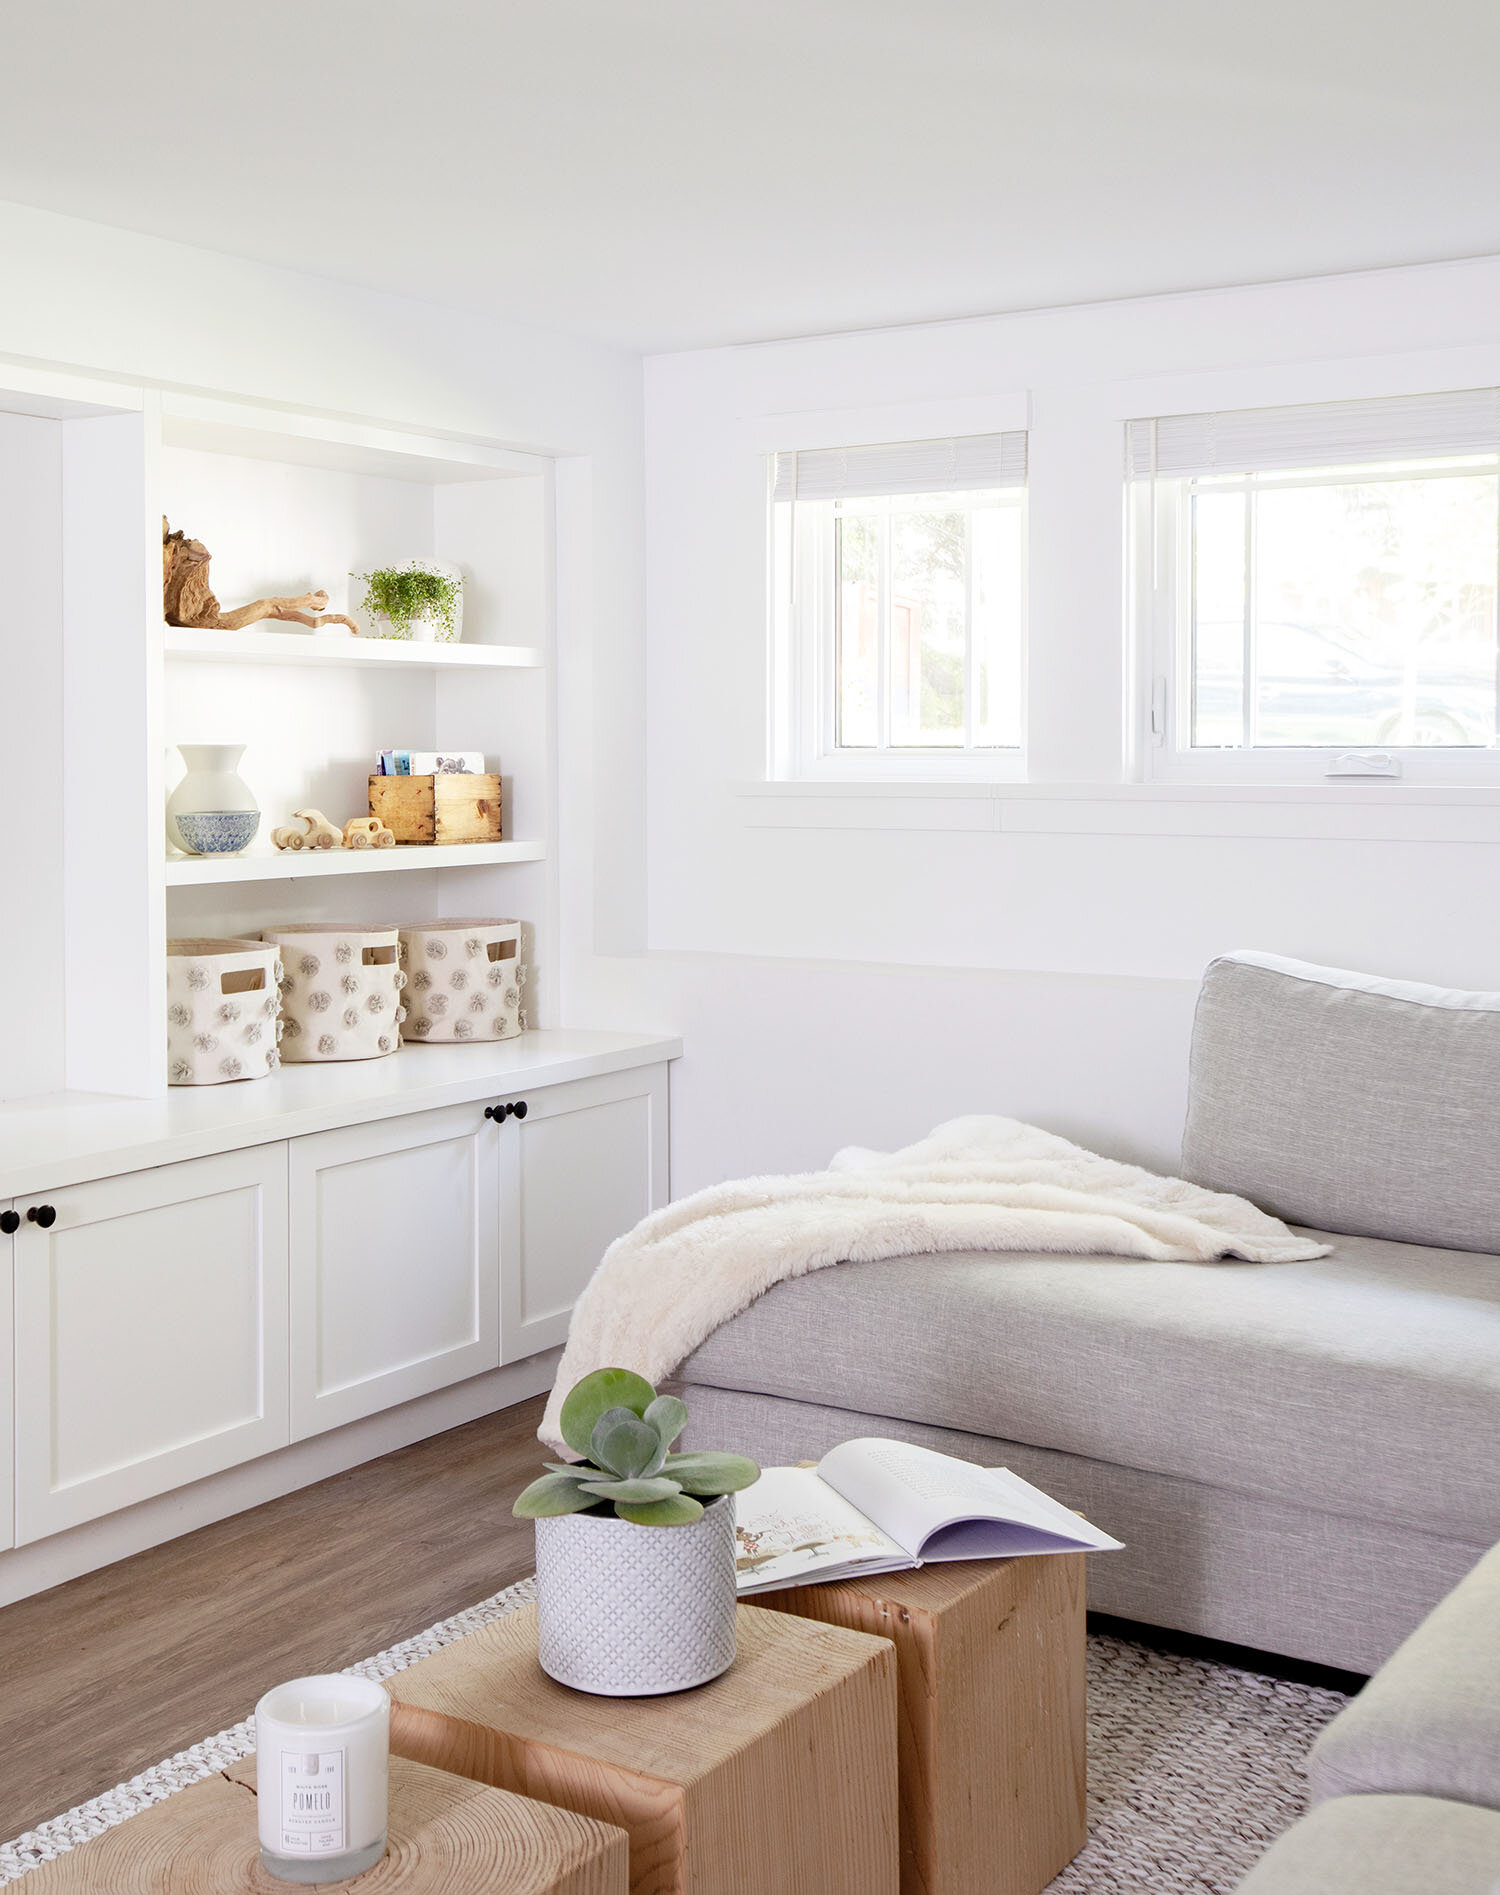
After the cozy holiday season, a good refresh in January gives room for the newness and positive outlook that the new year brings. Whether you are living in a small apartment or a spacious house, organization is on all of our minds. Cue the theme for this months picks: items to help organize (plus this first photo is a sneak peek at a new nursery project coming next week)!
SHOP THE PICKS!
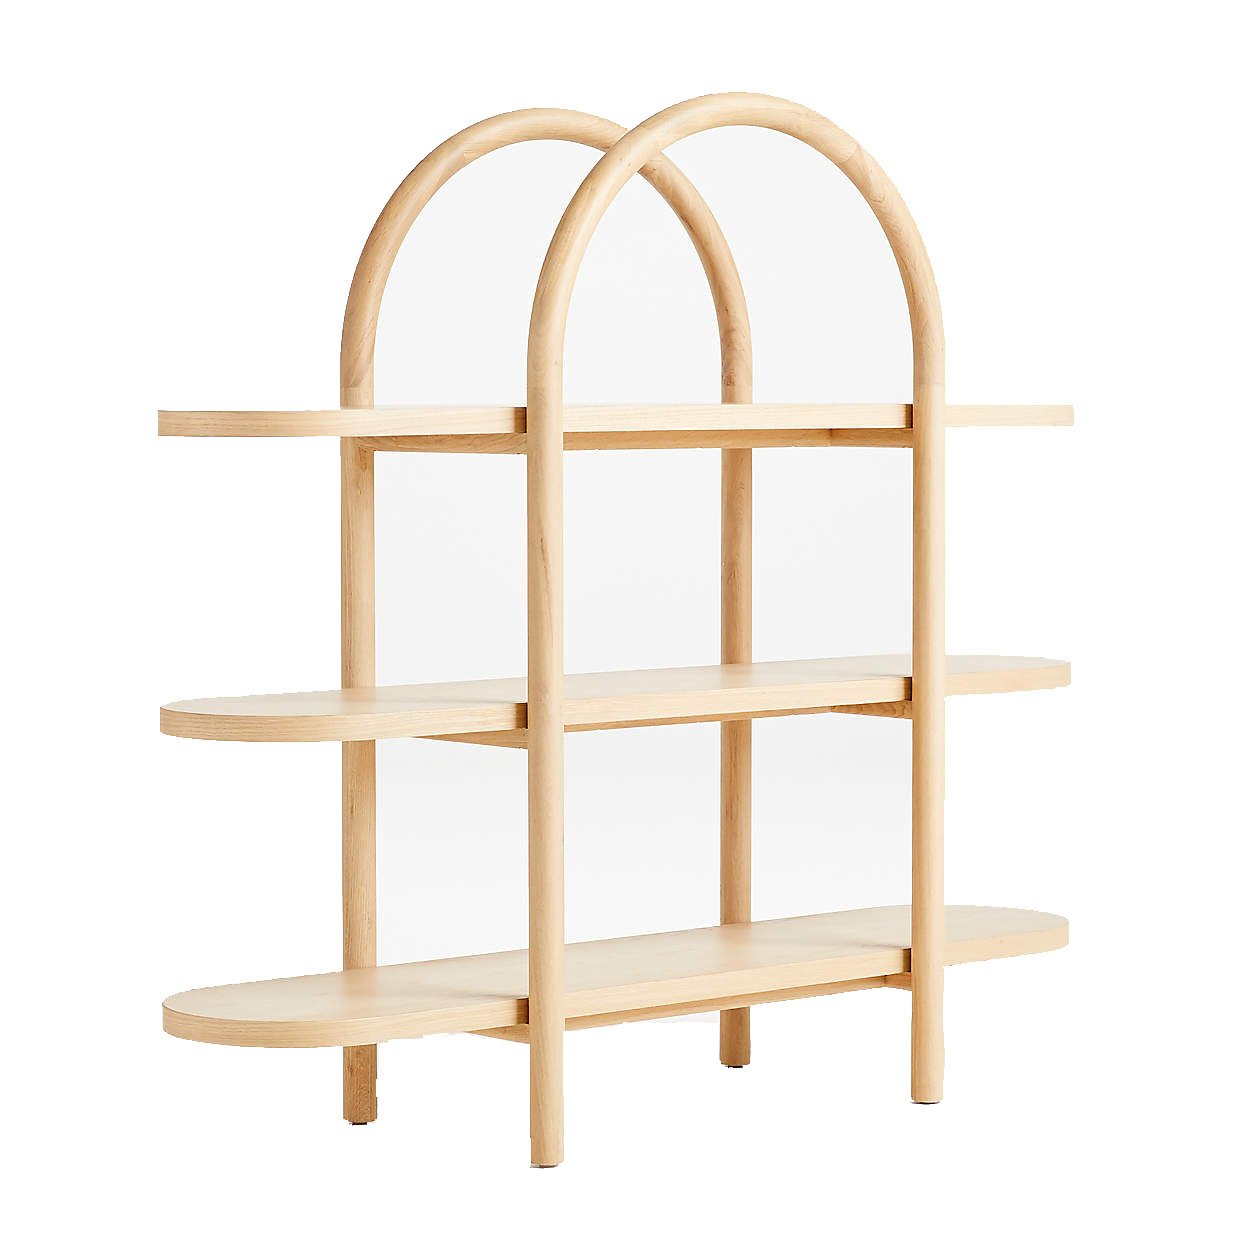
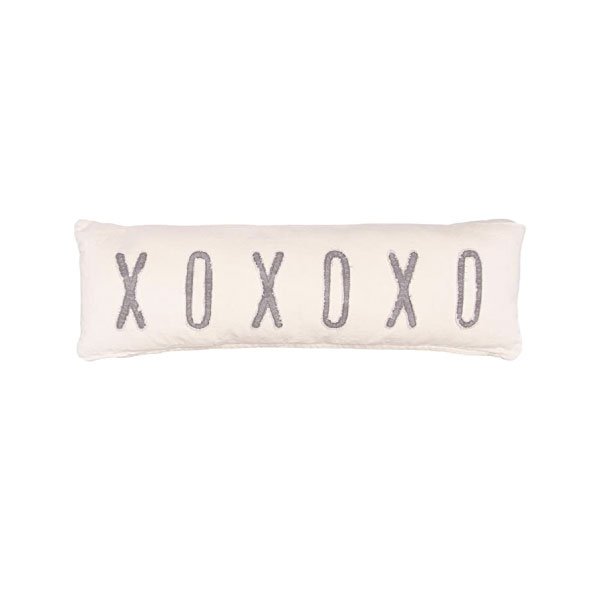
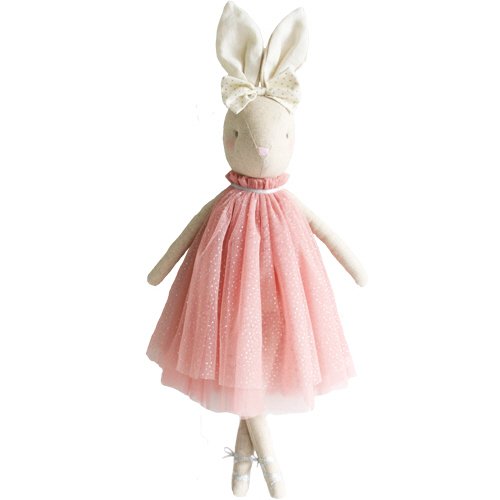
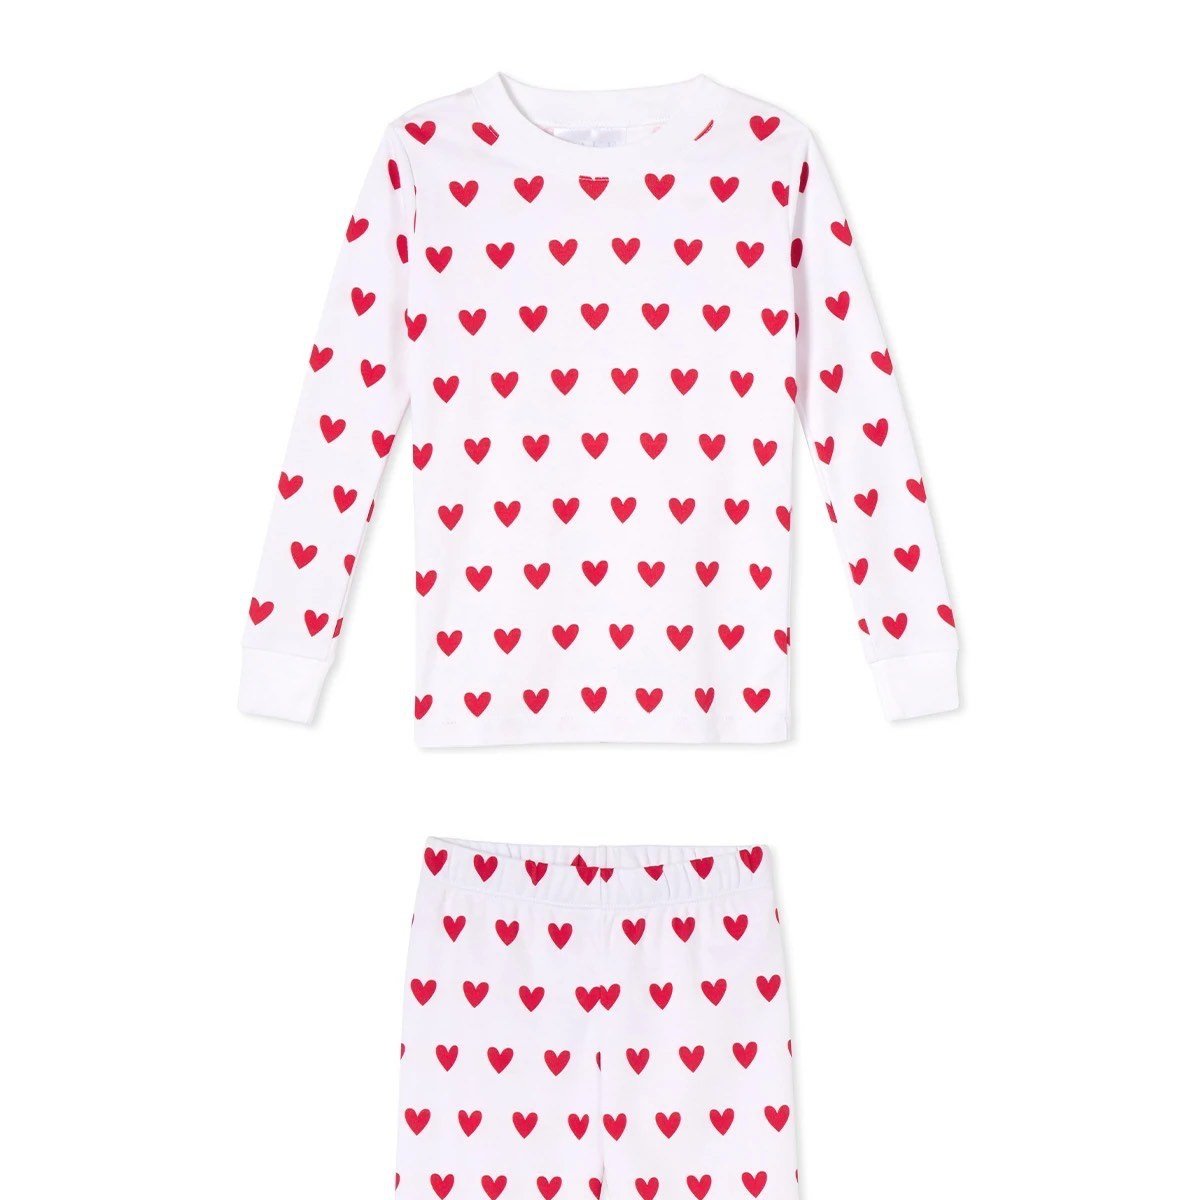
THE FEBRUARY EDIT: FAVOURITE FINDS OF THE MONTH
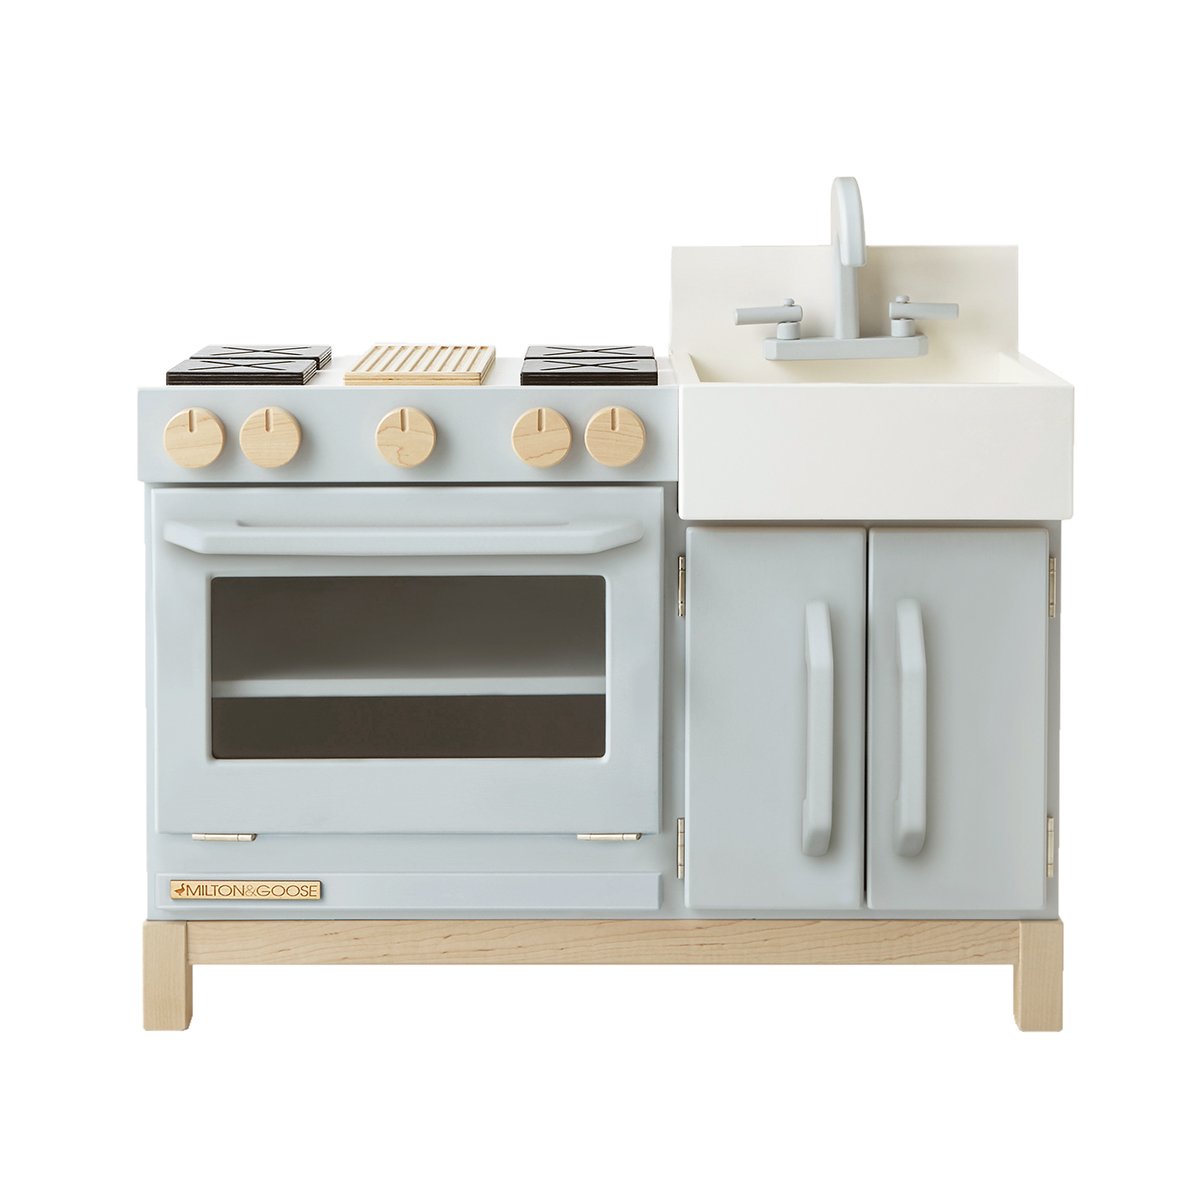
How are we already at February?! Wow. Somehow January flew by in a flash and here we are. In Vancouver we’ve already enjoyed a couple of days that feel just-a-little-bit like Spring. I’m dreaming anyway. This month we’re rounding up favourites for the month of love alongside a few picks that hint at the coming of Spring.
SHOP THE PICKS!
HOW TO CREATE A SCHOOL MEMORY BOX!
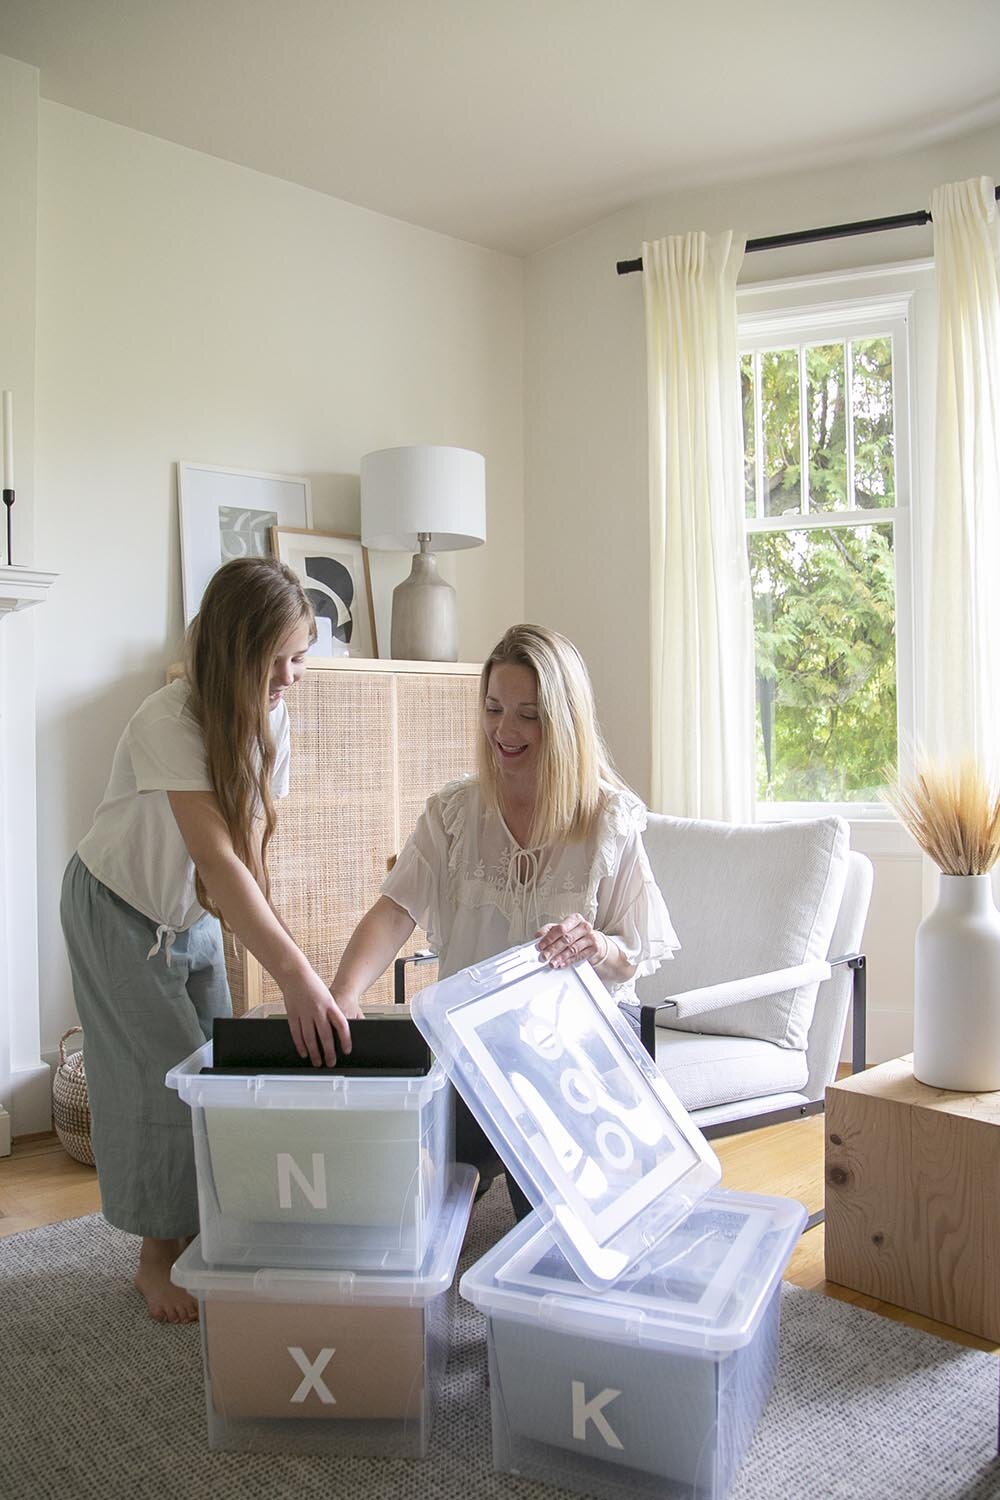
I can hardly believe that we are more than halfway through September and that the school year is well underway. I love a fresh start and I always feel like September is the ideal opportunity for a reset. It’s the perfect chance to start a good organization project and today, I’m excited to share a project that I put together over the summer: school memory boxes for our kids! I really wanted to start this year with a place for all of their art, report cards, work we’ve kept and awards they’ve earned in one happy place. This school memory box is something I have only just discovered is ‘a thing’ and even though our kids are 8 and 10, I approached this project with the same motto I approach life…it’s never too late!

SHOP THE POST…
While this is definitely not the least expensive project I’ve done, I think it’s well worth it to have a memory box that you can hand your children later in life that documents their school years in a really practical way.

Ready to make your own school memory box? Let me walk you through how I did it.
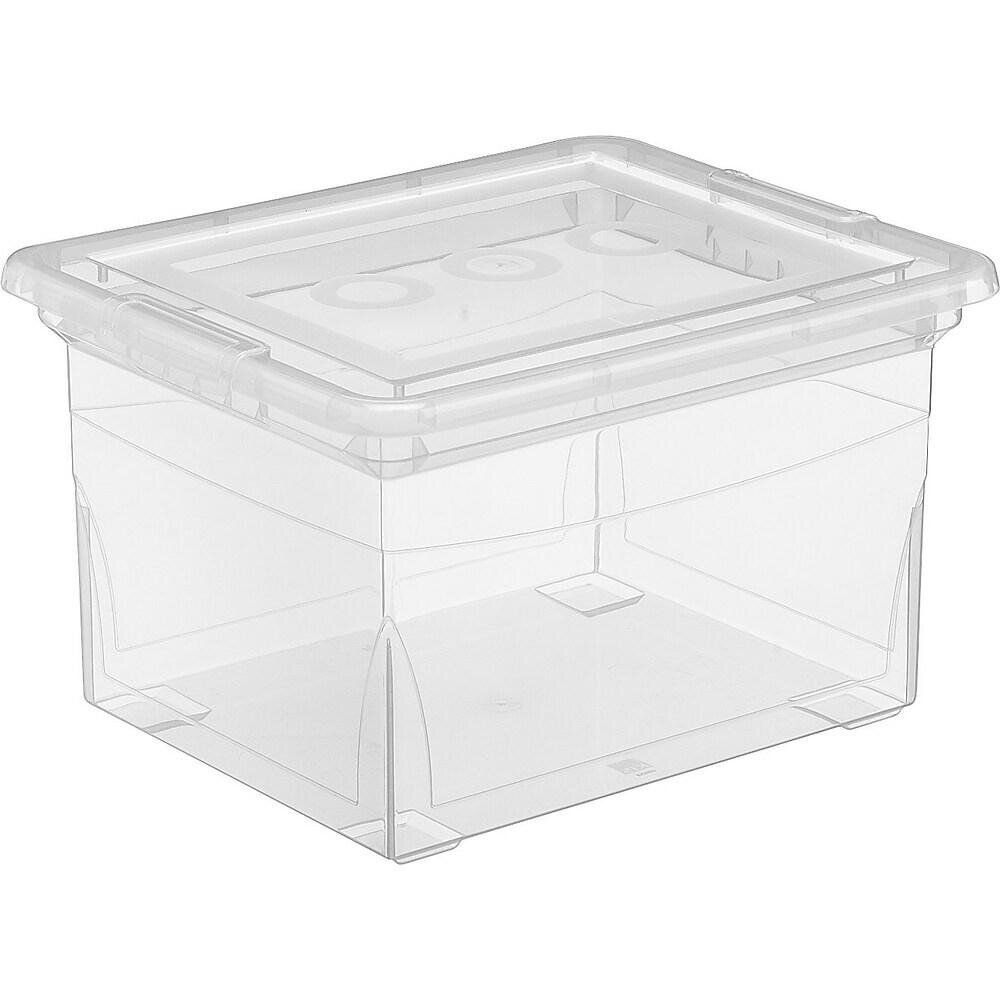
Order a letter file box. I ordered this clear box, but any hanging file box will work.
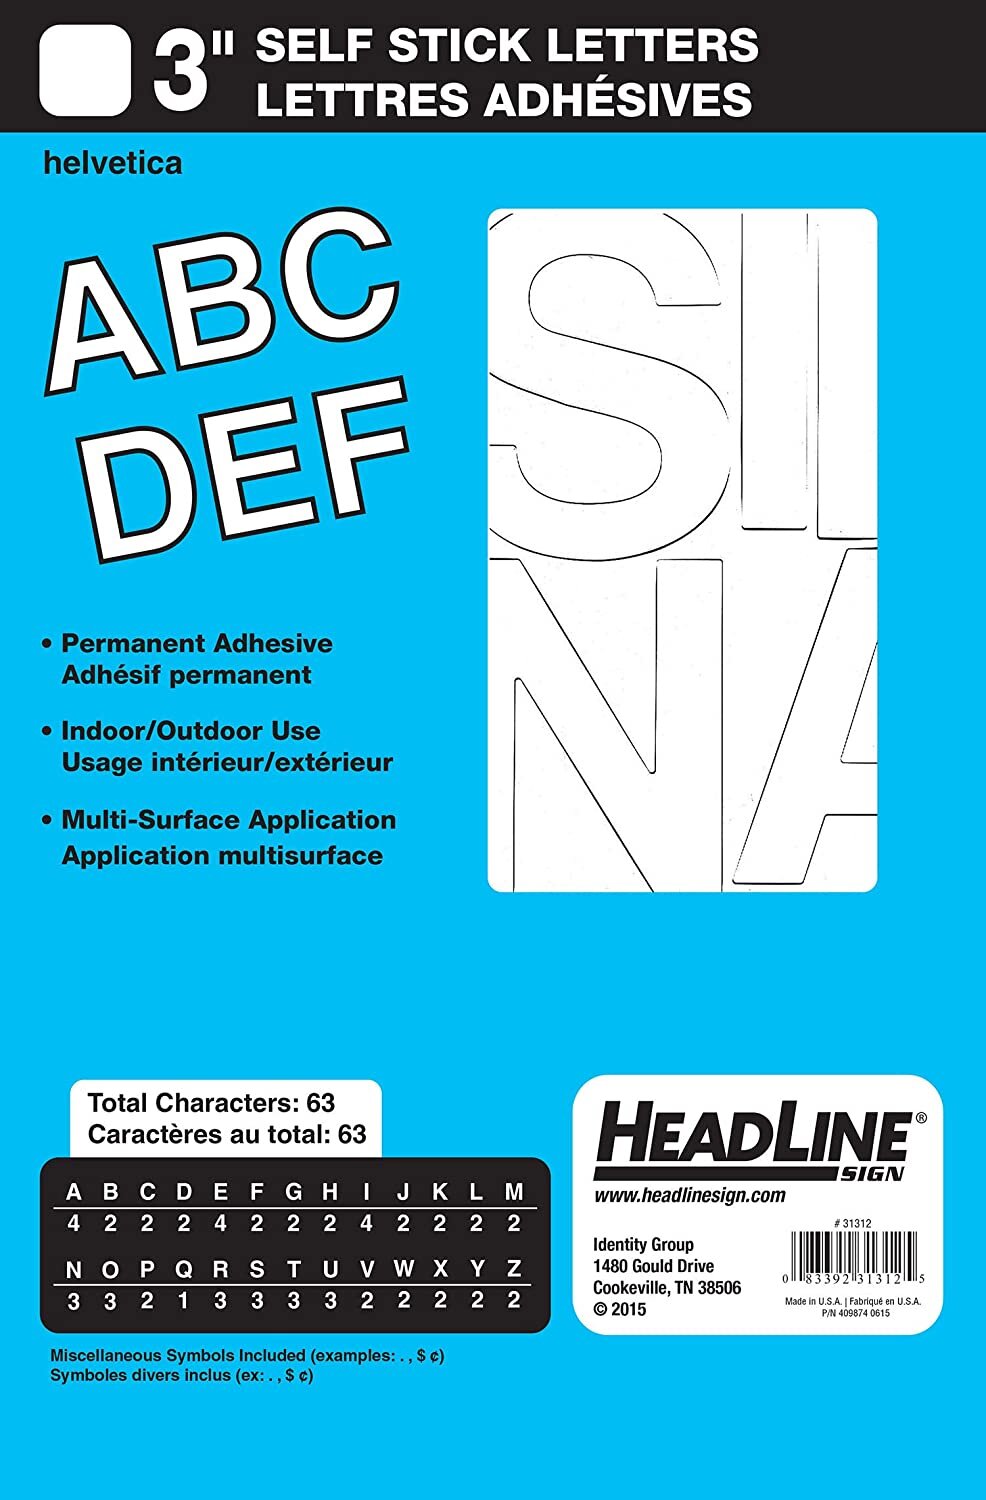
To personalize the box, use decals for either their initial or name. These white decals worked well for our kids’ boxes!
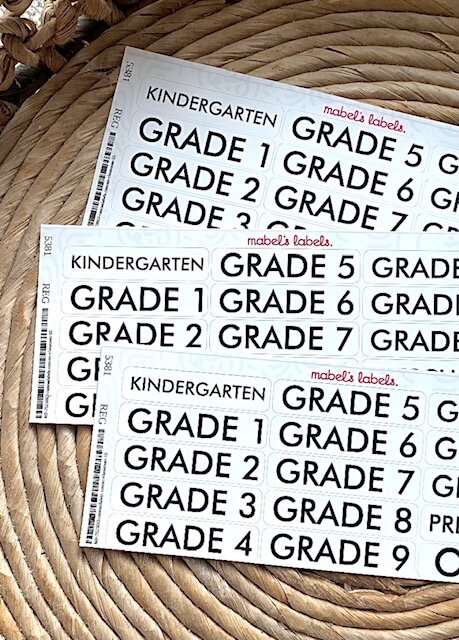
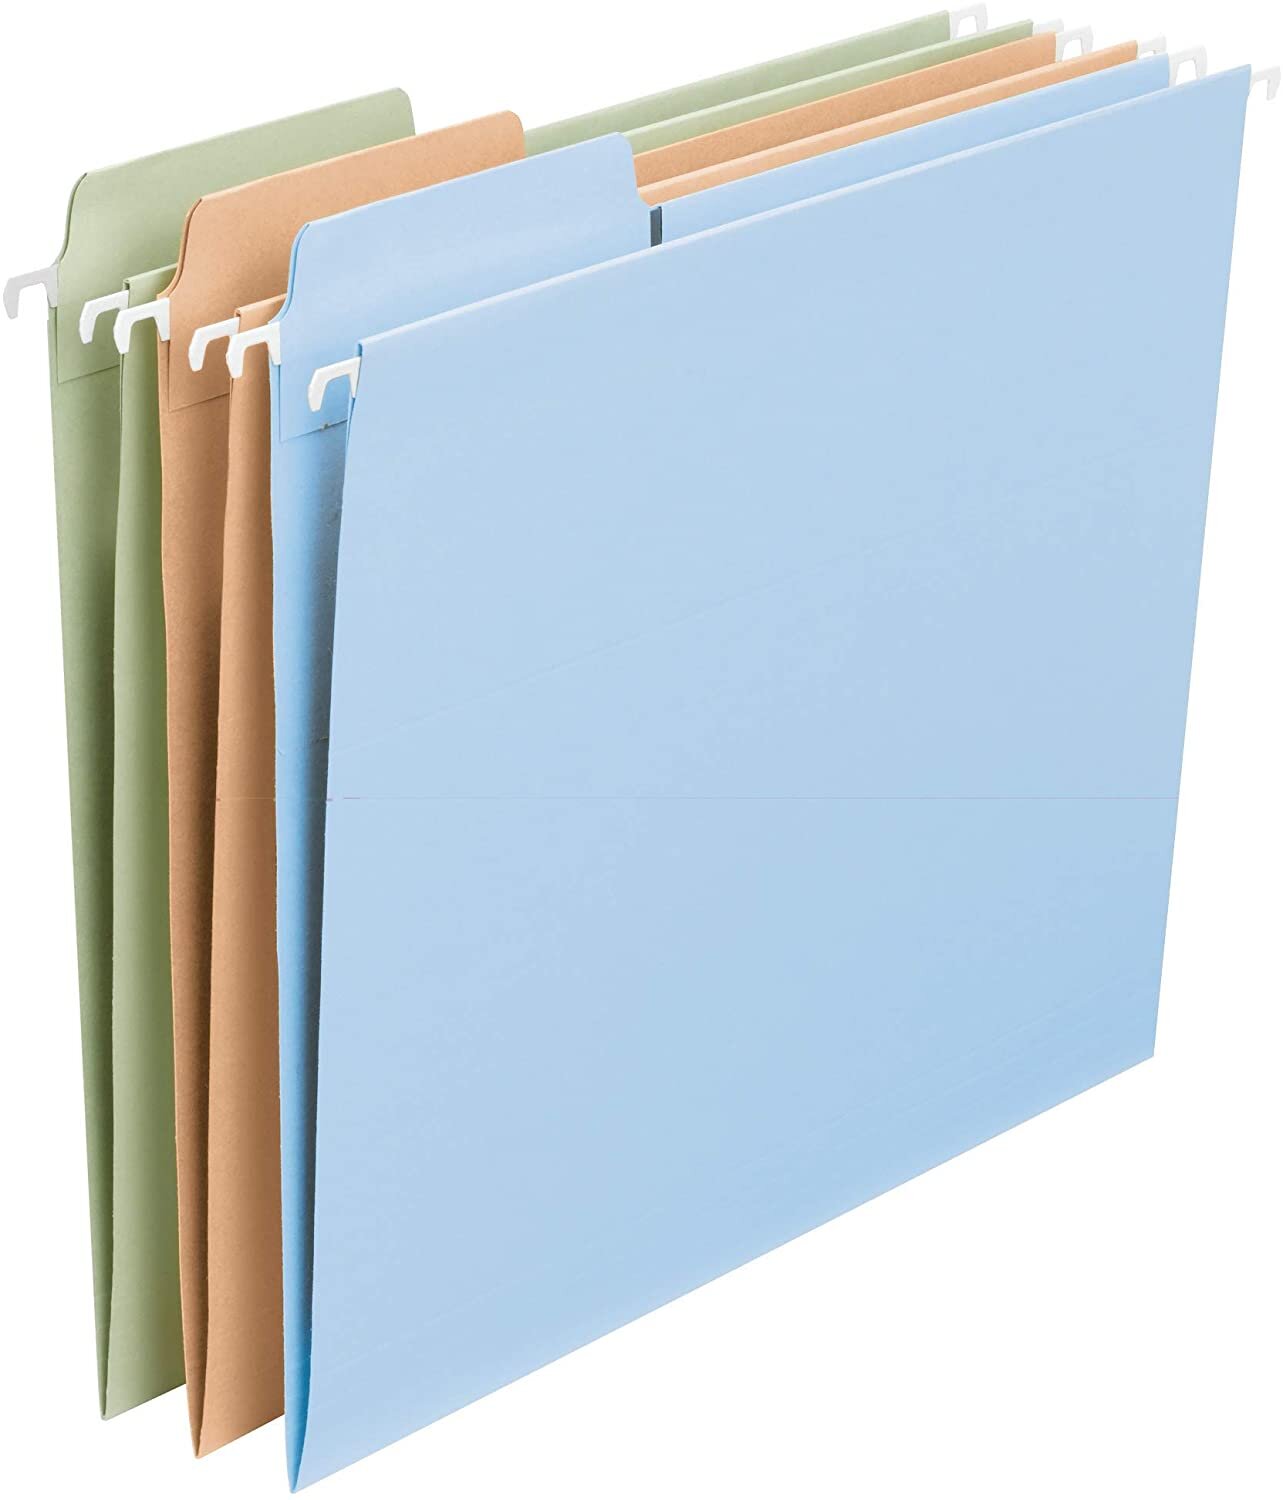
Choose letter-size files WITH tabs; I loved that these files had 3 different colours for our 3 kids!
Order labels for each category/grade that you want: I used Mabels Labels and loved that I could customize them!
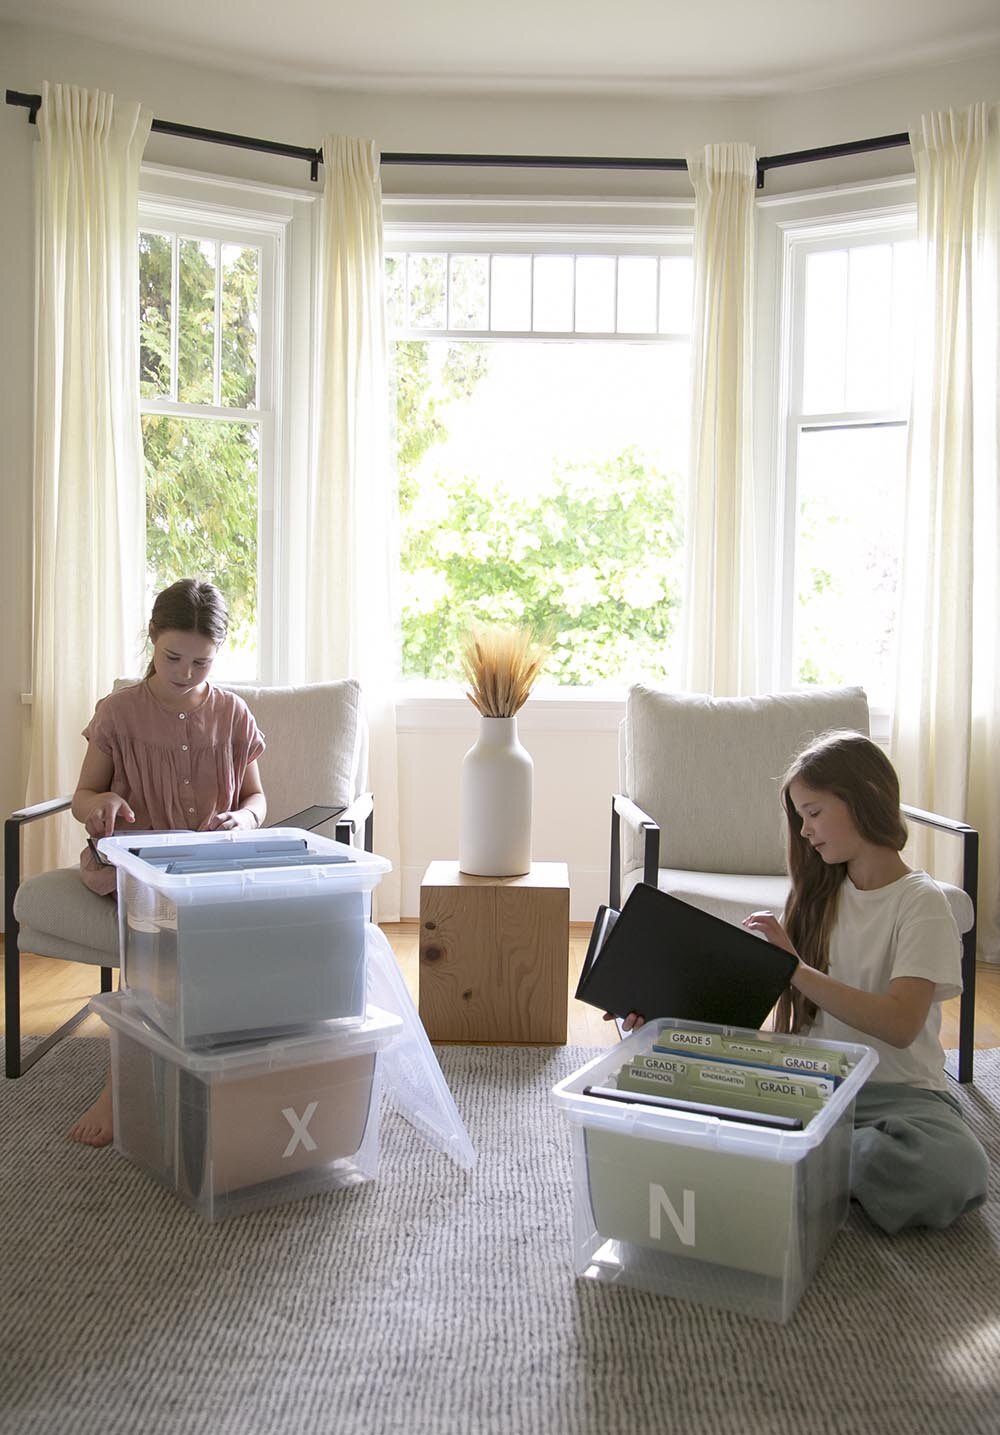


If you end up doing this project, I’d love to see! Tag #WDschoolmemorybox on Instagram and I’ll share them as they come in!
FREE PRINTABLE: EARTH DAY!
Did you know that Earth Day is next week, Thursday April 22nd? We love to celebrate Earth Day with our kids and wanted to offer a fun way for you to acknowledge the day too! We usually pull out some of our favourite books about our beautiful earth, talk about how we can take care of it and this year, together with Lana from Lana’s Shop (go check out her gorgeous watercolour illustrations!), we’ve created a word search for you & your kids to enjoy! Get the free printable below.

SHOP THIS POST…


DOWNLOAD THE EARTH DAY PRINTABLE HERE:

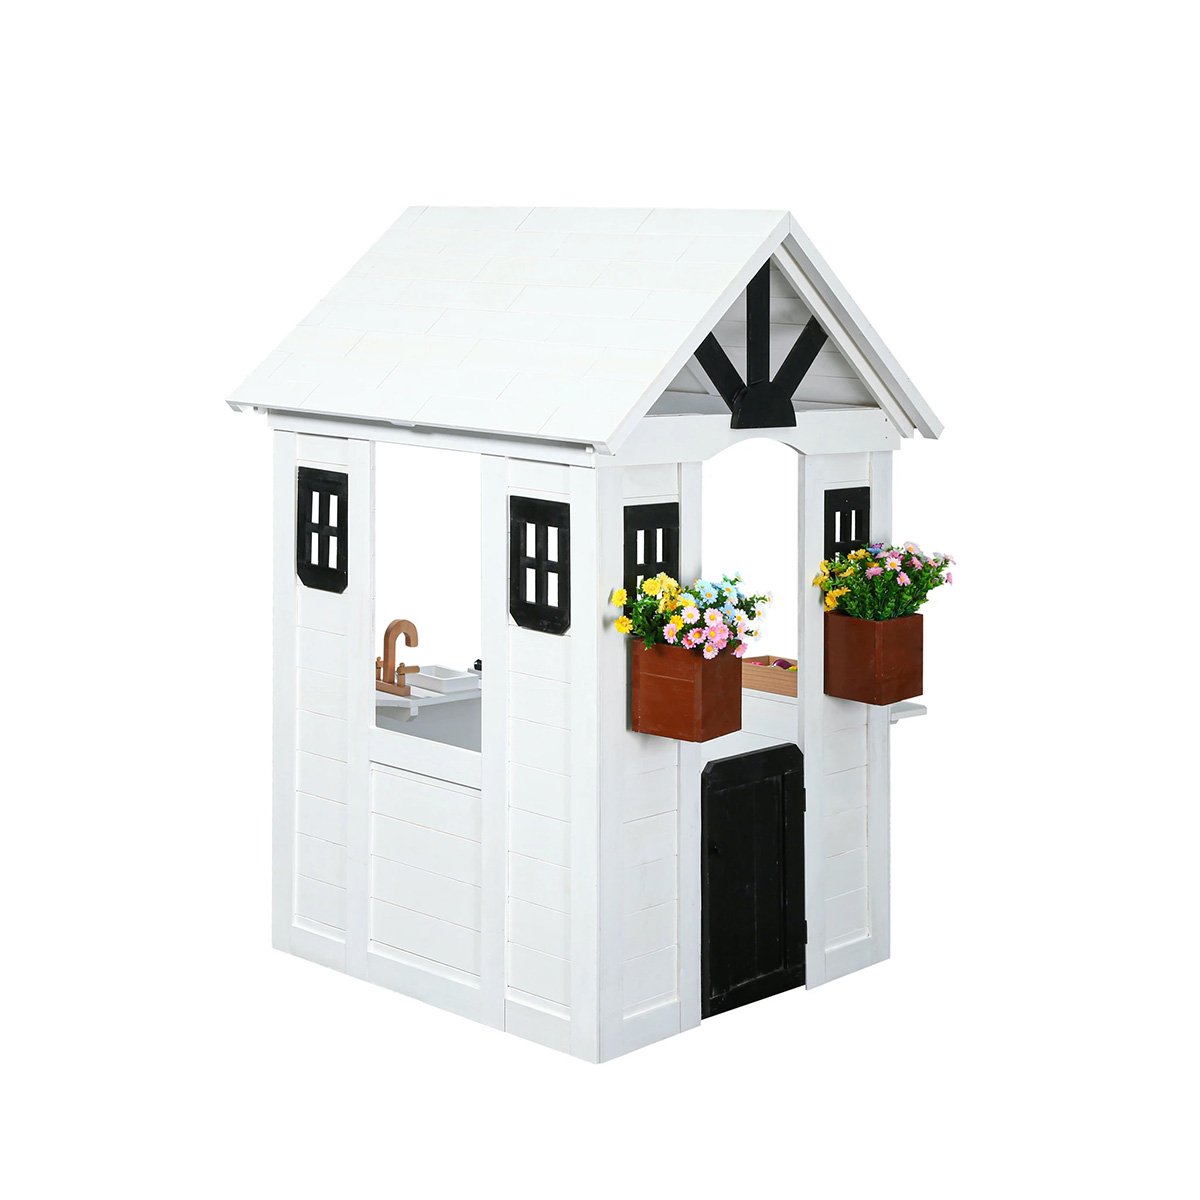
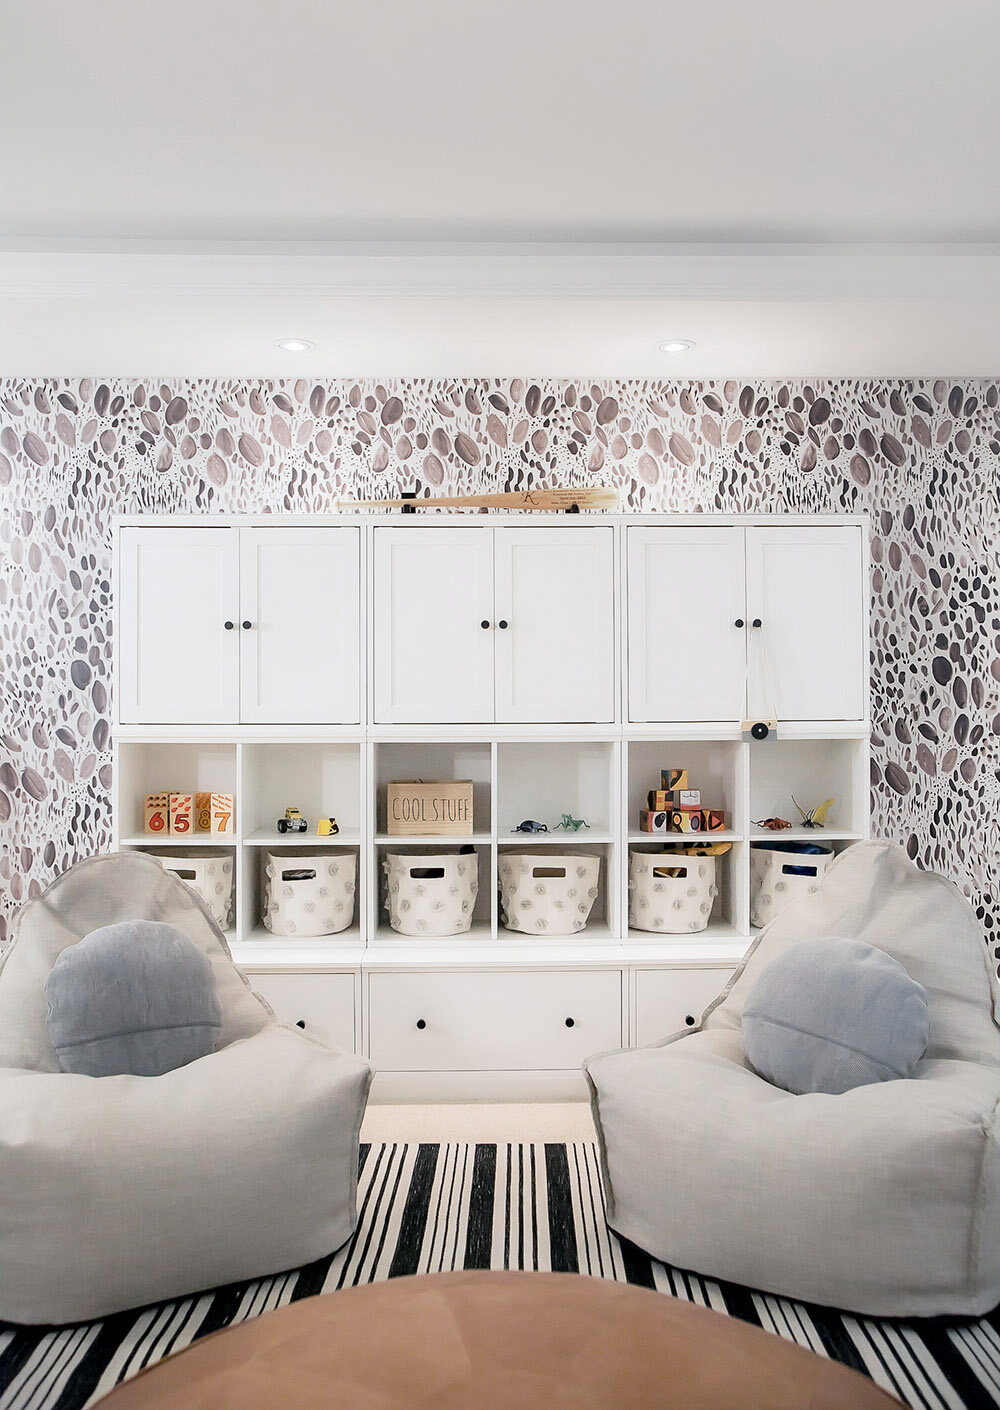
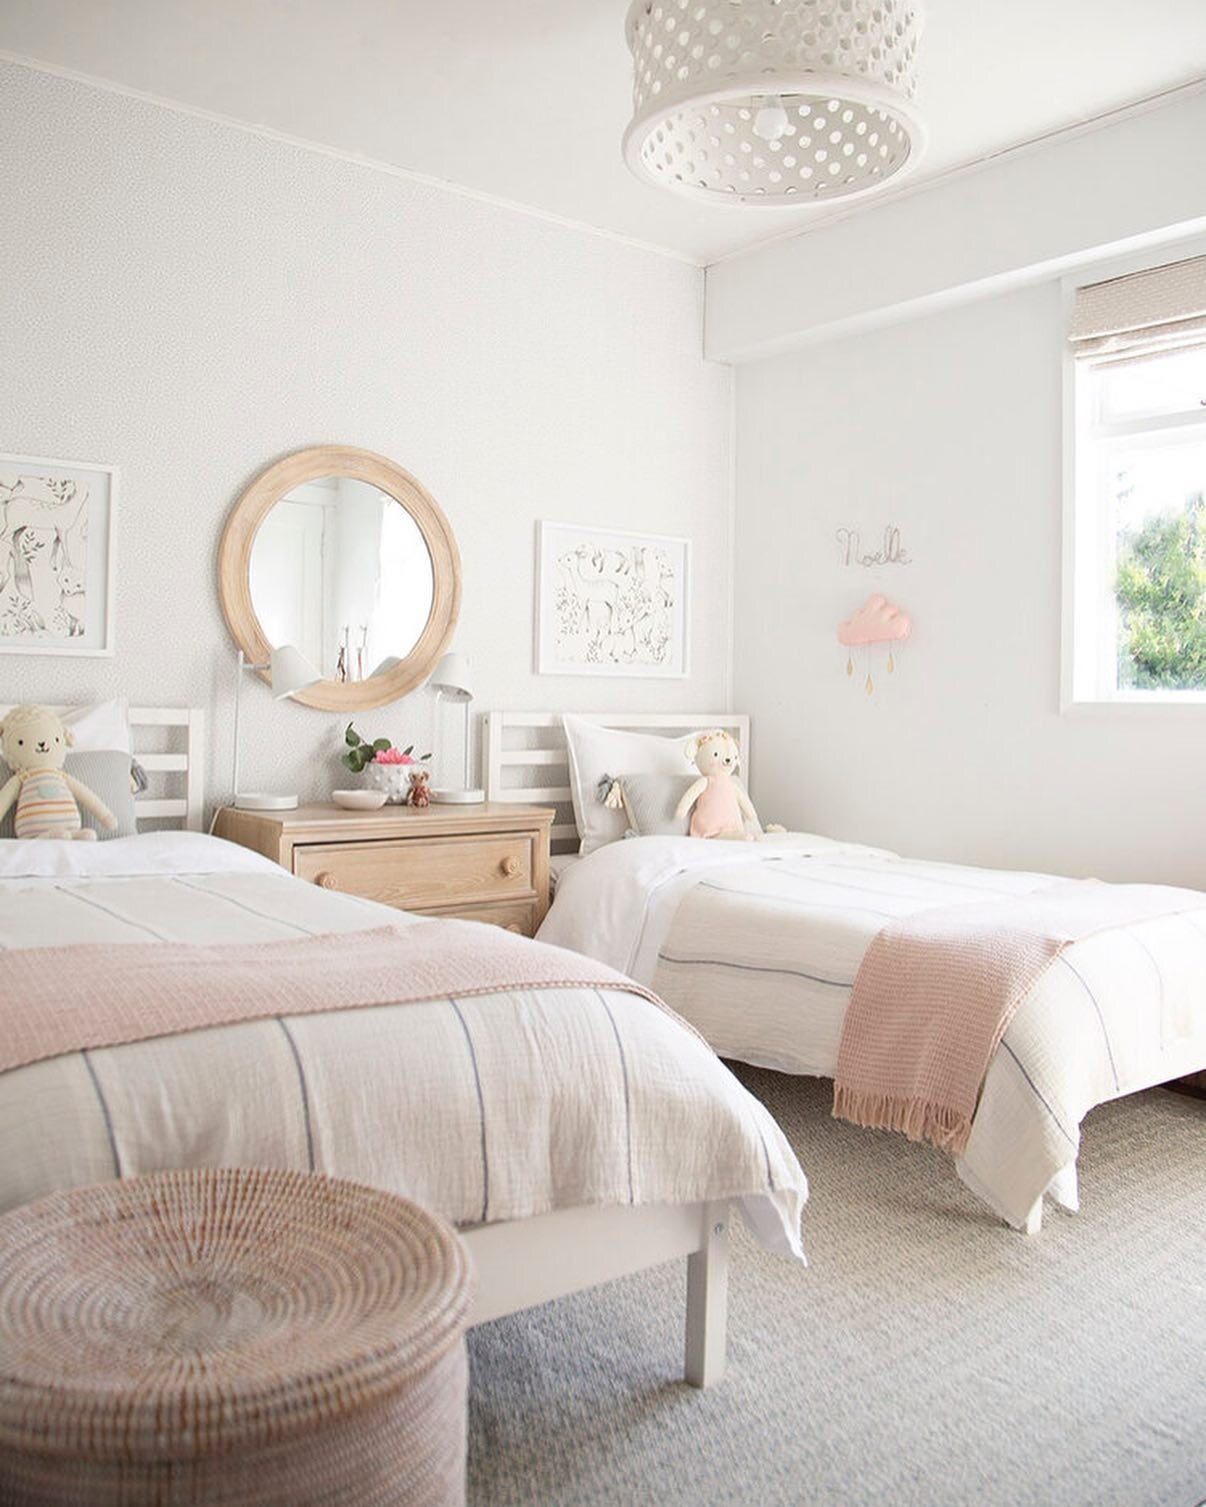
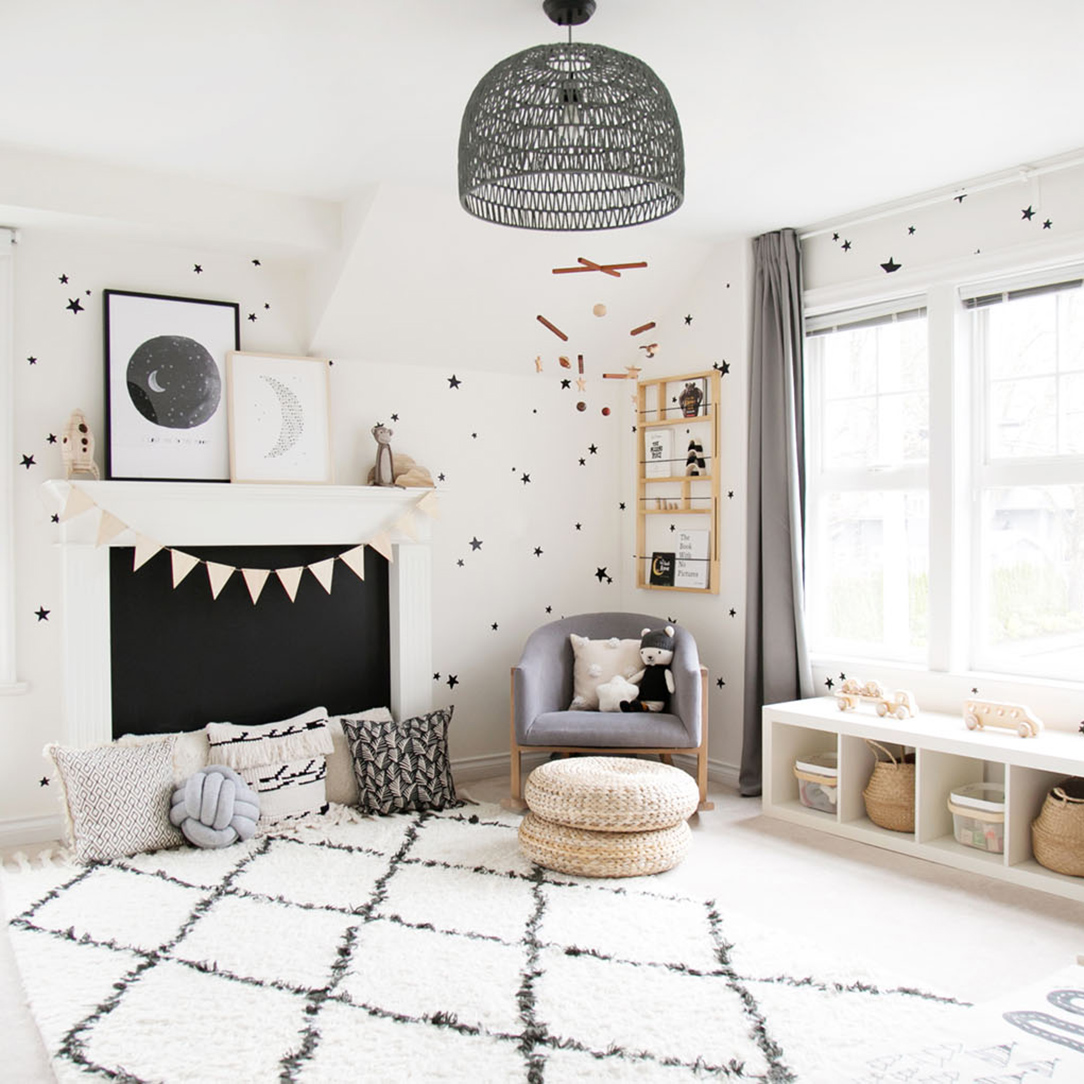
ORGANIZING KIDS SPACES: HOW TO GET STARTED
2021 has officially begun and that means new routines and fresh starts for many. I love hitting the reset button at this time of year and setting plans in place for the year to come. Many of those plans revolve around getting more organized (at home and in life!) and today, we are sharing how to get started in organizing kids play items.
Bright & Fresh Playroom Project
As we all know, life with kids can become messy quickly! When you scroll Instagram or Pinterest, it can be easy to feel overwhelmed by the perfect images you see of all kids toys put away and playrooms that look unrealistically clean. Spoiler alert: many are! Designers and bloggers are often shooting rooms before the children have ever played in them and let’s be real, sometimes unsightly toys are pushed out of the frame just for the photo!
While those things are true, we have found some key ways to keep toys, crafts and books organized.
STEP 1: WHERE TO START

Start with the biggest toys first!
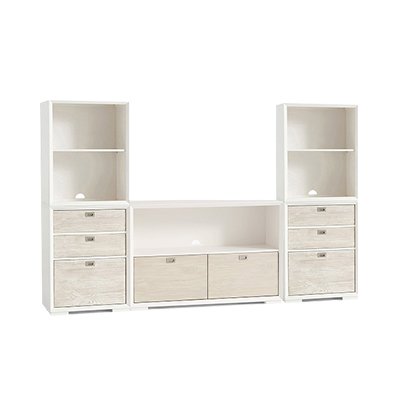
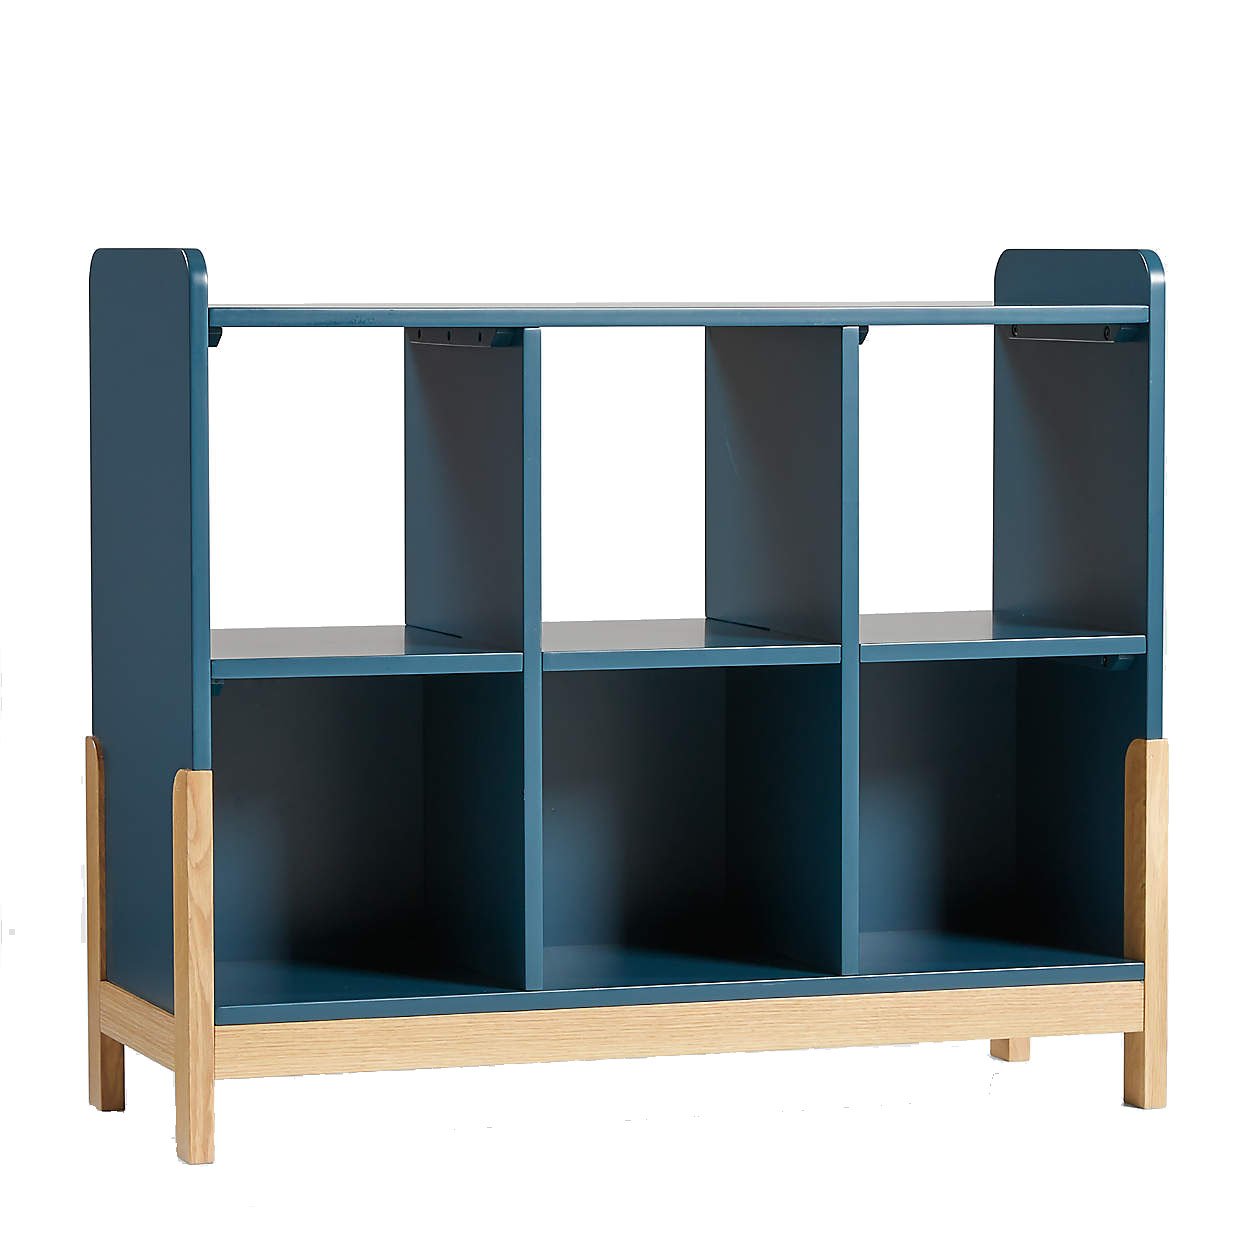
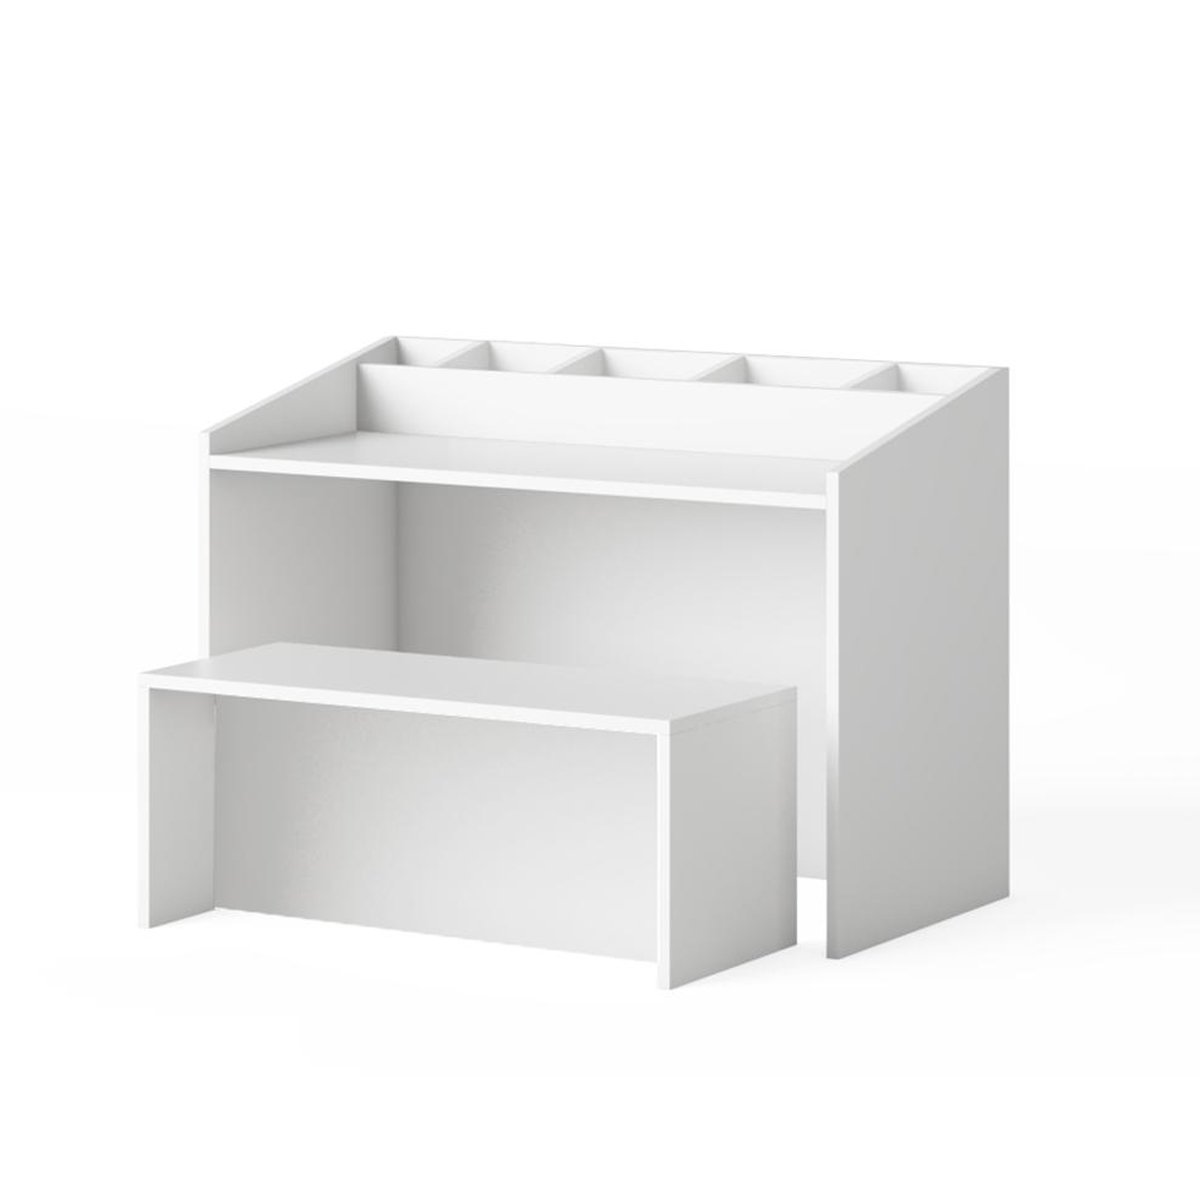
While built-in storage is the ultimate dream (see above!), custom storage (especially in kids’ spaces) is certainly not in everyone’s budget. Think about what type of closed storage you already have. Is there a closet near where your kids’ play? Could you keep your child’s favourite cruiser vehicle there and pull it out when needed? Use this to store big items if you can.
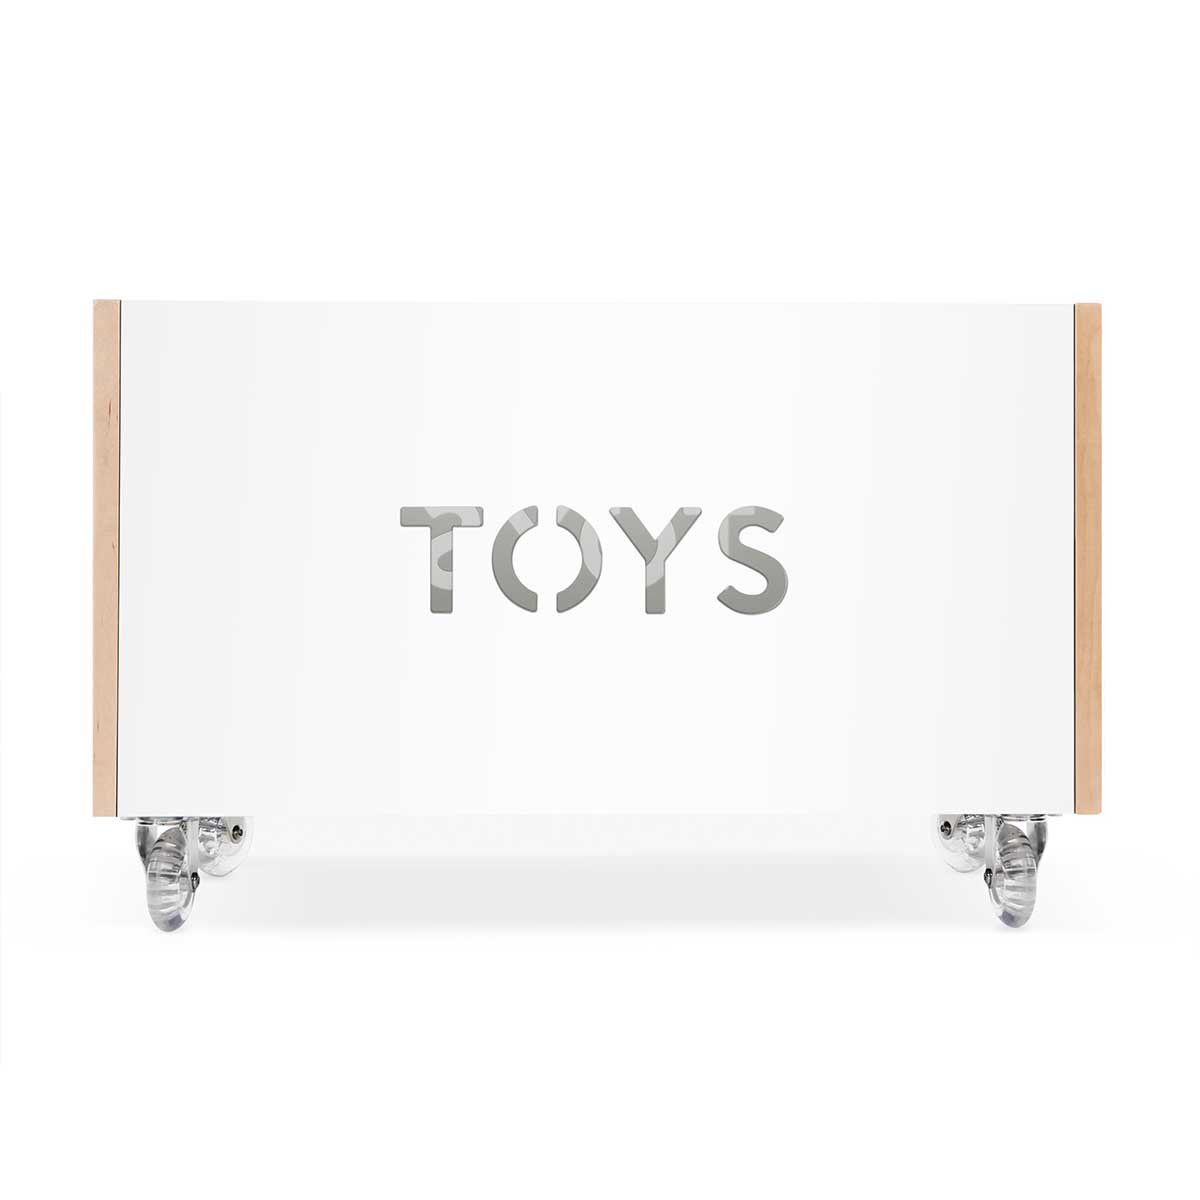
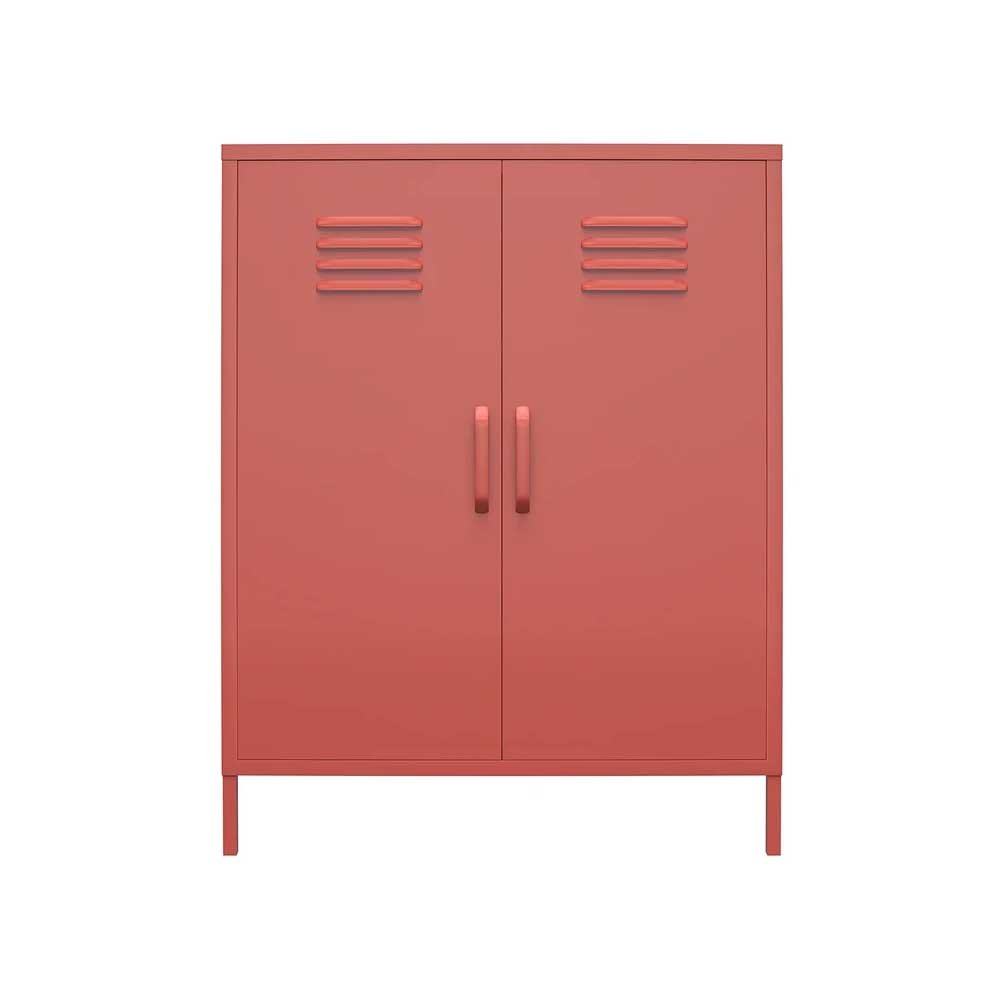
If not, there are some excellent ready made choices, like this storage unit, that house a large number of toys and crafts, and is streamlined and versatile enough to suit many different families and their needs. This unit is particularly great to have when kids are young as you can keep craft items up high (and out of reach) and use the surface on top of the drawers as a play area for toddlers to pull up on. To add a custom touch, consider changing the handles like we did in Kase’s playroom project, below.
STEP 2: NEXT…
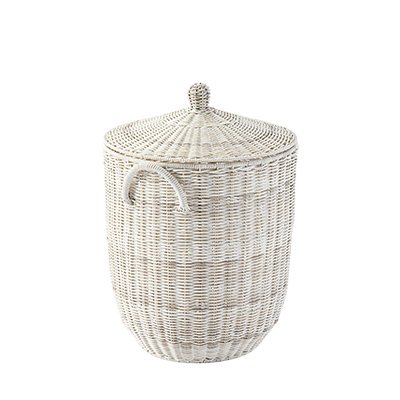
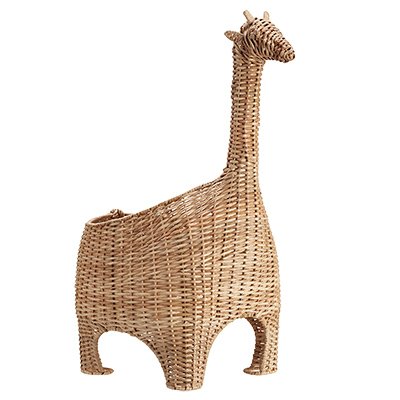
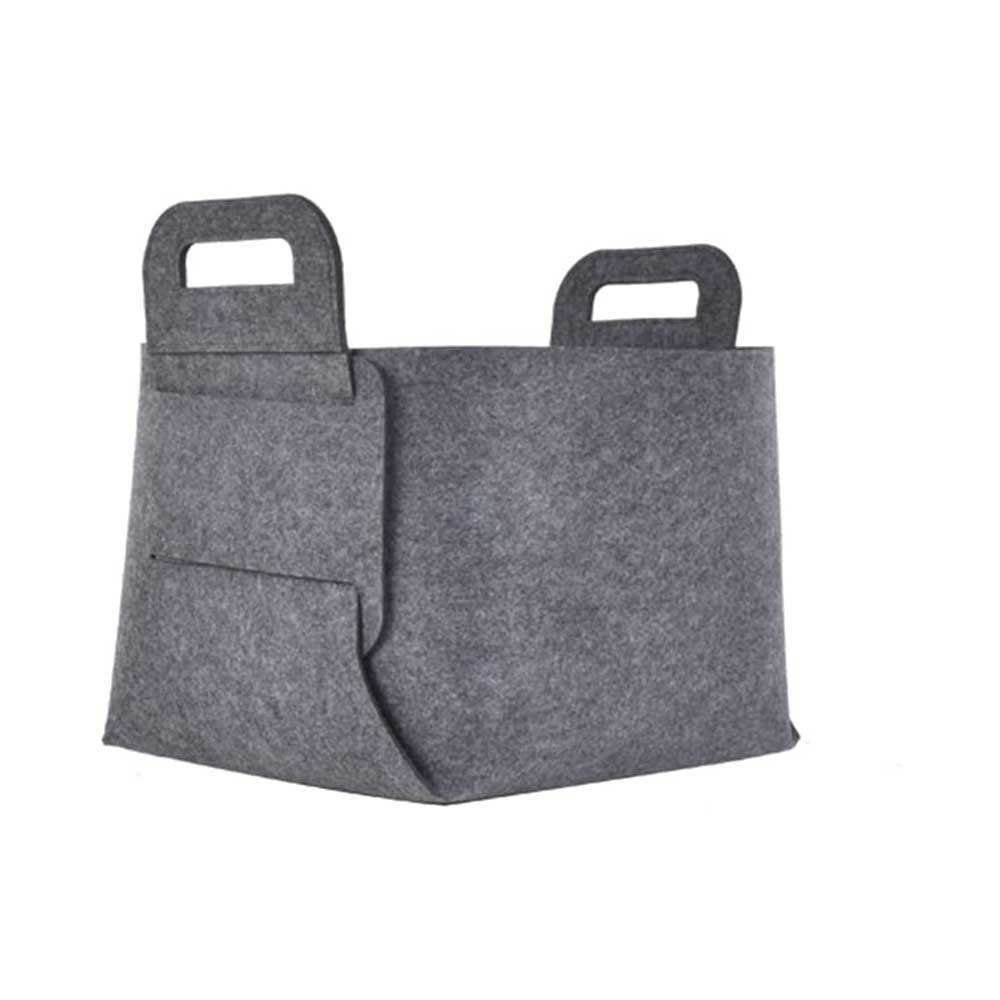
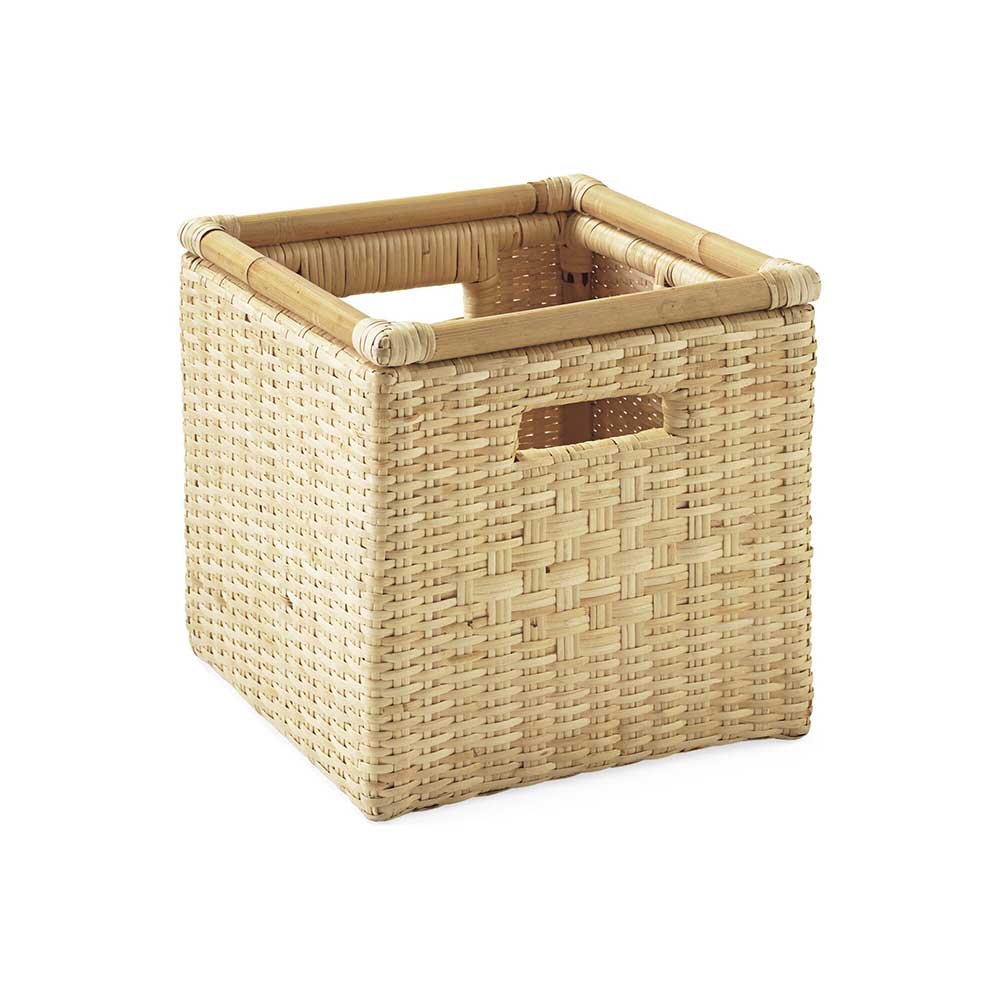
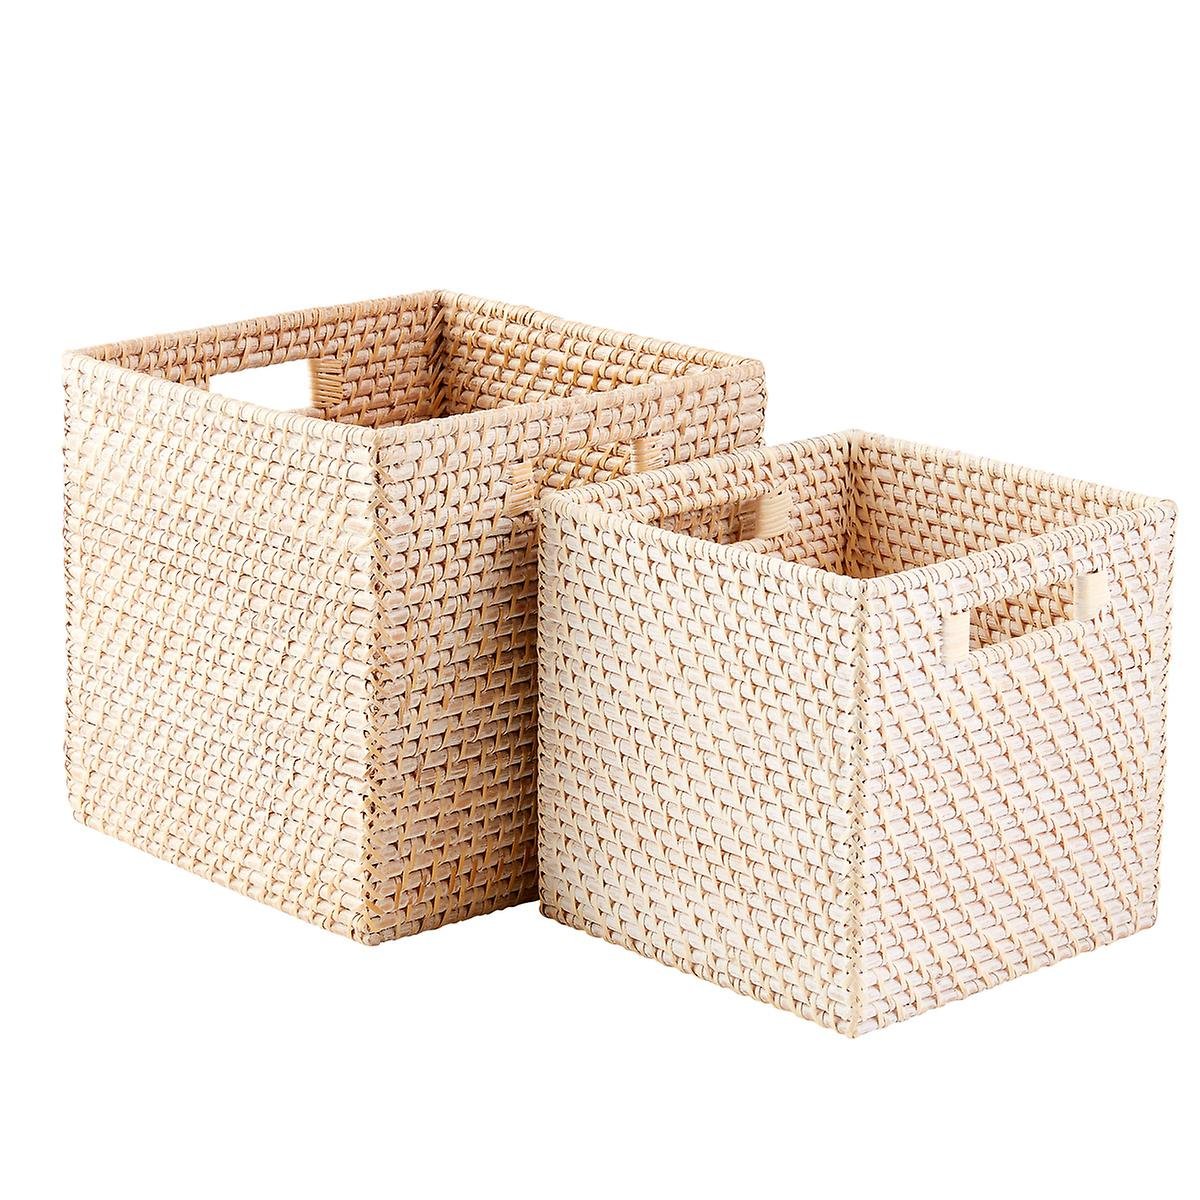
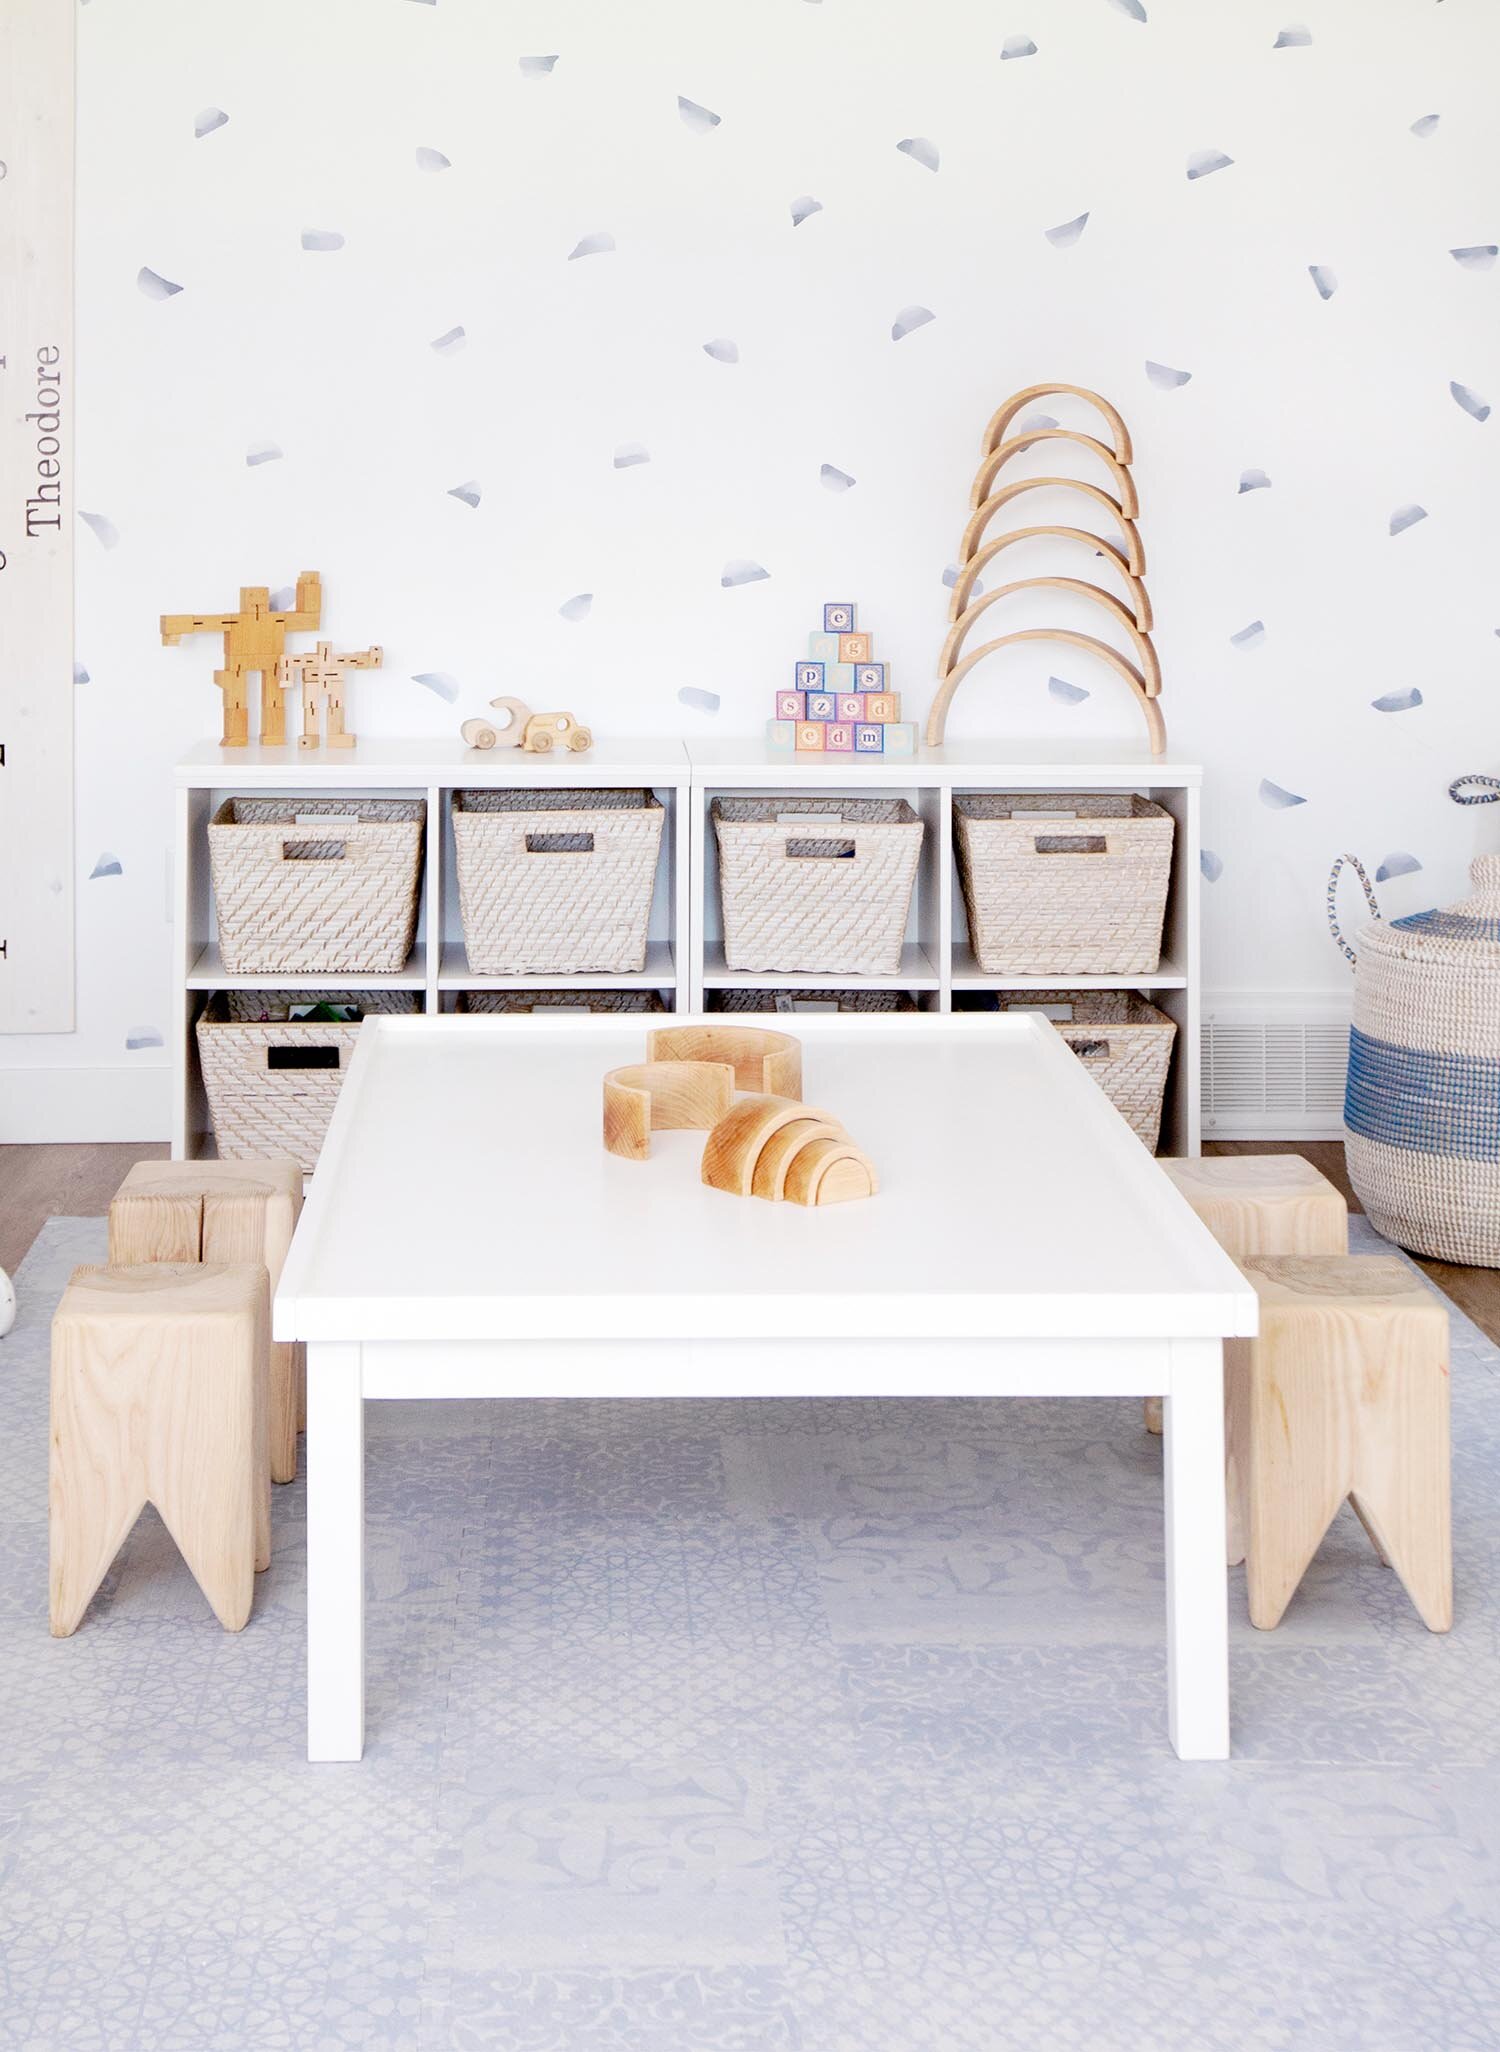
From there, think medium sized toys. Play farms, toy towers, puzzles, games or any plastic toy that you’d rather not view after the kids are in bed, I like to put in the cupboard sections in the unit above (or similar) or big baskets. Our favourite baskets come in 3 sizes, with the large one fitting a giant fire engine toy amongst other things. Size large is HUGE, trust me, and also perfect for dozens of stuffed animals that you may prefer not strewn all over the floor. A set of these baskets is so versatile that you can use them for a play space, but they also come in a more neutral colour if you want to incorporate one in your living room (blankets, pillows)or anywhere else in your home (laundry hamper!). I love items that work for a variety of functions like this.

STEP 3: BASKETS & BINS
This next step is all about grouping like items together. Pull out your child’s toys and start to group them. Magnatiles? One bin. Have a set of Paw Patrol figures? Put them together in a basket. Blocks? Another basket. A set of cars? Another. You get the idea. See our post about best baskets and bins for pretty options if you like. Yes, it takes time to separate and organize everything, but once it’s done the first time, it’s much easier to teach your little one to put their toys back in the right place. At first, it will definitely be you picking up the toys and putting them back in their place, but starting this system helps to create some much needed order as kids grow. If you’re lucky enough, you might even have one kiddo who LIKES putting things away in an organized manner. It’s highly possible that you won’t though (there’s a mixed bag over here!) but at least it helps to know where things actually belong.
From there, go smaller. Add hooks for a place for dress up clothes, and think vertical (book wall or shelves) for displaying little figures or toys cars.
If you are finding you have toys that don’t fit in these categories, comment below and I’ll reply so everyone can read. If you are on an organizing roll, I’d love to see. Tag me on Instagram and I will share my favourites with you all!
IF YOU LIKED THIS POST, YOU MAY LIKE THESE TOO…


HELLO!
WINTER DAISY was created when Melissa Barling was laying on the couch while pregnant with twins. She dreamed of a beautiful baby room but couldn't get up and make it happen. The babies were born and in those mid night wakes and early morning feeds, she decided to leave her corporate job to start a design studio + blog. Welcome to WINTER DAISY.
Follow along on Instagram
POPULAR POSTS...


CATEGORIES
- BOOKS WE LOVE
- BOYS ROOMS
- DESIGN TIPS
- DIGITAL
- DIYs
- EFFICIENT MAMA
- FAVOURITE FINDS
- FREE PRINTABLES
- GARDENING WITH KIDS
- GIRLS ROOMS
- GIVEAWAYS
- HELLO
- HOLIDAY
- HOMESCHOOL SPACES
- HOW TO...
- I'M MELISSA
- INSPIRATION
- KID STYLE
- KIDS ROOMS
- MINI GATHERINGS
- MY FAMILY
- NURSERIES
- OH MONDAY!
- ORGANIZATION
- PICKS
- PLAYROOMS
- RECIPES
- RENTAL HOUSE
- RENTAL HOUSE #1
- RENTAL HOUSE #2
- RENTAL HOUSE #3
- REVIEWS
- ROUNDUPS
- SHARED ROOMS
- SHOPPING
- SHOPS WE LOVE
- STYLING
- TODDLER ROOMS
- TRENDS
- gift guide
SUBSCRIBE
Disclosure
WINTER DAISY BLOG contains affiliate links as well as advertising banners. I may receive a small commission on purchases made through links from this site. The content is always reflective of items, things and experiences that I genuinely like and I only work with companies whose aesthetic is in line with the WINTER DAISY brand.
Sponsored posts will always be clearly disclosed.