KAIA'S ROOM: THE PLAN AND A SNEAK PEEK!
A new tween room is coming! It’s been a long time since we last revealed a room and this one coming up next belongs to one of my favourite people ever; my daughter Kaia! So many of you have been curious how we’d address the girls’ rooms in our newest rental house, now that they’ve grown from their shared room in our last house.
With the move to Rental House #3, both girls have their very own rooms for the first time! The timing couldn’t have been better (they are 11 years old!) and although there are still sleepovers in each others’ rooms, there actually haven’t been as many as I thought there may be and both kids are loving the new space and privacy that comes with a room of your own.
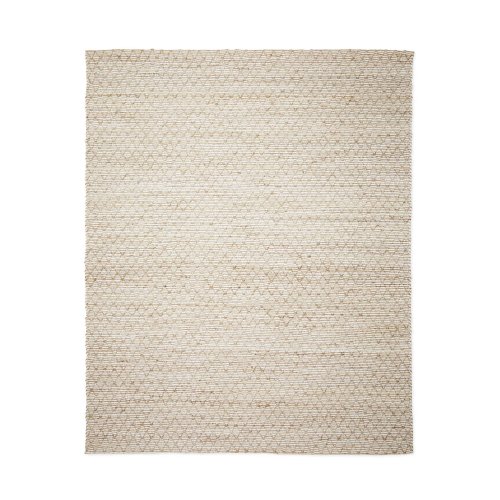
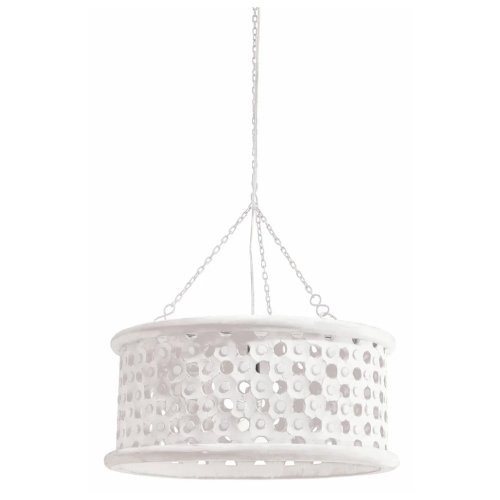
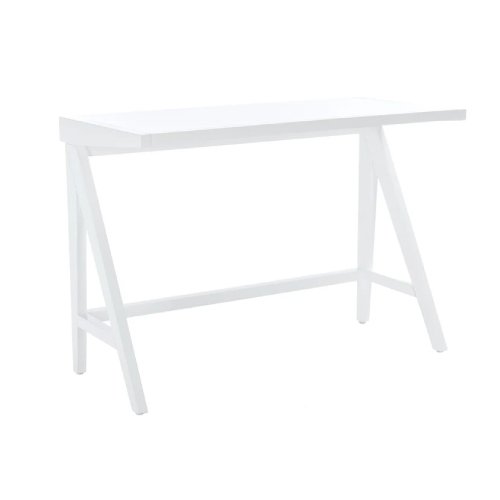
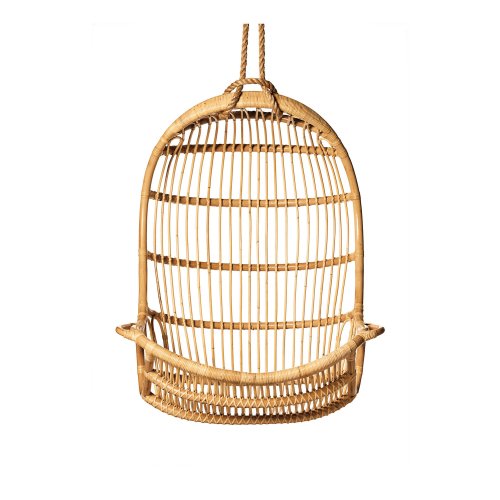
One of the fun things about designing older kids rooms is that the kids themselves love to be involved. Kaia had some very firm ideas on this space and while she got the pendant light from the last room, she picked this fun and playful wallpaper herself as well as asking for a desk, pinboard and one of those hanging swing chairs.
Here’s an in progress sneak peek below. All the fun accessories (hello hanging chair, wall art, pillows, etc.) are still to come.

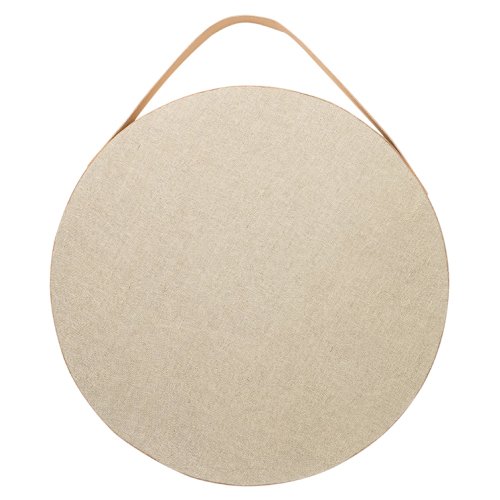
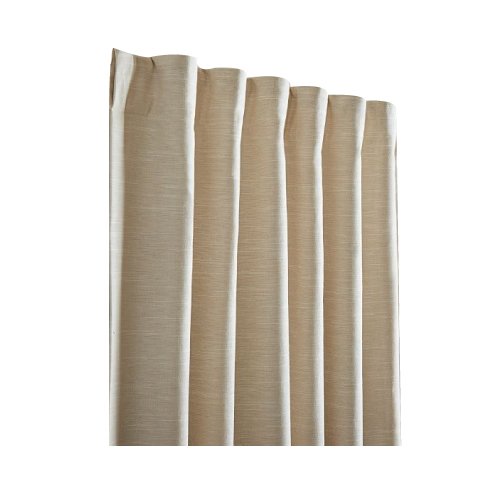
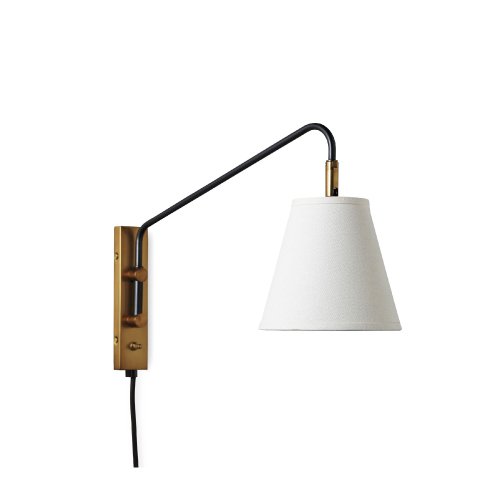
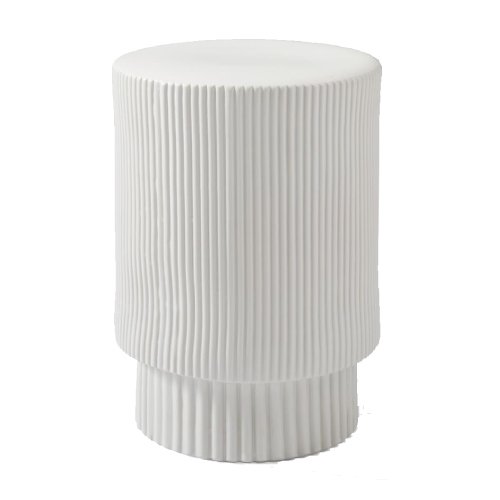
The Plan:
Like all good plans, some items are subject to change. This design board is similar to what’s presented to a client on presentation day; it’s a great way to showcase the key items for a space all pulled together to give the overall look and feel of the room.

Since the full reveal is still weeks away (the delays have been looong for some items), today we’re sharing the key items that make up this tween room so that you can shop the room for yourself!
GET THE LOOK


IF YOU LIKE THIS POST, YOU MIGHT LIKE THESE TOO:


A COST BREAKDOWN OF OUR KIDS' BATHROOM!
You asked…and so here you are!! With so many of you interested in the costs associated with the remodel of our kids’ bathroom, we are sharing the budget breakdown below. I have never shared costs of the spaces we have designed previously, but given this is a bathroom in my own home, I am happy to share the nitty gritty details with you.

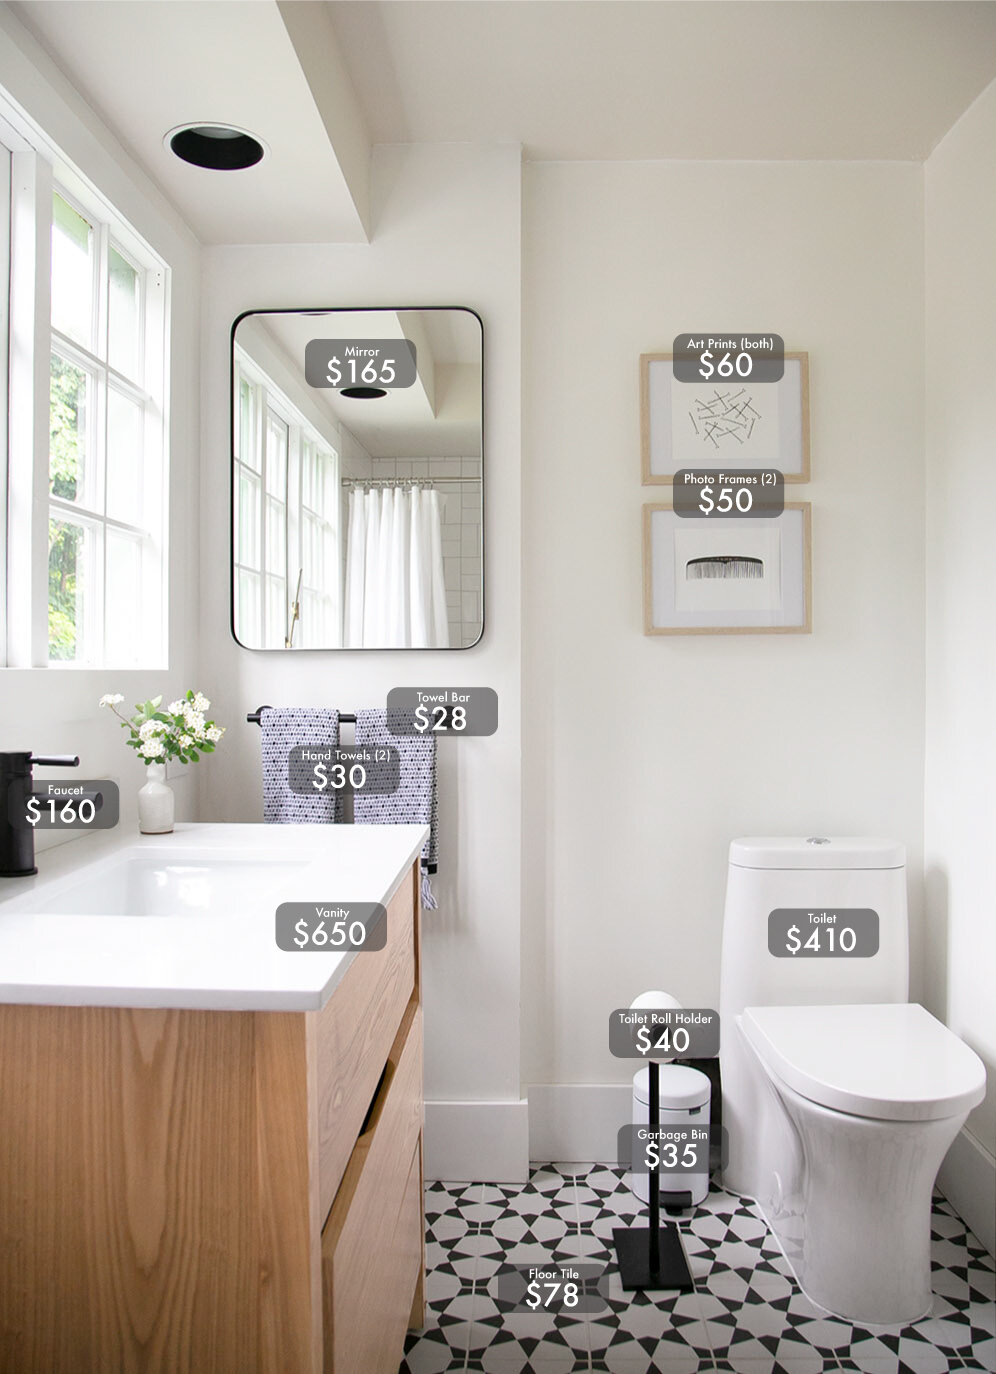

You can find the before and the plan for this space here. Of course, costs of labour vary by area and we hired professional tilers and plumbers for this project, which you could DIY if you are handy!
All prices listed are in Canadian dollars.
$60 - Paint (Colour is Benjamin Moore Chantilly Lace)
$250 - Re-enameling the bathtub
$120 - Shower Curtain
$30 - Bath Mat
$650 - Vanity (with countertop and sink, no longer available)
$410 - Toilet
$350 - Shower Wall Tile (bought through tiler)
$78 - Floor Tile
$160 - Matte Black Faucet
$165 - Mirror
$28 - Towel Bar
$40 - Toilet Roll Stand Holder (I do not recommend this - it’s wobbly!)
$30 - Hand Towels
$50 - Art Prints
$60 - Photo Frames
$35 - Garbage Bin
$40 - Wooden Bath Bar
$23 - Tray
$20 - Stacking Cups
$12 - Hand Soap
TOTAL: $2611 + tile installation and the plumber to hook up the faucet water and toilet
YOU MAY LIKE THESE BLOG POSTS TOO…


KIDS BATHROOM REVEAL!
From the moment we saw this house, we knew we needed to make a change to the kids bathroom for the house to truly be functional for our family. I’m so excited to say that today is the day I get to share the new bathroom and the first bathroom I’ve ever designed with you all! The kids’ bathroom from our rental house #3 is FINALLY finished!
If you haven’t, go back and see where we started and if you’re on Instagram, head to my highlights to see the process from start to finish (trust me, it’s worth it!).


The intention for this space was to create a bright, airy and CLEAN bathroom and maximize the small space that we were working with. By removing the door and adding a barn door (see below), we were able to use the entire footprint of the bathroom.
You can see that we used a simple white subway tile on shower walls, and decided to have them tiled in a basketweave pattern to add something a little bit unique. Keeping in mind that this is a rental house, the floor tile was chosen mainly because of price point, but I love how the fun pattern turned out so much! You can find it here!


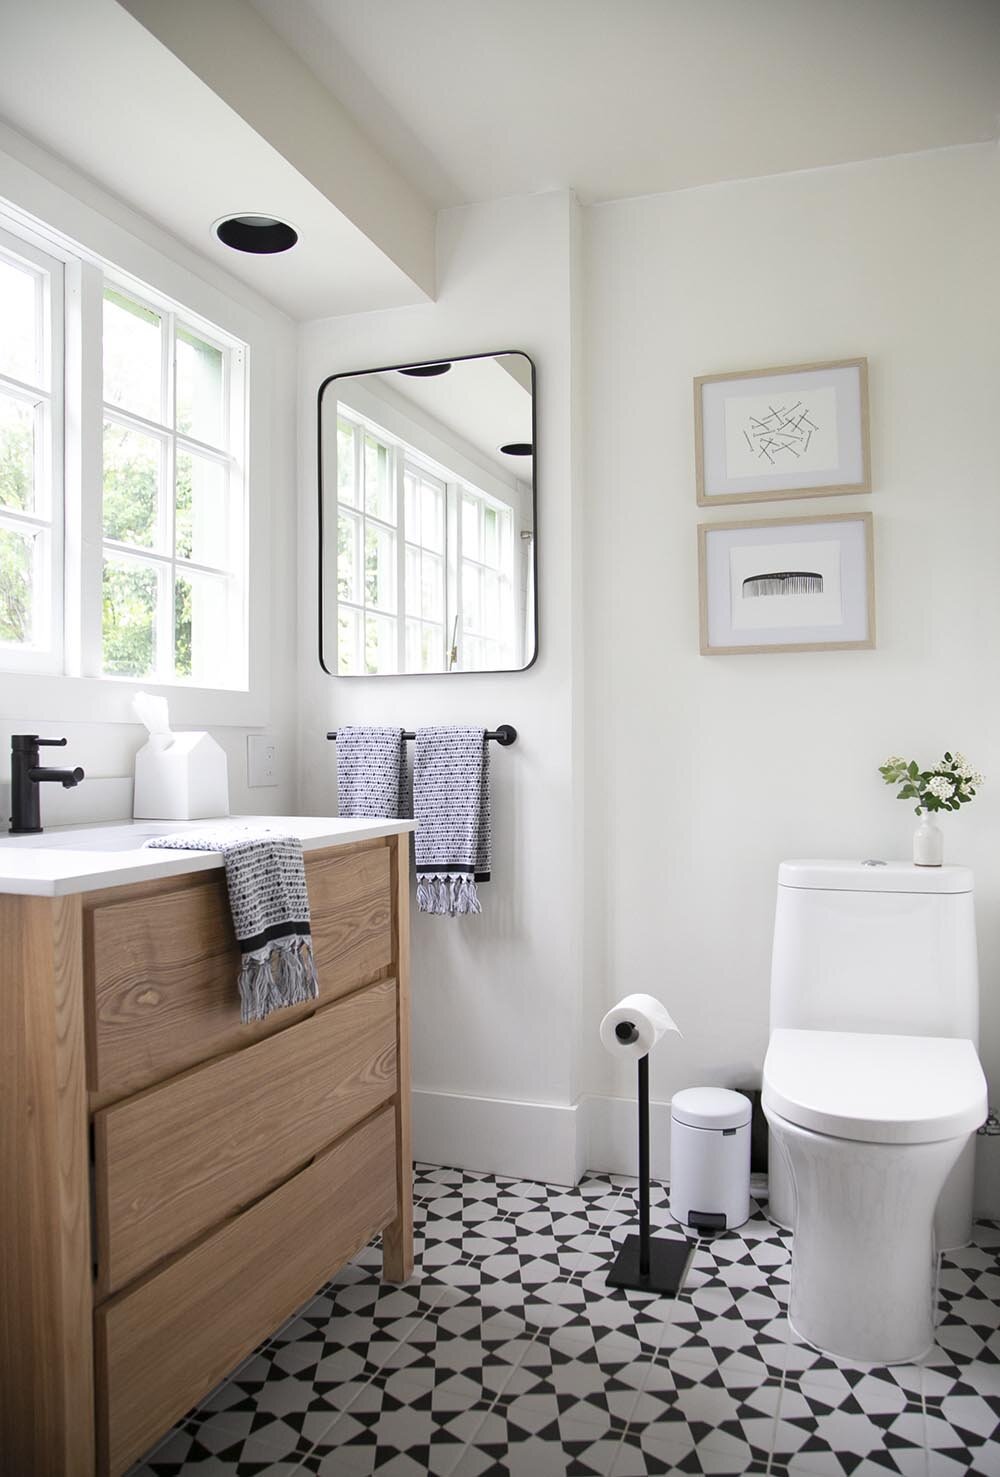
Since this bathroom is on the smaller side, using every last inch for functionality was essential. While I wasn’t sure how to approach the windows above the vanity (do we put a mirror over top?), I decided that it would be most practical if the kids could walk up to the mirror to look into it and there is enough space next to the vanity to do that. Bathroom art is hard! I chose these art prints for a bit of playfulness and also because they blend so naturally into the colour scheme.

In searching for bathroom ideas, a few things seemed pretty difficult to find. For good reason, not too many people share their toilets in photos, but I wanted to show this here as we really needed to use a workaround. It’s also fairly unusual to have windows directly above the vanity, and while I love the light that comes in here, we still may add frosting for added privacy.
Here you can see the before and after of the same shot! If nothing else, this shot shows how much more open the bathroom entryway is now and how by adding a barn door, the entry into the shower is open and accessible - a true essential for safely bathing kids!


I know this post took a while to come! It’s amazing how quickly some parts go (the tile, as we had this professionally installed) and how slow other parts went (finding all of the accessories). I hope you have enjoyed a glimpse into our newest home; I’d love to hear your thoughts in the comments!
In case you missed the introduction to our bathroom and want to see more of the before photos, you can find the post about where we started and the plan of the bathroom here.
Here are all of the sources for you too. Thank you so much for cheering me on with this bathroom project and always being so invested in our rental house makeovers.
Wall colour: Benjamin Moore Chantilly Lace (eggshell)
Trim colour: Benjamin Moore Chantilly Lace (semi-gloss)
Bath mat was H&M (no longer available)
KIDS BATHROOM: WHERE WE ARE STARTING AND THE PLAN
Have you been following our bathroom renovation on Instagram? The kids bathroom in our rental house started out as a completely non-functional space for our family with three kids but we have a plan and I’m sharing it with you below.
First, let’s start with some gorgeous bathroom inspiration that I used for this project!

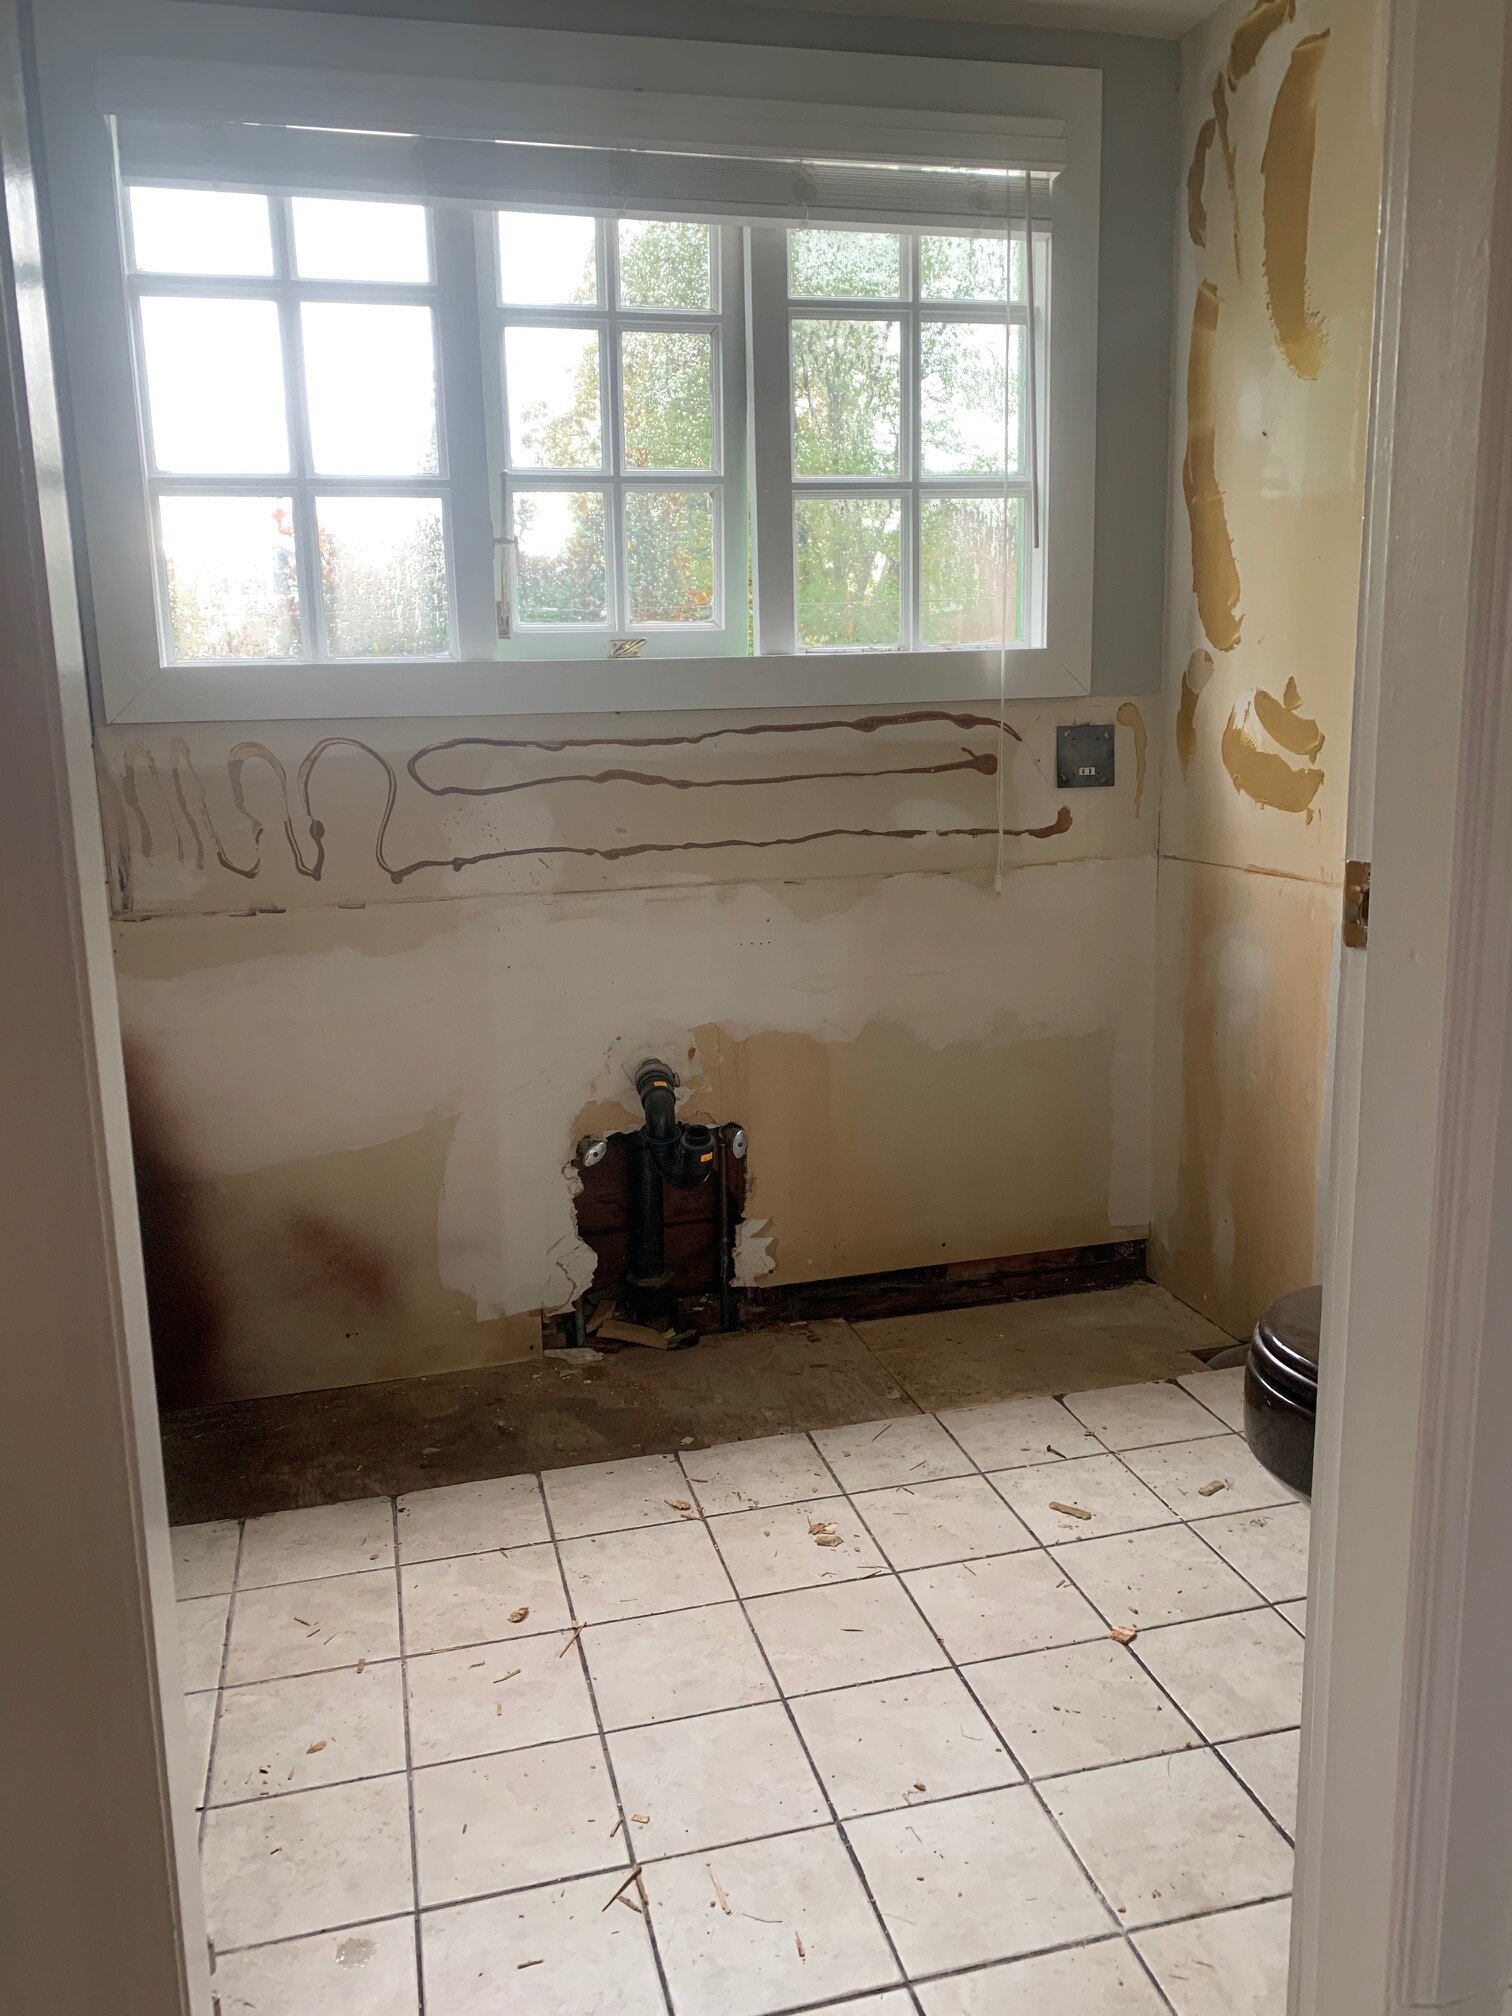
Now, let’s take a step back and see where we started. This is the bathroom when we rented the house.

It really started out as such a non-functional space and likely the only reason that our family was lucky enough to rent this house; I said that as part of the rental, I would update the bathrooms! There was a decent amount of space here, but I truly have no idea how the previous owners functioned with it.
Let me break down the issues:
the door opens into the bathtub
the toilet and bathtub are brown!
the vanity is far too large for the space
the glass doors on the bathtub close off the space
the entry door opens into a person standing at the vanity, or getting out of the tub!
the tile is dirty and would be great to replace
Over the past week, I’ve been sharing the step-by-step process on Instagram stories, so let me update you in here in case you’ve missed out.
The entry door has been removed, the glass doors to the shower have been removed, the vanity and mirrors have been removed (photo on left) and the tile has been stripped out!

It’s amazing to see how far we’ve come already! I feel like you can actually see the space properly now and I can’t wait to start getting some of the new pieces in place.
So, what’s the plan? Well, one thing I won’t do in a rental is remove a bathtub (unless doing it with the owner) for fear of water damage. In this case, the tub is actually in pretty good shape and we will be having it refinished (a VERY cost effective way to refresh a tub). New tile will replace the old (our biggest cost) and yes, we will be replacing the brown toilet with a white one!
After perusing bathrooms online, I decided to really keep the colours simple and this was truly determined to find a very low cost tile for the floor and walls. Since using a professional to tile the bathroom would be our highest cost, I wanted to keep the cost of the actual tile to a minimum, as this is a rental after all.
You can imagine that white was a clear choice, and yes, the tub and walls will be white but I wanted to add something playful since this is the kids’ main bathroom and so we went for a bold patterned tile in black and white! I chose to add warmth through the vanity and you can see how the simple colours of black, white and wood go together in the board below.

1.// Boho shower curtain; 2.// Warm wood vanity; 3.// Black rim mirror; 4.// House tissue box; 5.// Black towel rail; 6.// Wood bath bar; 7.// Patterned floor tile; 8.// White subway tile; 9.// Light wood frames; 10.// Comb art print; 11.// Hairpin art print.
INTRODUCING: RENTAL HOUSE #3!
Say hello to our new home (for now). At some point we’ll own OUR VERY OWN home, but here I am introducing you to rental house #3!
Let’s rewind a bit and start at the beginning. Here’s the story: while we were on the hunt for a house to buy in the Spring of 2020, I stumbled across this gorgeous home and although it was out of our price range (sigh…the Vancouver market), it was the kind of home I could imagine raising a family in. There’s a big back yard and a deck off of the kitchen (indoor / outdoor living please!), 4 bedrooms upstairs and truly, THAT is a near impossible find in this city.
Fast forward a few months and Covid restrictions meant that more and more people were working from home (and I was full-time homeschooling our 3 kids). I had completely forgotten about this house. I read an article saying that lots of families were moving out of the city and that was driving rental houses down in price. I quickly hopped online and did a brief search. Very surprisingly, I spotted this house straight away: the new owners had listed it for rent! Maybe it was meant to be.
While the timing seemed a bit off (I’d just finished refreshing our last rental house), this presented the opportunity for the kids to have their own rooms and all of us to have more indoor and outdoor space and with SO much more time spent at home than usual, we decided to go for it! I think in reality, we were all ready for something new to look at after a year of being inside the same space together. Imagine that?! ;)
So, come on in…let me give you a quick tour of a few spaces I’ll be sharing here on the blog!
THE BATHROOM:
This is the first major space that needs updating. I know some people think that we’re crazy updating bathrooms in our rental houses, but it is the most important room (in my opinion) to know is clean, so it’s worth it to me!

Aesthetics aside, can you see that the bathroom is barely functional with the door opening directly into the tub and shower? Yikes! I believe this is the reason that we ended up taking this house (knowing I could change this) and others might not have been so keen.
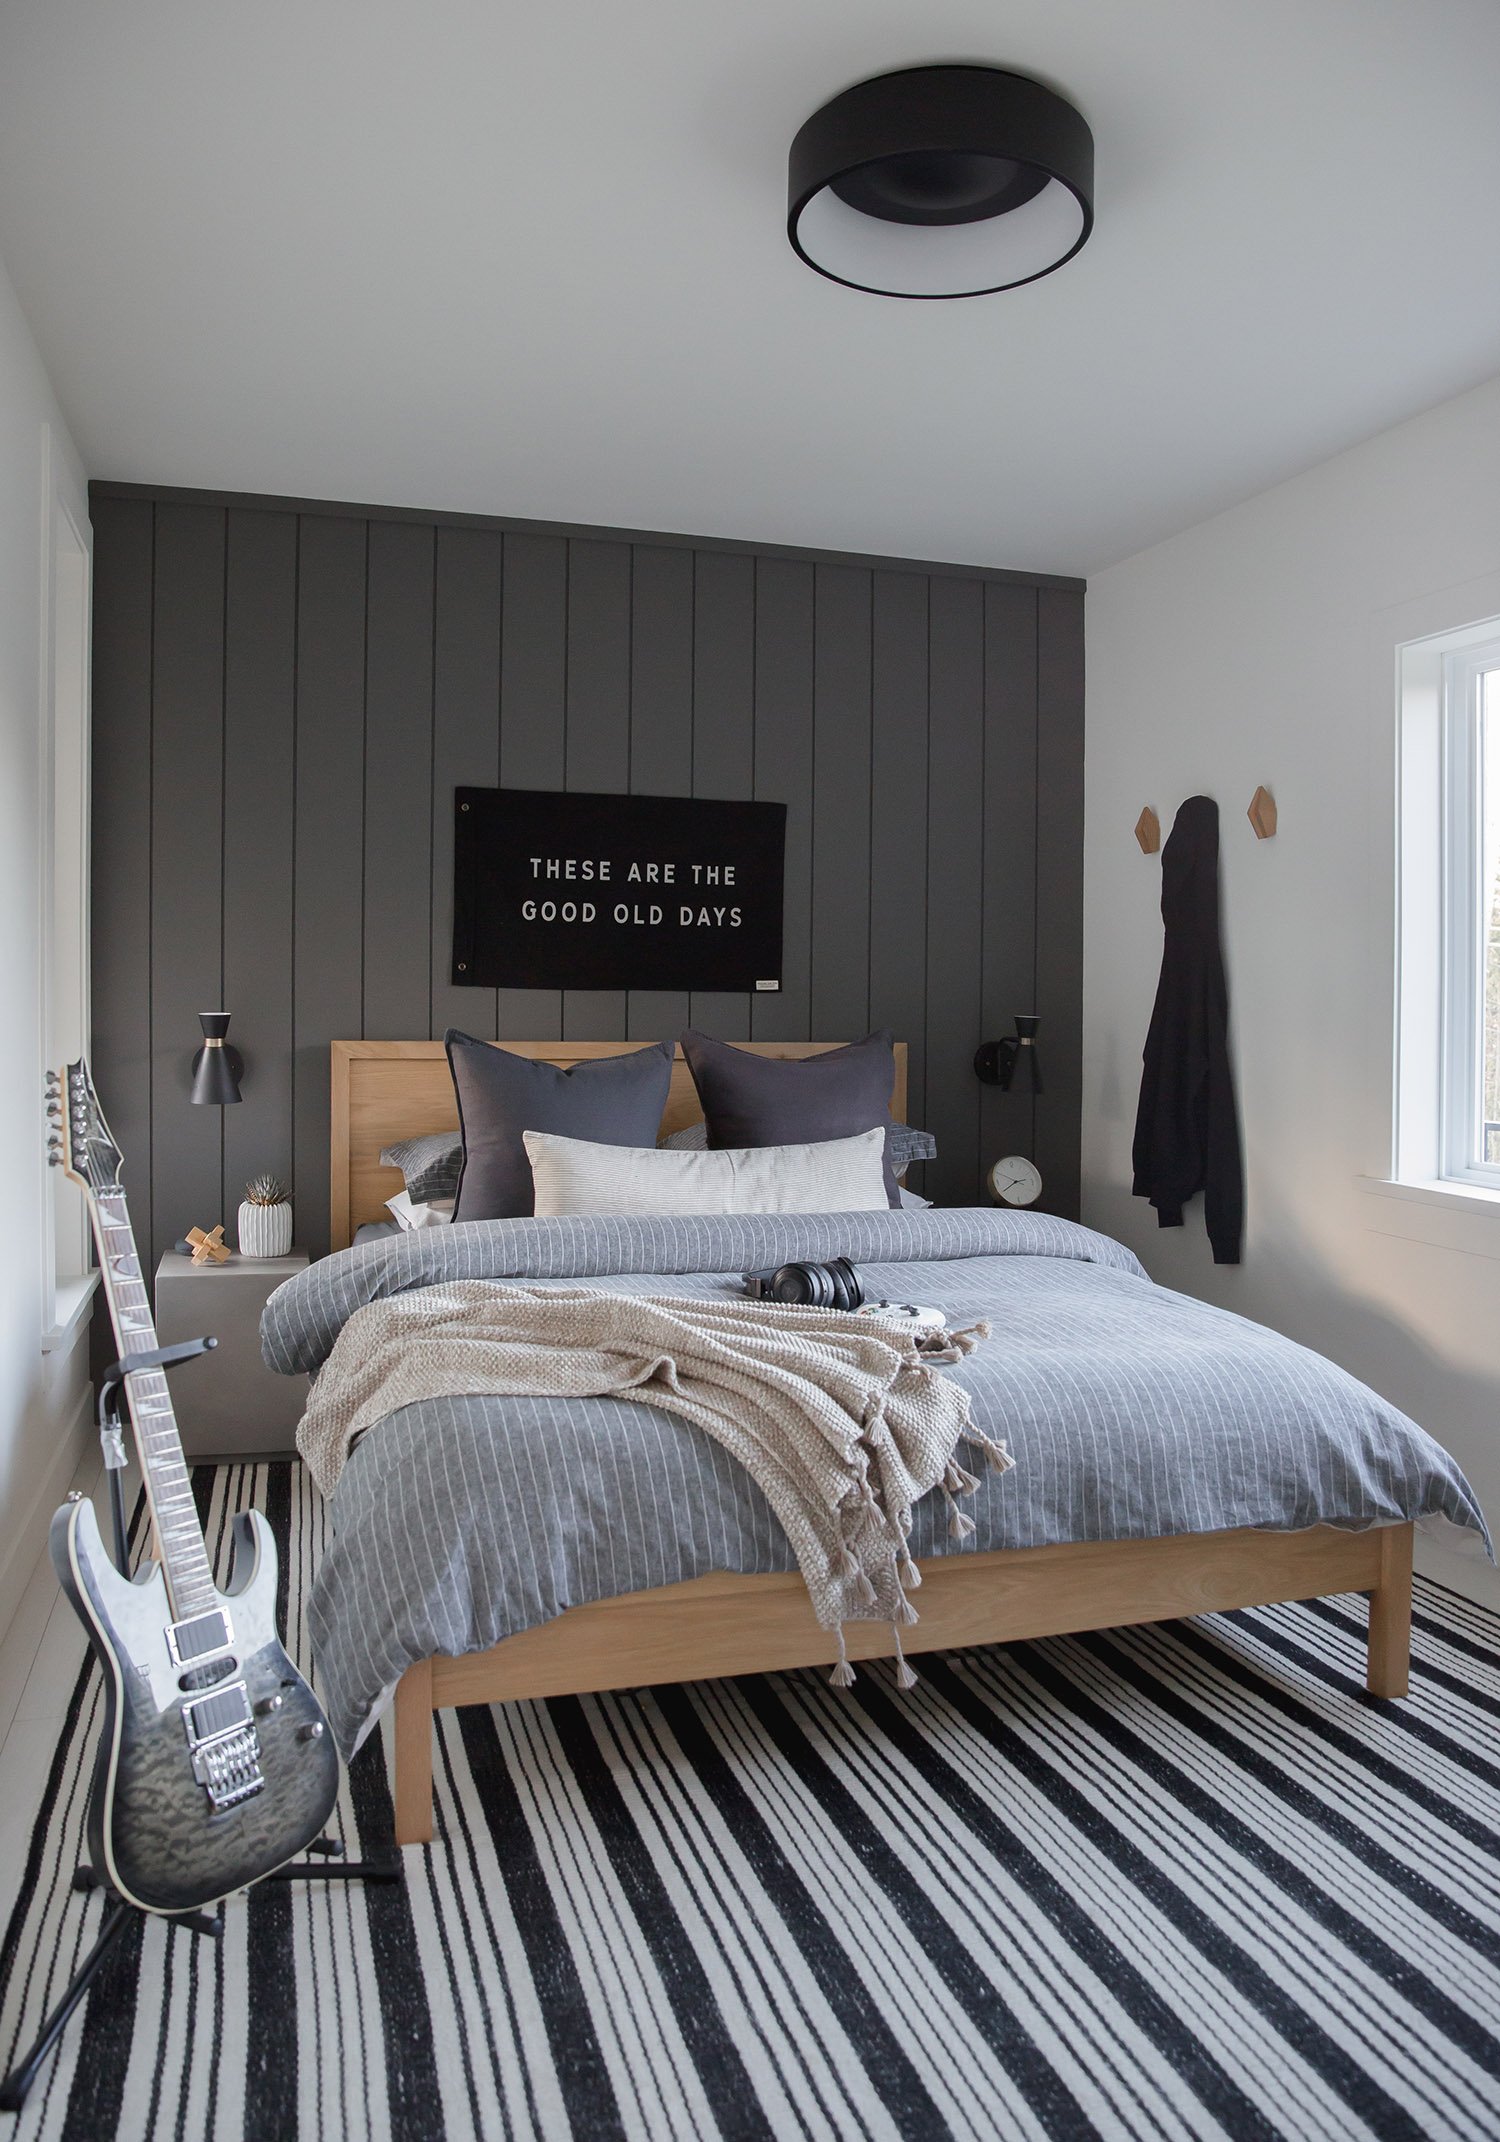
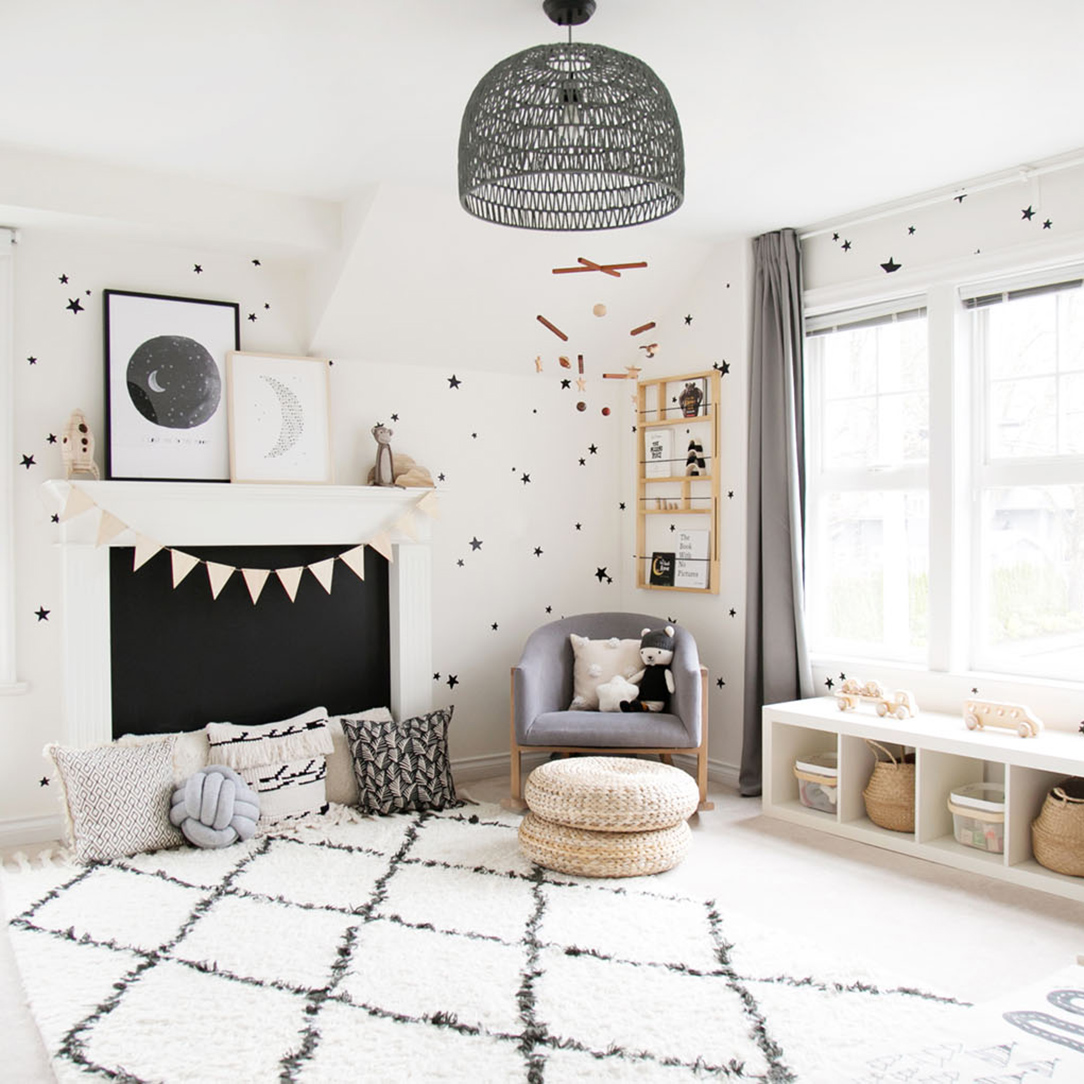
KIDS ROOMS:
The kids each have their own in this house!!! This is one of the main reasons we were interested in moving. Our twins (now 10 years old) have shared a room since birth and were starting to ask for more of their own space. Our youngest, 8 years old has been lucky to have his own room the whole way along and of course always wishes he shared. The rooms are all a good size and each has its’ own closet. Check.
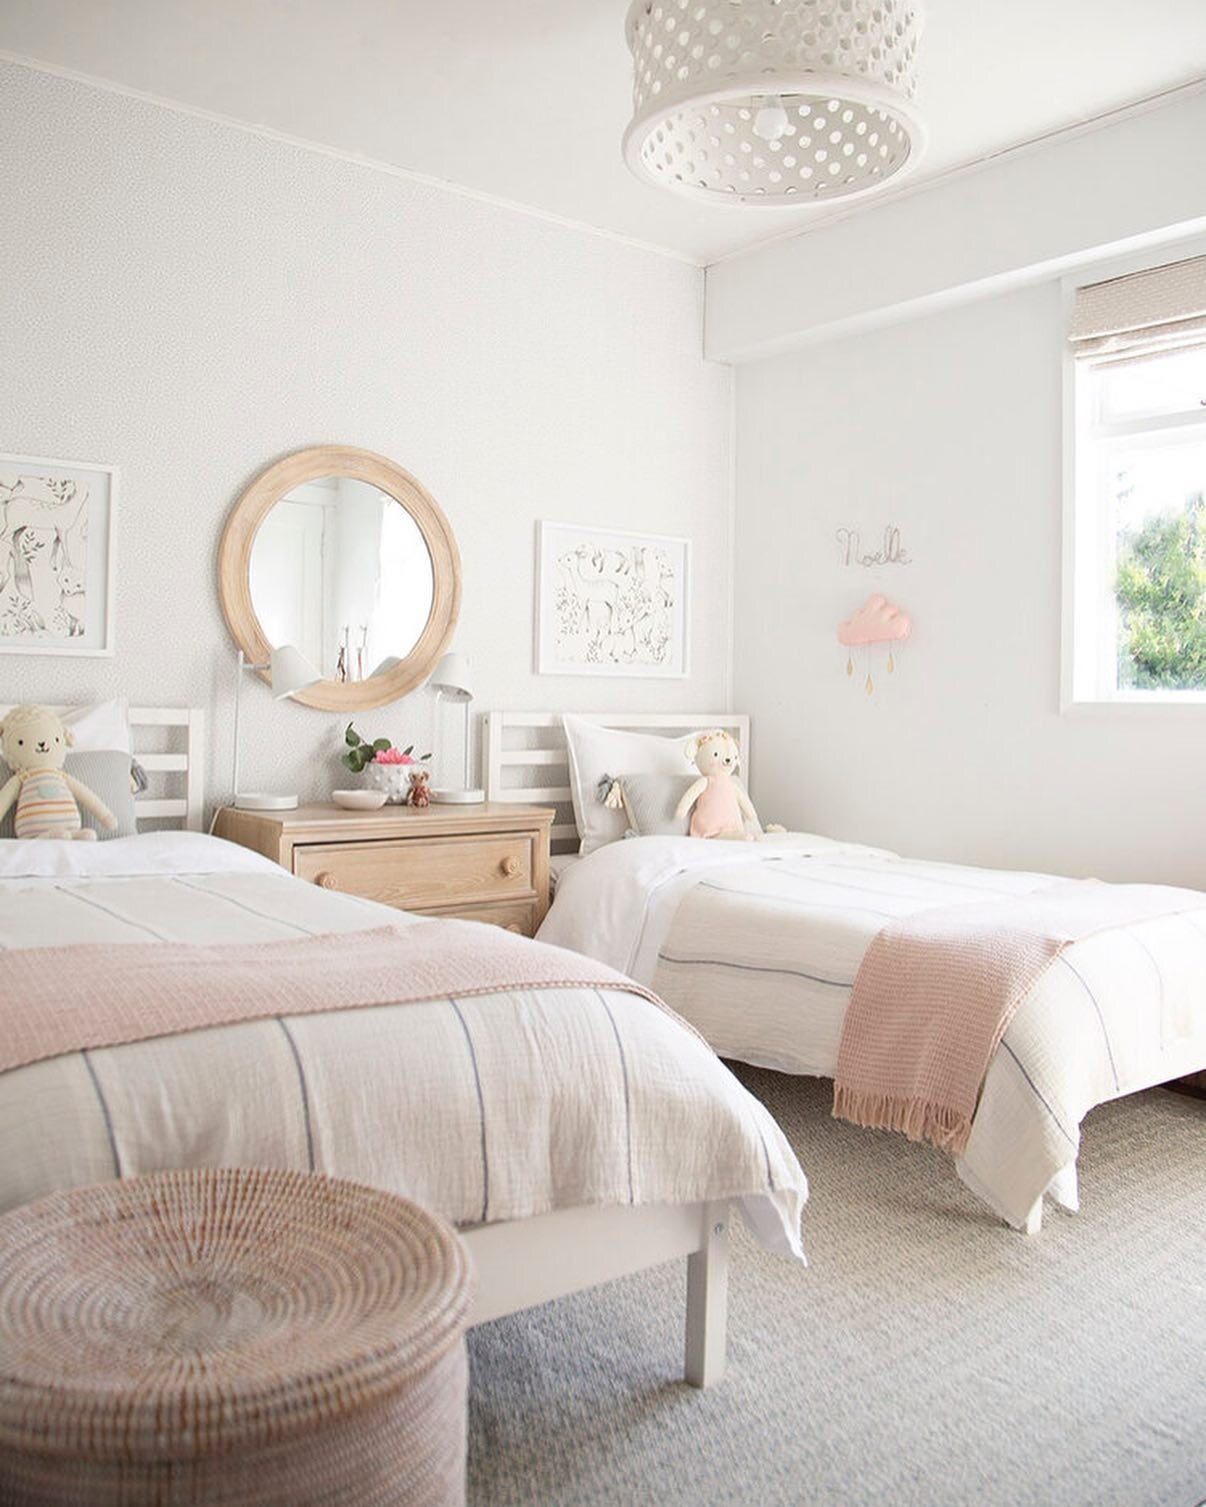
Kids Room #1 - Noelle’s Room

Kids Room #2 - Kaia’s Room

Kids Room #3 - Xavier’s Room (we brought his light from the last room!)
Xavier’s room won't be much of a change from the last house, but I still think it would be helpful to show you how we can buy furniture for one home and use it in the next. Quality furniture lasts and looks great everywhere!

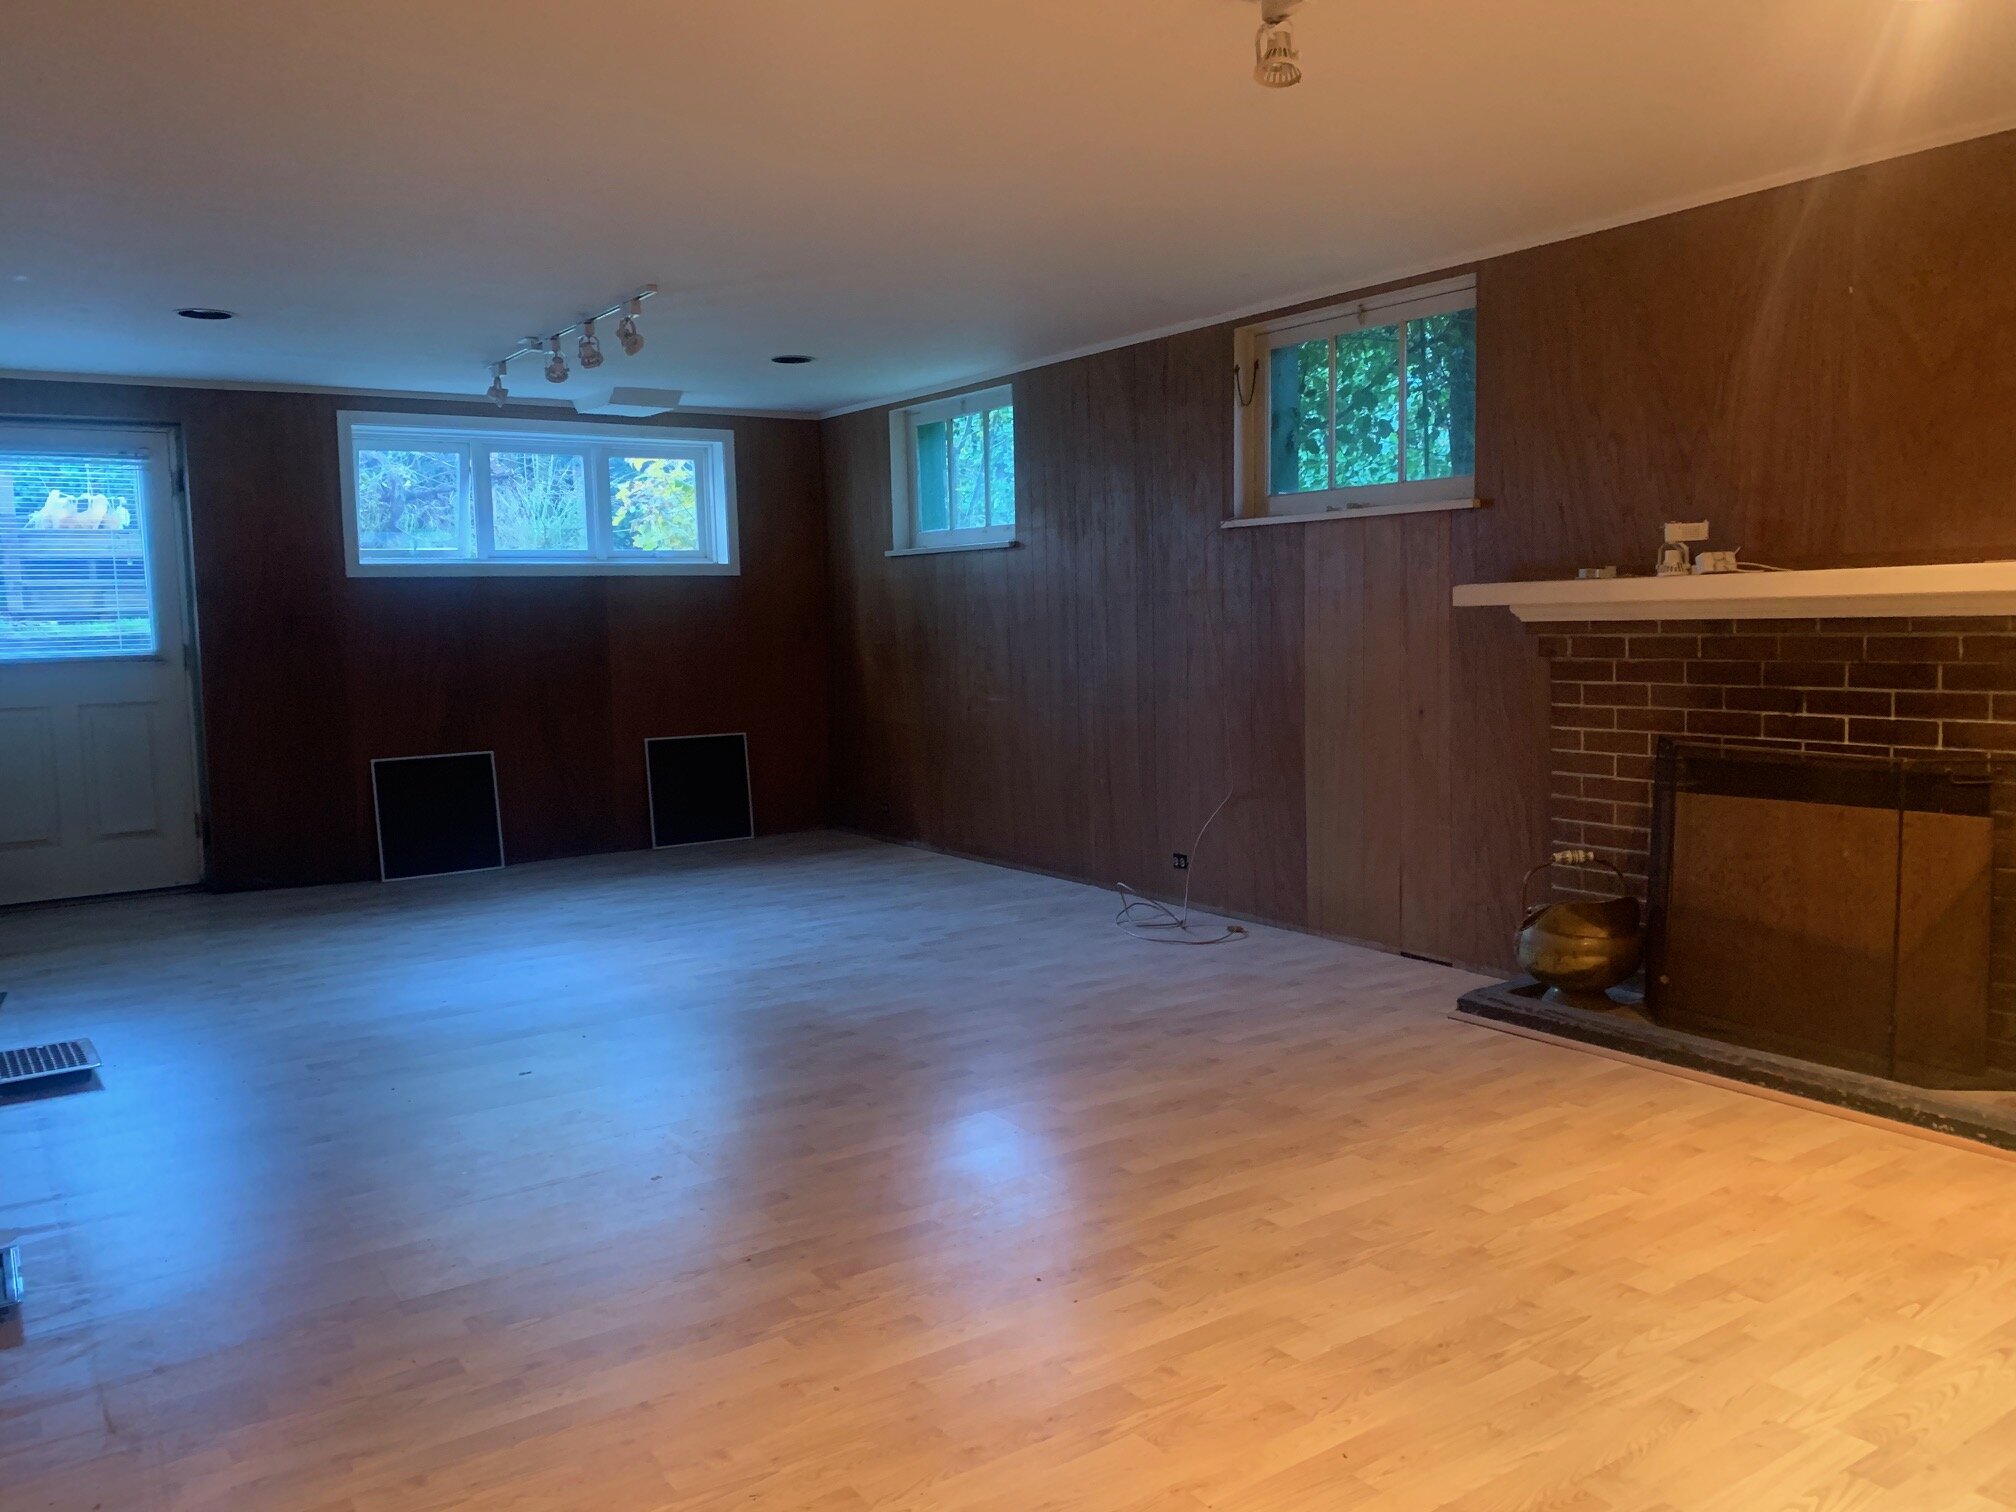
LIVING ROOM:
Good bones, good size, good light and a fireplace mantel, which means we can hang stockings at Christmas! This room feels easy to freshen up and worthy of many family game nights.

View from fireplace wall (below).

BASEMENT:
It’s a good thing we’ve been designing lots of basement playrooms because I will finally get to design somewhere fun to play for my own kids! I’m thinking TV lounge area and art space.
For those of you that have read this far, thank you for being interested in our new home! I can’t wait to share the updates alongside our kids’ room designs as we freshen up and decorate this rental house to create a new home for our family.
HELLO!
WINTER DAISY was created when Melissa Barling was laying on the couch while pregnant with twins. She dreamed of a beautiful baby room but couldn't get up and make it happen. The babies were born and in those mid night wakes and early morning feeds, she decided to leave her corporate job to start a design studio + blog. Welcome to WINTER DAISY.
Follow along on Instagram
POPULAR POSTS...


CATEGORIES
- BOOKS WE LOVE
- BOYS ROOMS
- DESIGN TIPS
- DIGITAL
- DIYs
- EFFICIENT MAMA
- FAVOURITE FINDS
- FREE PRINTABLES
- GARDENING WITH KIDS
- GIRLS ROOMS
- GIVEAWAYS
- HELLO
- HOLIDAY
- HOMESCHOOL SPACES
- HOW TO...
- I'M MELISSA
- INSPIRATION
- KID STYLE
- KIDS ROOMS
- MINI GATHERINGS
- MY FAMILY
- NURSERIES
- OH MONDAY!
- ORGANIZATION
- PICKS
- PLAYROOMS
- RECIPES
- RENTAL HOUSE
- RENTAL HOUSE #1
- RENTAL HOUSE #2
- RENTAL HOUSE #3
- REVIEWS
- ROUNDUPS
- SHARED ROOMS
- SHOPPING
- SHOPS WE LOVE
- STYLING
- TODDLER ROOMS
- TRENDS
- gift guide
SUBSCRIBE
Disclosure
WINTER DAISY BLOG contains affiliate links as well as advertising banners. I may receive a small commission on purchases made through links from this site. The content is always reflective of items, things and experiences that I genuinely like and I only work with companies whose aesthetic is in line with the WINTER DAISY brand.
Sponsored posts will always be clearly disclosed.