DIY: EASTER EGG CARTON FOR KIDS
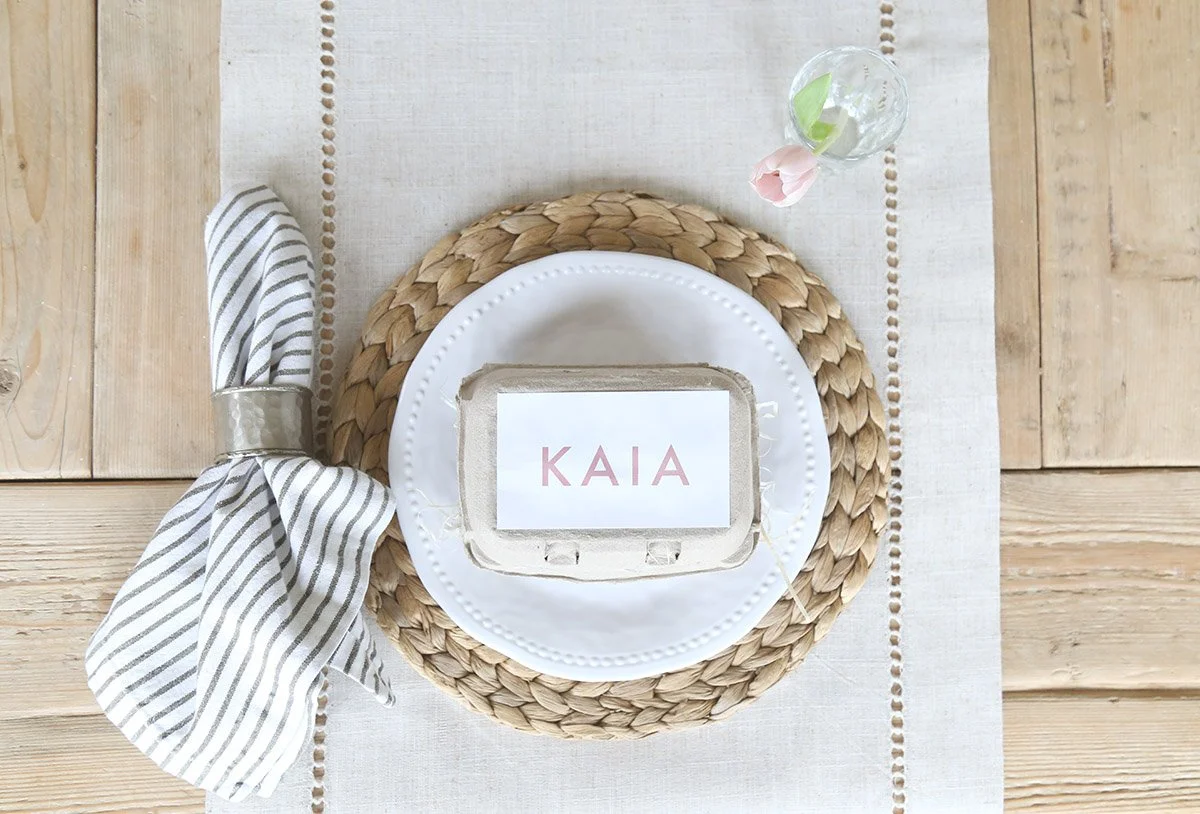
We are just over a week until Easter and I wanted to share a super simple DIY that you could easily put together this weekend! With a few simple treats that you can buy from many stores, this little egg carton makeover will excite any little one on Easter morning.

Here’s how to make it.
Step 1: Cut an egg carton in half.
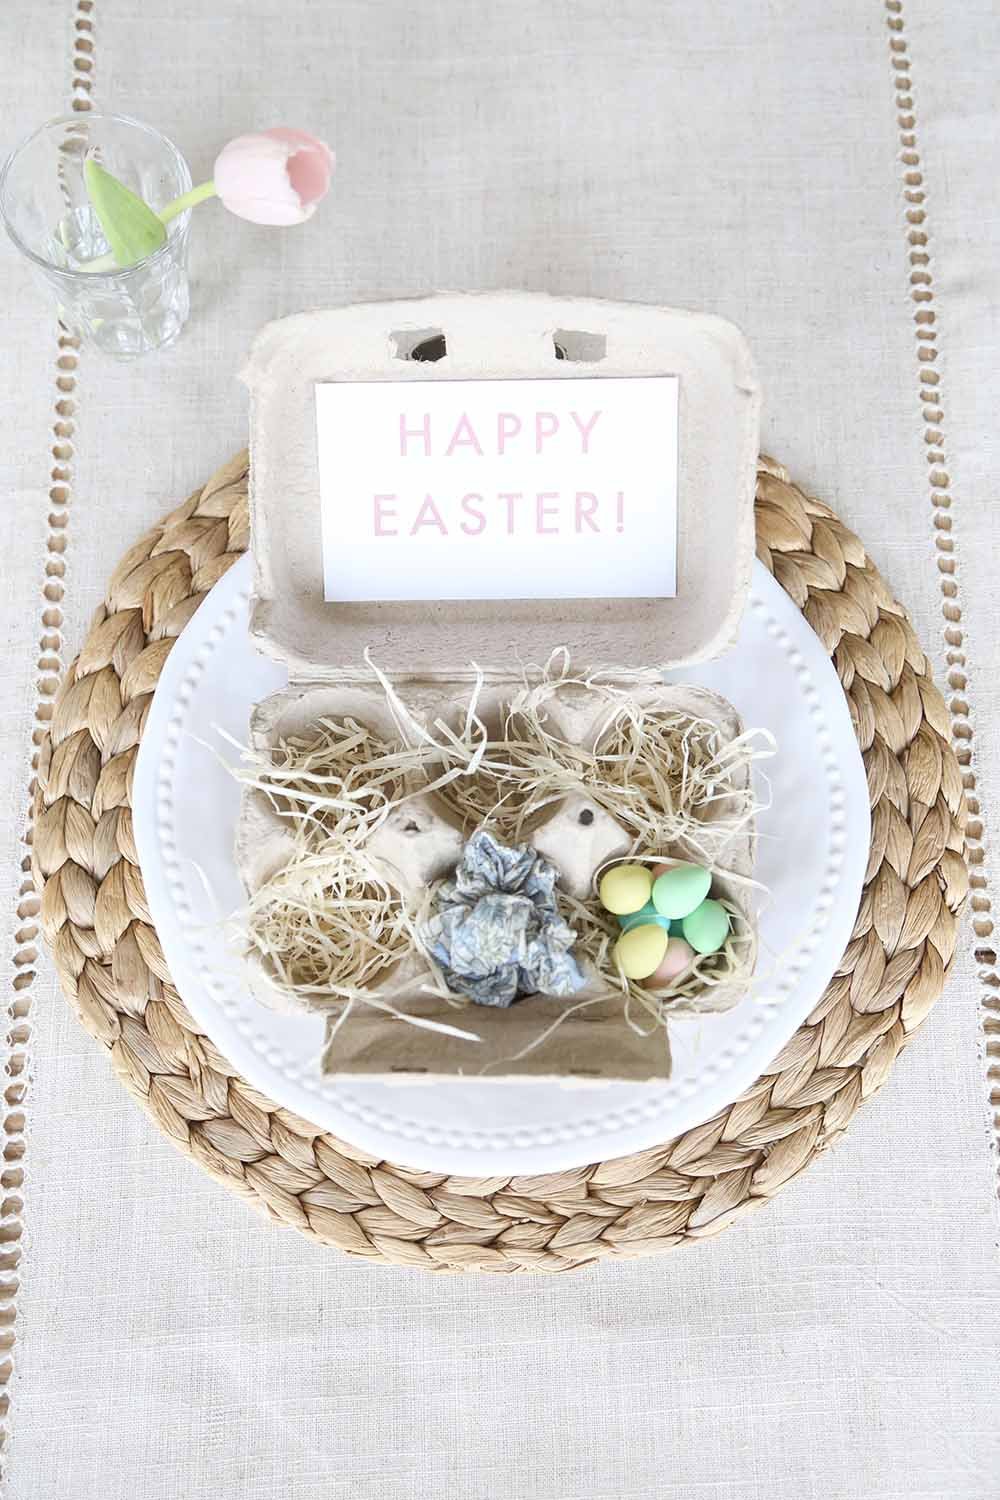
Step 2: If you want to add personalization or the little ‘Happy Easter’ message on the inside, simply make, cut out and glue on.
Step 3: Line each egg holder with left over raffia if you have it.


Step 4: Fill!
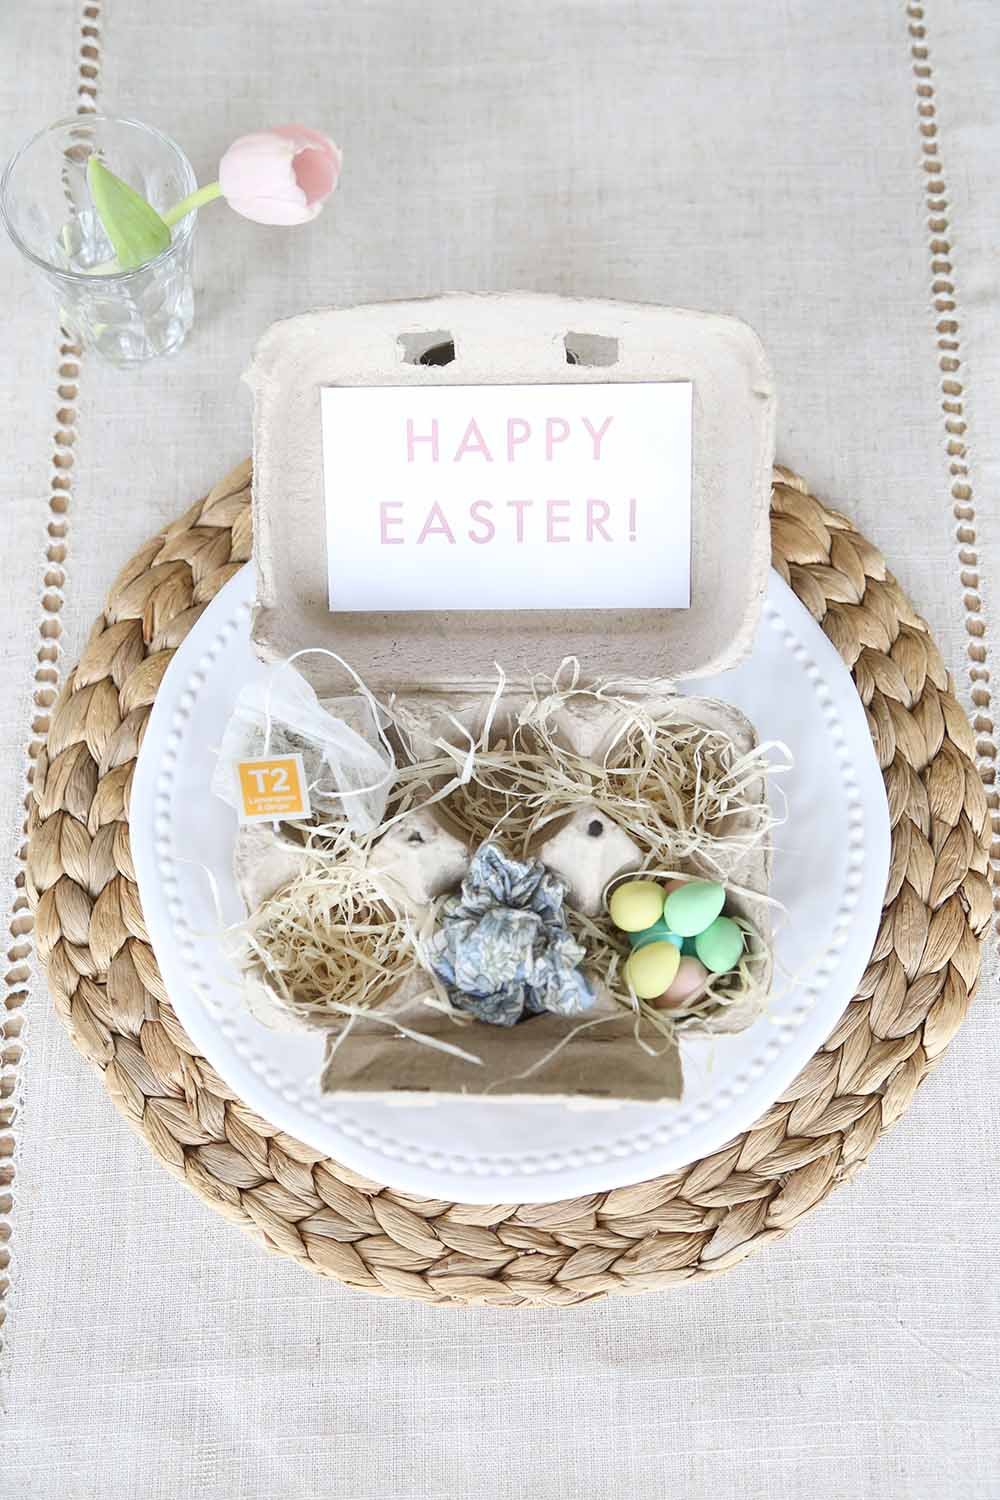
Here are some ideas of what to fill your Easter egg cartons with:
chocolate mini eggs
hair ties, hair clips or scrunchies (we adore these Liberty print ones)
caffeine-free tea bags (our kids love tea!)
nail polish
scratch and win ticket (might be fun for teens)
rubber stamp or easter stamp
stickers
chocolate Easter bunny
mini jam or honey (fun if you have hot cross buns, croissants or scones on Easter morning)
any kind of toy (mini slinky, wind up chick toy, wooden animal, etc.)
eraser
coins
lip balm


That’s it! I’d love to see if you try this idea. Tag me on Instagram or use the #winterdaisyDIY
3 DIY PROJECTS TO KEEP KIDS HAPPY ALL SUMMER LONG
It's June and we're on the cusp of summer. The warm days and extra hours of sunshine mean summer days drift slowly and easily into summer nights on the patio or in the backyard. The kids are staying up later and us parents are settling into keeping everyone happy a little longer each day. One of the things I love most is creating places or opportunities for the kids to spend hours happily playing without needing constant attention. These three DIY summer projects for kids are sure to do just that.
We've done over these DIYs over the past few years and they have bought us hours and hours of endless fun and memories. The kids are already asking to do another lemonade / street stand this year!
If you're thinking of doing any of these projects in time for the holidays, NOW is the perfect time to start!
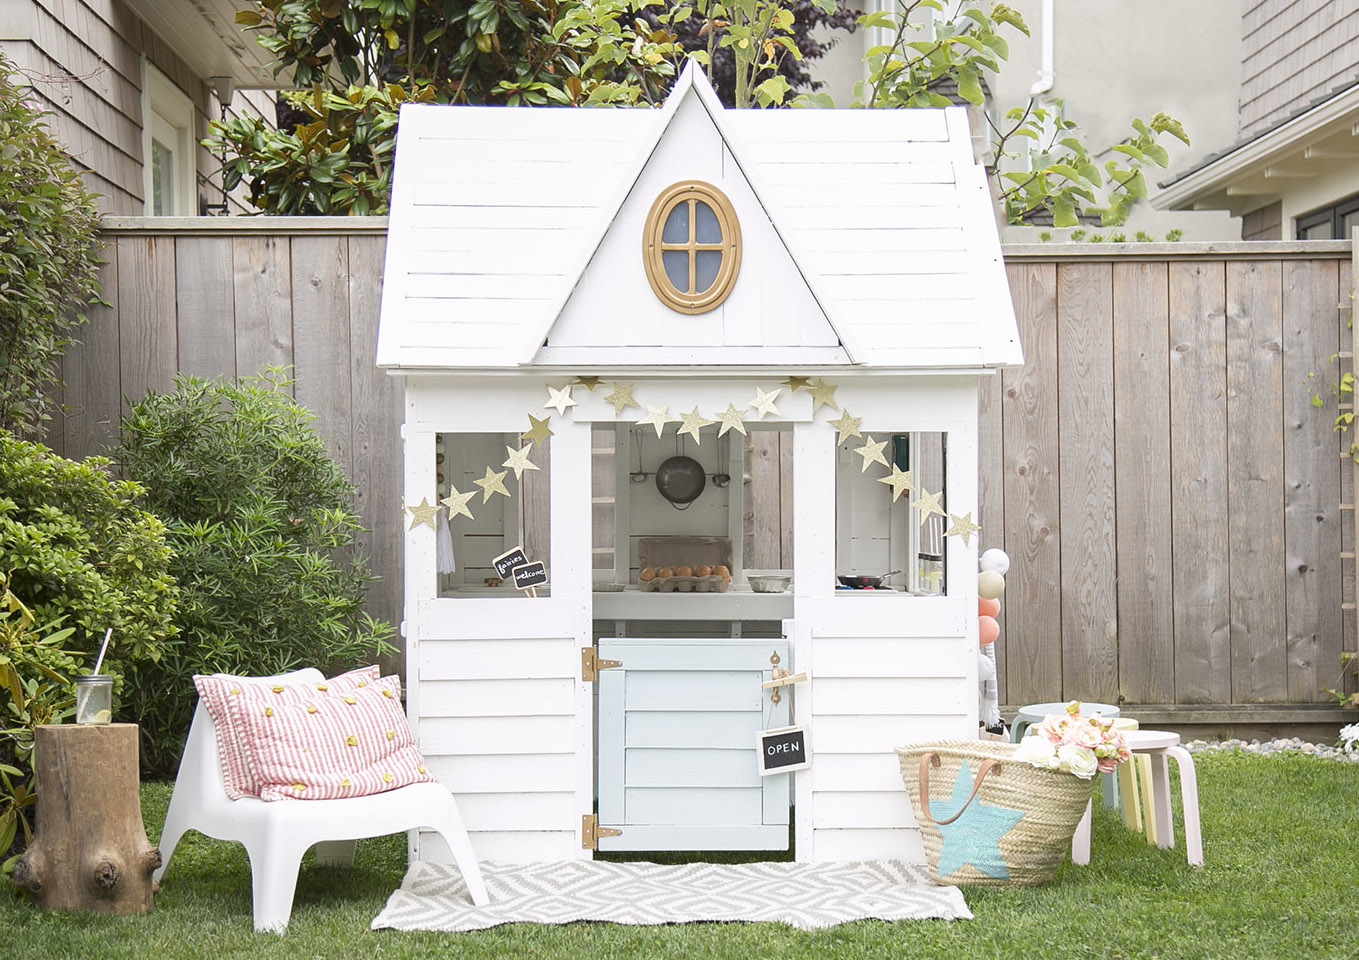
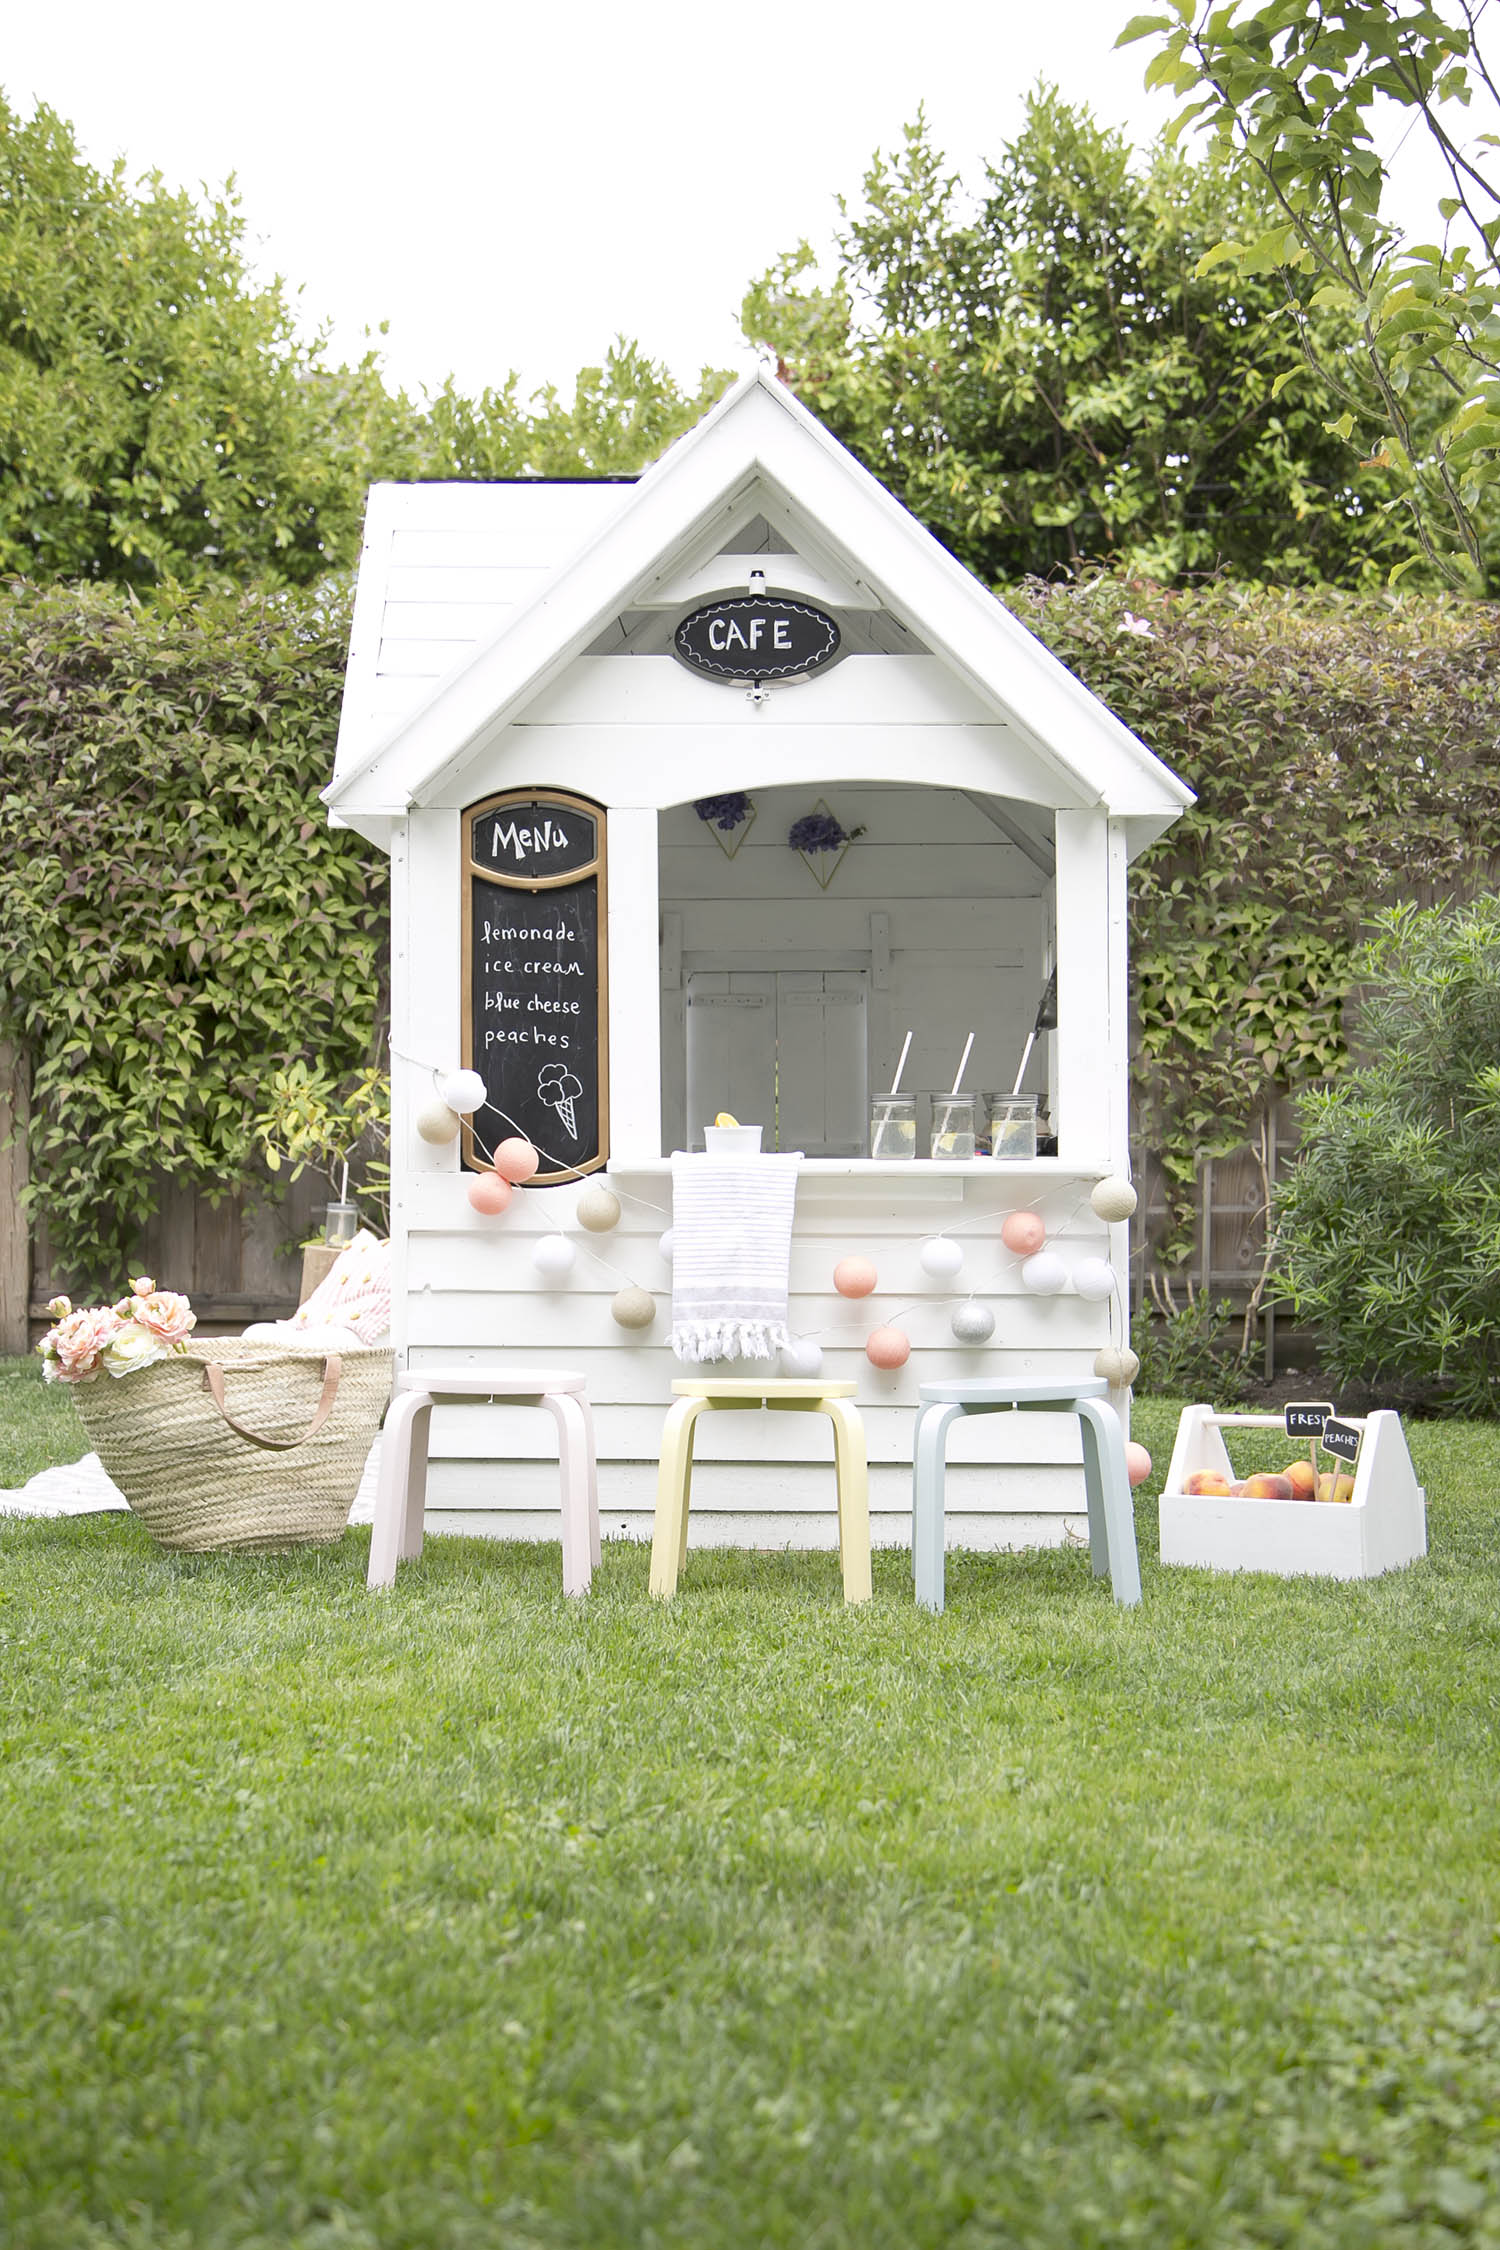
A couple of summers ago, we took a standard playhouse and gave it a little all over update. Nothing prepared me for how popular this little playhouse would become, both online and at home in our backyard! It has been the centre of our playdates for the past couple of years and more cookies, milkshakes and ice cream scoops have been served up in the playhouse than in our real kitchen!
I detailed the entire playhouse project when we first completed it and I can't recommend this project enough. It's been SO worth the many cans of paint and hours it took as I know our children will have memories of this little house long after it's gone.
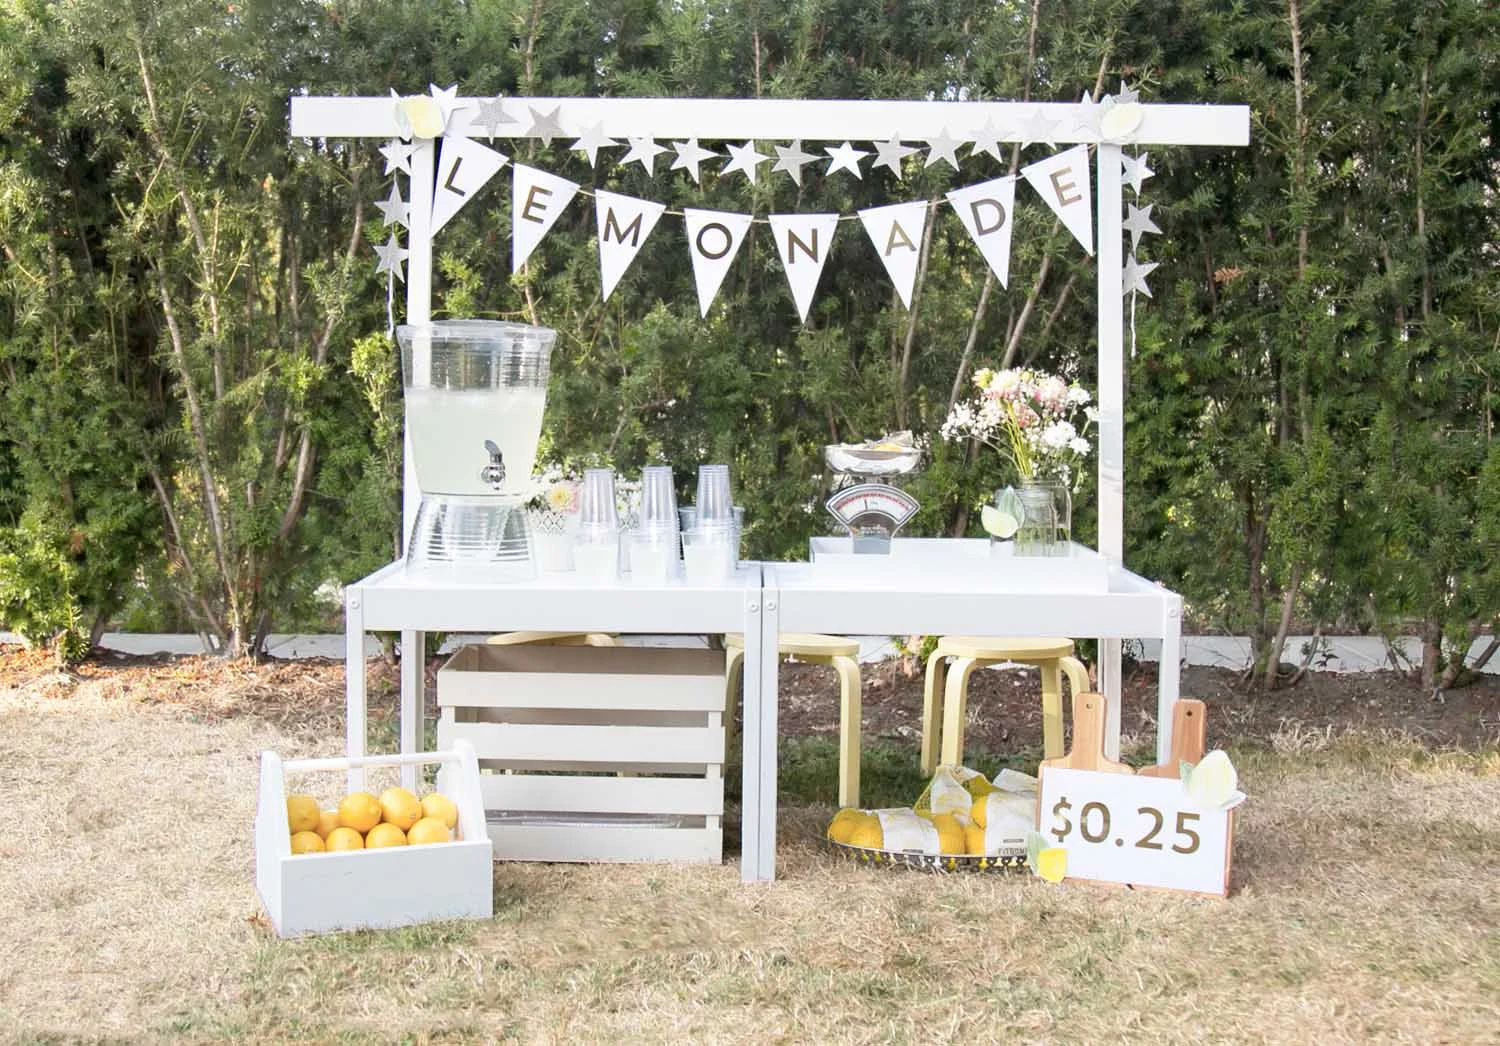


Last summer our kids decided that they HAD to have a lemonade stand before the end of summer. On the last weekend of the holidays, we built this little lemonade stand using two IKEA Latt tables, a few extra pieces of wood and we made the lemonade sign using card stock and stickers. This one was a big win for quick and easy and turned into a full afternoon impromptu neighbourhood party. It was pure fun and the kids have ideas of a flower sale or veggie sale from our garden this summer. Wish me luck ;)
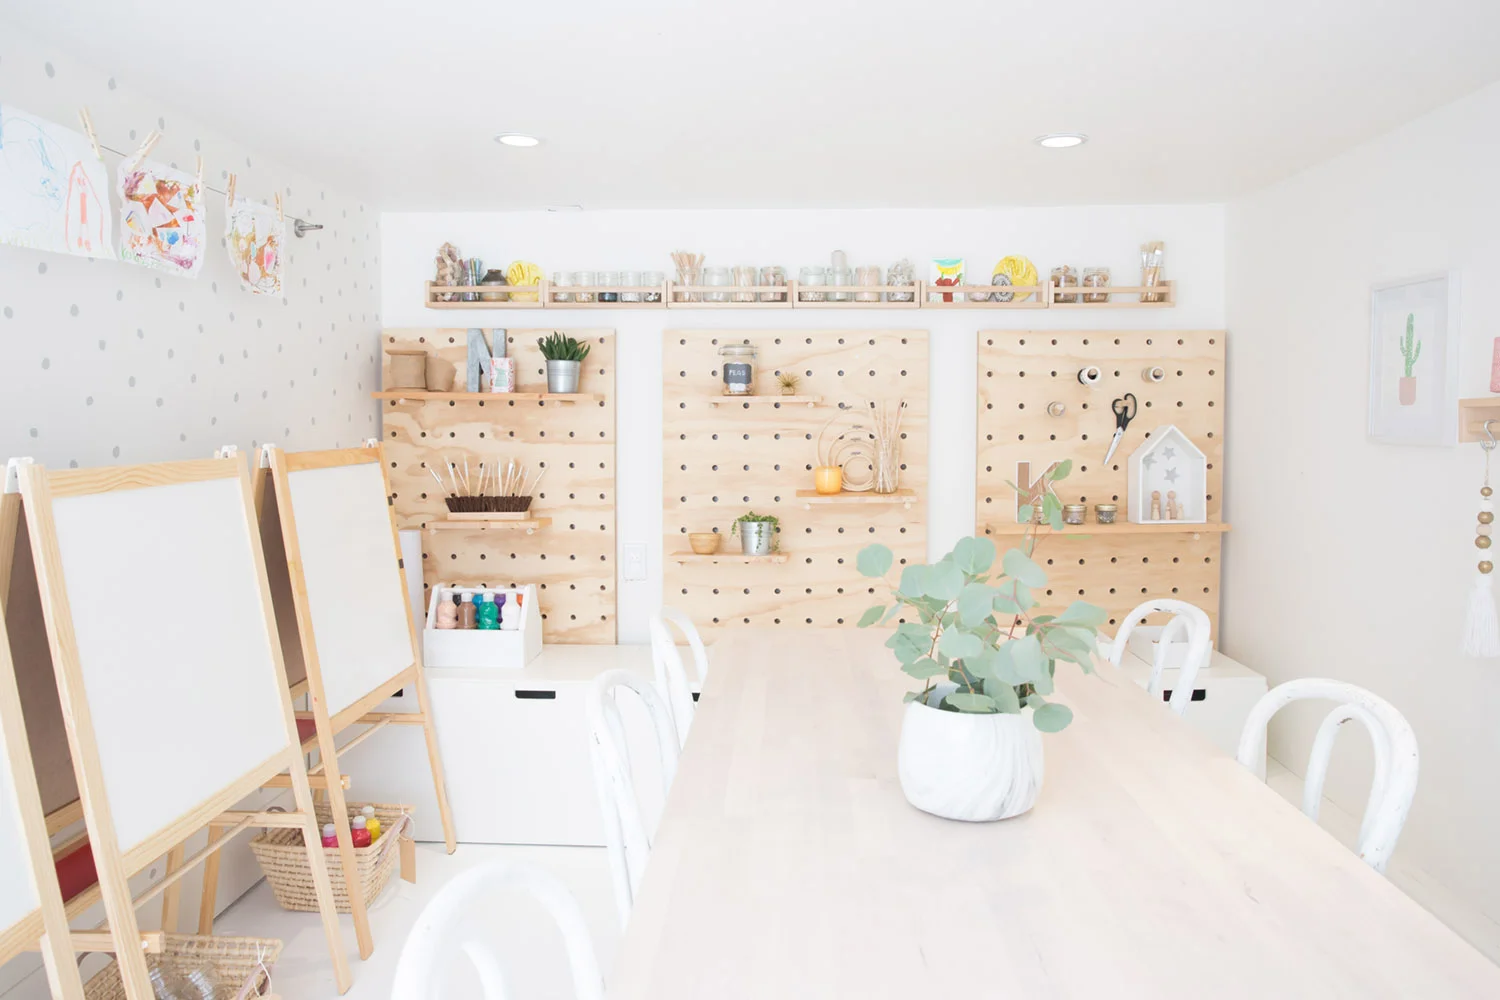

Wanting a way to whittle away the hours when the sun is too hot or a baby is napping? Creating a kids art space is the perfect thing! While the room may not stay as tidy and styled as it looks here, the fun and creativity that stems from having a place solely dedicated to art is worth every drop of paint and sticky mess you'll be cleaning up. Free-for-all paint may not work for every parent and every family home but I love the adventure it brings when kids get to decide exactly what they want to make with the supplies provided.
These are my favourite three home projects we've done so far that will create lasting childhood memories while keeping the kids entertained for endless hours. What other ways do you keep your kids busy in creative and imaginative ways over the summer? I'd love to hear in the comments below!
Happy Friday everyone!
SEE THE FULL PROJECT POSTS...


HOW TO DIY GIANT PEGBOARD!
Since posting our kids creative art space, I've been asked countless times where we found the giant pegboard!
We didn't buy these pegboards but had them made especially for the space. Instead of replying to each one of you, I thought writing a short post explaining our process could help all of you if you are interested in creating this look for your own home.
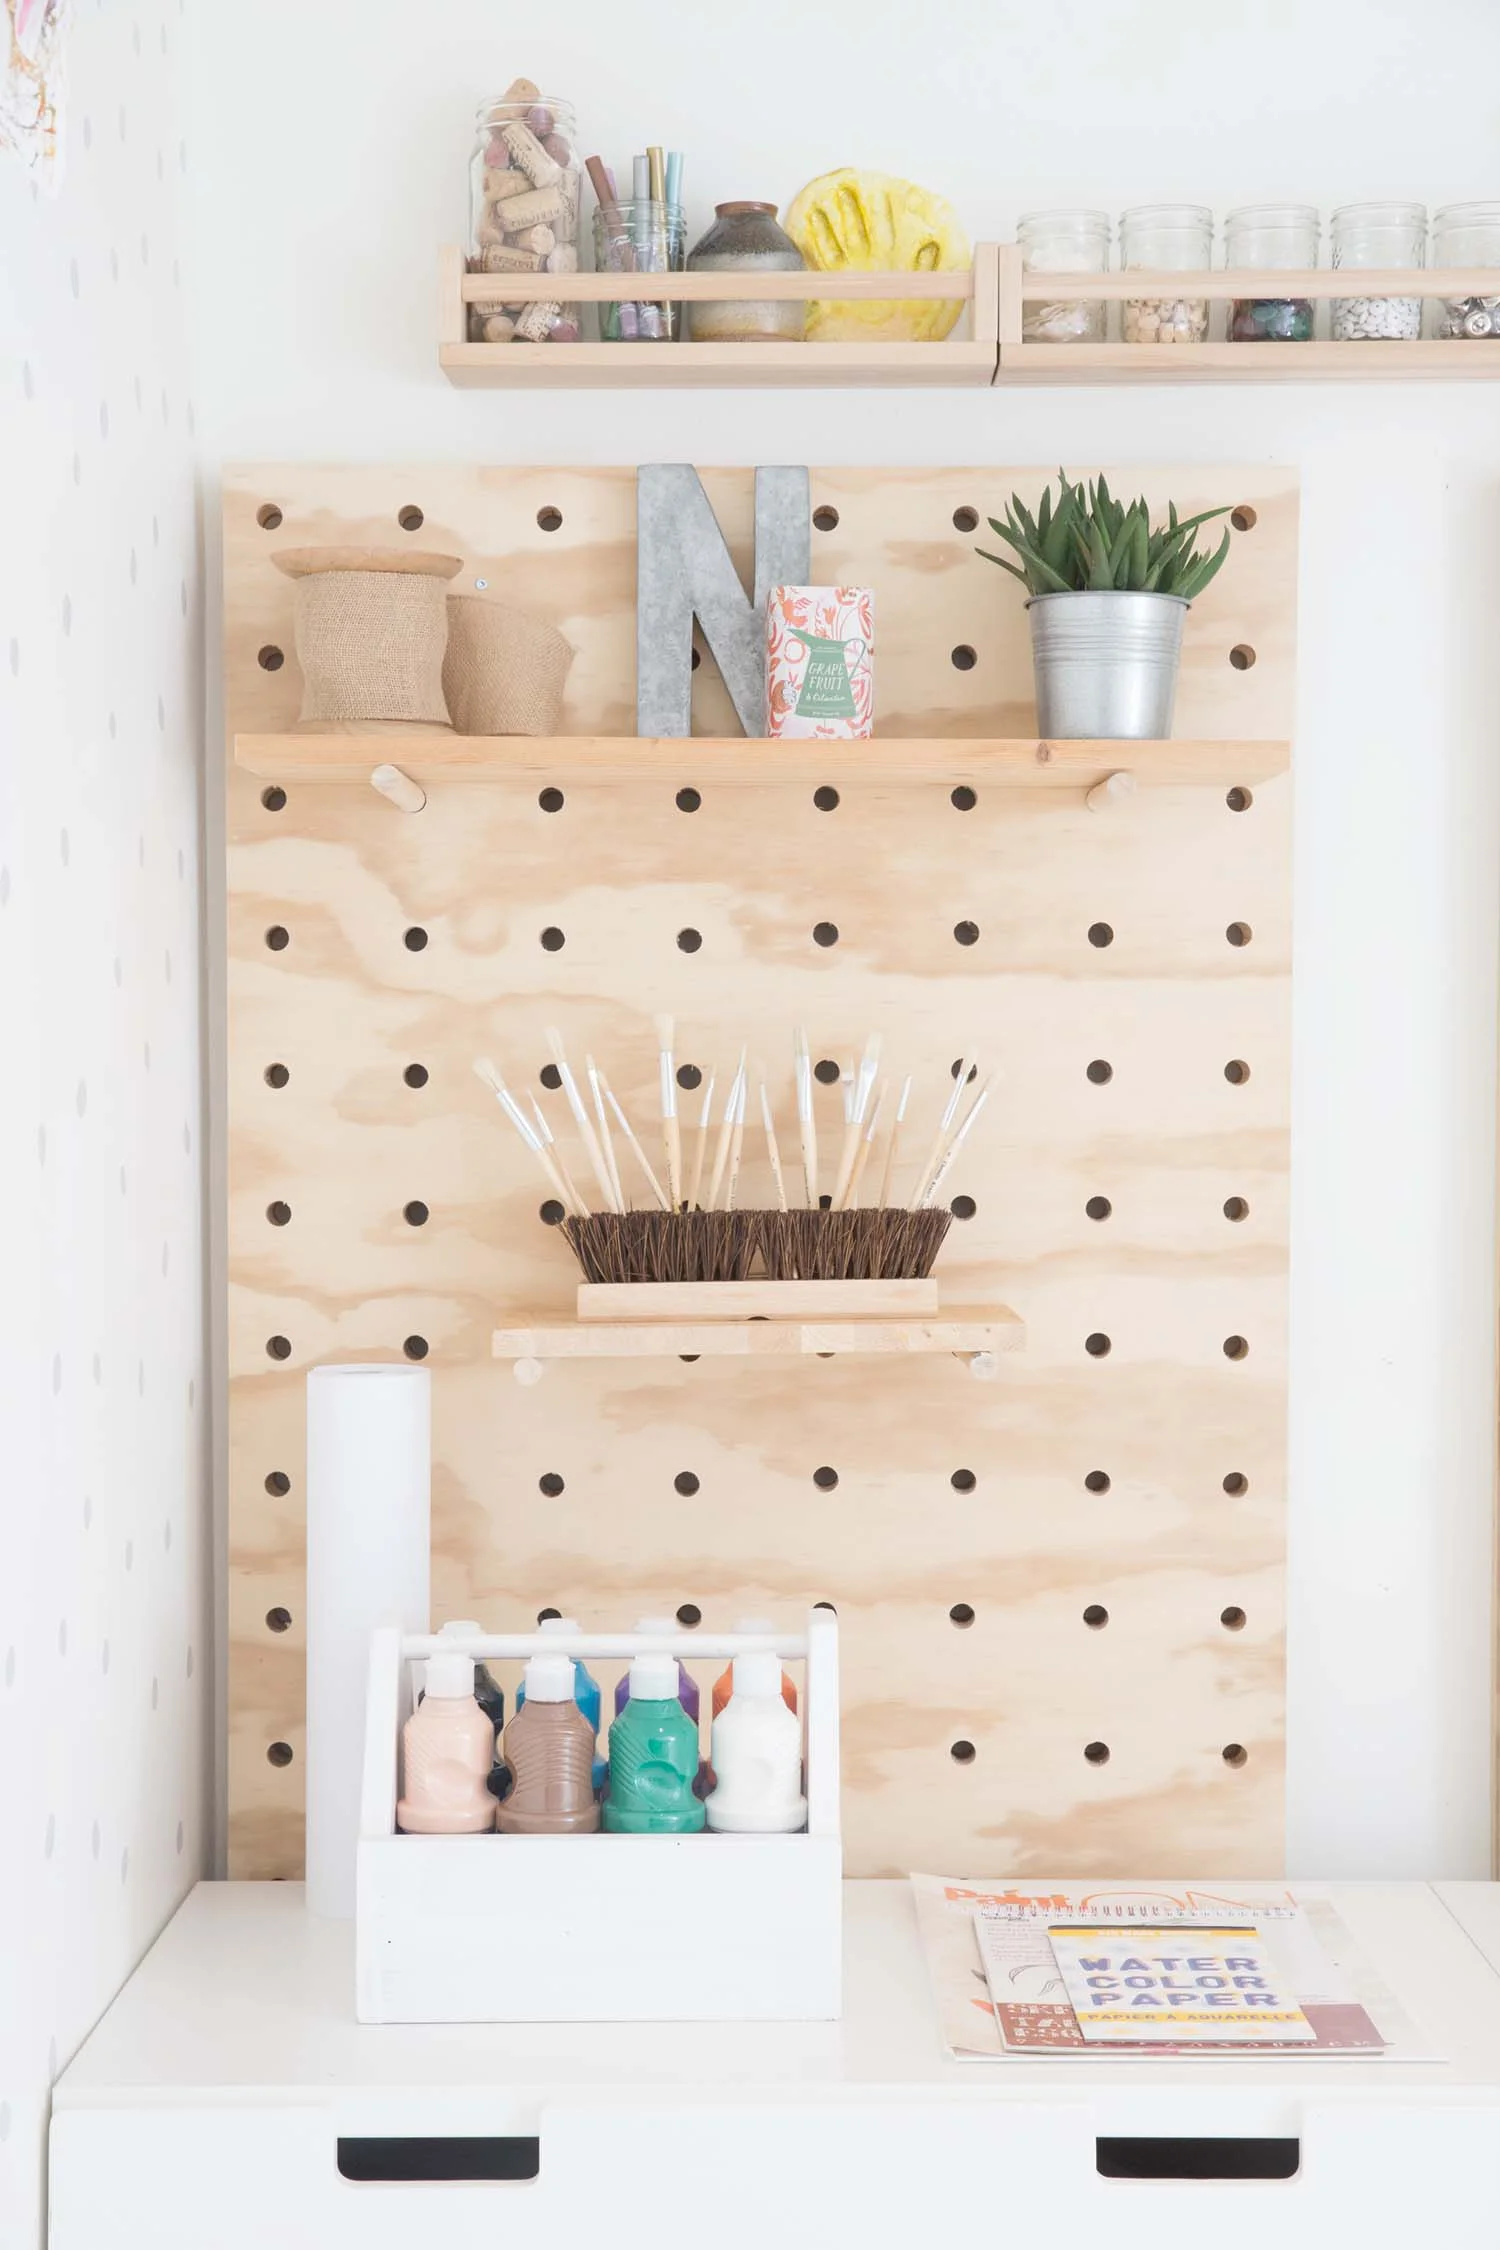
I started by using this amazing tutorial and modified it by adding a second board behind the first so that we could have shelves that hold much more weight, as you can see in the photo below.
Once the wood was purchased and cut (thanks Home Depot!), the next step was marking out where the holes would go and we did this with a black Sharpie marker and level. I decided on making the holes 4 inches apart and at least 2 inches from each edge and ensured the top holes were started at the same point on each board (so that it would look right to the eye once mounted).
With two boards, it allows the dowel to go through both boards and will therefore hold more weight. I also wanted a way to know if the kids had pulled a dowel out without the entire shelf falling to the floor. So far, nothing has moved an inch so it seems the boards are very solid yet still appear streamlined!
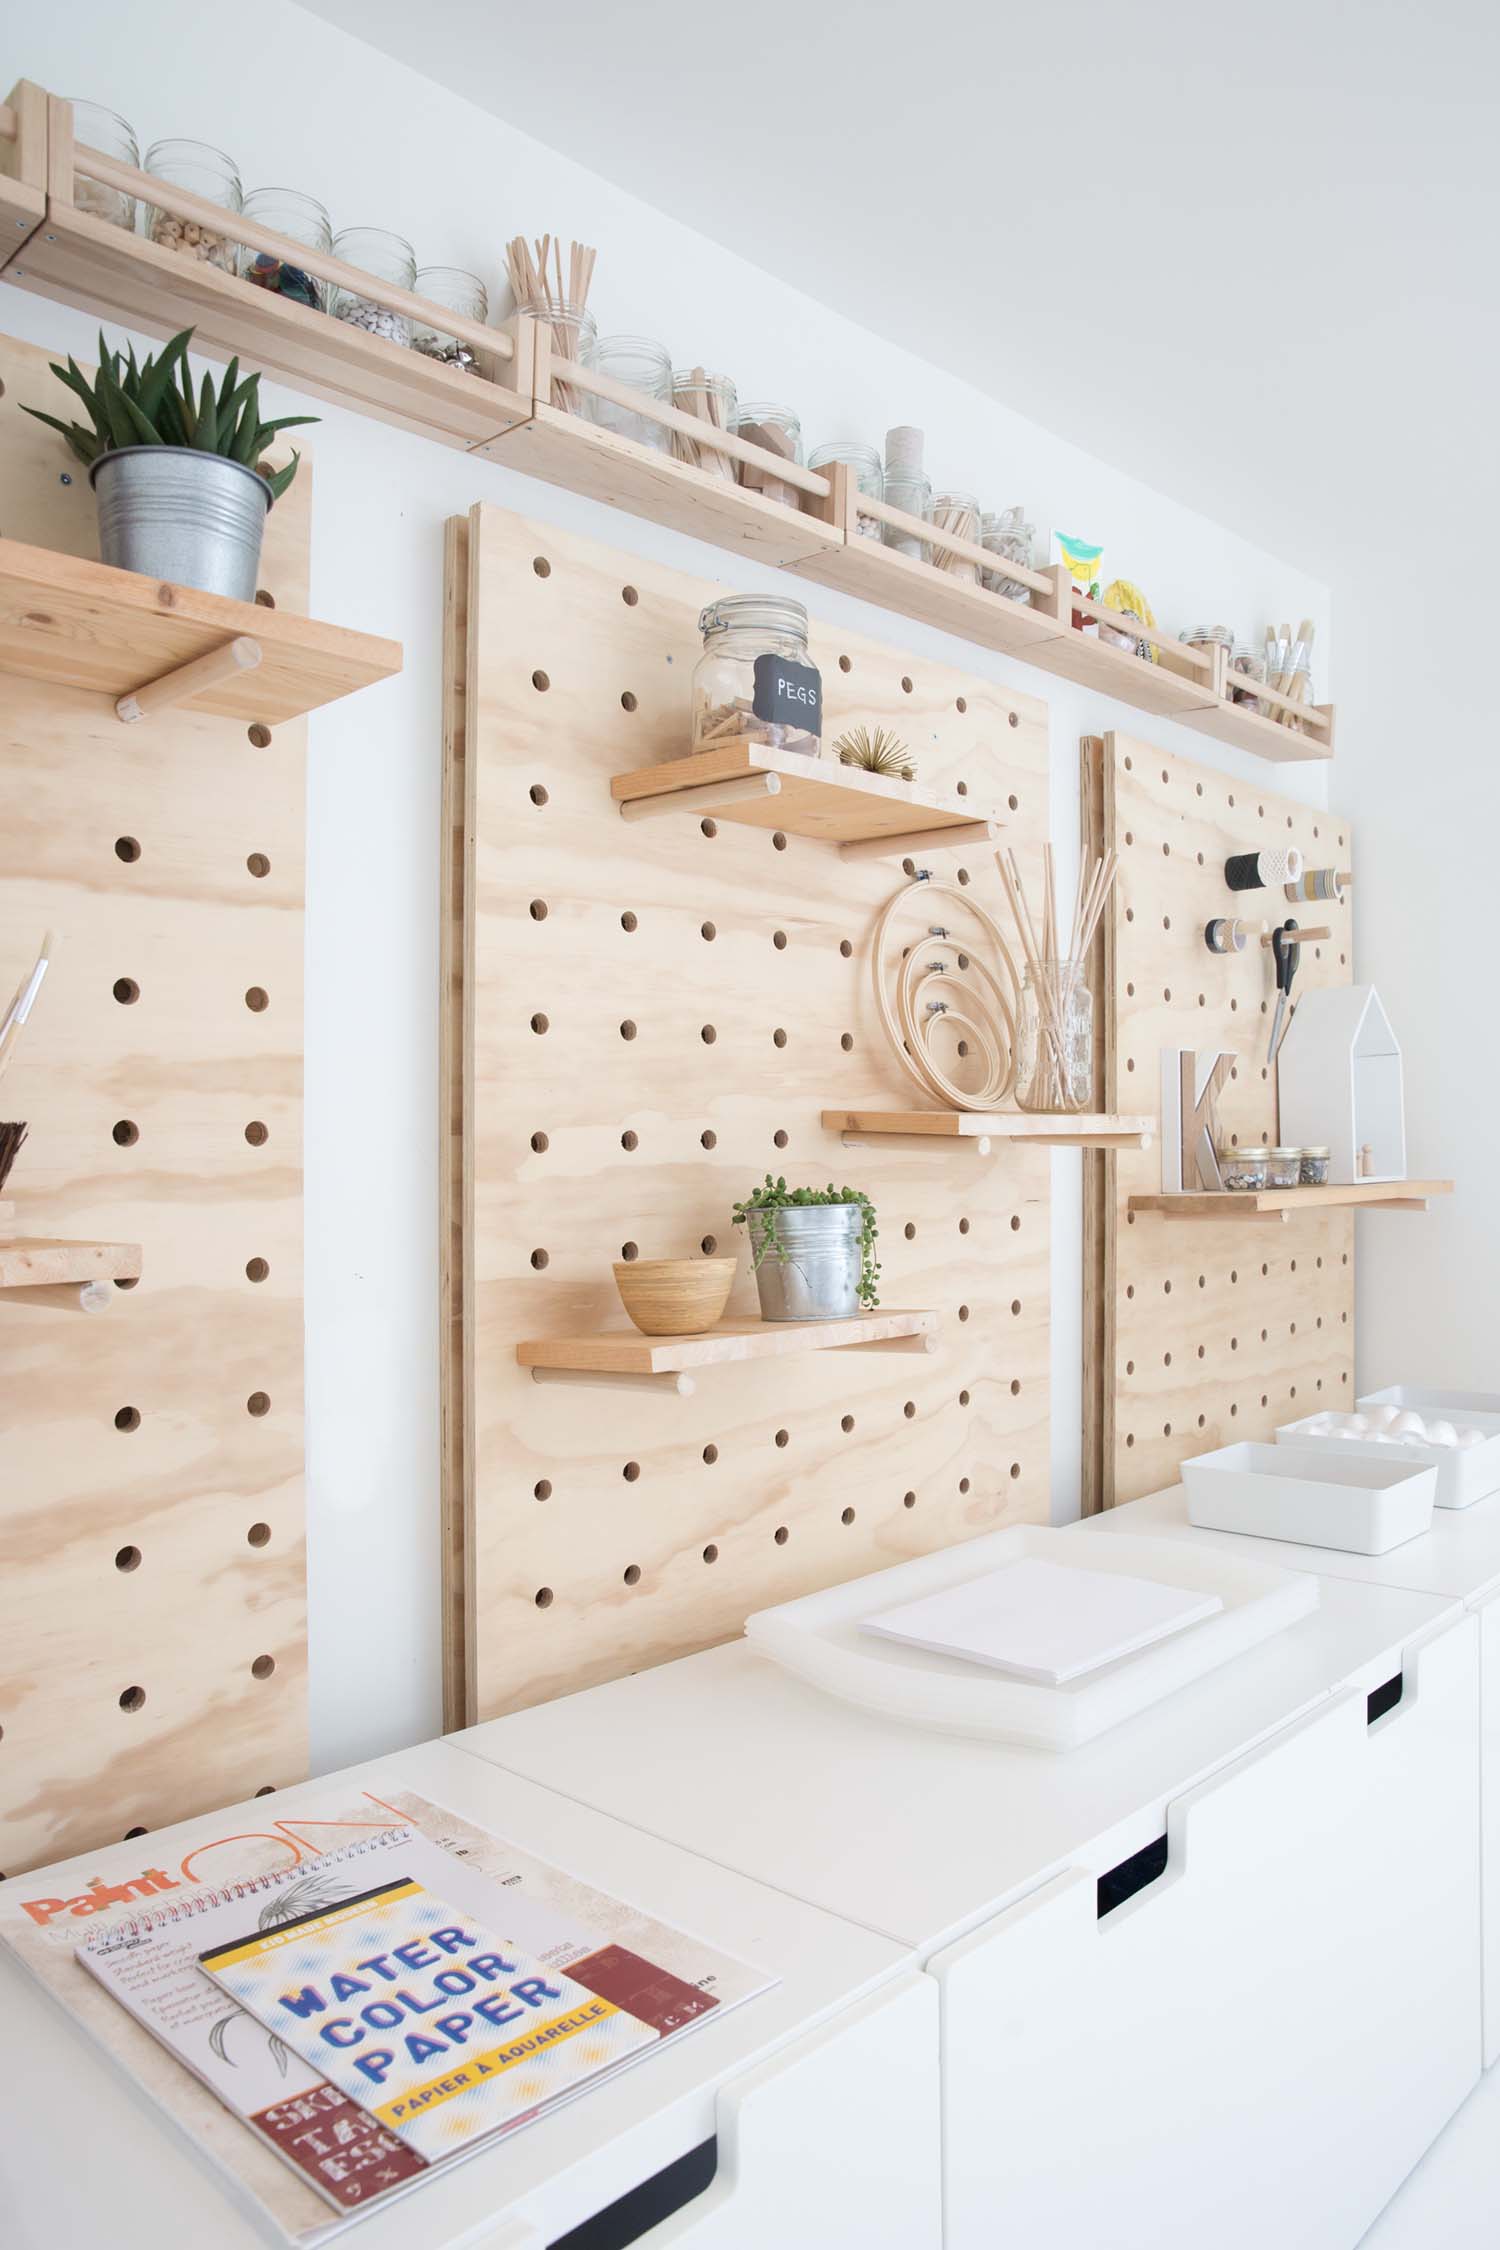
The boards are quite heavy and so the back board is drilled into a stud in at least one place on each pegboard and the front board is drilled onto the back board with a small piece of wood between to allow a bit of space and provide extra strength. All boards are sitting on a 2x4 at the bottom behind the storage drawers to add an extra support.
If you have any questions at all, please add them to the comments and I will answer them there!

HELLO!
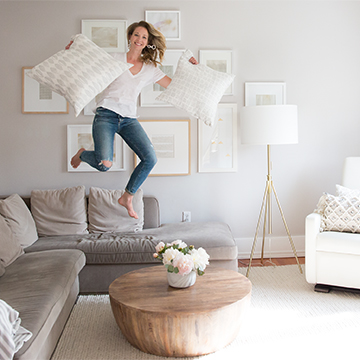
WINTER DAISY was created when Melissa Barling was laying on the couch while pregnant with twins. She dreamed of a beautiful baby room but couldn't get up and make it happen. The babies were born and in those mid night wakes and early morning feeds, she decided to leave her corporate job to start a design studio + blog. Welcome to WINTER DAISY.
Follow along on Instagram
POPULAR POSTS...


CATEGORIES
- BOOKS WE LOVE
- BOYS ROOMS
- DESIGN TIPS
- DIGITAL
- DIYs
- EFFICIENT MAMA
- FAVOURITE FINDS
- FREE PRINTABLES
- GARDENING WITH KIDS
- GIRLS ROOMS
- GIVEAWAYS
- HELLO
- HOLIDAY
- HOMESCHOOL SPACES
- HOW TO...
- I'M MELISSA
- INSPIRATION
- KID STYLE
- KIDS ROOMS
- MINI GATHERINGS
- MY FAMILY
- NURSERIES
- OH MONDAY!
- ORGANIZATION
- PICKS
- PLAYROOMS
- RECIPES
- RENTAL HOUSE
- RENTAL HOUSE #1
- RENTAL HOUSE #2
- RENTAL HOUSE #3
- REVIEWS
- ROUNDUPS
- SHARED ROOMS
- SHOPPING
- SHOPS WE LOVE
- STYLING
- TODDLER ROOMS
- TRENDS
- gift guide
SUBSCRIBE
Disclosure
WINTER DAISY BLOG contains affiliate links as well as advertising banners. I may receive a small commission on purchases made through links from this site. The content is always reflective of items, things and experiences that I genuinely like and I only work with companies whose aesthetic is in line with the WINTER DAISY brand.
Sponsored posts will always be clearly disclosed.