KIDS BATHROOM: WHERE WE ARE STARTING AND THE PLAN
Have you been following our bathroom renovation on Instagram? The kids bathroom in our rental house started out as a completely non-functional space for our family with three kids but we have a plan and I’m sharing it with you below.
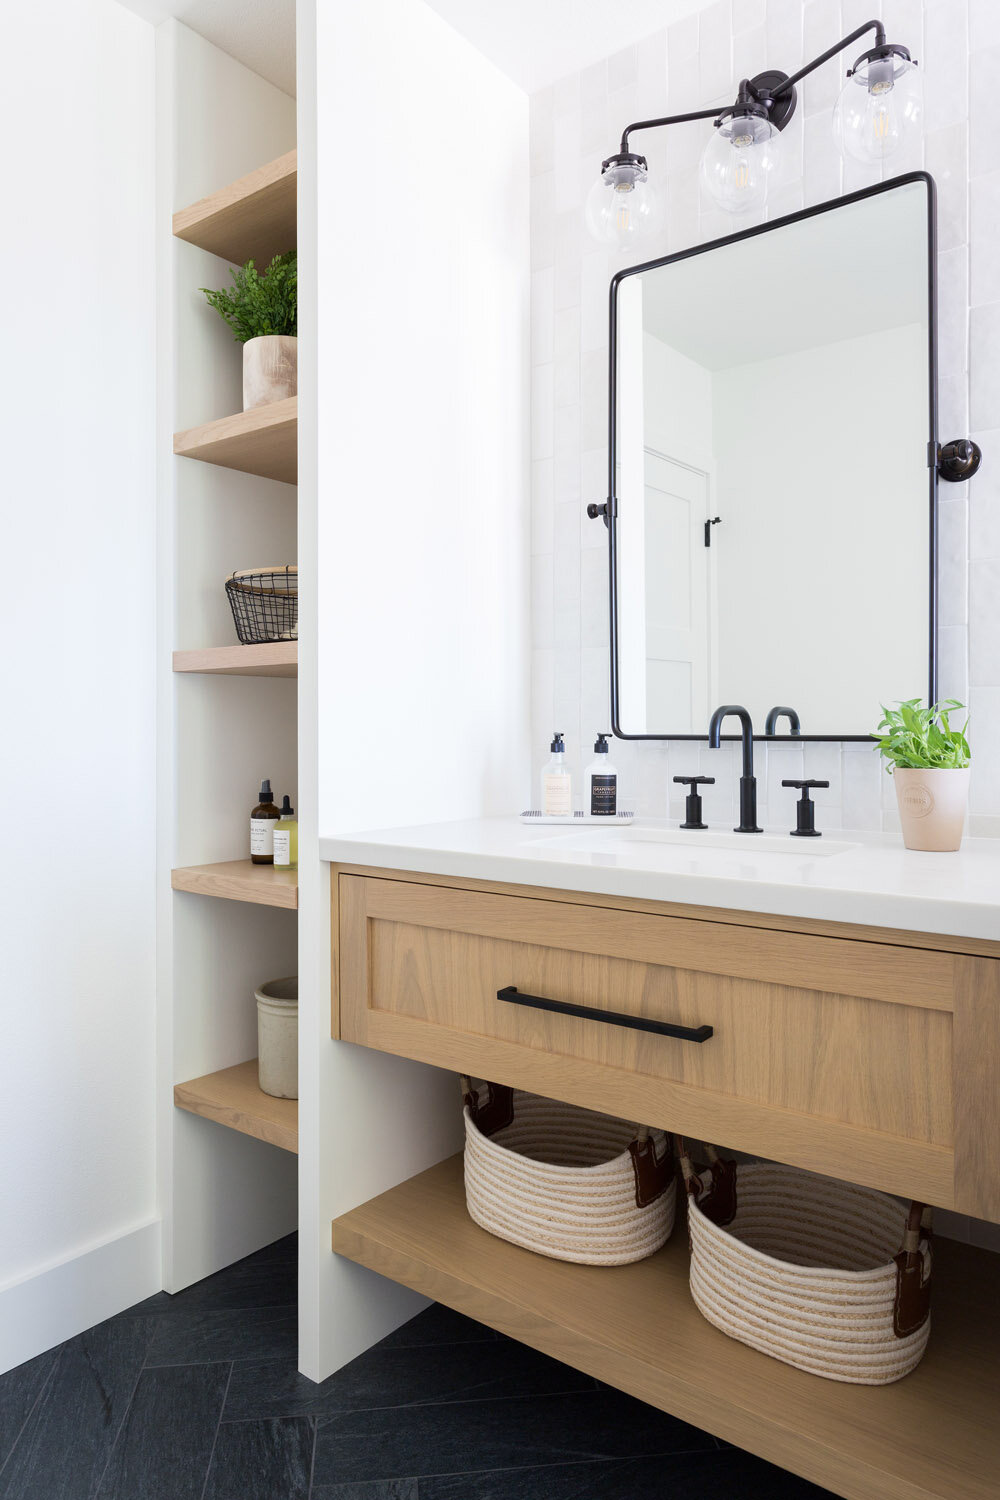
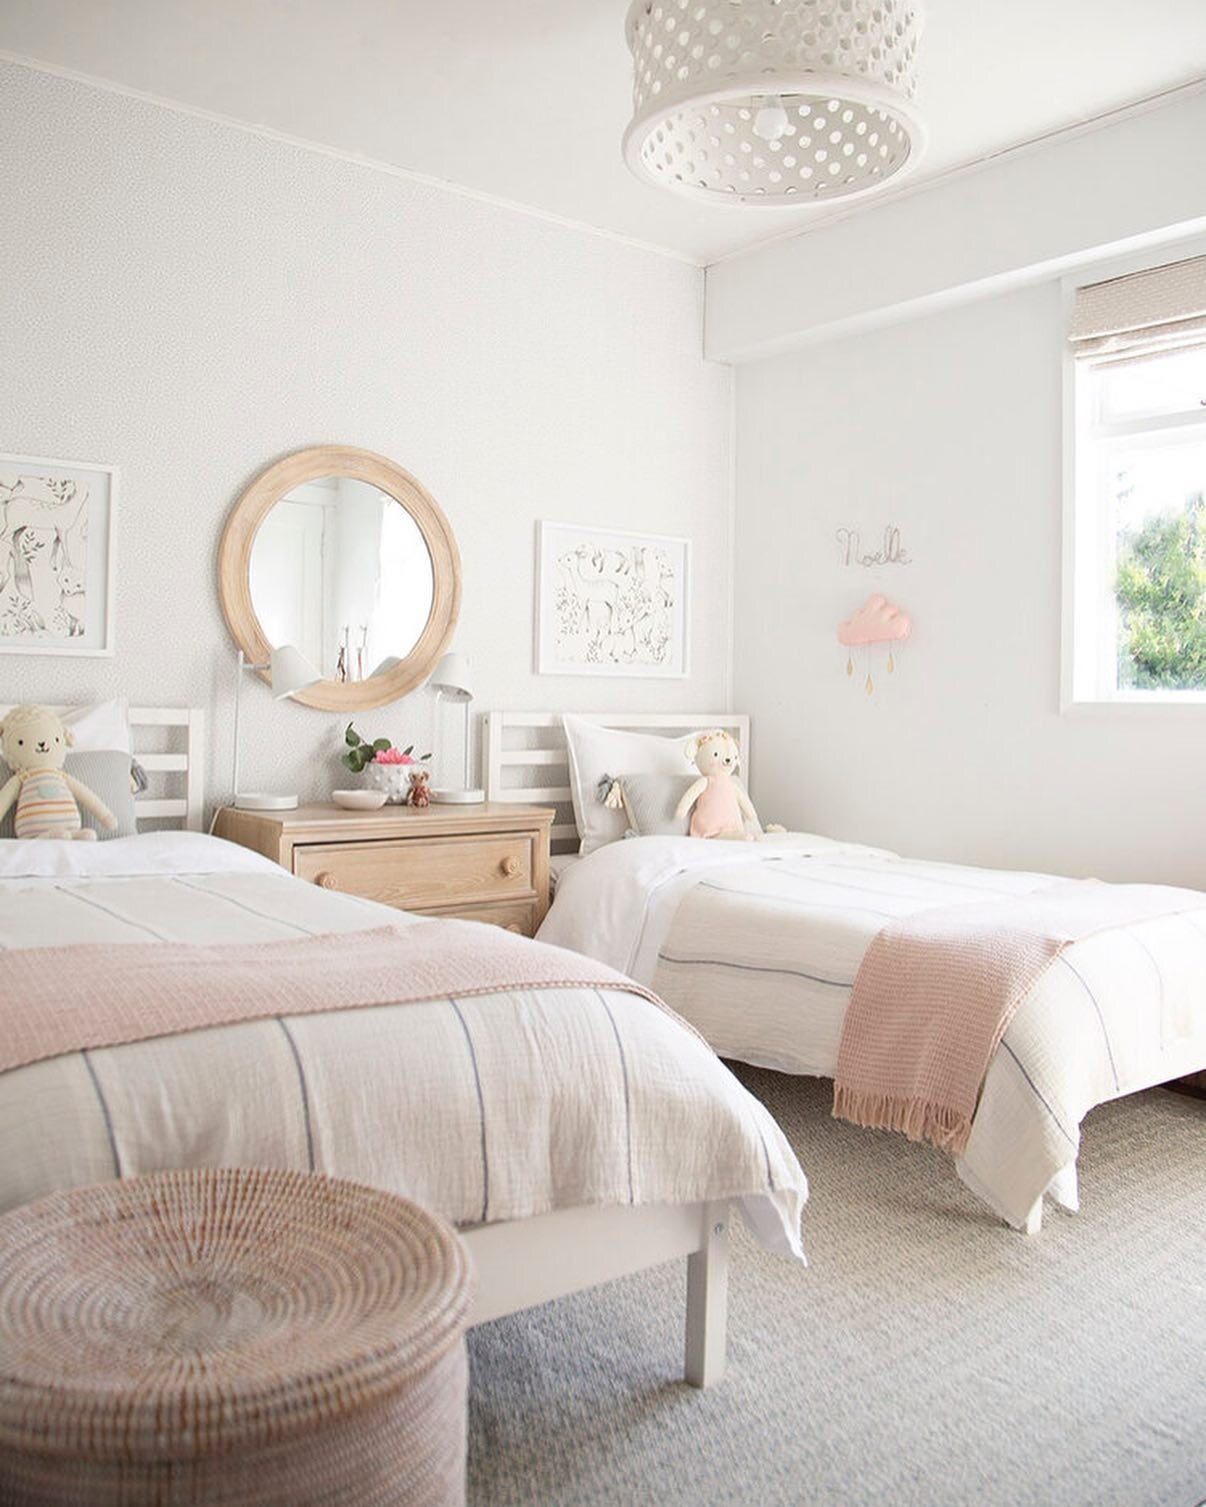
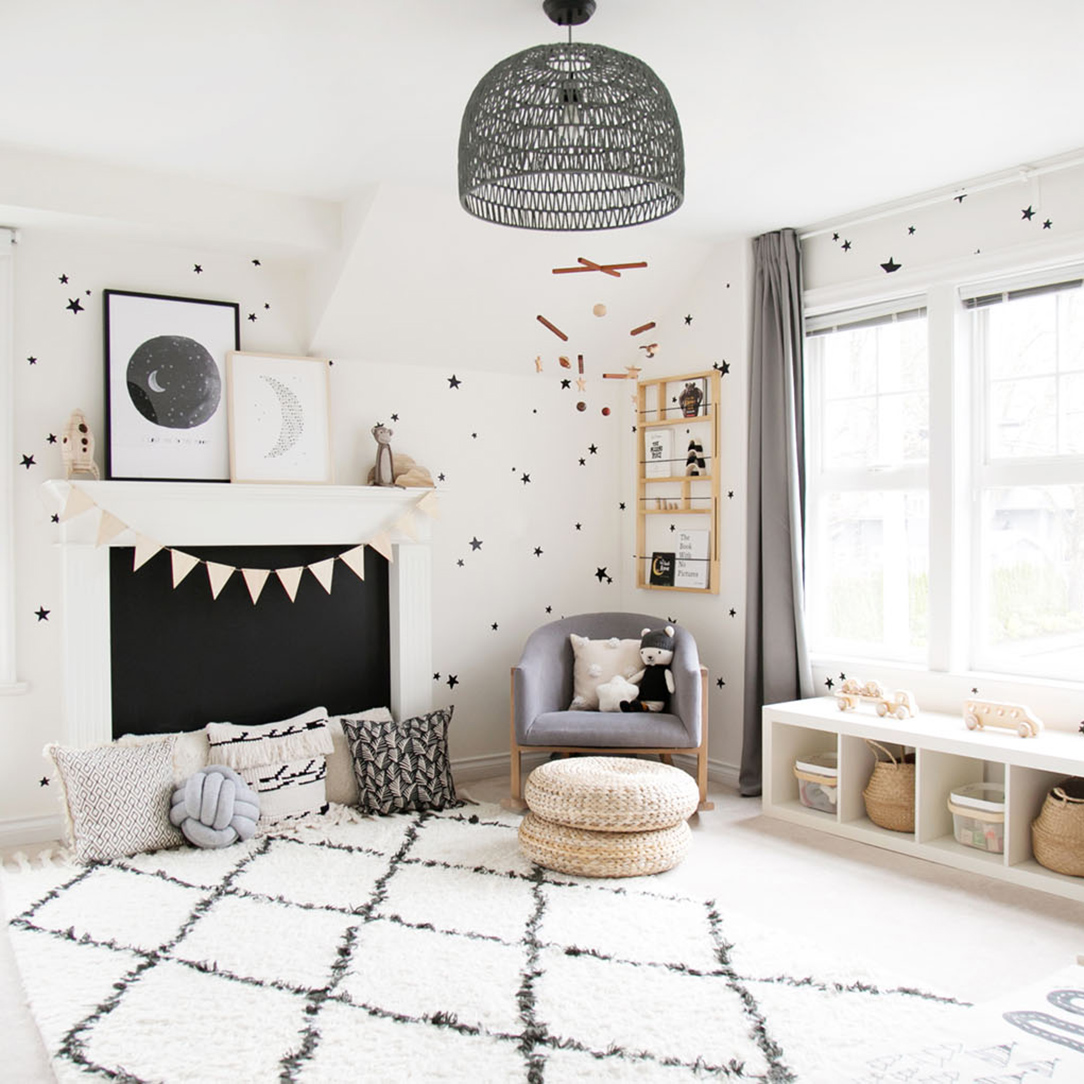
First, let’s start with some gorgeous bathroom inspiration that I used for this project!

Now, let’s take a step back and see where we started. This is the bathroom when we rented the house.

It really started out as such a non-functional space and likely the only reason that our family was lucky enough to rent this house; I said that as part of the rental, I would update the bathrooms! There was a decent amount of space here, but I truly have no idea how the previous owners functioned with it.
Let me break down the issues:
the door opens into the bathtub
the toilet and bathtub are brown!
the vanity is far too large for the space
the glass doors on the bathtub close off the space
the entry door opens into a person standing at the vanity, or getting out of the tub!
the tile is dirty and would be great to replace
Over the past week, I’ve been sharing the step-by-step process on Instagram stories, so let me update you in here in case you’ve missed out.
The entry door has been removed, the glass doors to the shower have been removed, the vanity and mirrors have been removed (photo on left) and the tile has been stripped out!
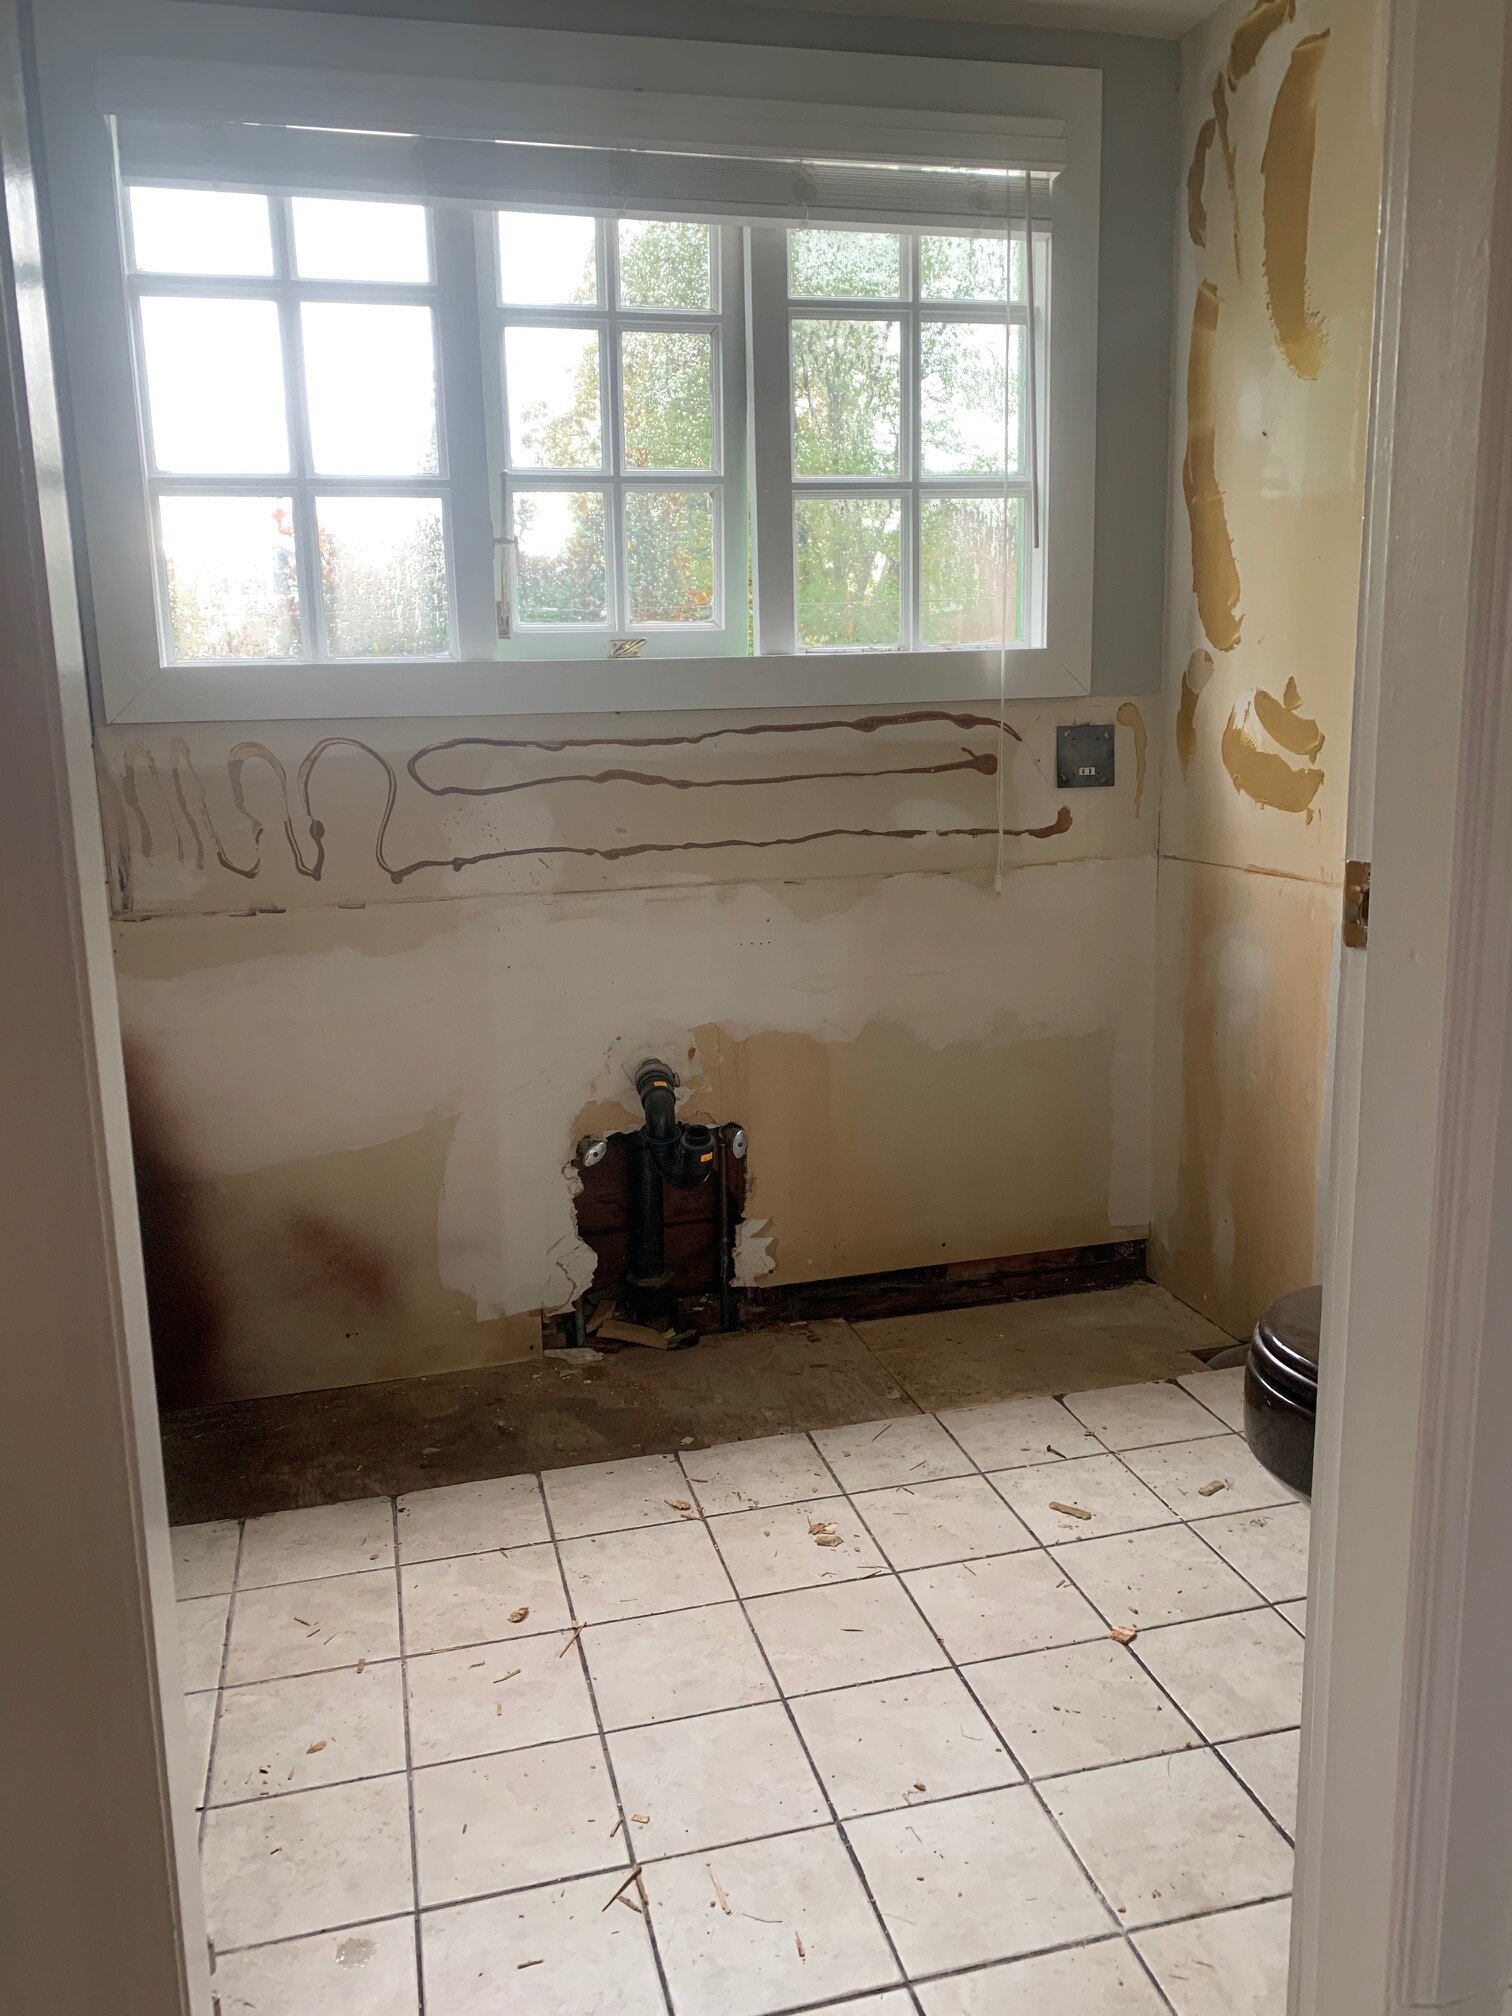

It’s amazing to see how far we’ve come already! I feel like you can actually see the space properly now and I can’t wait to start getting some of the new pieces in place.
So, what’s the plan? Well, one thing I won’t do in a rental is remove a bathtub (unless doing it with the owner) for fear of water damage. In this case, the tub is actually in pretty good shape and we will be having it refinished (a VERY cost effective way to refresh a tub). New tile will replace the old (our biggest cost) and yes, we will be replacing the brown toilet with a white one!
After perusing bathrooms online, I decided to really keep the colours simple and this was truly determined to find a very low cost tile for the floor and walls. Since using a professional to tile the bathroom would be our highest cost, I wanted to keep the cost of the actual tile to a minimum, as this is a rental after all.
You can imagine that white was a clear choice, and yes, the tub and walls will be white but I wanted to add something playful since this is the kids’ main bathroom and so we went for a bold patterned tile in black and white! I chose to add warmth through the vanity and you can see how the simple colours of black, white and wood go together in the board below.

1.// Boho shower curtain; 2.// Warm wood vanity; 3.// Black rim mirror; 4.// House tissue box; 5.// Black towel rail; 6.// Wood bath bar; 7.// Patterned floor tile; 8.// White subway tile; 9.// Light wood frames; 10.// Comb art print; 11.// Hairpin art print.
JASPER'S BEFORE AND AFTER NURSERY
This house is filled with character, right down to the pink ceiling! Tara and Ed had recently relocated from London, UK to Vancouver, Canada when they found out they were expecting a baby. With a busy work life and finding the vast number of options for a new baby overwhelming, they decided to enlist our SAVVY e-design package. Although this space is tiny (6 x 9.5 feet) and had green walls with pink trim and ceiling, they were undeterred. The room attracts lovely natural light and they wanted to create an oasis for their newborn.
It's incredible what a few coats of paint will do! Brightening up the walls and ceiling transform the light in the space.


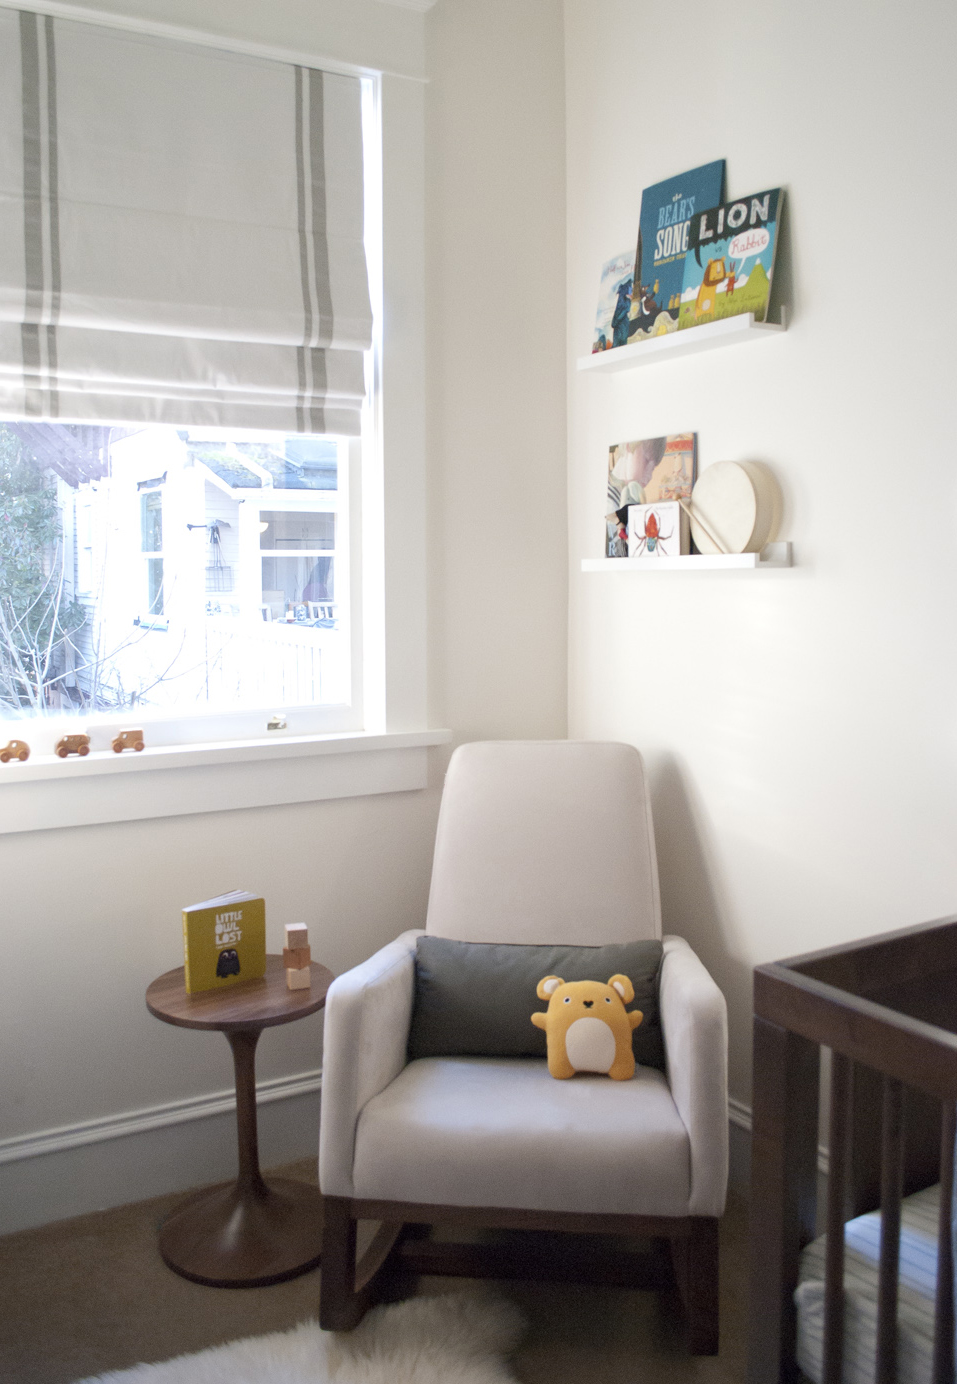


Isn't it amazing to see the difference? Since little Jasper will be flying back and forth between Europe and North America, Tara and Ed loved the idea of the Rifle Paper Co. prints from various cities they have previously visited. The little Maileg mouse and Noodoll were gifts from friends. Welcome to the world baby Jasper, I hope you love your new room!

HELLO!
WINTER DAISY was created when Melissa Barling was laying on the couch while pregnant with twins. She dreamed of a beautiful baby room but couldn't get up and make it happen. The babies were born and in those mid night wakes and early morning feeds, she decided to leave her corporate job to start a design studio + blog. Welcome to WINTER DAISY.
Follow along on Instagram
POPULAR POSTS...


CATEGORIES
- BOOKS WE LOVE
- BOYS ROOMS
- DESIGN TIPS
- DIGITAL
- DIYs
- EFFICIENT MAMA
- FAVOURITE FINDS
- FREE PRINTABLES
- GARDENING WITH KIDS
- GIRLS ROOMS
- GIVEAWAYS
- HELLO
- HOLIDAY
- HOMESCHOOL SPACES
- HOW TO...
- I'M MELISSA
- INSPIRATION
- KID STYLE
- KIDS ROOMS
- MINI GATHERINGS
- MY FAMILY
- NURSERIES
- OH MONDAY!
- ORGANIZATION
- PICKS
- PLAYROOMS
- RECIPES
- RENTAL HOUSE
- RENTAL HOUSE #1
- RENTAL HOUSE #2
- RENTAL HOUSE #3
- REVIEWS
- ROUNDUPS
- SHARED ROOMS
- SHOPPING
- SHOPS WE LOVE
- STYLING
- TODDLER ROOMS
- TRENDS
- gift guide
SUBSCRIBE
Disclosure
WINTER DAISY BLOG contains affiliate links as well as advertising banners. I may receive a small commission on purchases made through links from this site. The content is always reflective of items, things and experiences that I genuinely like and I only work with companies whose aesthetic is in line with the WINTER DAISY brand.
Sponsored posts will always be clearly disclosed.