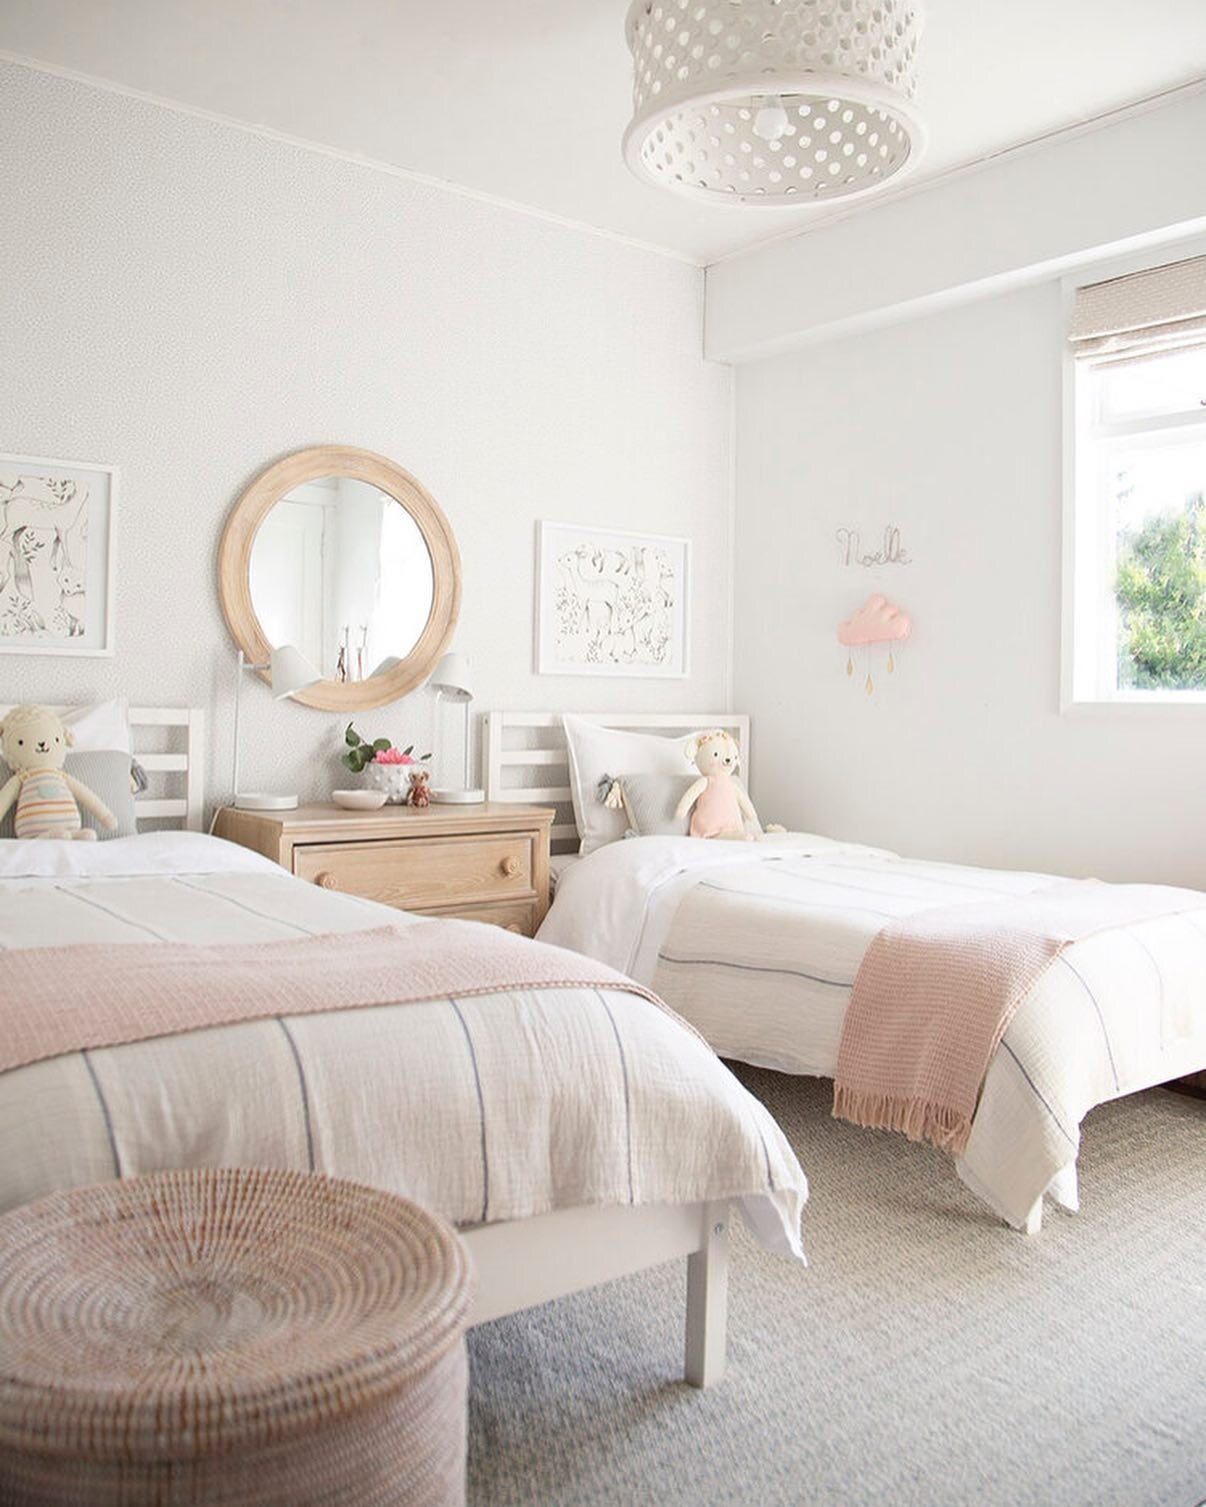
GIVEAWAY!!!
If you've been following along on Instagram, you'll know I have a GIVEAWAY going on in collaboration with the timing of the Vancouver Home and Garden Show. We were given 2 Ikea crates, a $50 Visa gift card and some Rustoleum paint to create anything! I designed this little shelf for a nursery or kids room that you can see in person at the Home Show this week at BC Place and that will be GIVEN AWAY to one local follower.

The IKEA knagglig crates are only $6.99!!! Create the look for yourself by shopping the items below.

01. // IKEA crate; 02. // Magic bunny; 03. // Bunny softie; 04. // Penguin softie; 05. // Dream sign; 06. // Sweet book; 07. // Outdoor book; 08. // Star garland.
PRETTIEST PERSONALIZED DIY STAR ORNAMENT
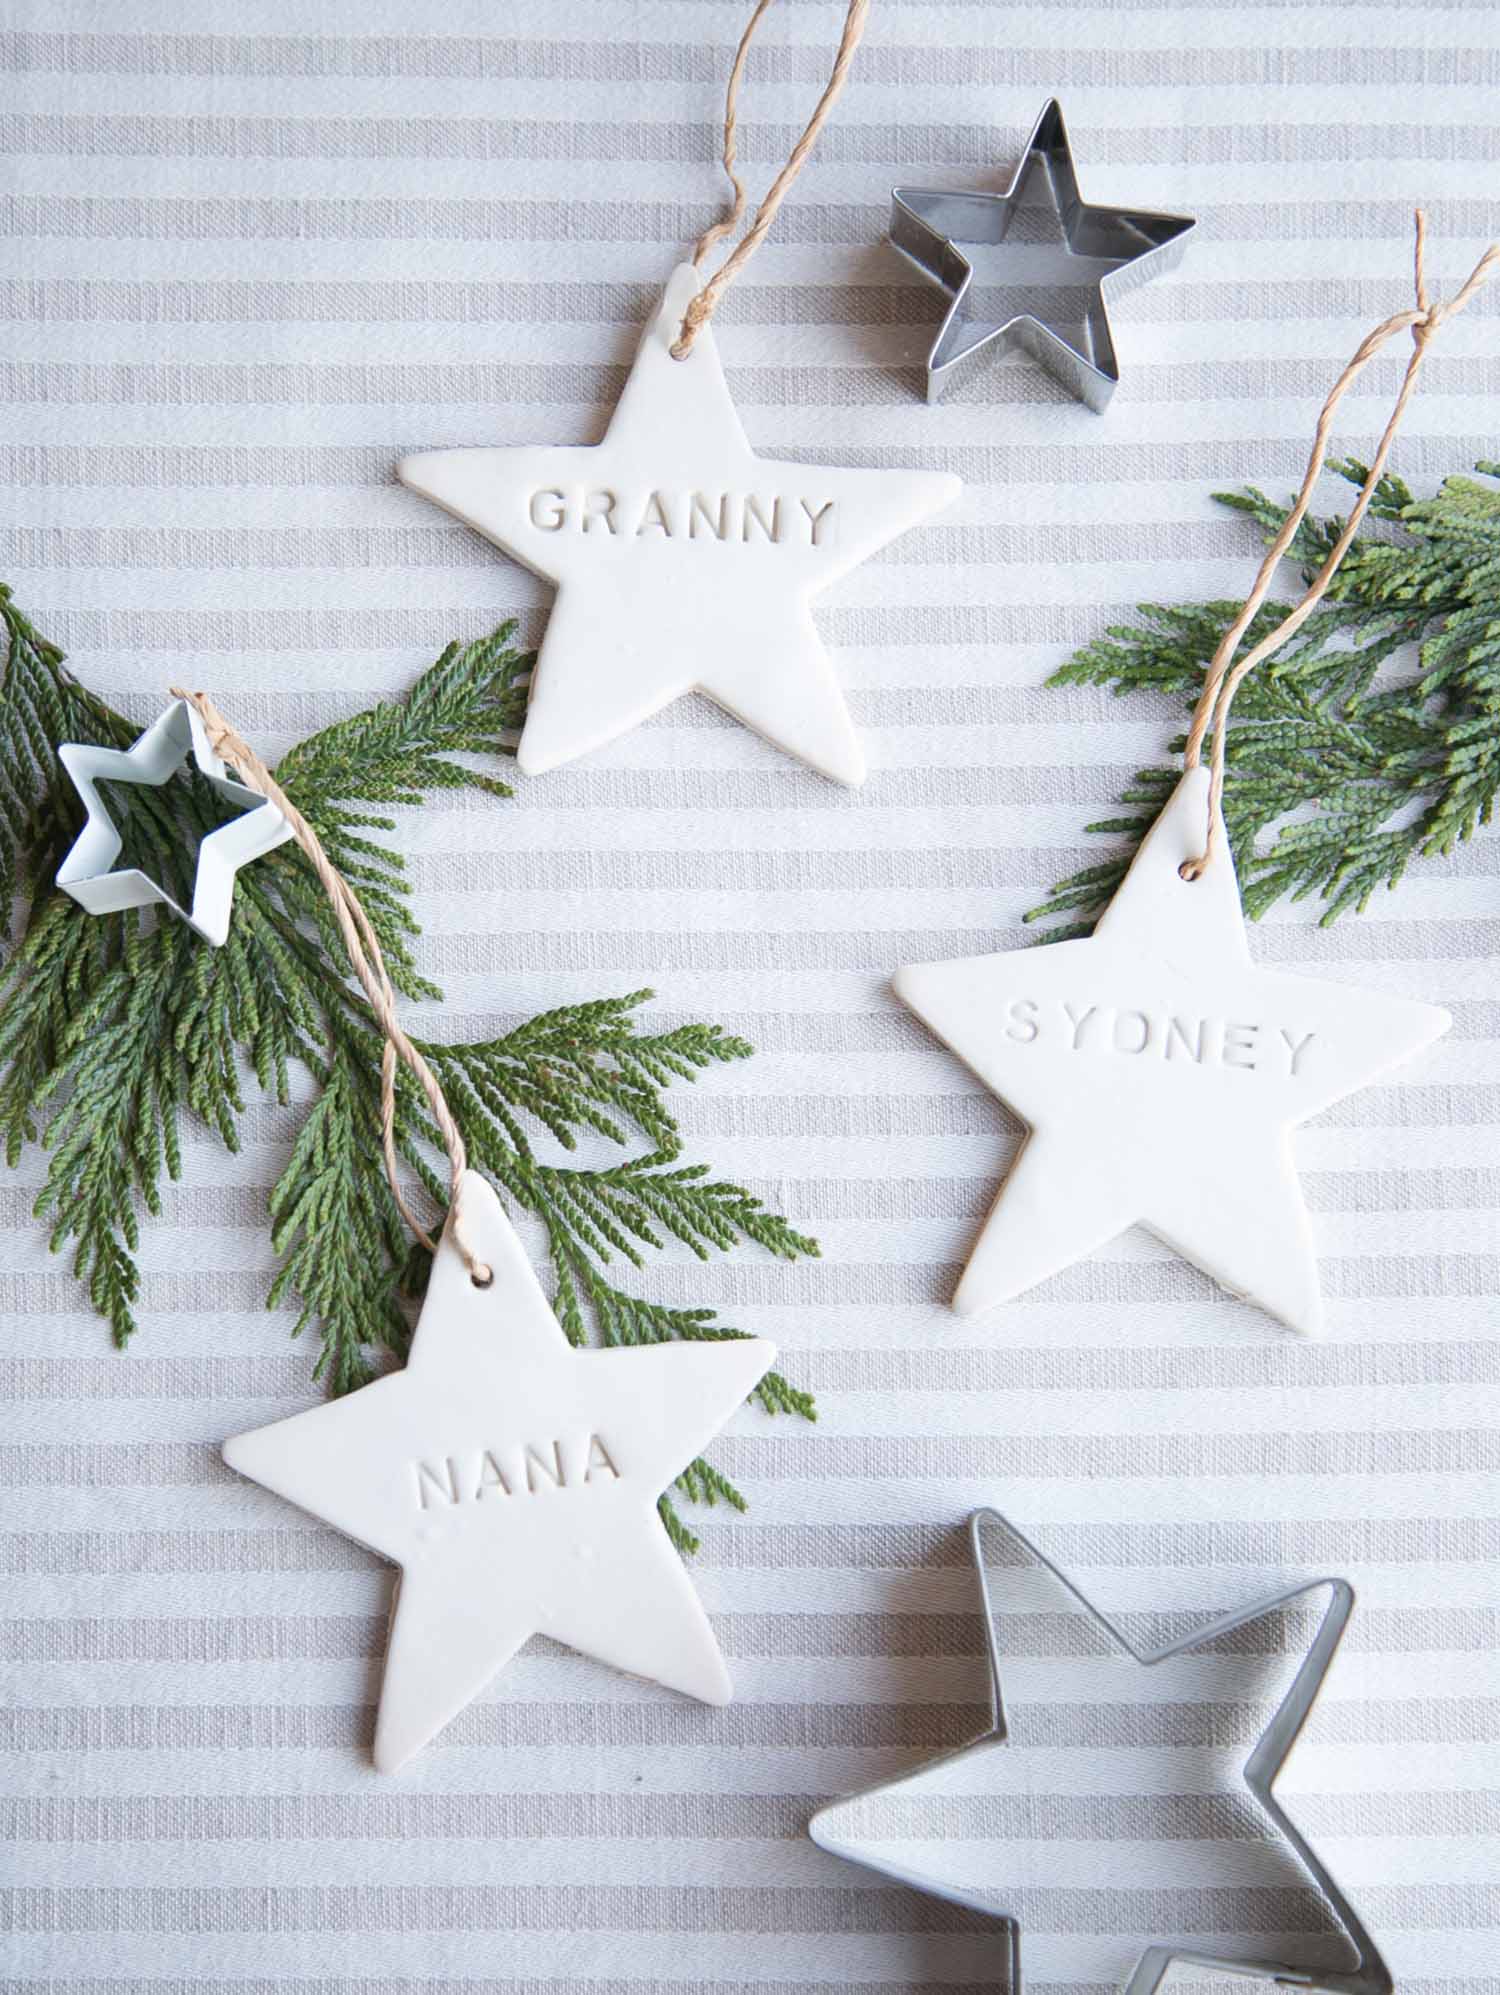


Looking for a quick, personalized DIY gift you can achieve by Christmas (yes really!)? This easy clay star ornament or gift topper is sure to make anyone on your list feel special!!! I love how these turned out!
Items needed:
How to make:
Step 1: Preheat oven to 275 degrees Fahrenheit
Step 2: Warm clay in your hands
Step 3: Roll clay to 1/4" thick
Step 4: Use cookie cutter to cut out star shape
Step 5: Emboss name on star (be sure you have the letters inserted correctly) and poke hole for string
Step 6: Bake according to time on box (I did for a few minutes less)
Step 7: Remove ornaments from oven, allow to cool
Step 8: Tie on string and voila!
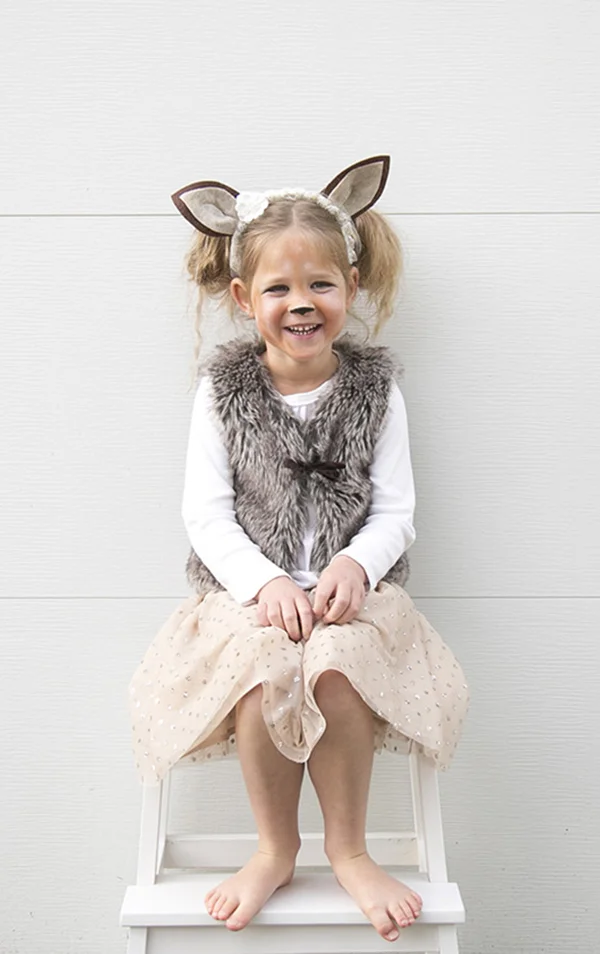
KIDS HALLOWEEN COSTUMES
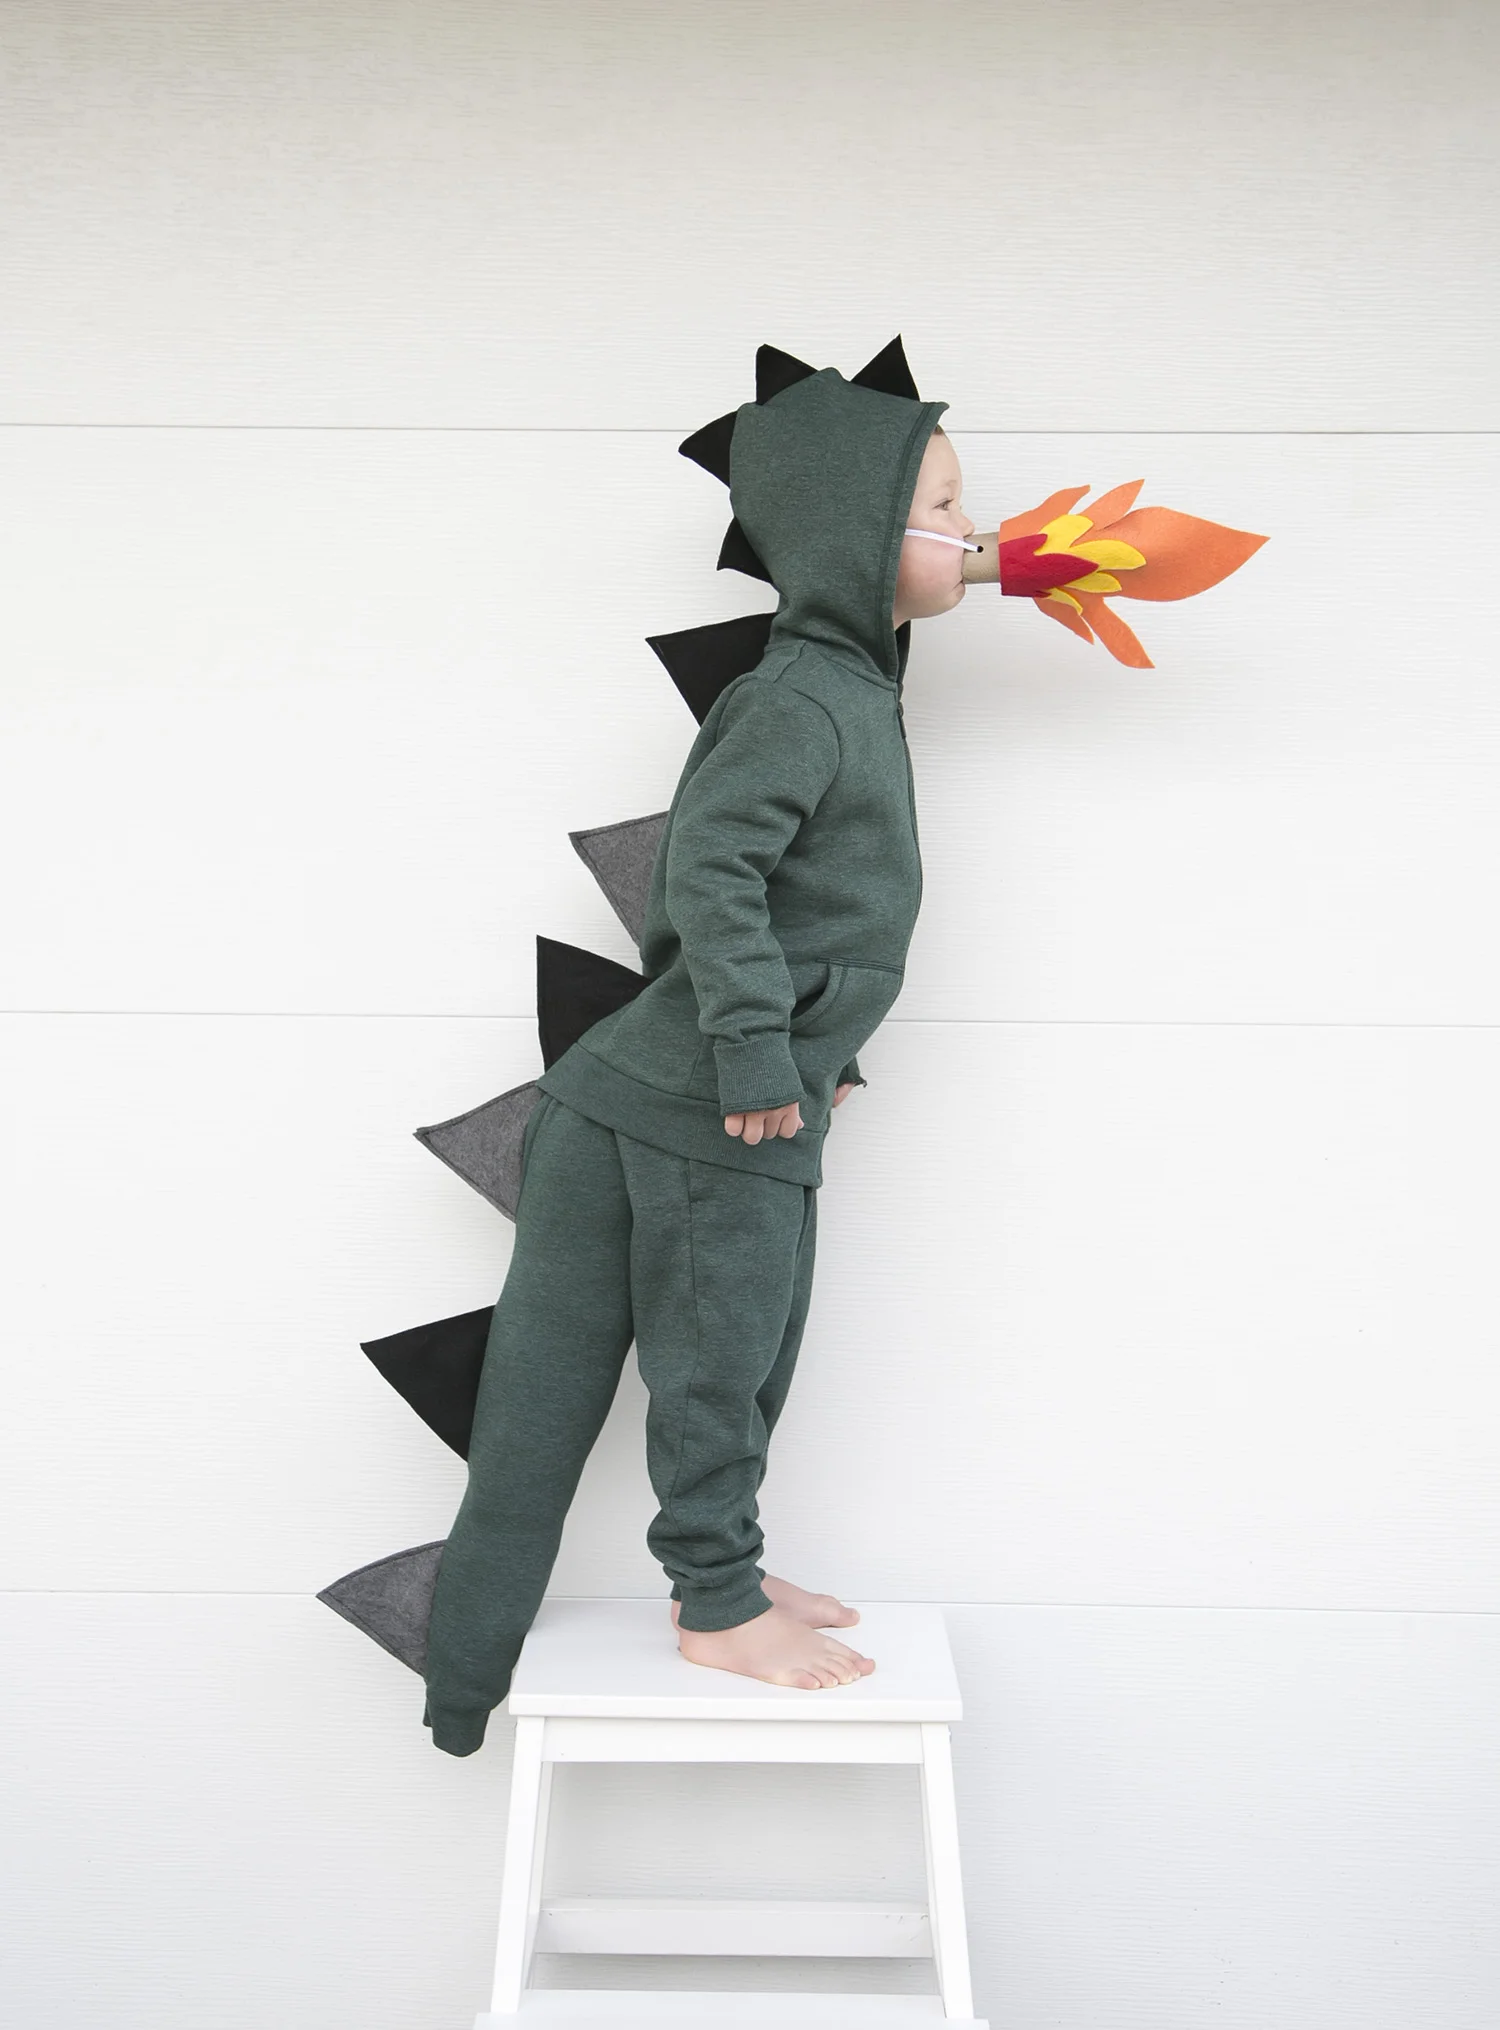
Up until yesterday, we didn't have costumes! I took this super easy DIY costume idea from over at the hello, Wonderful blog and adjusted it to fit Xavier's request of a green dragon with black spikes and fiery breath! He LOVED it! A few friends have asked how I get him to do these poses and I thought I'd share a few tricks. My husband is standing far right telling him he's a good, nice dragon (he doesn't want to be) and he is instantly trying to ROAR back with his fiery breath, saying he is very tough, enabling the perfect photo op! Rest assured he was absolutely bribed with Halloween candy too (he is a third child after all!).

The girls on the other hand were so excited to have their twin baby fawn costumes finally ready that they wanted the photos taken so they can look back on them through the year. The head bands were a quick glue gun job and the clothes were existing they already had.


We had so much fun this weekend with the kids being excited about dressing up, carving pumpkins, eating seeds and talking about the magic of Halloween...going out at dusk, playing with neighbourhood friends and yes, of course, eating candy.
Happy Halloween...xo
HEART TREE DIY...

Everyone loves an easy DIY and this one is just that! On a rainy Friday afternoon, with the help of my 4 year olds, we created this pretty Valentine’s Day tree. To make it, you will need the following ingredients…
You’ll need:
- paper (construction paper didn’t work well; scrapbooking paper is great)
- scissors
- stapler
- string
- tree branches
- spray paint
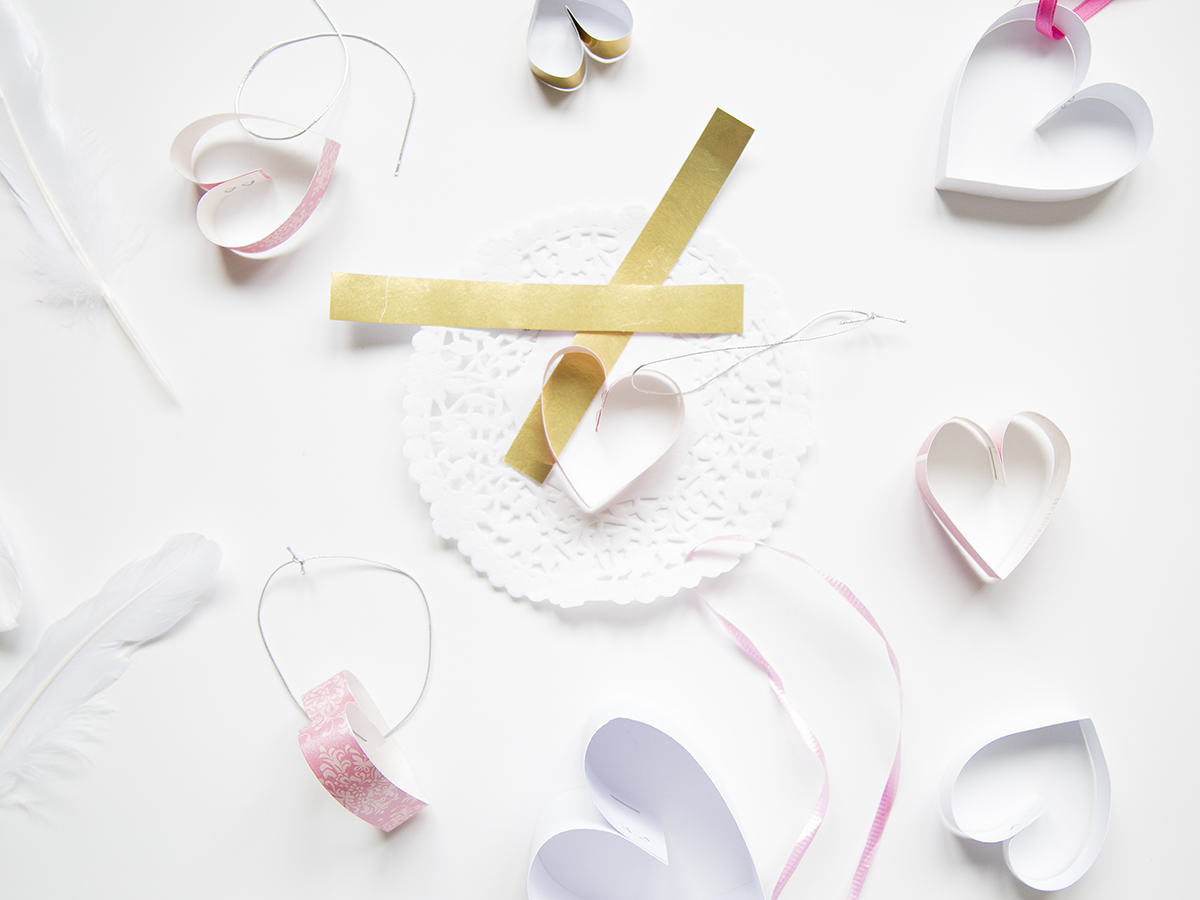
Here’s how:
1. Take your tree branches (make sure they are perfectly dry) and spray them with white paint (or gold, or any colour you wish).
2. Have your kids help cut strips of varying sizes in various colours (we used white, gold, and a variety of leftover pink patterned papers.
3. Fold the paper in half, then pinch in the open top to make a heart shape.
4. Staple!
5. Tie string and hang on your tree.
Enjoy!


HELLO!
WINTER DAISY was created when Melissa Barling was laying on the couch while pregnant with twins. She dreamed of a beautiful baby room but couldn't get up and make it happen. The babies were born and in those mid night wakes and early morning feeds, she decided to leave her corporate job to start a design studio + blog. Welcome to WINTER DAISY.
Follow along on Instagram
POPULAR POSTS...


CATEGORIES
- BOOKS WE LOVE
- BOYS ROOMS
- DESIGN TIPS
- DIGITAL
- DIYs
- EFFICIENT MAMA
- FAVOURITE FINDS
- FREE PRINTABLES
- GARDENING WITH KIDS
- GIRLS ROOMS
- GIVEAWAYS
- HELLO
- HOLIDAY
- HOMESCHOOL SPACES
- HOW TO...
- I'M MELISSA
- INSPIRATION
- KID STYLE
- KIDS ROOMS
- MINI GATHERINGS
- MY FAMILY
- NURSERIES
- OH MONDAY!
- ORGANIZATION
- PICKS
- PLAYROOMS
- RECIPES
- RENTAL HOUSE
- RENTAL HOUSE #1
- RENTAL HOUSE #2
- RENTAL HOUSE #3
- REVIEWS
- ROUNDUPS
- SHARED ROOMS
- SHOPPING
- SHOPS WE LOVE
- STYLING
- TODDLER ROOMS
- TRENDS
- gift guide
SUBSCRIBE
Disclosure
WINTER DAISY BLOG contains affiliate links as well as advertising banners. I may receive a small commission on purchases made through links from this site. The content is always reflective of items, things and experiences that I genuinely like and I only work with companies whose aesthetic is in line with the WINTER DAISY brand.
Sponsored posts will always be clearly disclosed.