HOW TO CREATE A SCHOOL MEMORY BOX!
I can hardly believe that we are more than halfway through September and that the school year is well underway. I love a fresh start and I always feel like September is the ideal opportunity for a reset. It’s the perfect chance to start a good organization project and today, I’m excited to share a project that I put together over the summer: school memory boxes for our kids! I really wanted to start this year with a place for all of their art, report cards, work we’ve kept and awards they’ve earned in one happy place. This school memory box is something I have only just discovered is ‘a thing’ and even though our kids are 8 and 10, I approached this project with the same motto I approach life…it’s never too late!

SHOP THE POST…
While this is definitely not the least expensive project I’ve done, I think it’s well worth it to have a memory box that you can hand your children later in life that documents their school years in a really practical way.

Ready to make your own school memory box? Let me walk you through how I did it.
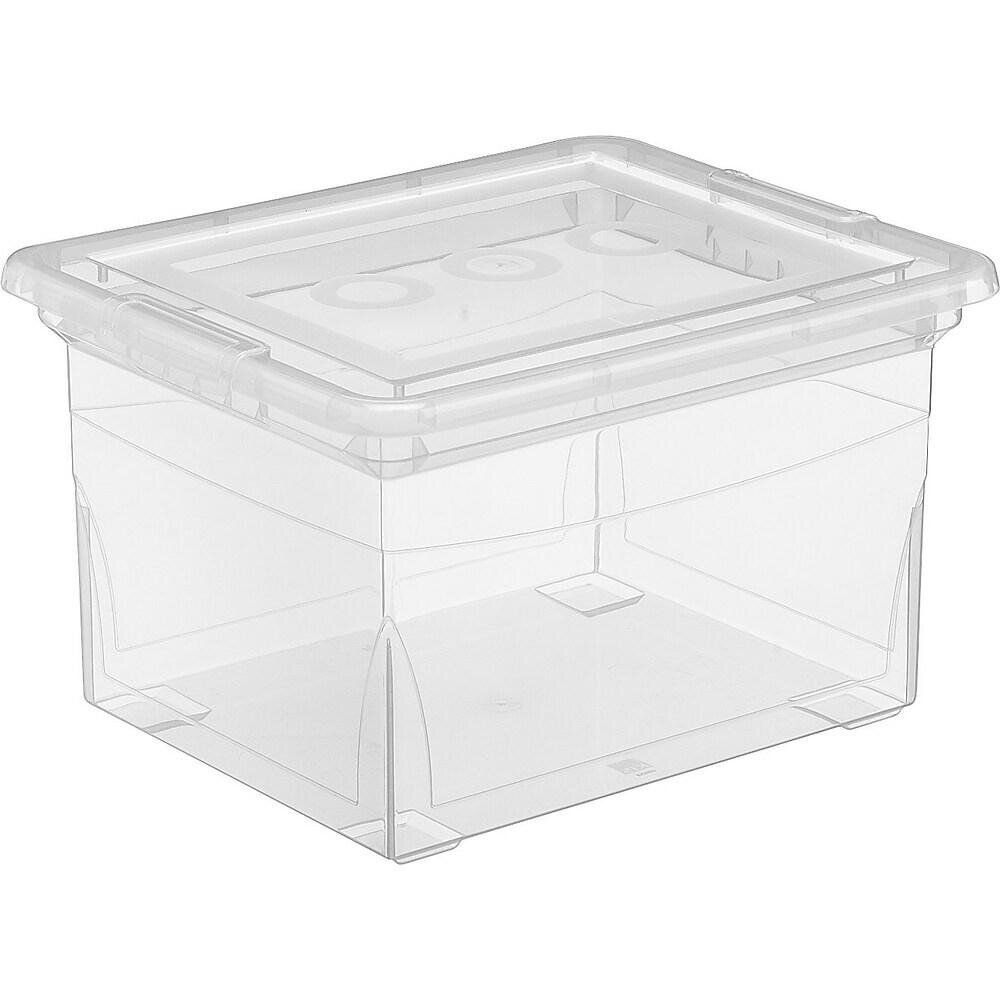
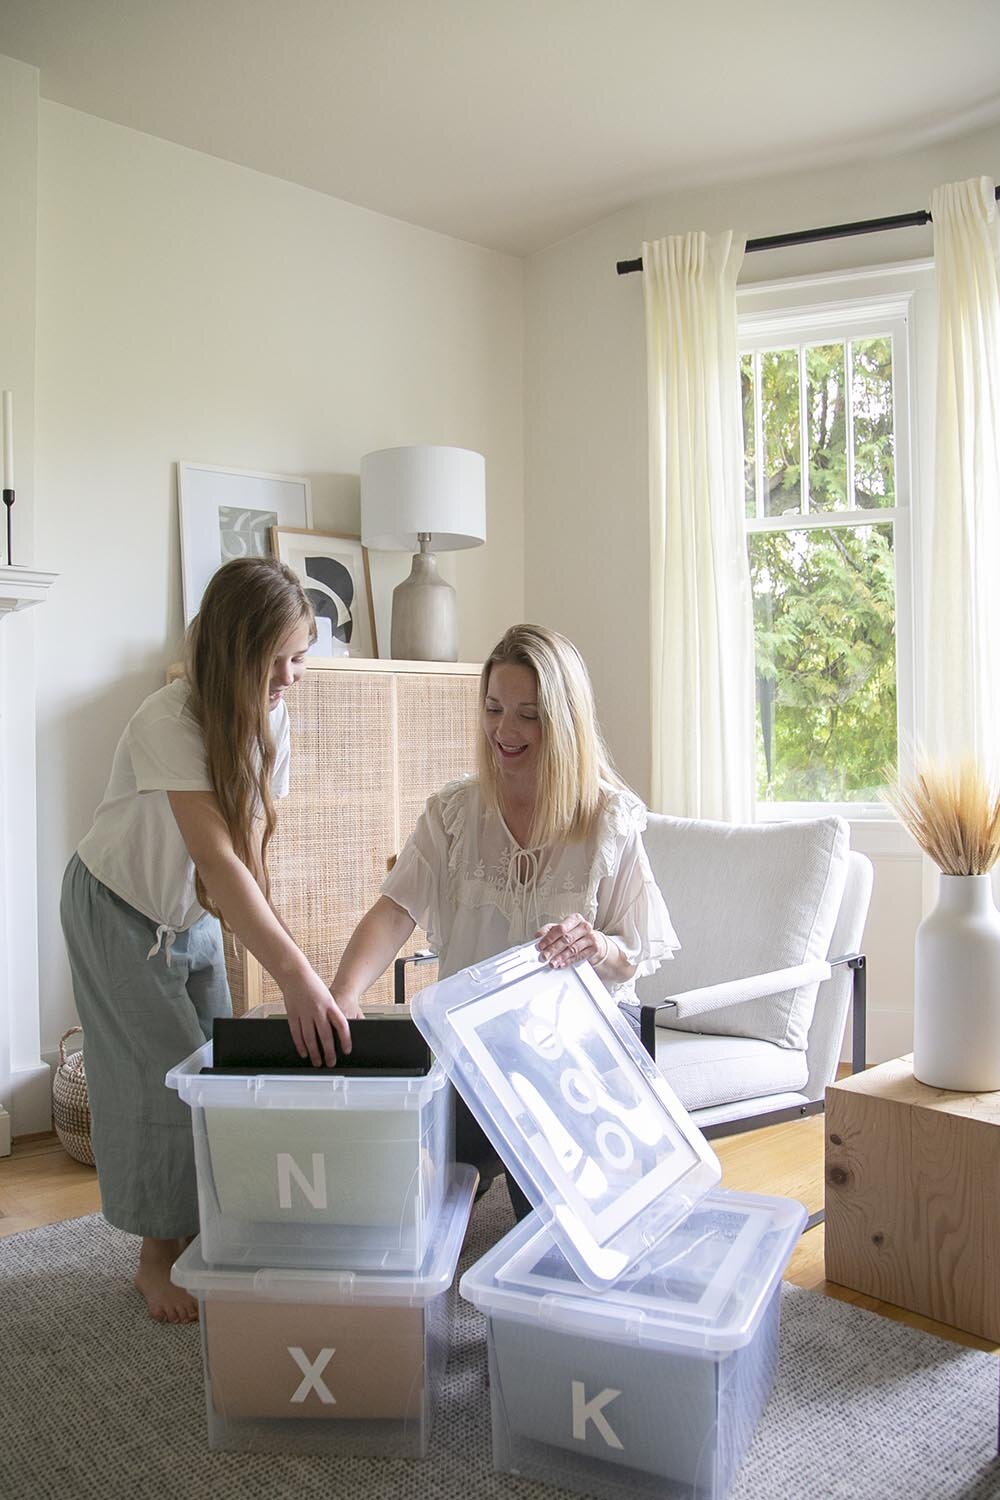
Order a letter file box. I ordered this clear box, but any hanging file box will work.
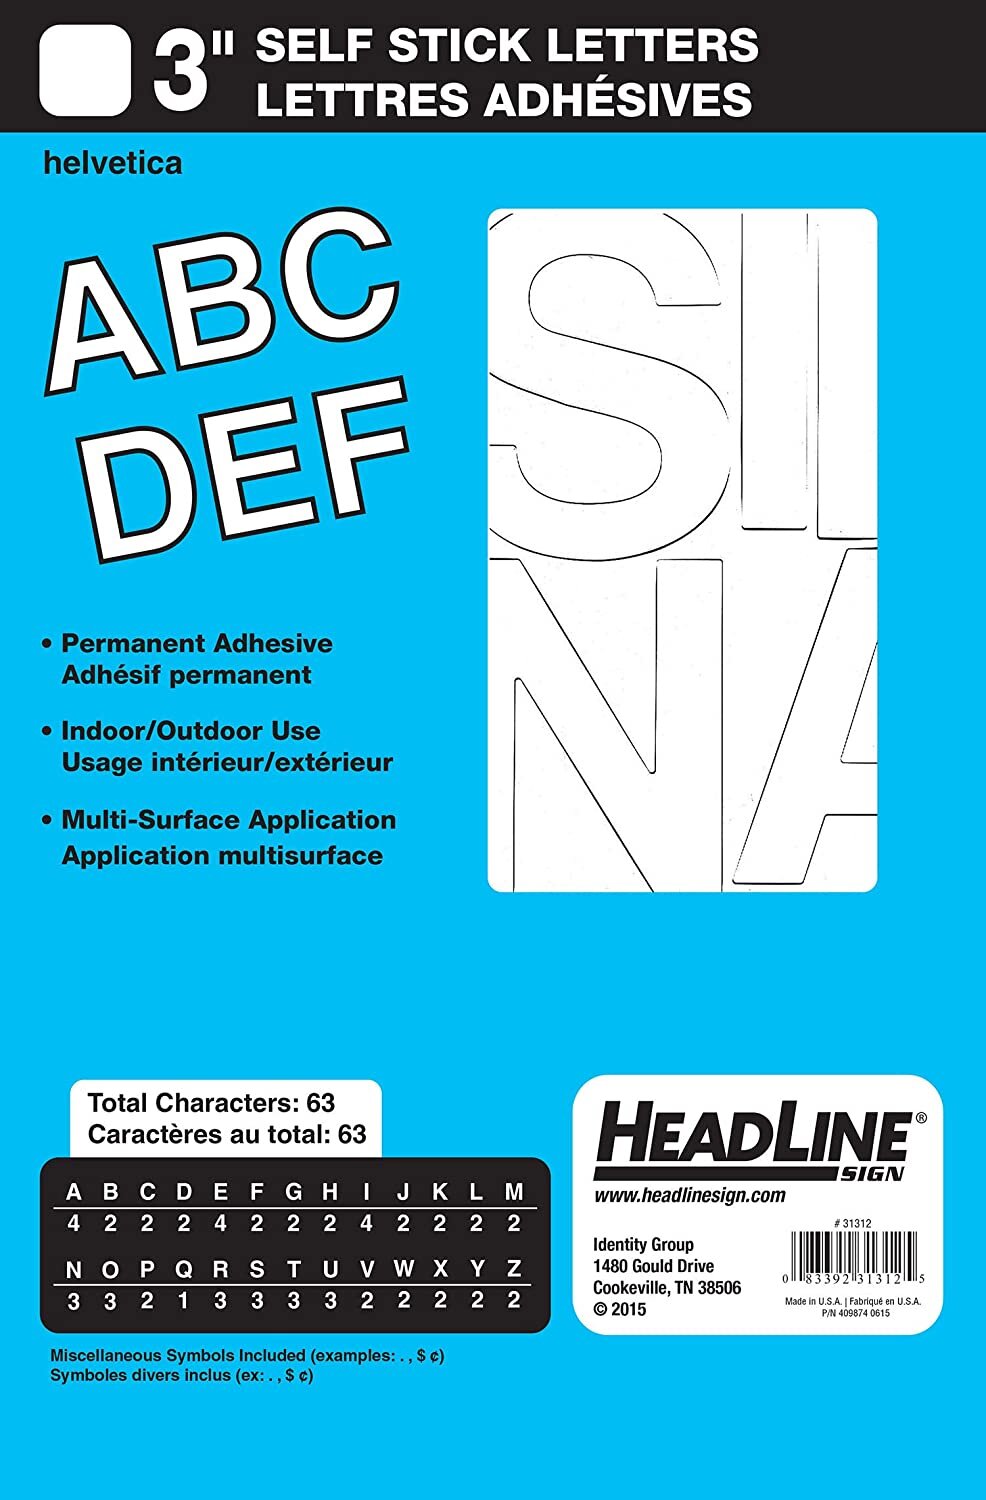
To personalize the box, use decals for either their initial or name. These white decals worked well for our kids’ boxes!
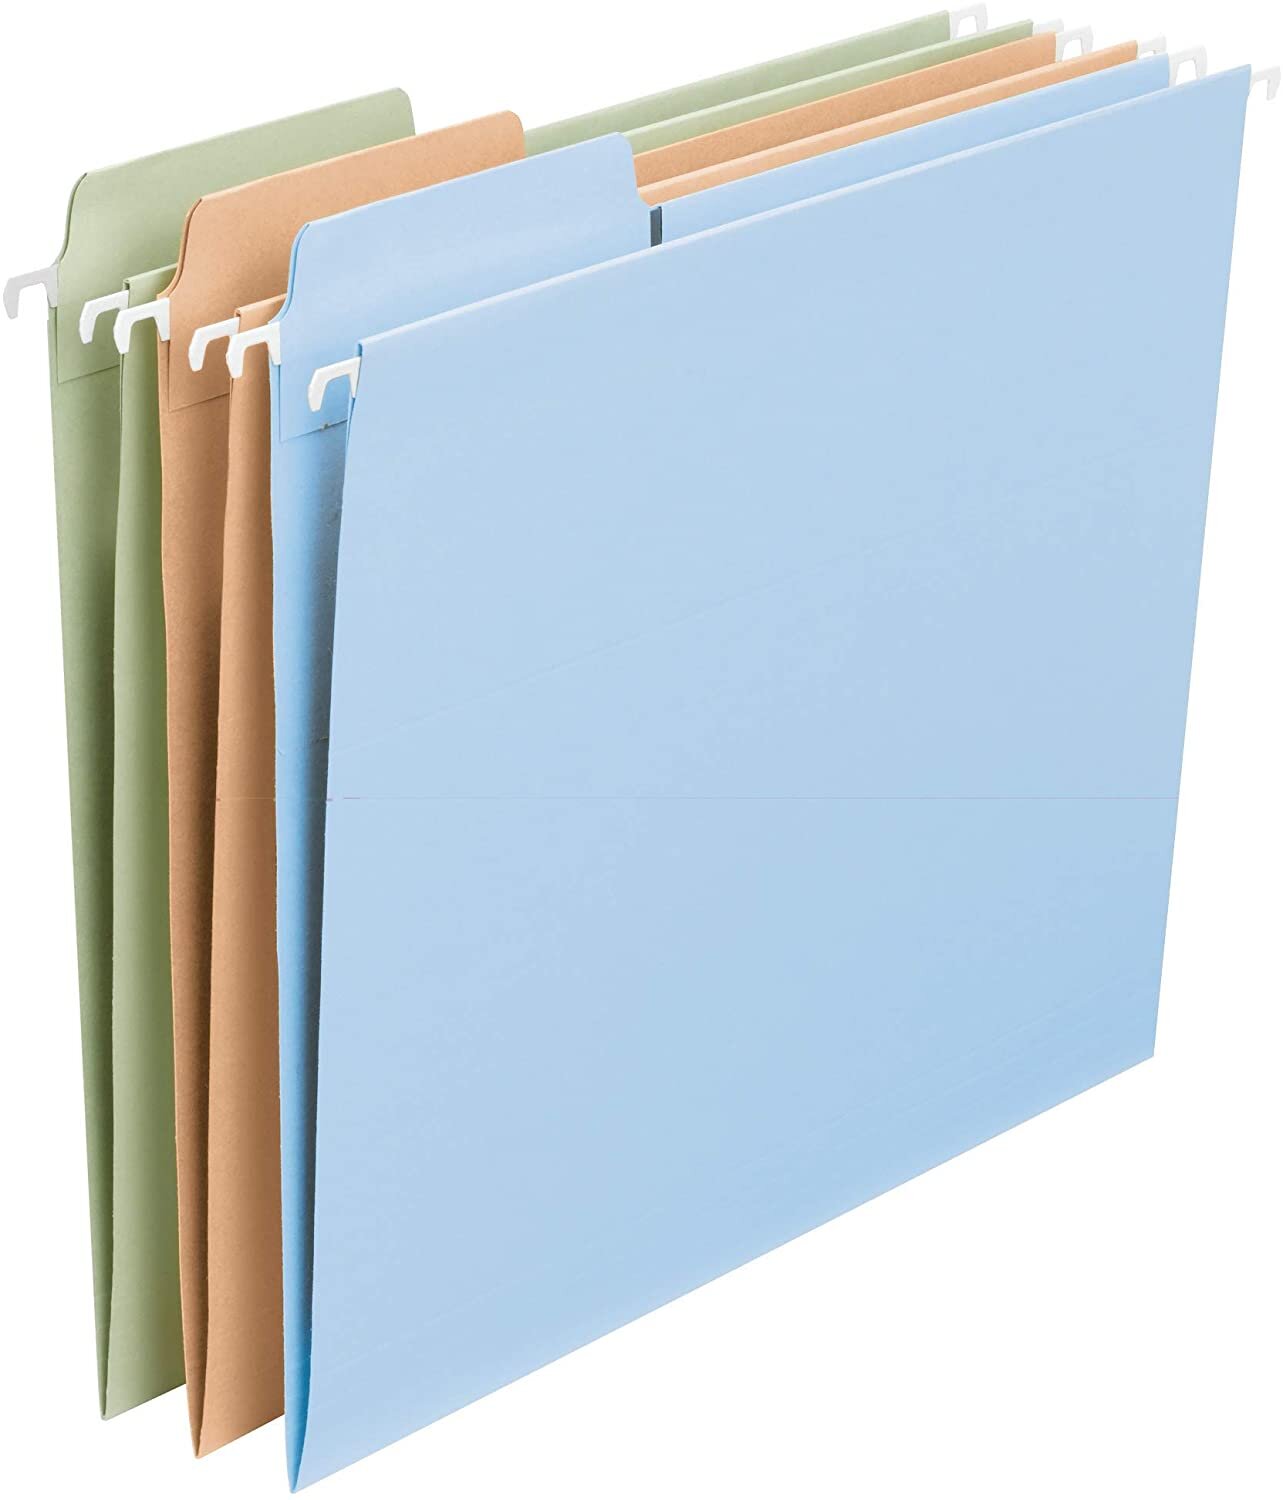
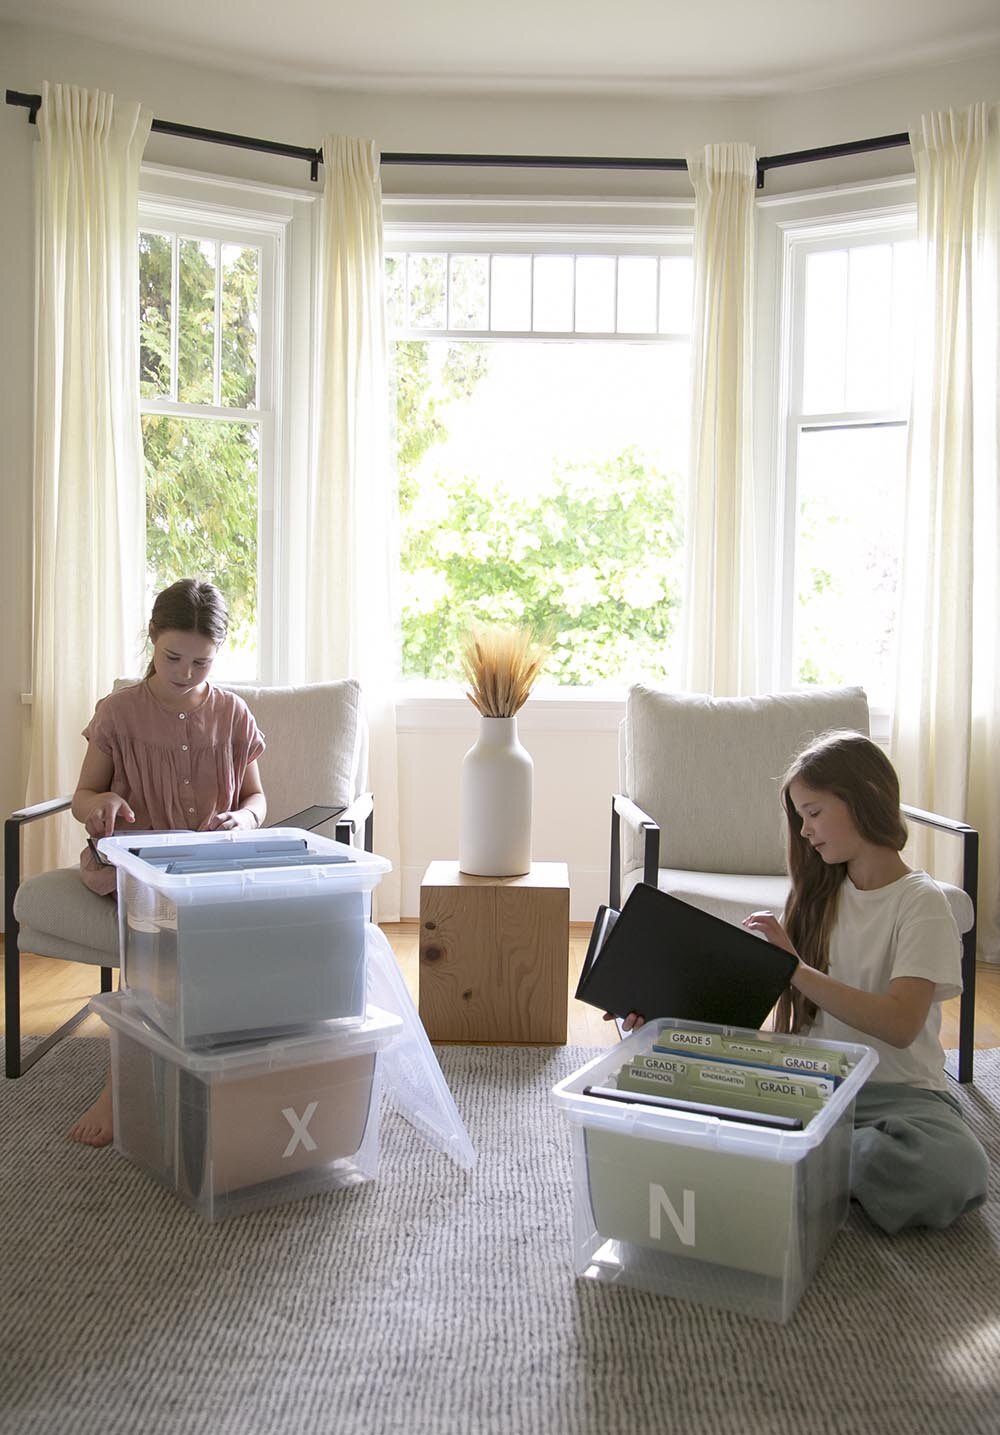
Choose letter-size files WITH tabs; I loved that these files had 3 different colours for our 3 kids!
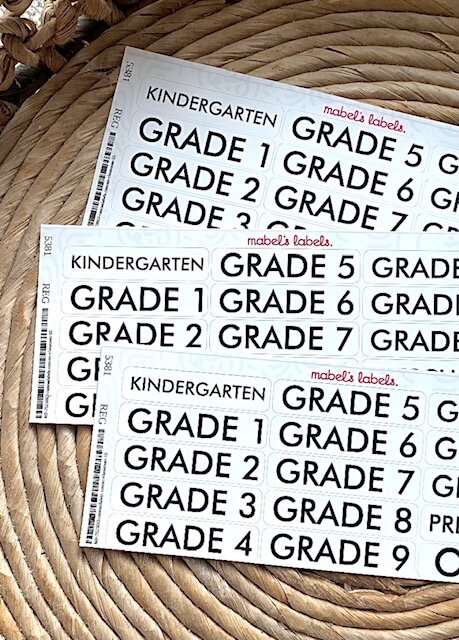
Order labels for each category/grade that you want: I used Mabels Labels and loved that I could customize them!


If you end up doing this project, I’d love to see! Tag #WDschoolmemorybox on Instagram and I’ll share them as they come in!
HOW TO CREATE AN ART SPACE FOR KIDS
While having a kids’ art studio is your own home may be out of reach for many people, creating an art space for children is something that you can do no matter how big or small of a space you have!

Sophie & Minji Playroom Project
“Art is a place for children to learn to trust their ideas, themselves and to explore what is possible.”
~Maryann F. Kohl
After creating art spaces in both clients’ homes and also our own home, I have learned some key takeaways about how to create a functional art space for kids.
Clear table space (or floor space if no table!)
A table space without clutter is the ideal place to start art creations. Having a clear area (can be a piece of floor!) gives kids the opportunity to start with a blank slate and let their imaginations run wild. In the same way as starting any organizing project by clearing away the clutter, having a clear area to create really is the ideal start.
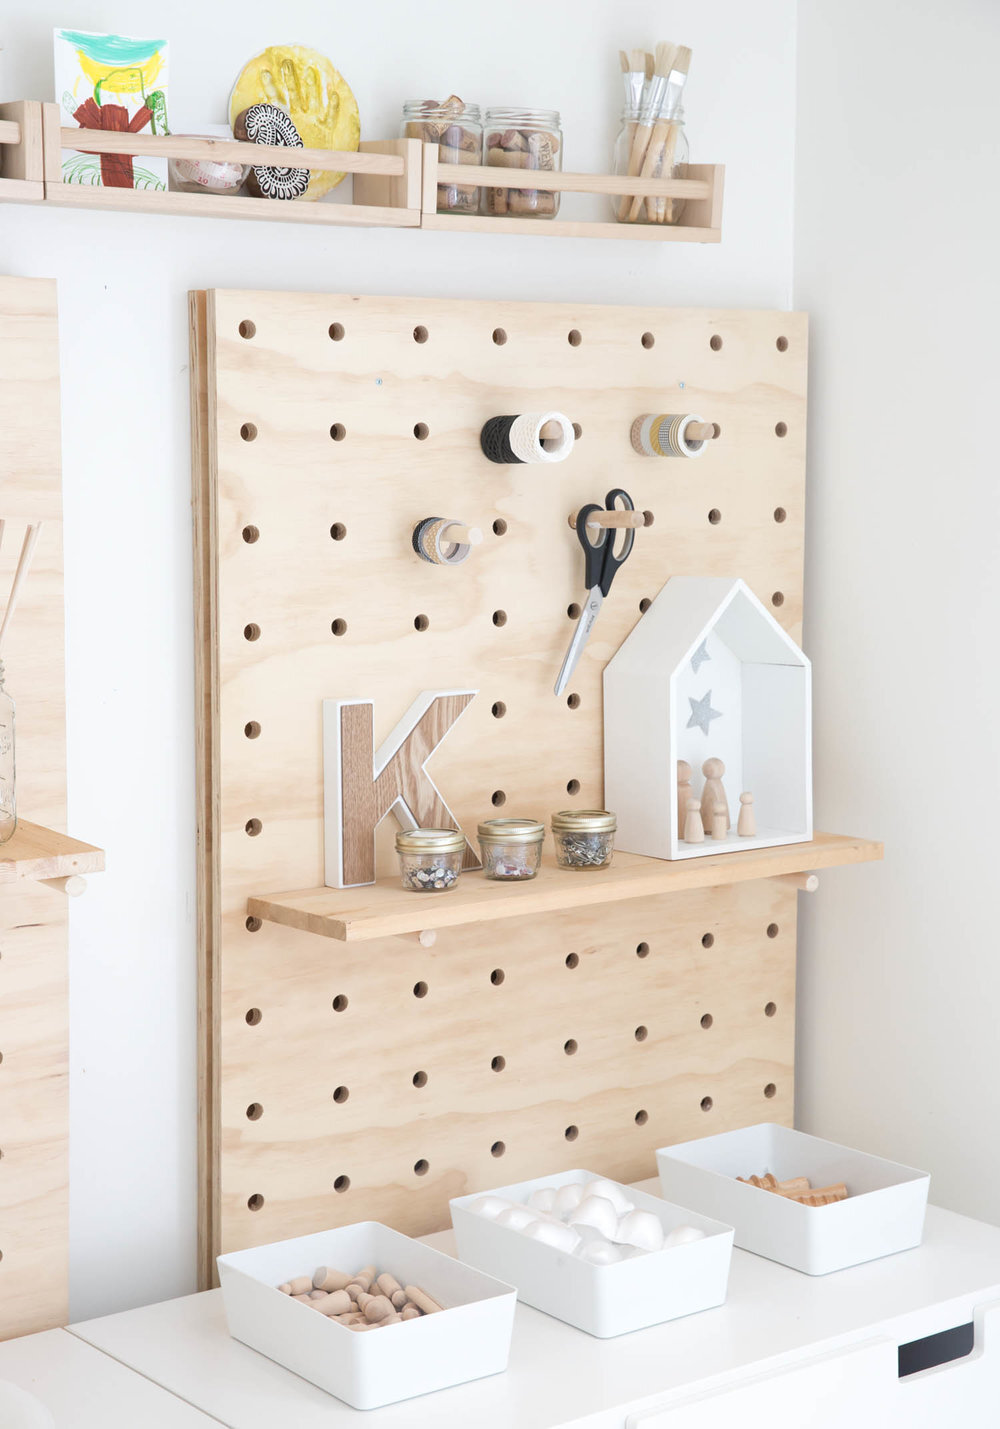
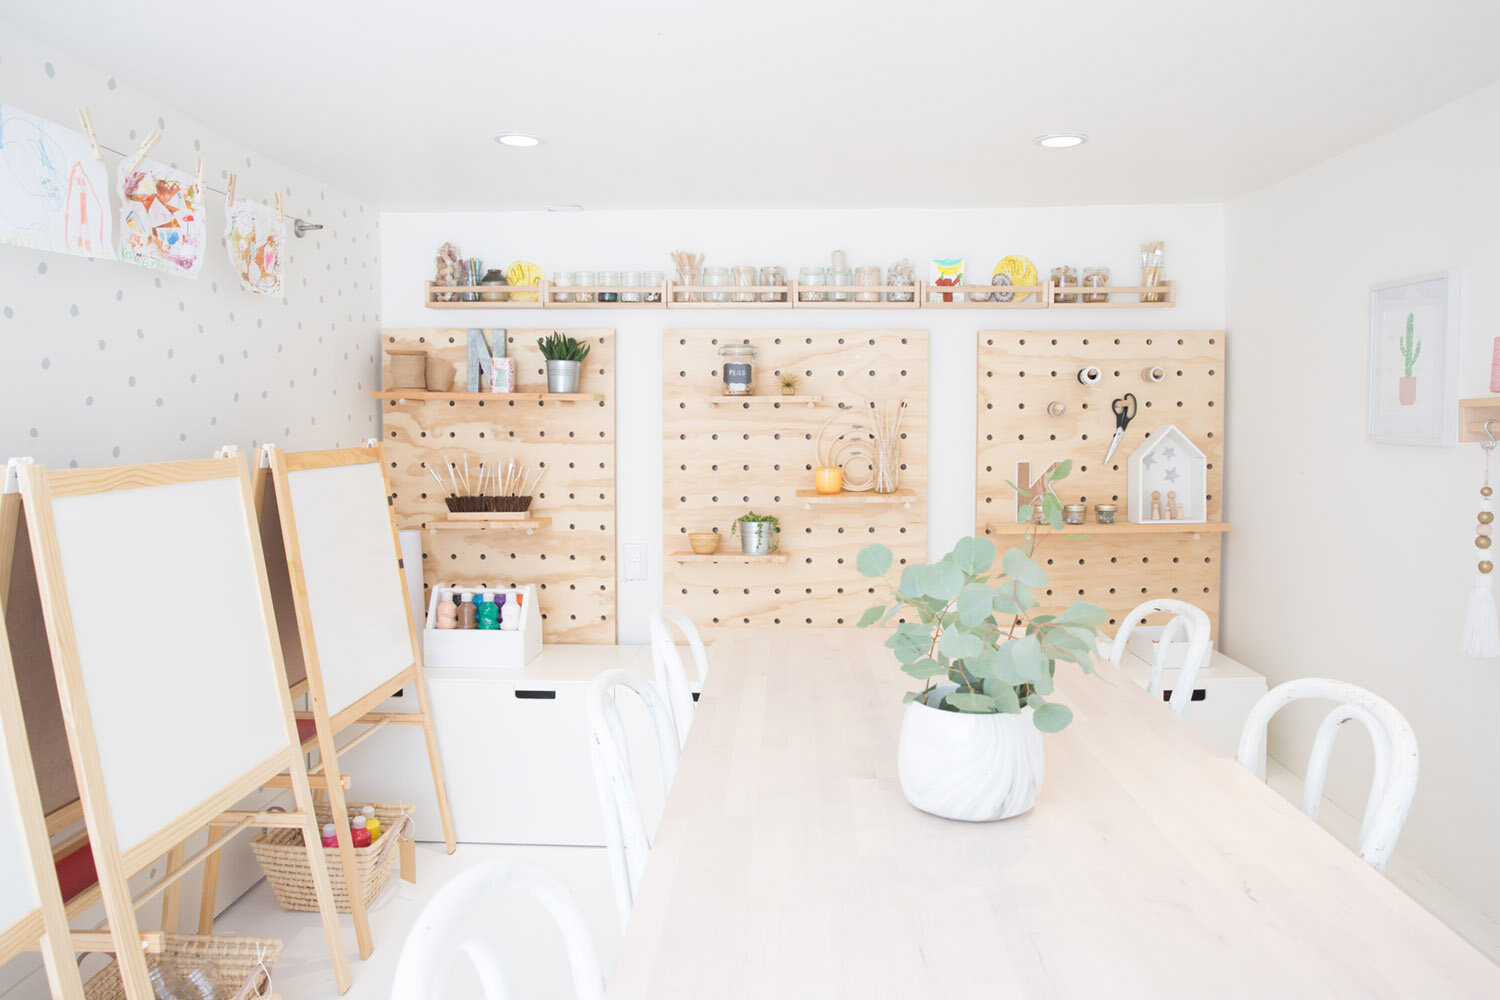
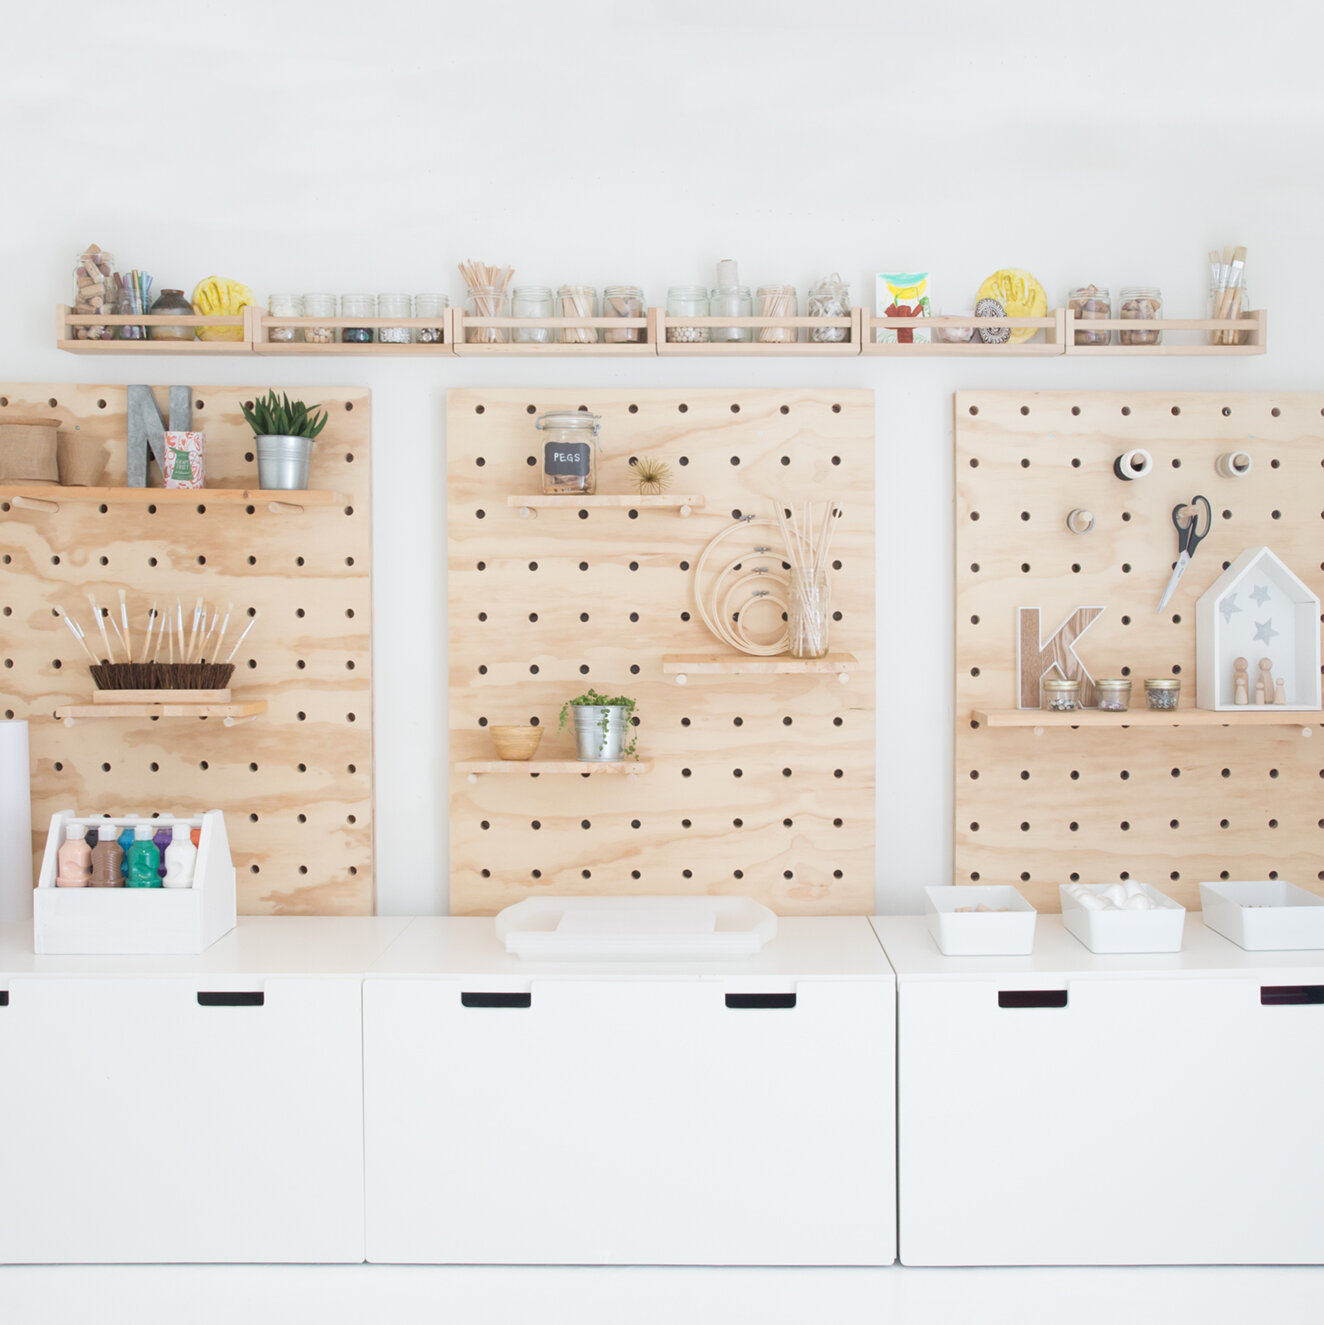
Open-ended supplies
Group like supplies together (i.e the corks in a jar, paint brushes together, washi tape together, egg cartons together, etc.). Giving open ended supplies (rather than craft kits with a one purpose art idea) encourages kids to use their own imagination and ideas to create. Process art (basically art that is self-directed by the child with the emphasis on discovery) is by far my favourite way to create with kids, as the focus is on the artistic experience rather than the final product. I love this type of art, especially when kids are learning (always!) and still feel like they are making ‘mistakes’ with their art; you can always alter your course when there is no end ‘product’ that needs to look a certain way! If you are working with a small space (i.e. an art corner), think about having a box tucked away in a nearby closet with key supplies to bring out when needed.
Kids Creative Art Studio Project
3. Keep the space simple and organized
Harder said than done, but a relatively tidy space when starting out allows creativity to go wild! While our art space appears like a chaotic mess by the end of an art session, so much is learned in the clean up and keeping of a simple and organized space. Kids tend to treat materials with more care when they are tasked with maintaining an organized system and having items that are easy to find enables a good start to a new project. With an organized space, kids can learn to come and create more frequently and independently when the impulse (or need to decompress) arises.
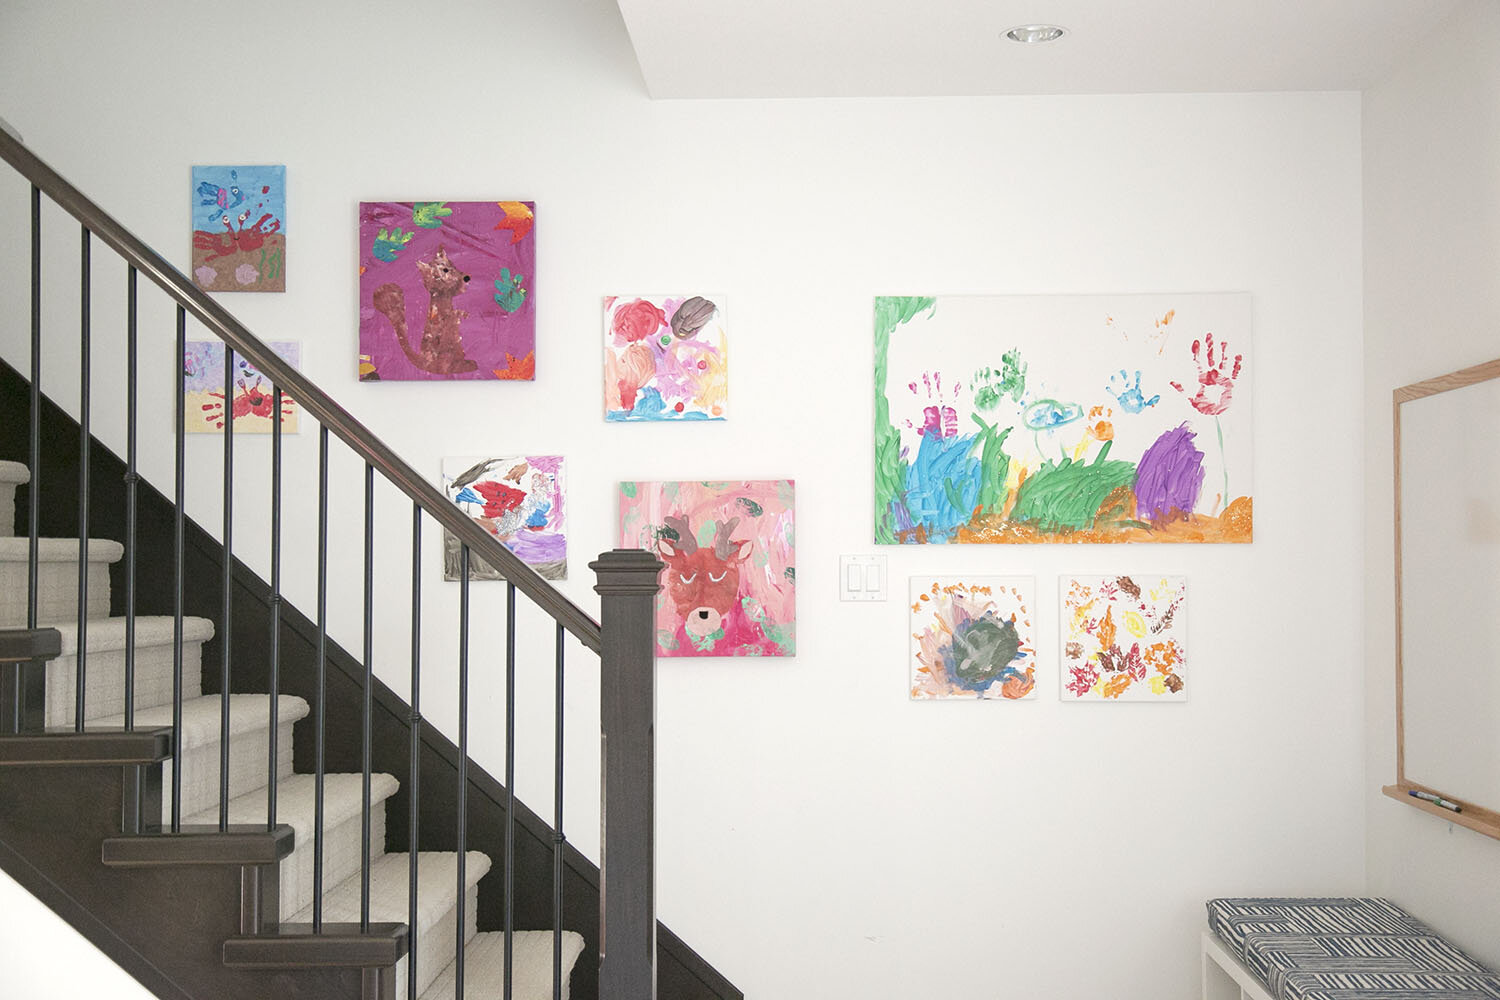
4. Display kids’ art!
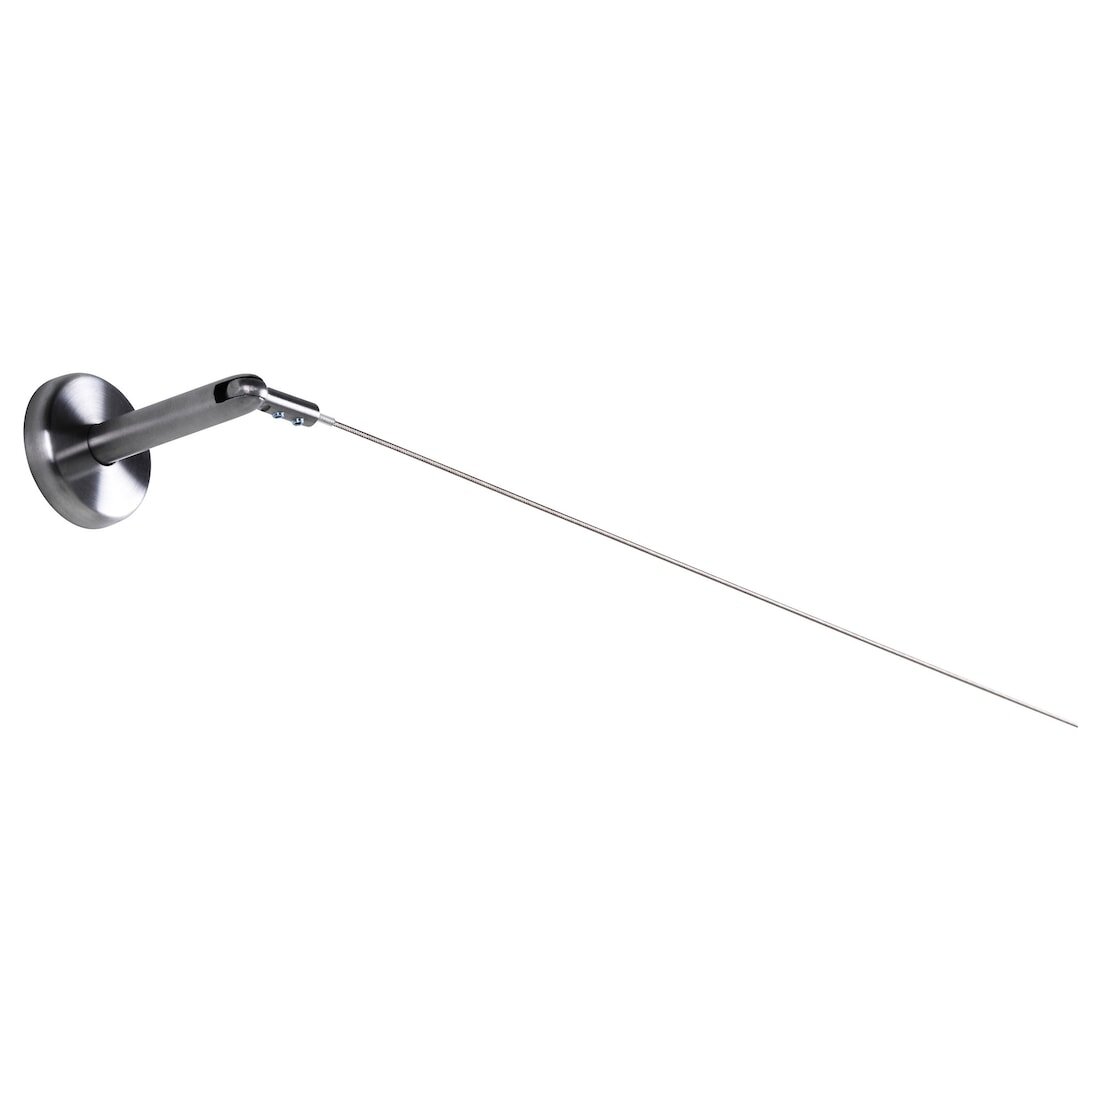
This one is SO important! Making a point of keeping your children’s art on display in your home and making a point to share your joy in their projects will certainly help little ones feel proud of their contributions to your home decor. I love the Ikea Dignitet wire for a simple and easily changeable hanging solution and of course, hanging framed work or canvases of kids’ art is a lovely way to incorporate their work into your home too.
Kids Creative Art Studio Project
5. Keep a positive attitude!
Art, like almost everything in life requires patience and practice. Keeping the mood happy and light and navigating new supplies together with your little ones can keep an art session from turning into a frustrating experience that ends in tears. One tip I’ve learned over the years is to provide supplies that are age appropriate - while small beads will be near impossible for toddlers to use, finger painting will likely provide a super fun, albeit messy experience. As kids spend more time practicing, they can work more and more independently.

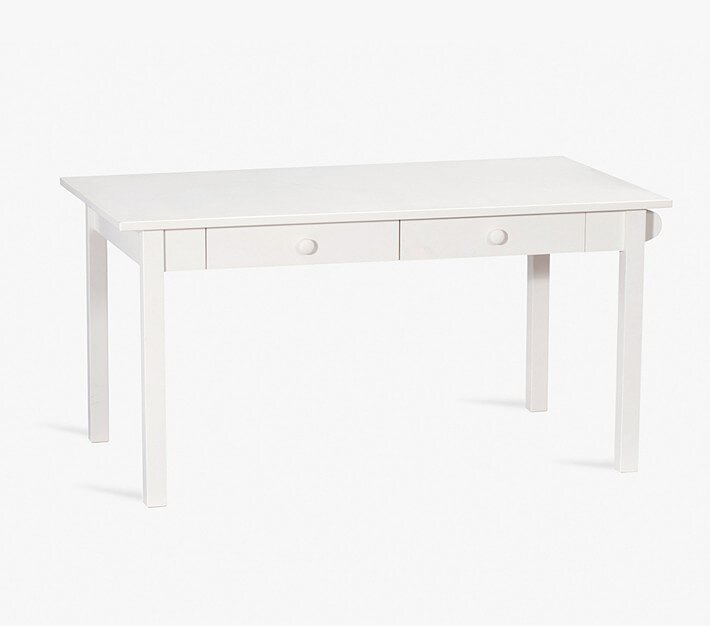
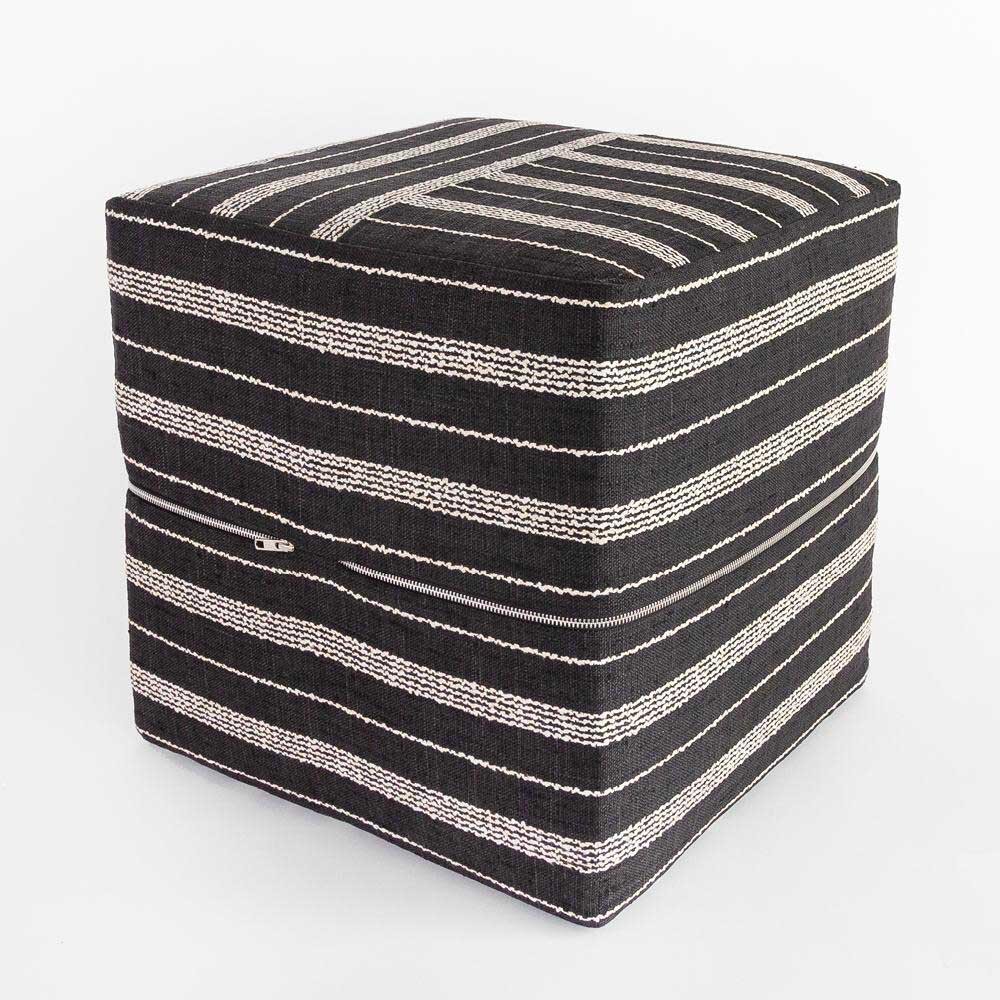
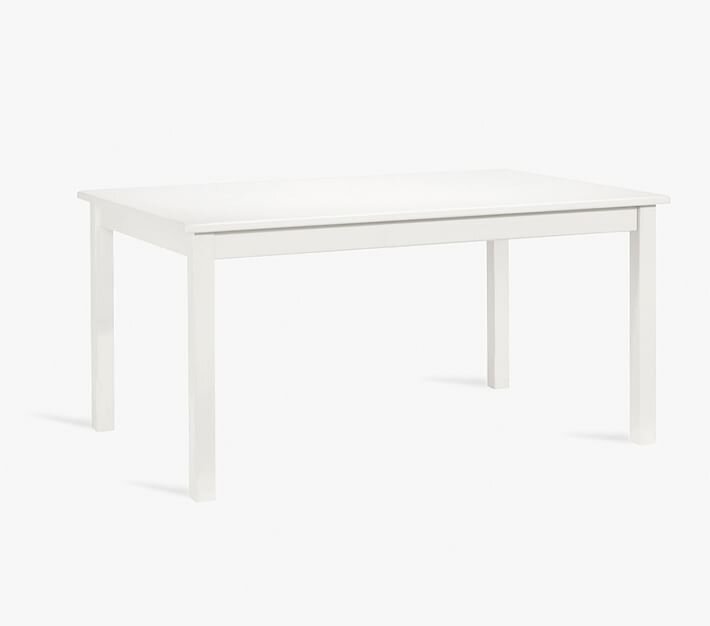
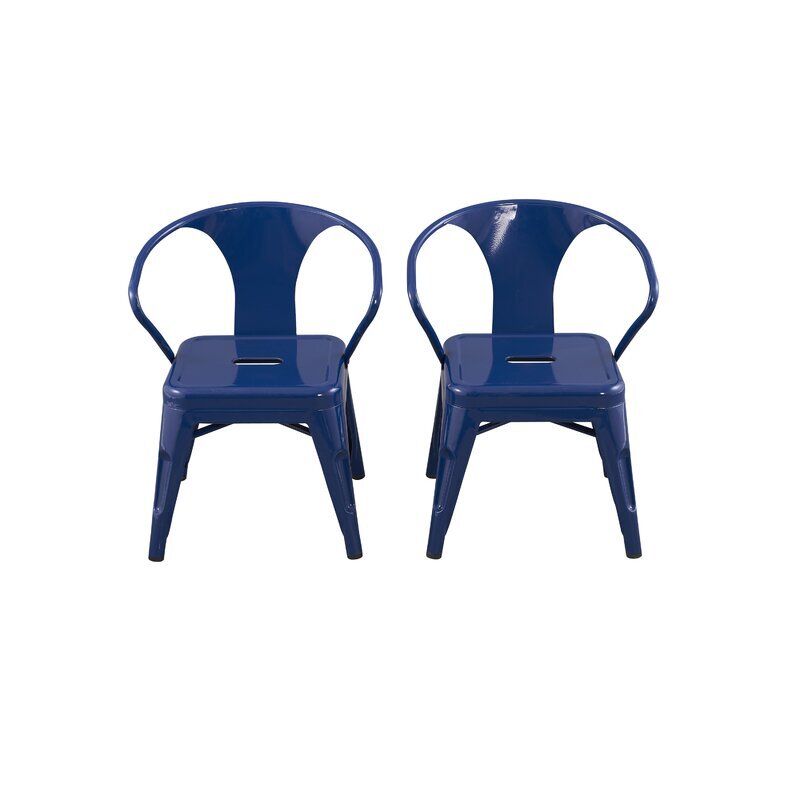
GET THE LOOK…
IF YOU LIKED THIS POST, YOU MAY LIKE THESE TOO…


5 WAYS TO DECORATE A BLANK WALL {IN A KIDS SPACE}
Big blank walls can be intimidating, but they don’t have to be! Here are my tried and true ways to turn a blank wall into something special for a nursery, child’s bedroom or play space!
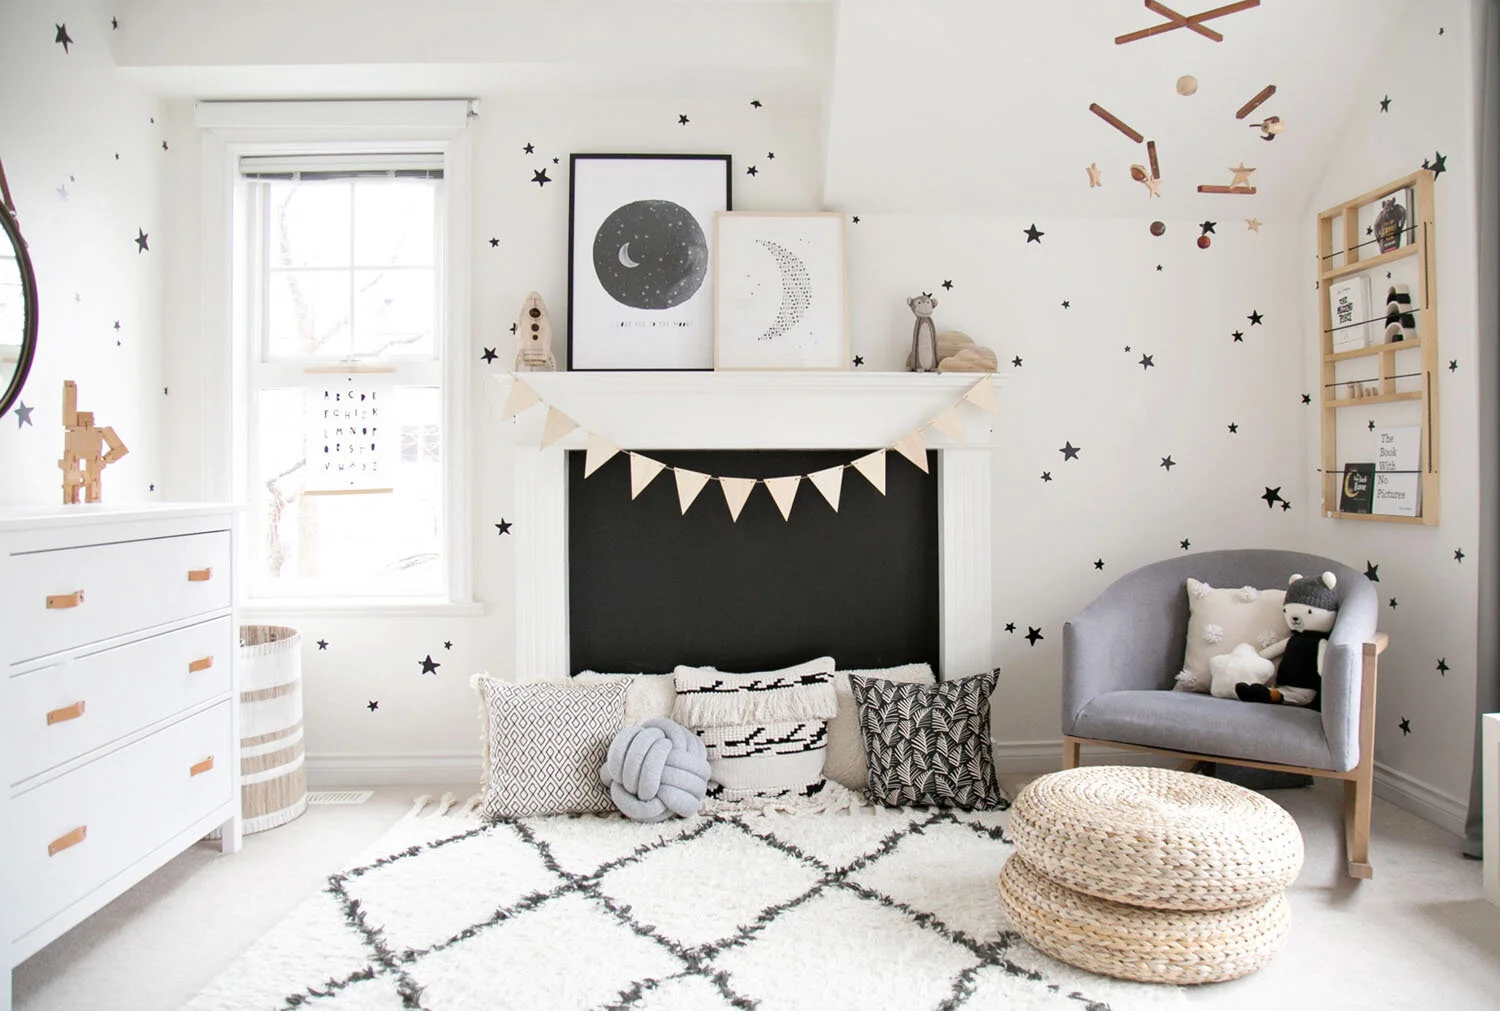
1.Use wallpaper (or decals):
Wallpaper provides instant gratification and BIG impact. I mean, why not?! Kids’ spaces are the perfect opportunity to do something temporary or different than you would do in other parts of your home and it is FUN! Why not try a bold pattern? Or a print that really speaks to you in this moment? While old traditional wallpaper can be difficult to remove, the new paste on wallpaper is relatively simple to remove and there are SO many peel and stick options now that there really is no good reason to skip this fun trend. If you haven’t already, see our roundup of favourite wallpapers that will transform any blank wall in sight.
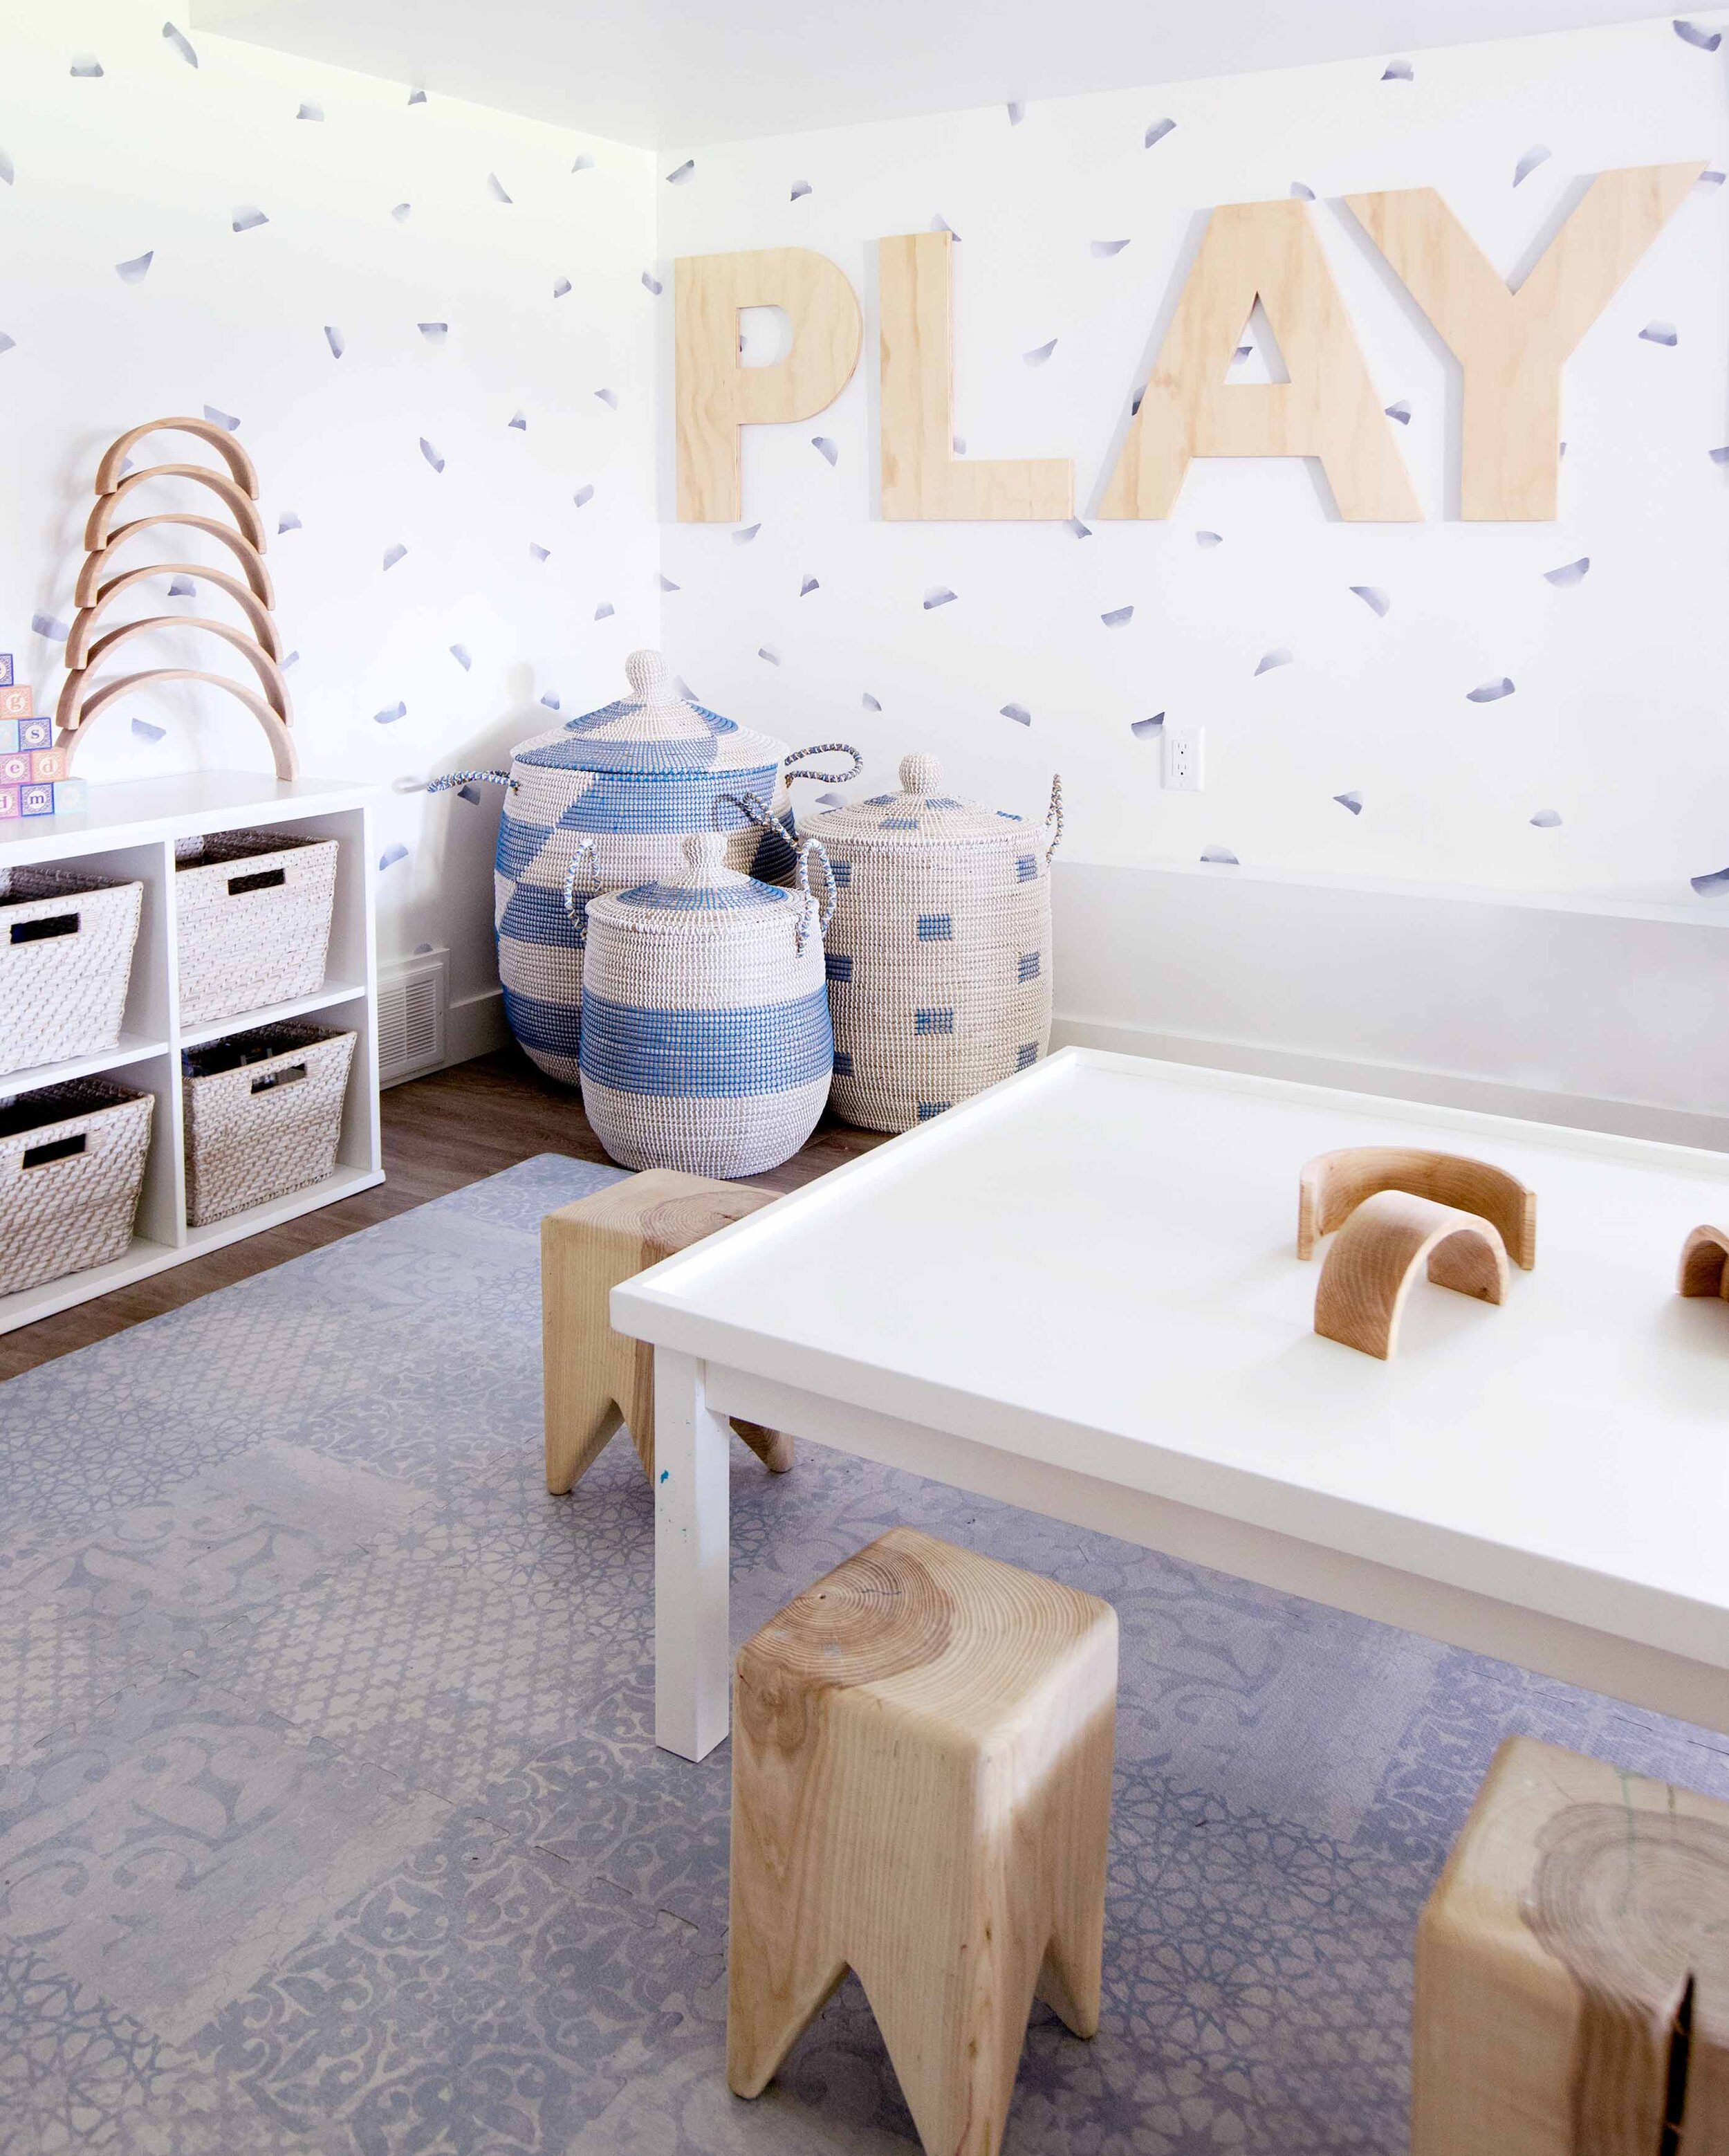
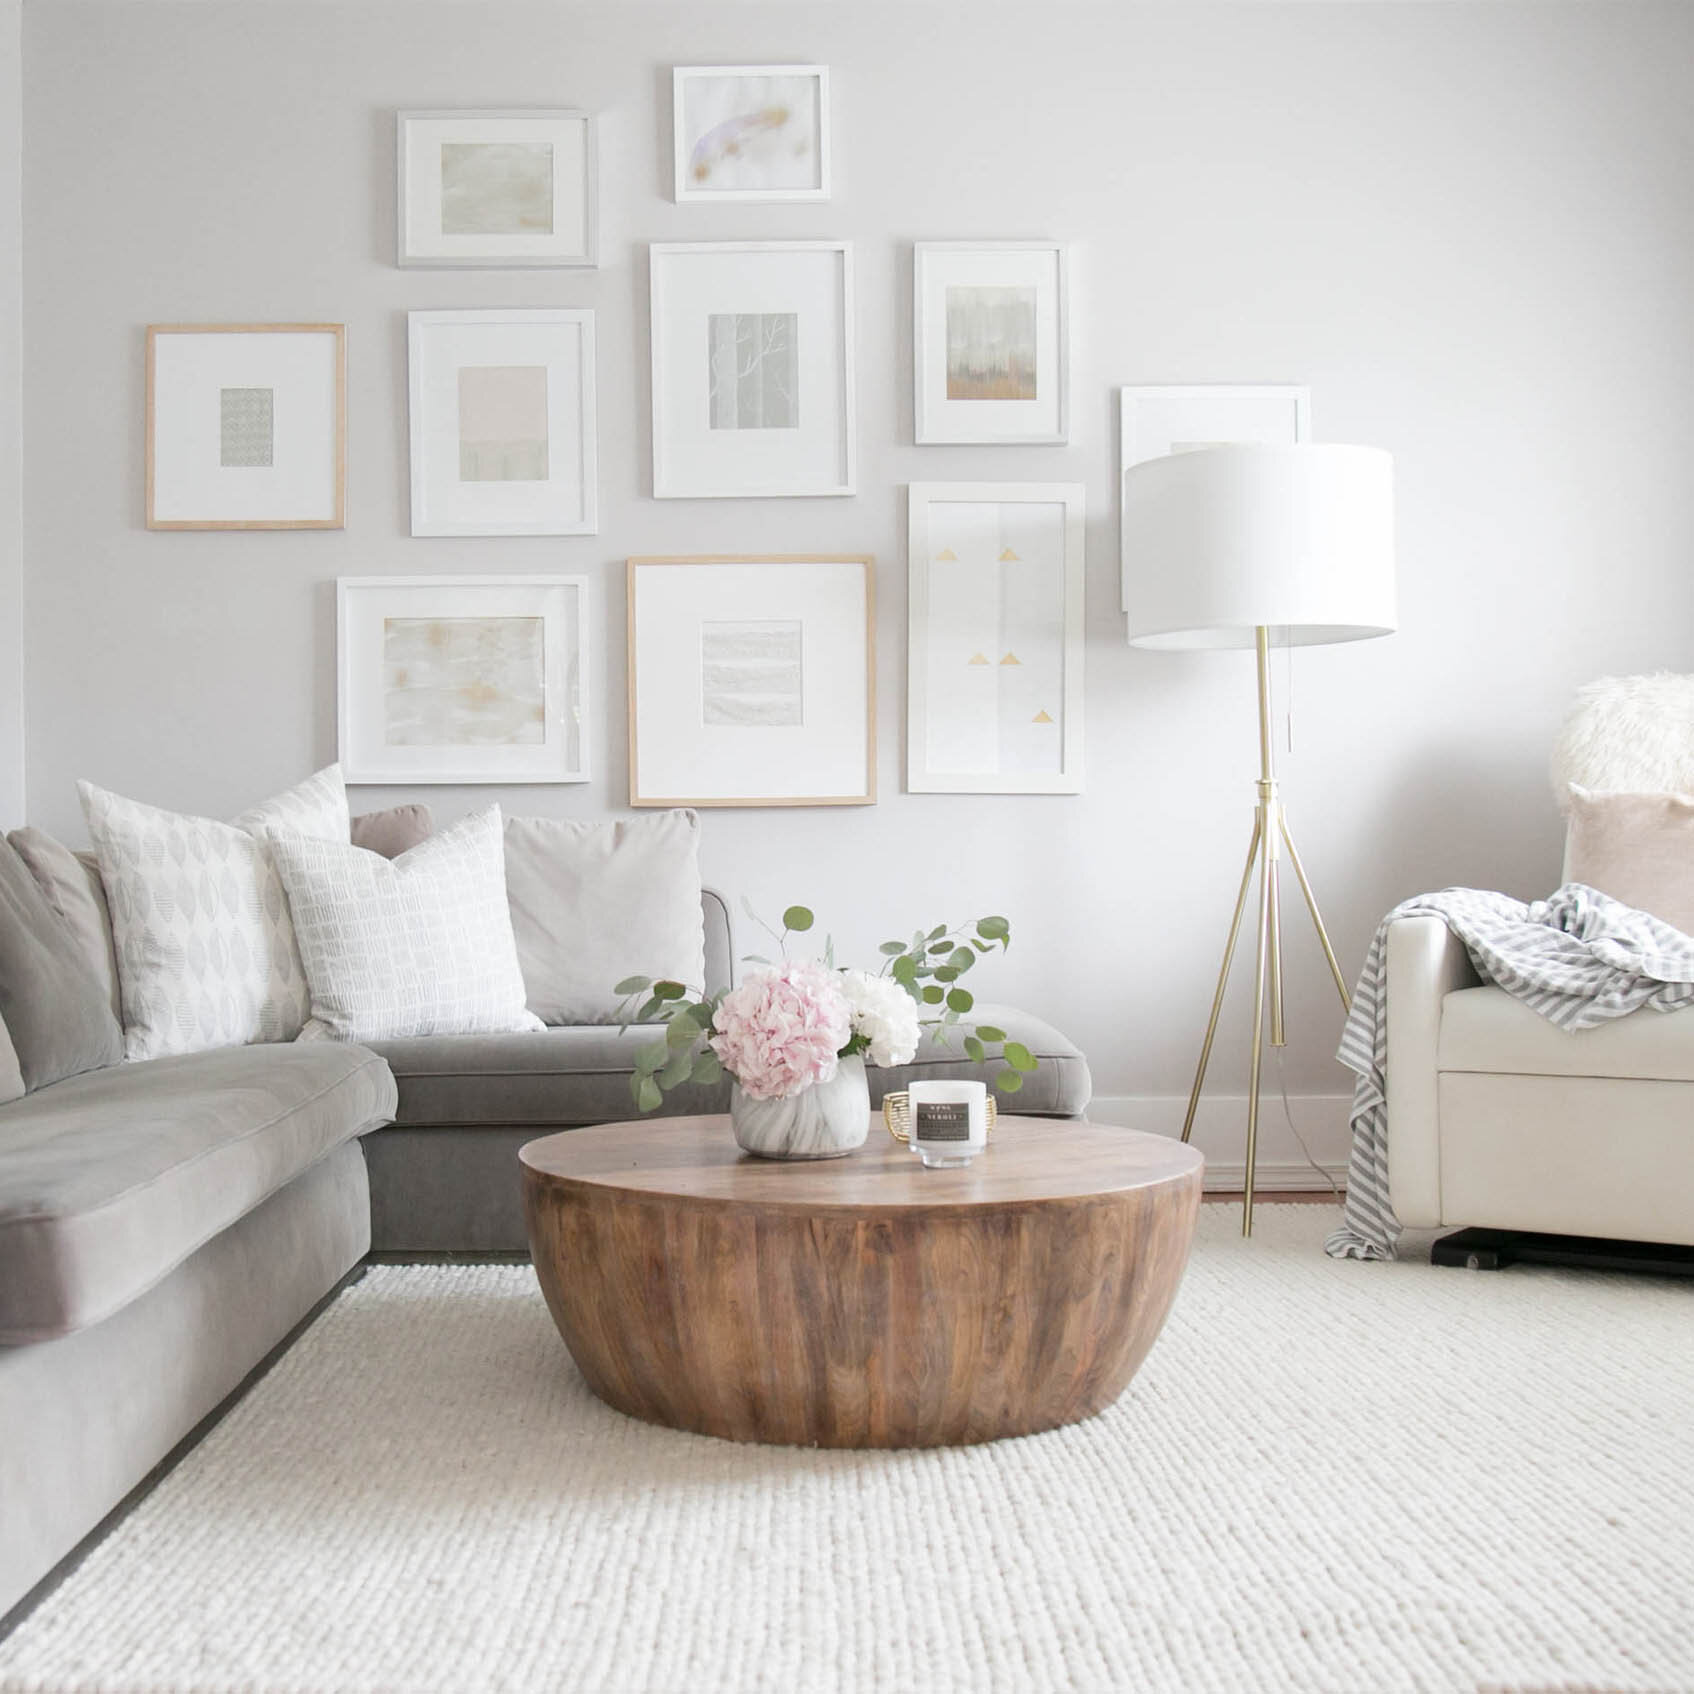
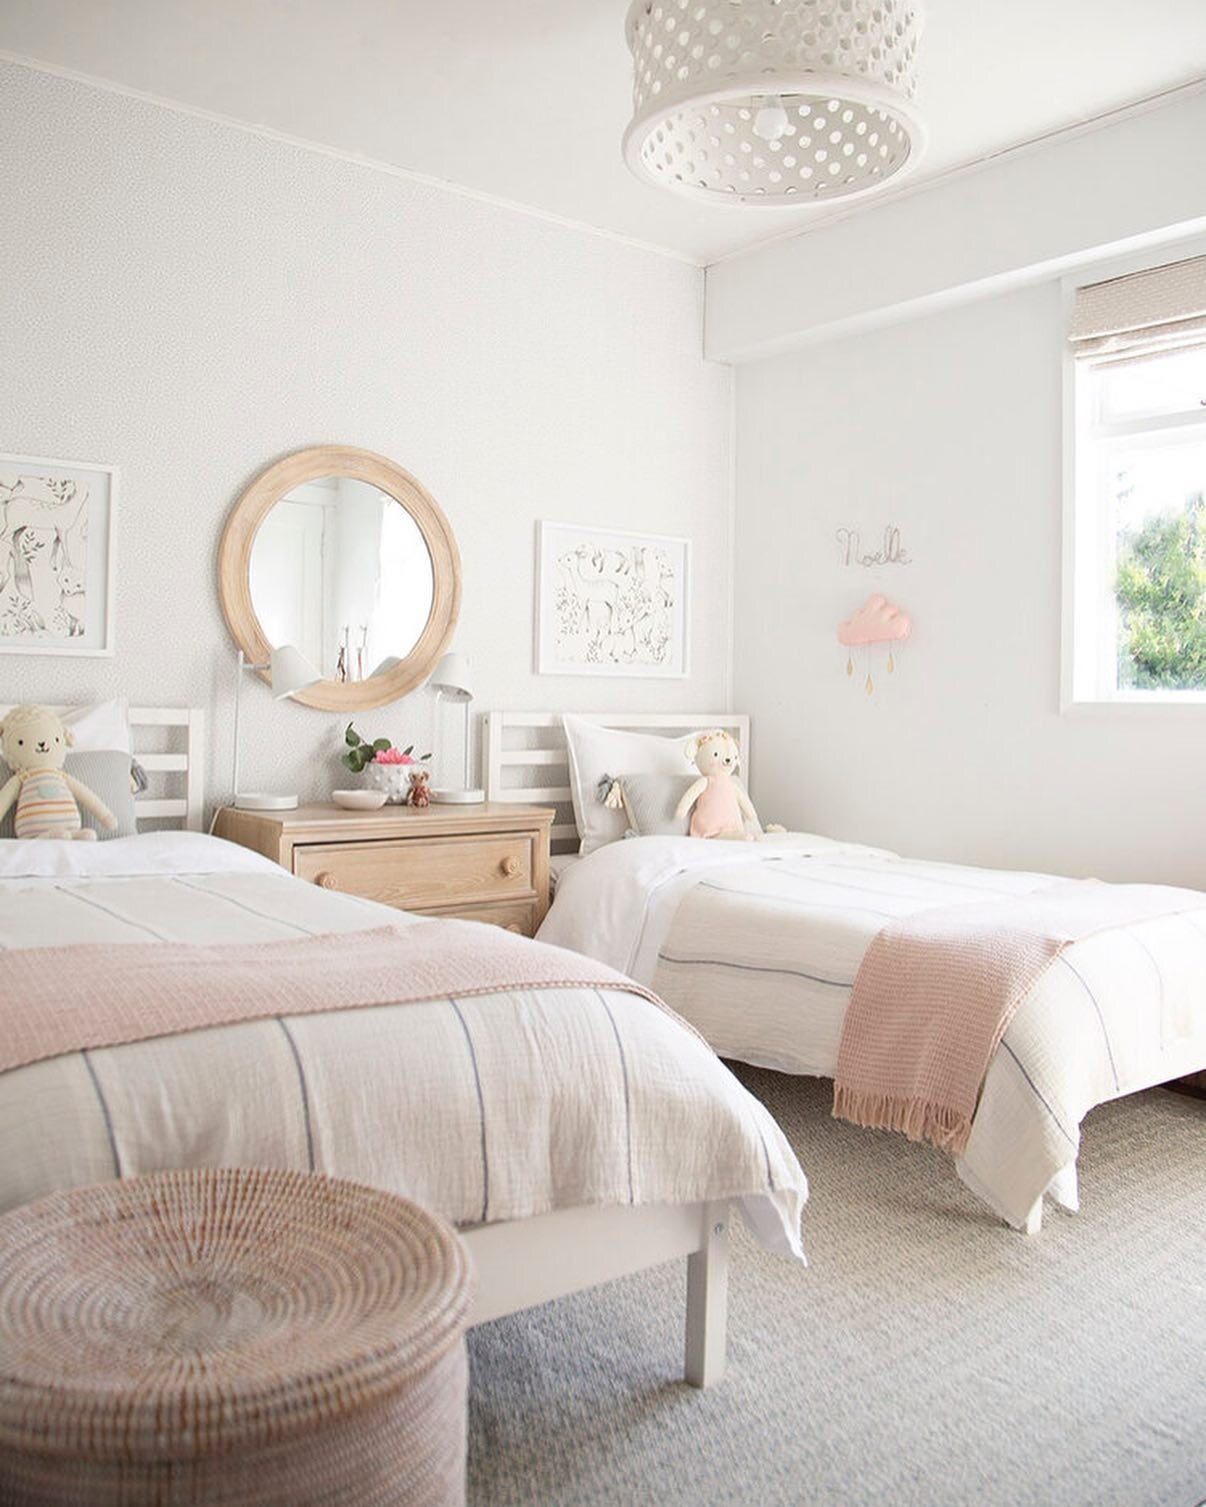
2. Add a bold focal point:
A huge piece of art, large letters, a big storage unit, even a fireplace - these all add a point of focus when you walk in the room. Try to make the key focus the wall opposite where you enter the room to give the most immediate eye catching detail.
3. Create a gallery wall:
You know I love them and they fill a wall so well! You can choose a simple grid pattern or get creative and create a more eclectic gallery wall; both will work equally well to decorate a blank wall and add personality. A quick tip for keeping gallery walls cohesive is to space the frames 2-3 inches apart.


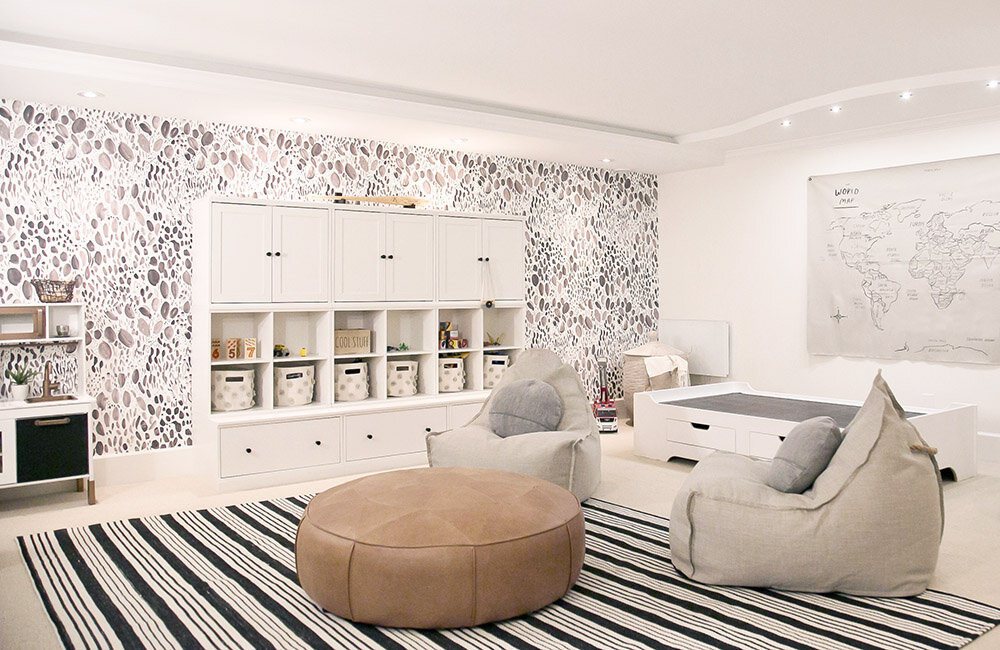
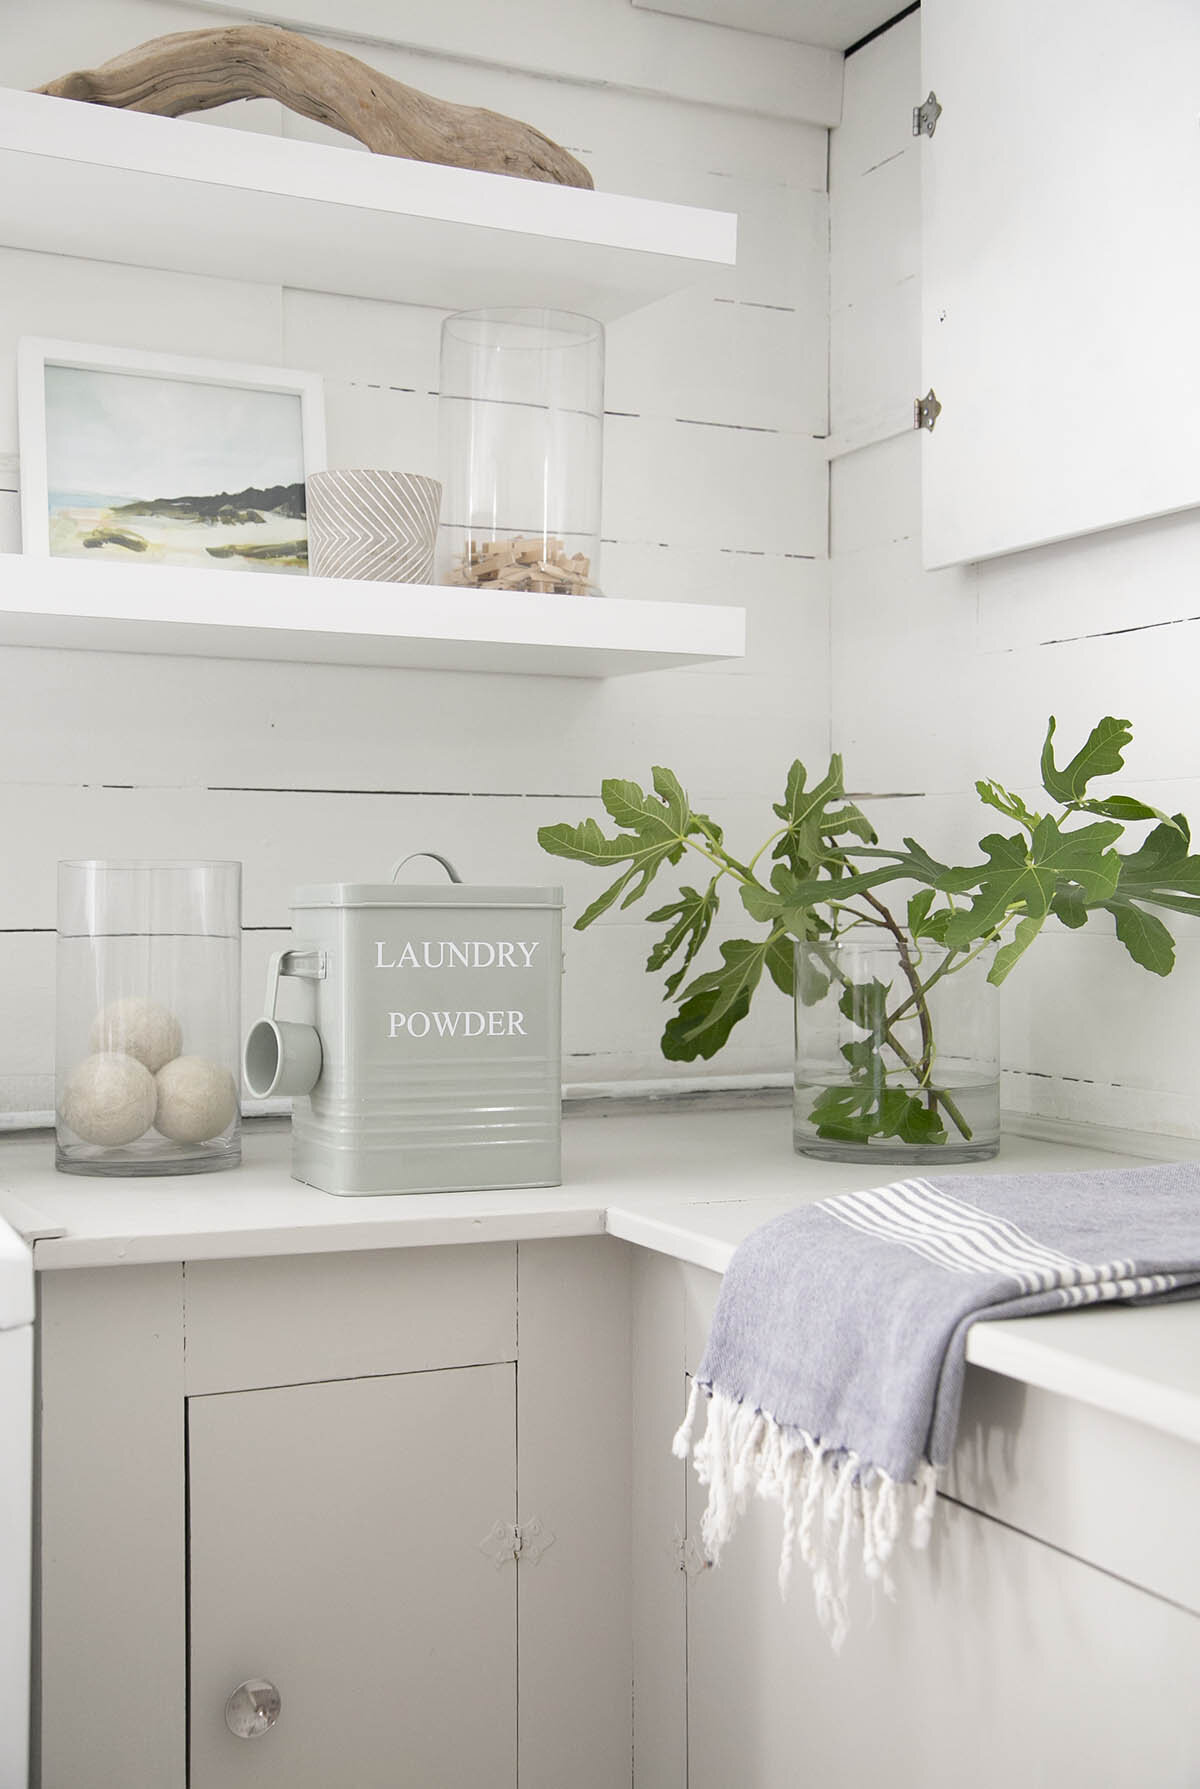
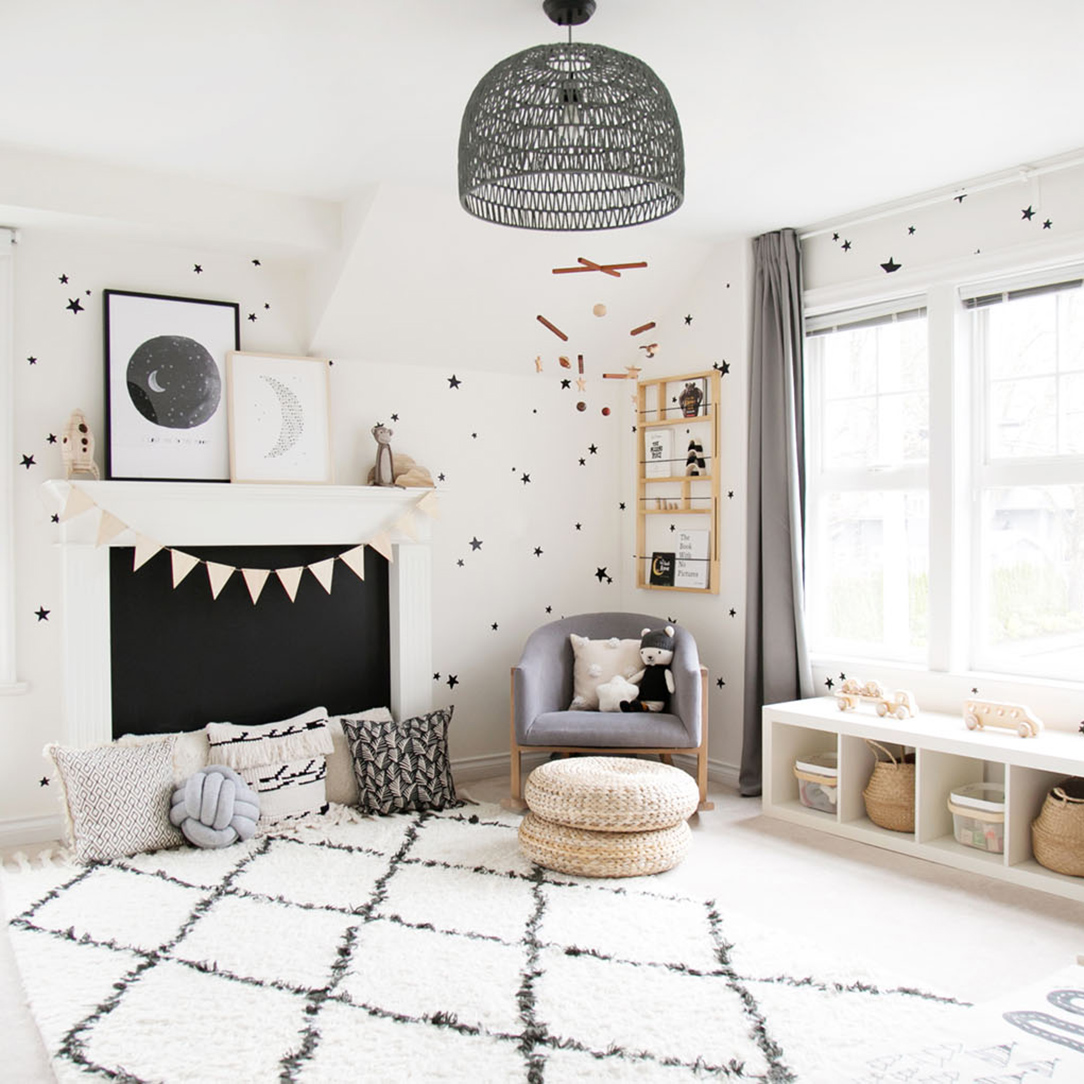
4. Add a storage unit or shelving
Serving dual purposes of decoration and adding functional storage, a storage unit or shelving can be a lovely way to fill a blank wall! If you are wanting the most storage, consider at least one part closed storage while leaving some shelving open for styling favourite objects or rotating seasonal toys. I love using a mix of open and closed shelving to fill a huge wall, like we did in the playroom below.


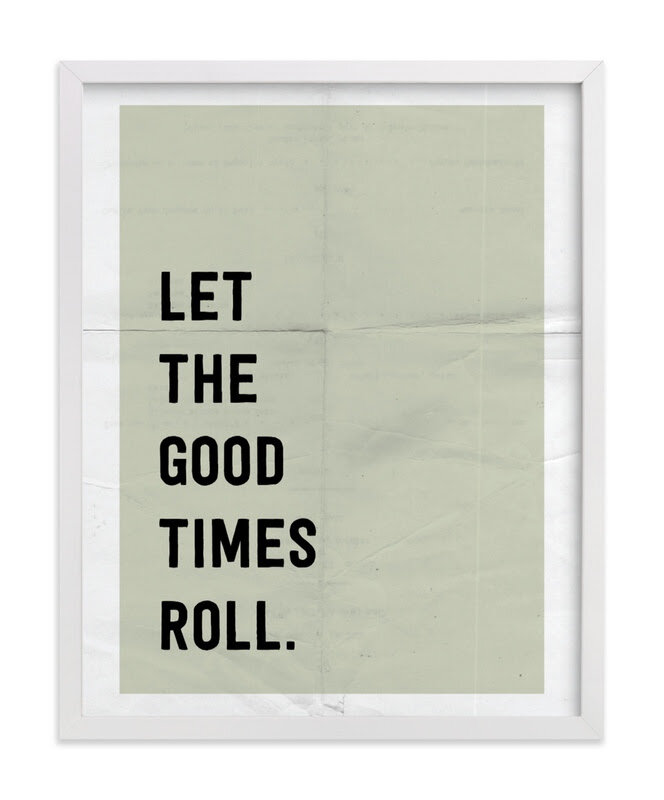
5. Get creative with paint!
The most affordable way by far to decorate a blank wall is to get creative with paint. There really are SO many options - a bold colour, a half wall, a mountain scene, a mural! This is the perfect opportunity to try your hand with paint and an interesting colour.

Source: Room to Bloom
IF YOU LIKED THIS POST, YOU MAY LIKE THESE TOO

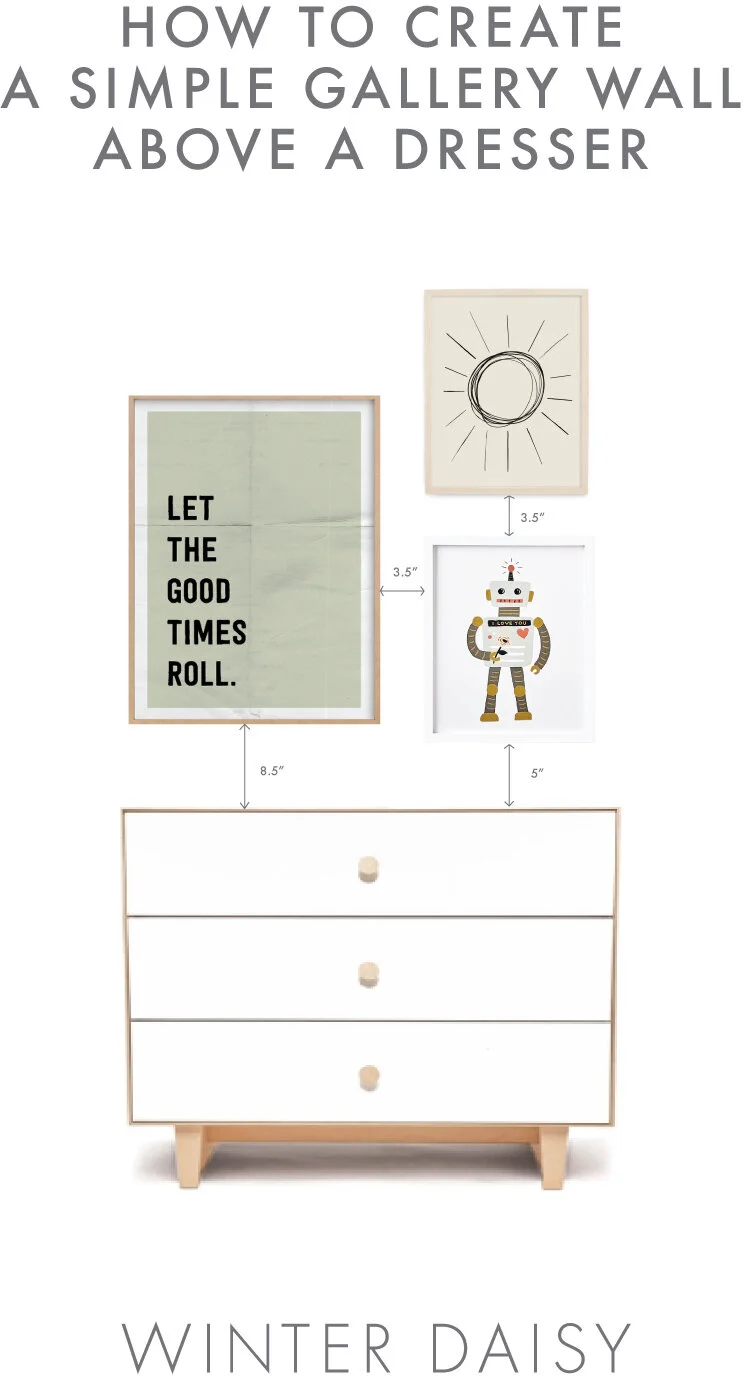
HOW TO CREATE A SIMPLE GALLERY WALL ABOVE A DRESSER
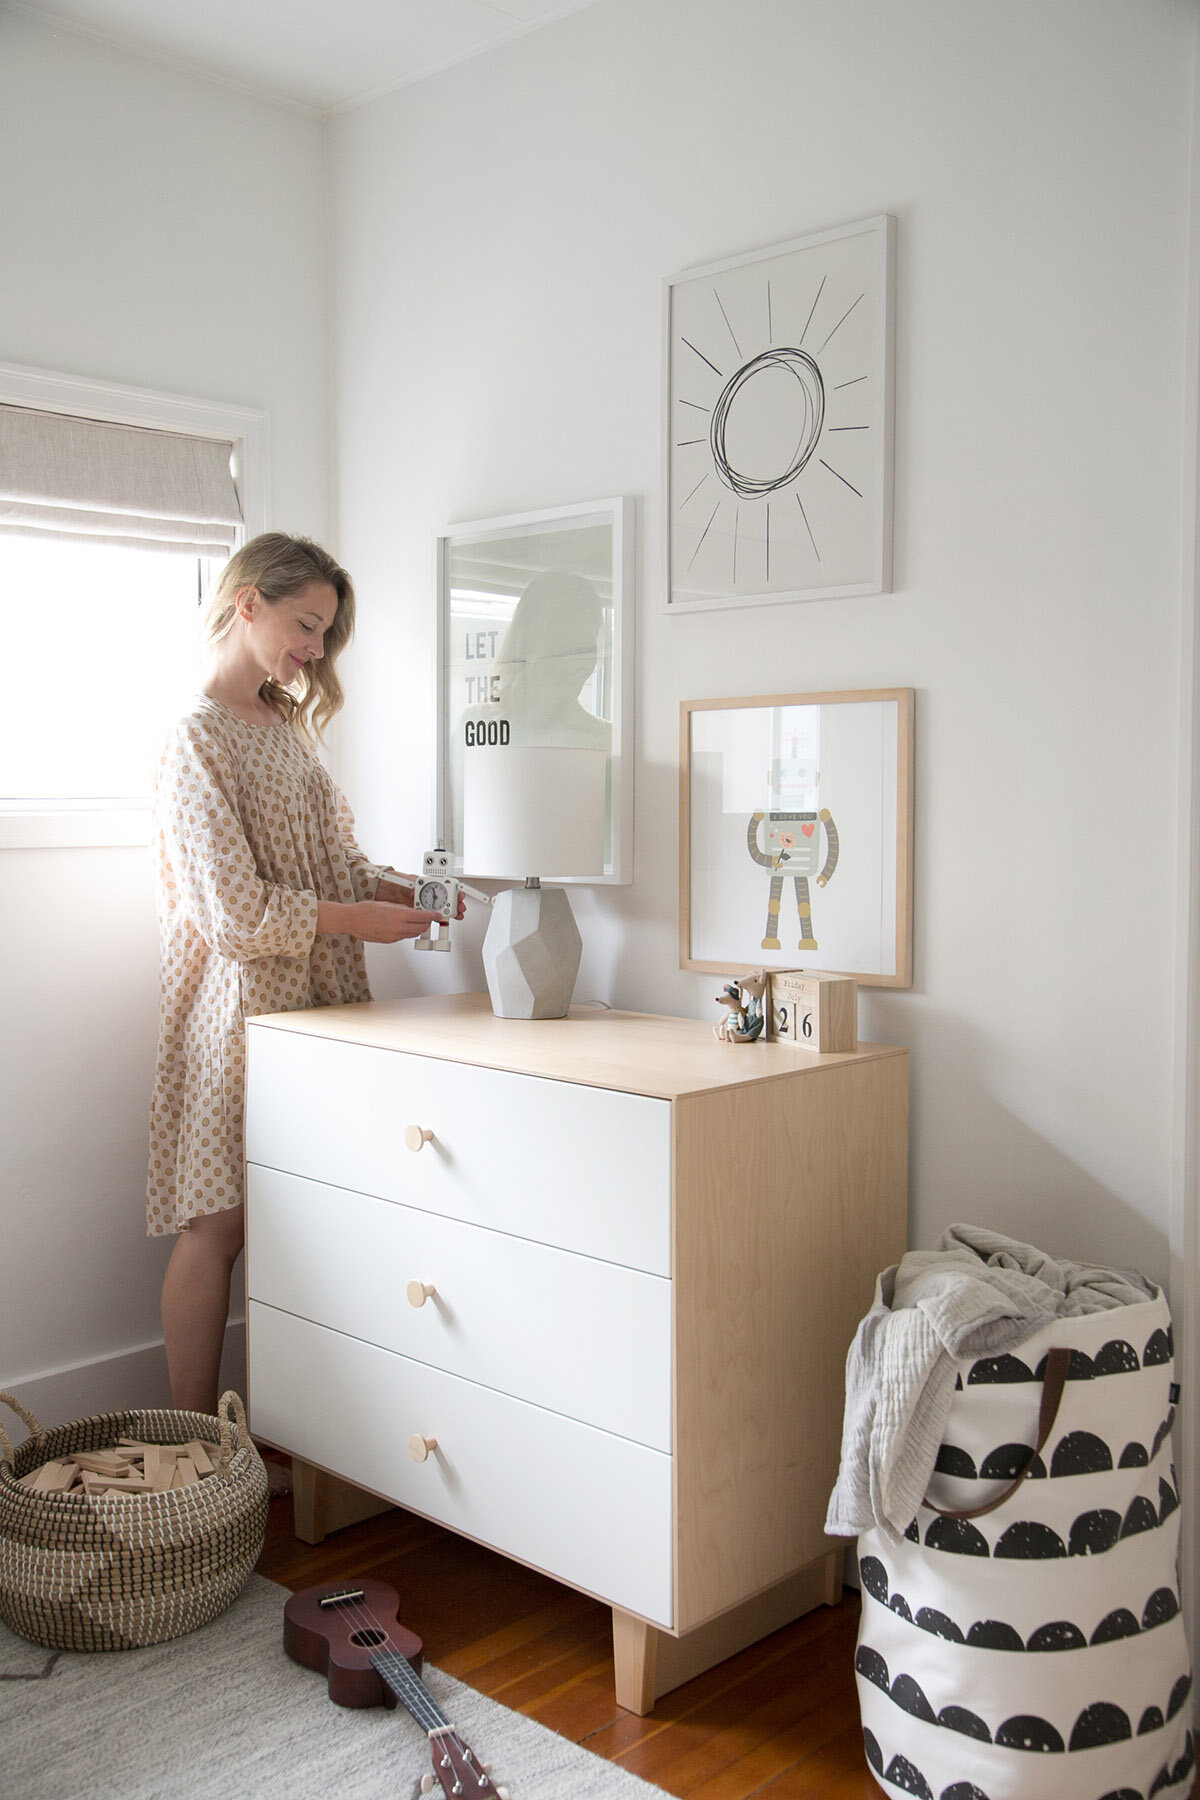
It may be a bold statement but we truly believe that artwork is what brings a space to life! A real match for a room is when the artwork reflects the little one who lives there and these prints add a fun punch of personality to Xavier’s room. Hanging artwork can be tricky so today we are going to show you how!

SHOP THE LOOK…


STEP #1.
Start by choosing artwork that blends in colour and theme to the rest of the space. With artwork for a simple gallery wall, choose 3 good size prints and frame them to fill the width of the dresser.
STEP #2.
Get the spacing right. See below for our guide to spacing. Ensure that the first print is hung 4-6” above the top of the dresser. The group of 3 should be thought of as 1 entire art piece. Measure the centre of the trio to be about 57-60” from the ground.
STEP #3.
Space the frames close enough together so that they look like they belong. For this trio, the frames are 3.5” apart; 2-3” is a good guideline. You can use painters tape to rough out the frames on the wall to give you an idea of how they will look before hanging them.
Pin this image for future reference!

HOW TO STYLE YOUR KIDS' SHELVES IN 4 EASY STEPS!
If you’ve been blessed with becoming a parent, surely you are realizing that all of the toys, books, photos, stuffed animals (aka stuff) needs to be stored somewhere. It is likely that a bookshelf of some sort has made its’ way into your child’s room and if not, now is the perfect time to get one!
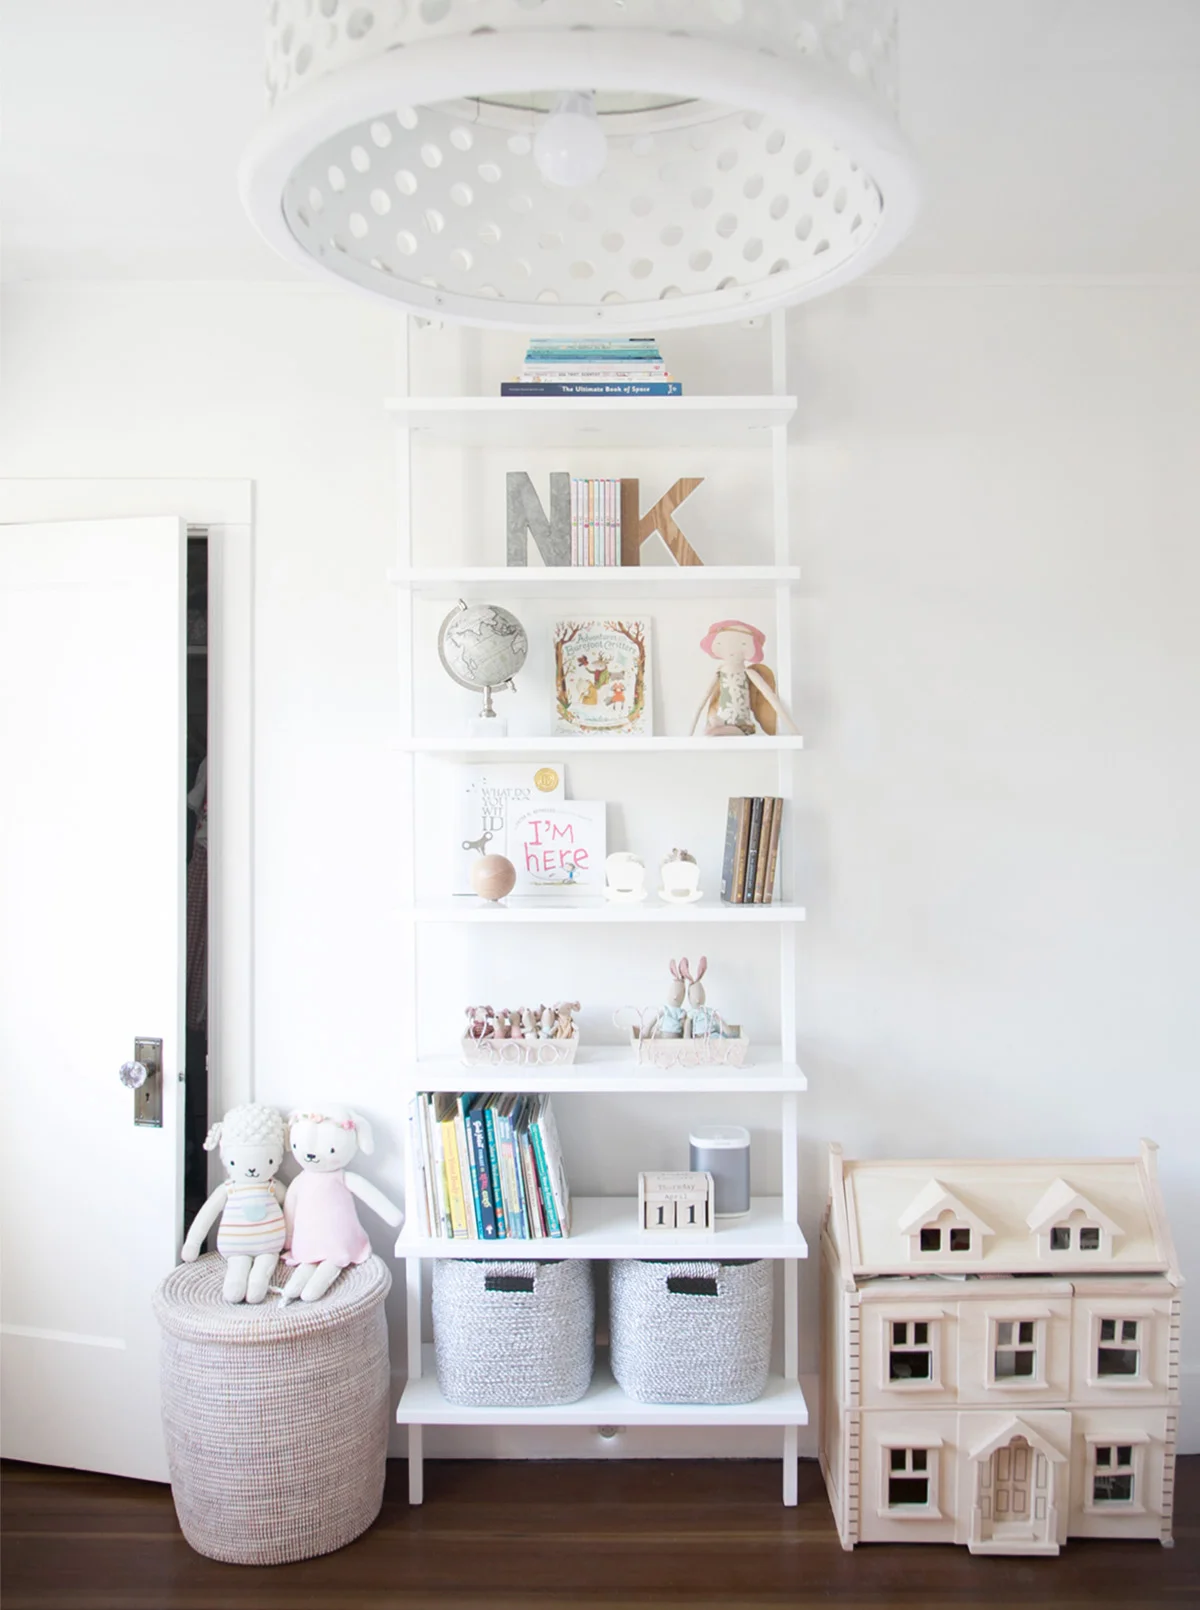
Pretty (and functional!) shelves aren’t as simple as they look but with careful thought, everyone can turn a mediocre bookshelf into something you will proud to see and use everyday. We love this plain white bookshelf that goes from floor to ceiling.

SHOP THE LOOK…


Styling kids shelves starts with the most obvious step of all, but one that so many people often overlook.
STEP 1: CLEAR YOUR SHELVES
If you want to tackle the job of styling your shelves properly, start by taking everything off and giving them a good dust / clean. By starting with a clean blank slate, you will already be on your way to successful shelf styling!

STEP 2: ADD BOOKS
Now that your shelves are clear, take this chance to go through the books and donate any that your children have finished with. This may sound like a no-brainer, but trust me on this one! Kids interests change quickly and you will surely find at least a few that are no longer needed.
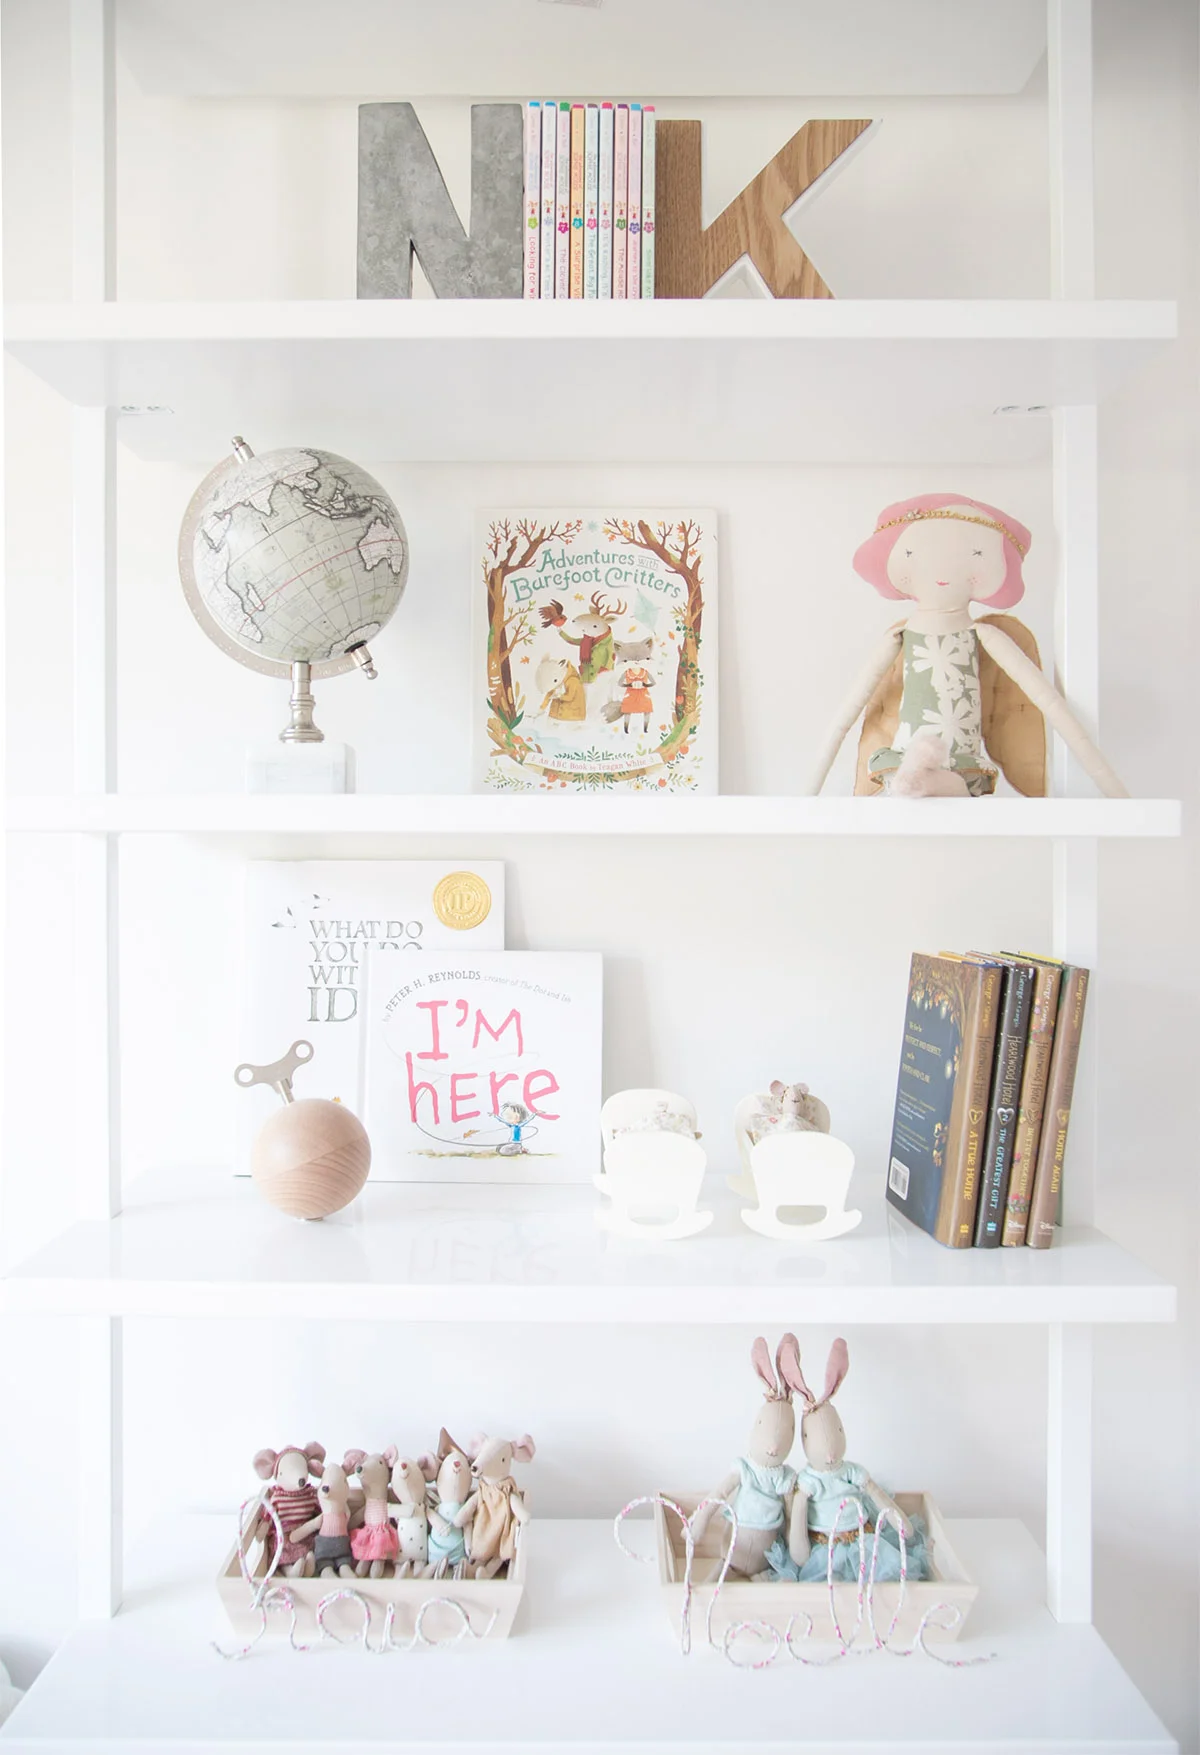
Once you have all the books that are going back on the shelf, break them up into sections, such as board books on one shelf or chapter book series grouped together. IF you are super particular with the way the shelves LOOK, you can also get as choosy as same size books or same colour spines together. You can also use special books, photos or actual art pieces and lean them against the back of the shelf or wall. By doing this, it adds an extra layer of depth making shelves appear deeper.
In the photo below, there are 57 books! If you have many more than this, fill up every second shelf leaving the bottom shelf empty for baskets or bins.

STEP 3: ADD STORAGE BASKETS AND SMALL CONTAINERS
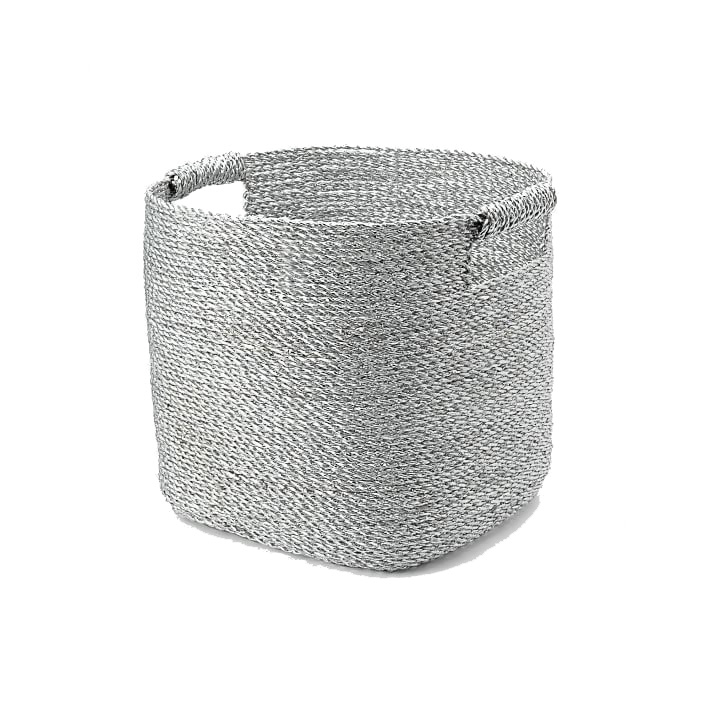
Start with your biggest storage baskets or bins on the bottom shelf. We used metallic baskets for everyday items that get left on the floor. It keeps the floor tidy and the kids know where to find items that they have left around the house. As kids get older, I find the toys get smaller! This means that there are lots of little ‘treasures’ and it’s handy to have little boxes in their rooms for these items.

STEP 4: ADD ACCESSORIES (AKA THE FUN PART!)
This is where the true fun comes in! Keep in mind that empty or white space is just as important as the items you place on the shelves. Here’s your chance to add little vases, candles, wooden toys for younger kids, or in my twins’ case, the Maileg collection that has grown over the years. These are perfect for adding to the shelves along with their mini globe (similar), daily calendar, and letter bookends. If you aren’t sure where to place things, just try it and then stand back and see what you think. Try to add smaller items next to larger and mix it up between placing things right in the centre or 1/3 of the way in on either side.


If you have any questions about how to style a functional and pretty shelves for your kids, ask away in the comments below and if you redo the shelves at home, I’d love to see!
SHOP THIS POST…

HELLO!
WINTER DAISY was created when Melissa Barling was laying on the couch while pregnant with twins. She dreamed of a beautiful baby room but couldn't get up and make it happen. The babies were born and in those mid night wakes and early morning feeds, she decided to leave her corporate job to start a design studio + blog. Welcome to WINTER DAISY.
Follow along on Instagram
POPULAR POSTS...


CATEGORIES
- BOOKS WE LOVE
- BOYS ROOMS
- DESIGN TIPS
- DIGITAL
- DIYs
- EFFICIENT MAMA
- FAVOURITE FINDS
- FREE PRINTABLES
- GARDENING WITH KIDS
- GIRLS ROOMS
- GIVEAWAYS
- HELLO
- HOLIDAY
- HOMESCHOOL SPACES
- HOW TO...
- I'M MELISSA
- INSPIRATION
- KID STYLE
- KIDS ROOMS
- MINI GATHERINGS
- MY FAMILY
- NURSERIES
- OH MONDAY!
- ORGANIZATION
- PICKS
- PLAYROOMS
- RECIPES
- RENTAL HOUSE
- RENTAL HOUSE #1
- RENTAL HOUSE #2
- RENTAL HOUSE #3
- REVIEWS
- ROUNDUPS
- SHARED ROOMS
- SHOPPING
- SHOPS WE LOVE
- STYLING
- TODDLER ROOMS
- TRENDS
- gift guide
SUBSCRIBE
Disclosure
WINTER DAISY BLOG contains affiliate links as well as advertising banners. I may receive a small commission on purchases made through links from this site. The content is always reflective of items, things and experiences that I genuinely like and I only work with companies whose aesthetic is in line with the WINTER DAISY brand.
Sponsored posts will always be clearly disclosed.