WIN A CUSTOM RUG {A GIVEAWAY WITH PACIFIC RUG GALLERY}!
Giveaway now closed - congratulations to @jillianaguitar for winning the rug!!!
Well friends…I have a very special giveaway for you today:)
Enter to win a custom rug from Pacific Rug Gallery made from your child’s artwork!!!

HERE ARE THE DETAILS:
To enter, head to my Instagram account, follow both @winterdaisykids and @pacific gallery, tag a friend and tell us what room you’d use your new rug in.
One winner (anywhere in North America!) will be chosen to win a free 3’ x 5’ rug made from your child’s artwork! If you have a treasured piece of art that your little one has made, this is the perfect opportunity to turn it into a rug that will last a lifetime.
These pictures show how a simple drawing was turned into a beautiful rug. What a perfect gift for Mother’s Day.


Giveaway open until April 20th, 2019 PST. Winner will be announced on this post and in Instagram stories. Good luck friends!

HOW TO STYLE YOUR KIDS' SHELVES IN 4 EASY STEPS!
If you’ve been blessed with becoming a parent, surely you are realizing that all of the toys, books, photos, stuffed animals (aka stuff) needs to be stored somewhere. It is likely that a bookshelf of some sort has made its’ way into your child’s room and if not, now is the perfect time to get one!
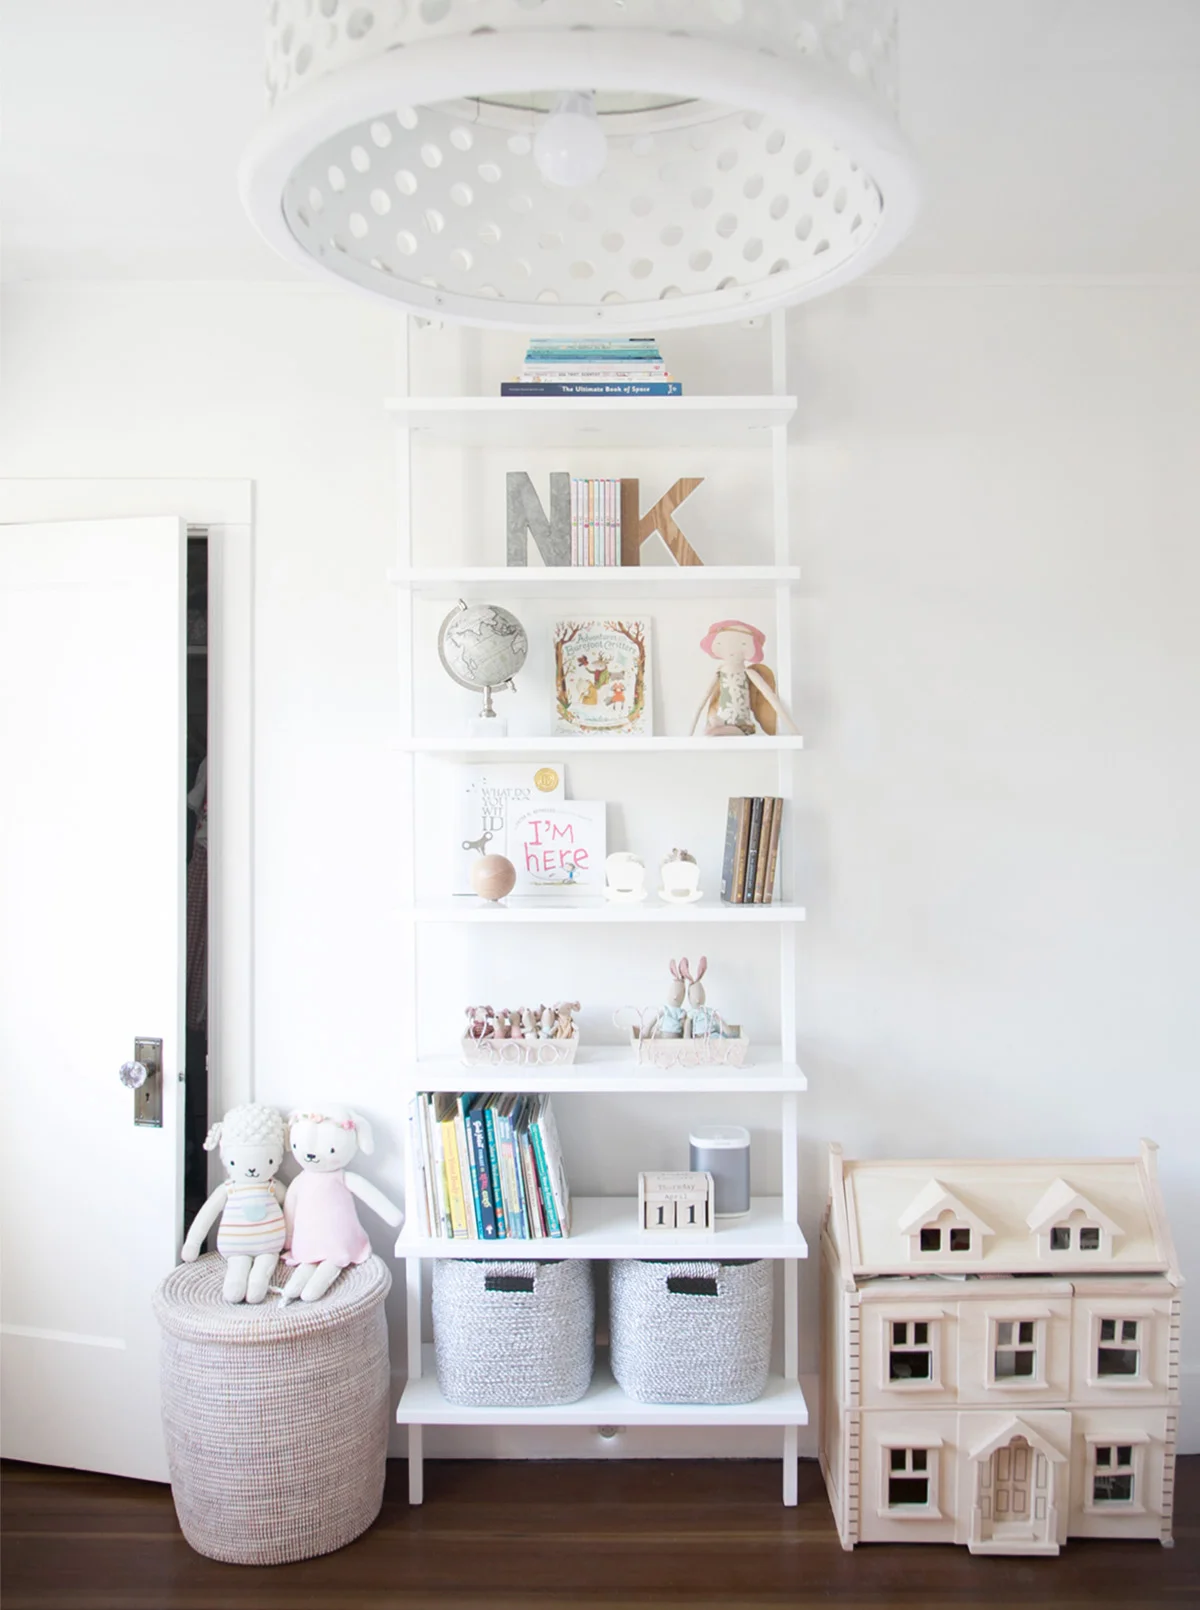
Pretty (and functional!) shelves aren’t as simple as they look but with careful thought, everyone can turn a mediocre bookshelf into something you will proud to see and use everyday. We love this plain white bookshelf that goes from floor to ceiling.

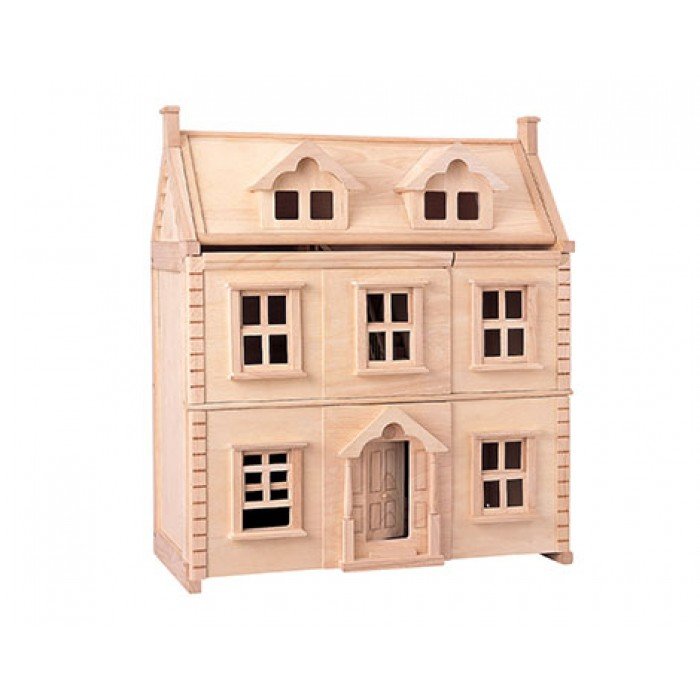
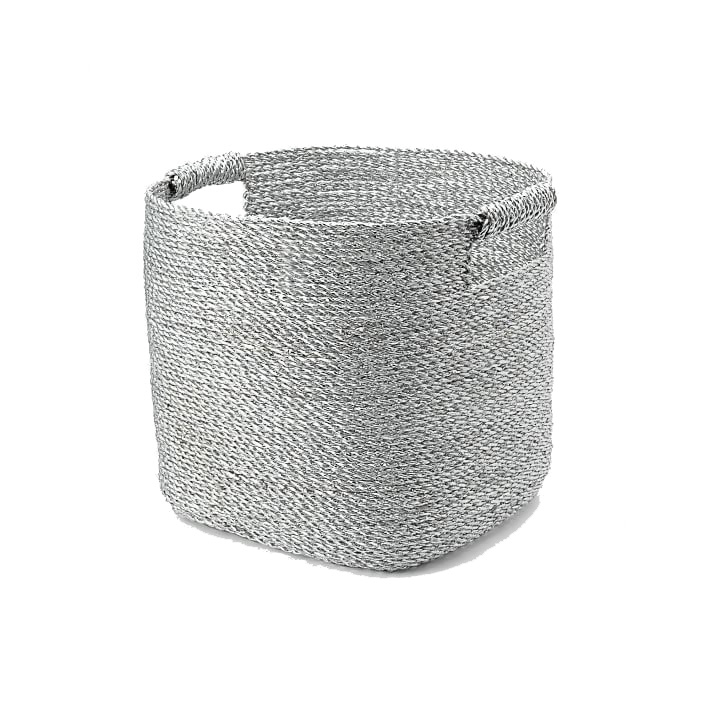
SHOP THE LOOK…


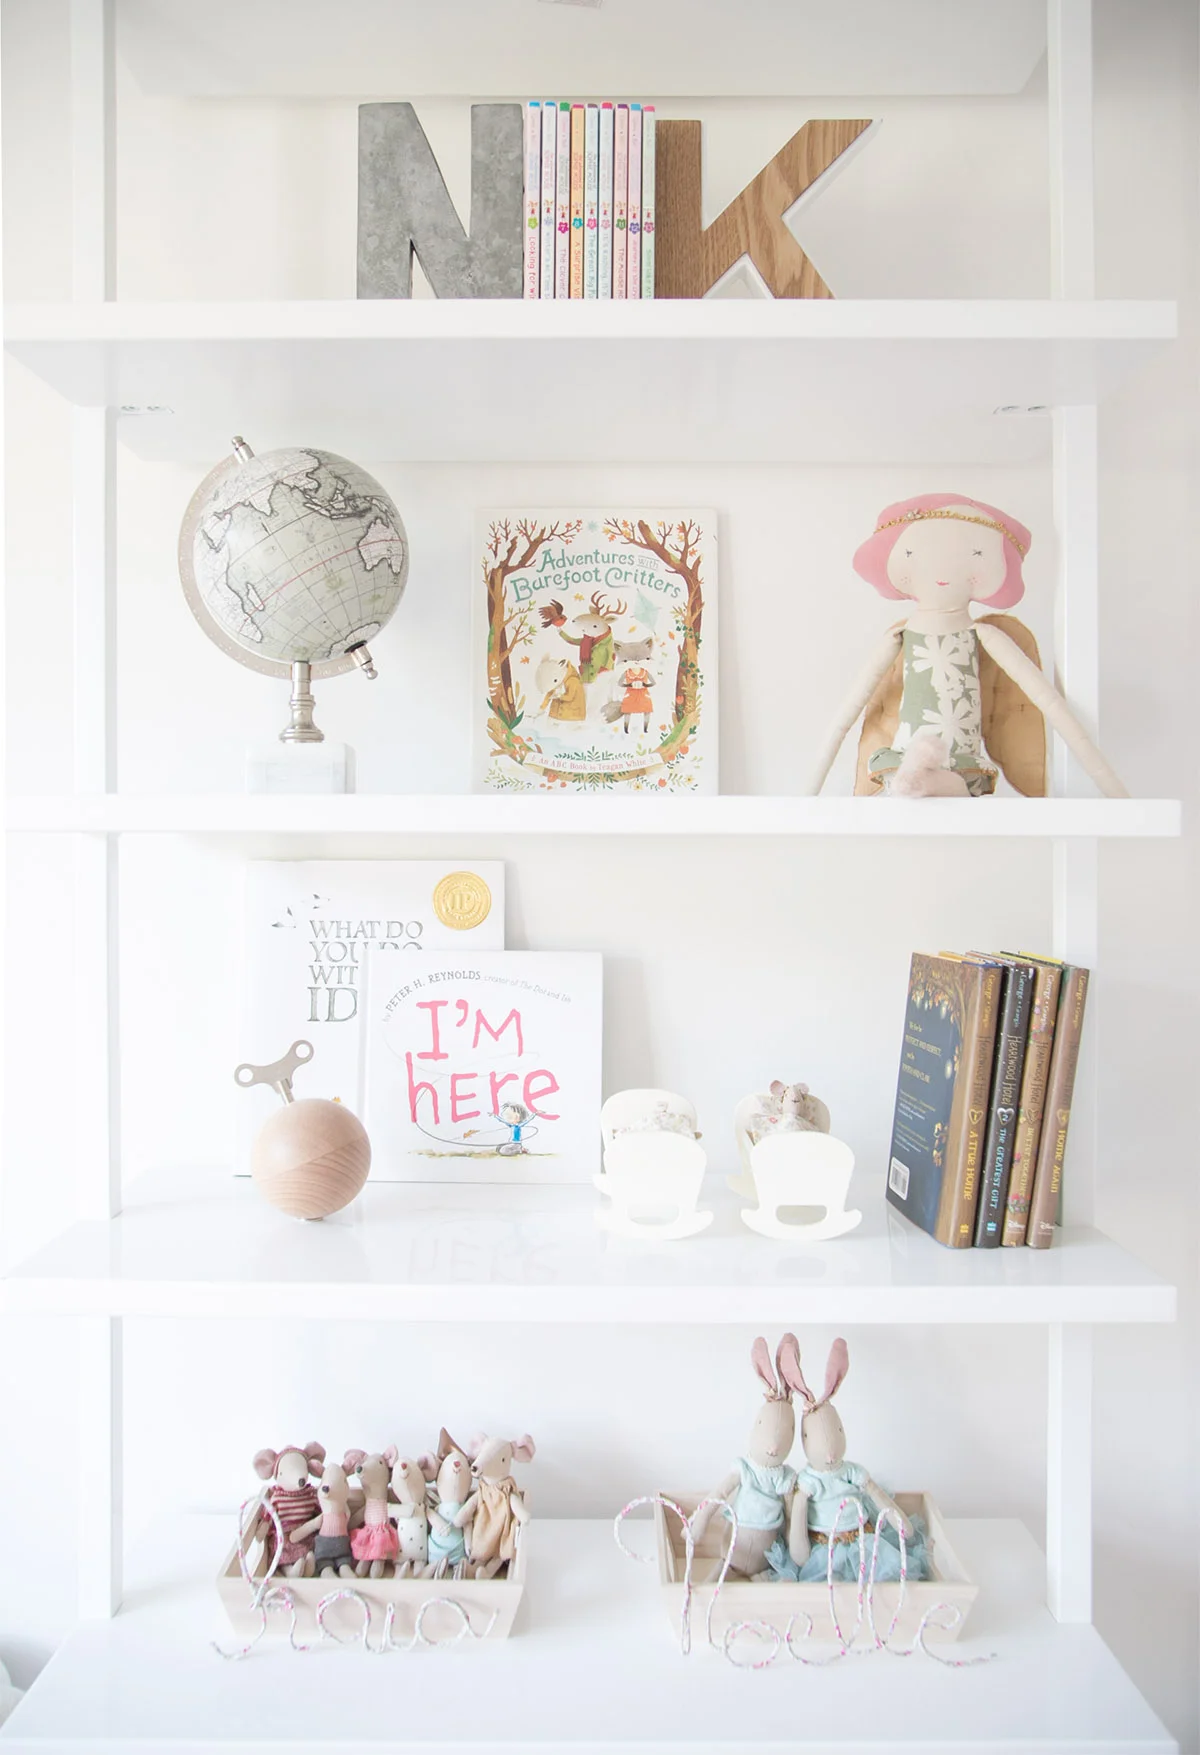
Styling kids shelves starts with the most obvious step of all, but one that so many people often overlook.
STEP 1: CLEAR YOUR SHELVES
If you want to tackle the job of styling your shelves properly, start by taking everything off and giving them a good dust / clean. By starting with a clean blank slate, you will already be on your way to successful shelf styling!

STEP 2: ADD BOOKS
Now that your shelves are clear, take this chance to go through the books and donate any that your children have finished with. This may sound like a no-brainer, but trust me on this one! Kids interests change quickly and you will surely find at least a few that are no longer needed.
Once you have all the books that are going back on the shelf, break them up into sections, such as board books on one shelf or chapter book series grouped together. IF you are super particular with the way the shelves LOOK, you can also get as choosy as same size books or same colour spines together. You can also use special books, photos or actual art pieces and lean them against the back of the shelf or wall. By doing this, it adds an extra layer of depth making shelves appear deeper.
In the photo below, there are 57 books! If you have many more than this, fill up every second shelf leaving the bottom shelf empty for baskets or bins.

STEP 3: ADD STORAGE BASKETS AND SMALL CONTAINERS
Start with your biggest storage baskets or bins on the bottom shelf. We used metallic baskets for everyday items that get left on the floor. It keeps the floor tidy and the kids know where to find items that they have left around the house. As kids get older, I find the toys get smaller! This means that there are lots of little ‘treasures’ and it’s handy to have little boxes in their rooms for these items.

STEP 4: ADD ACCESSORIES (AKA THE FUN PART!)
This is where the true fun comes in! Keep in mind that empty or white space is just as important as the items you place on the shelves. Here’s your chance to add little vases, candles, wooden toys for younger kids, or in my twins’ case, the Maileg collection that has grown over the years. These are perfect for adding to the shelves along with their mini globe (similar), daily calendar, and letter bookends. If you aren’t sure where to place things, just try it and then stand back and see what you think. Try to add smaller items next to larger and mix it up between placing things right in the centre or 1/3 of the way in on either side.


If you have any questions about how to style a functional and pretty shelves for your kids, ask away in the comments below and if you redo the shelves at home, I’d love to see!
SHOP THIS POST…


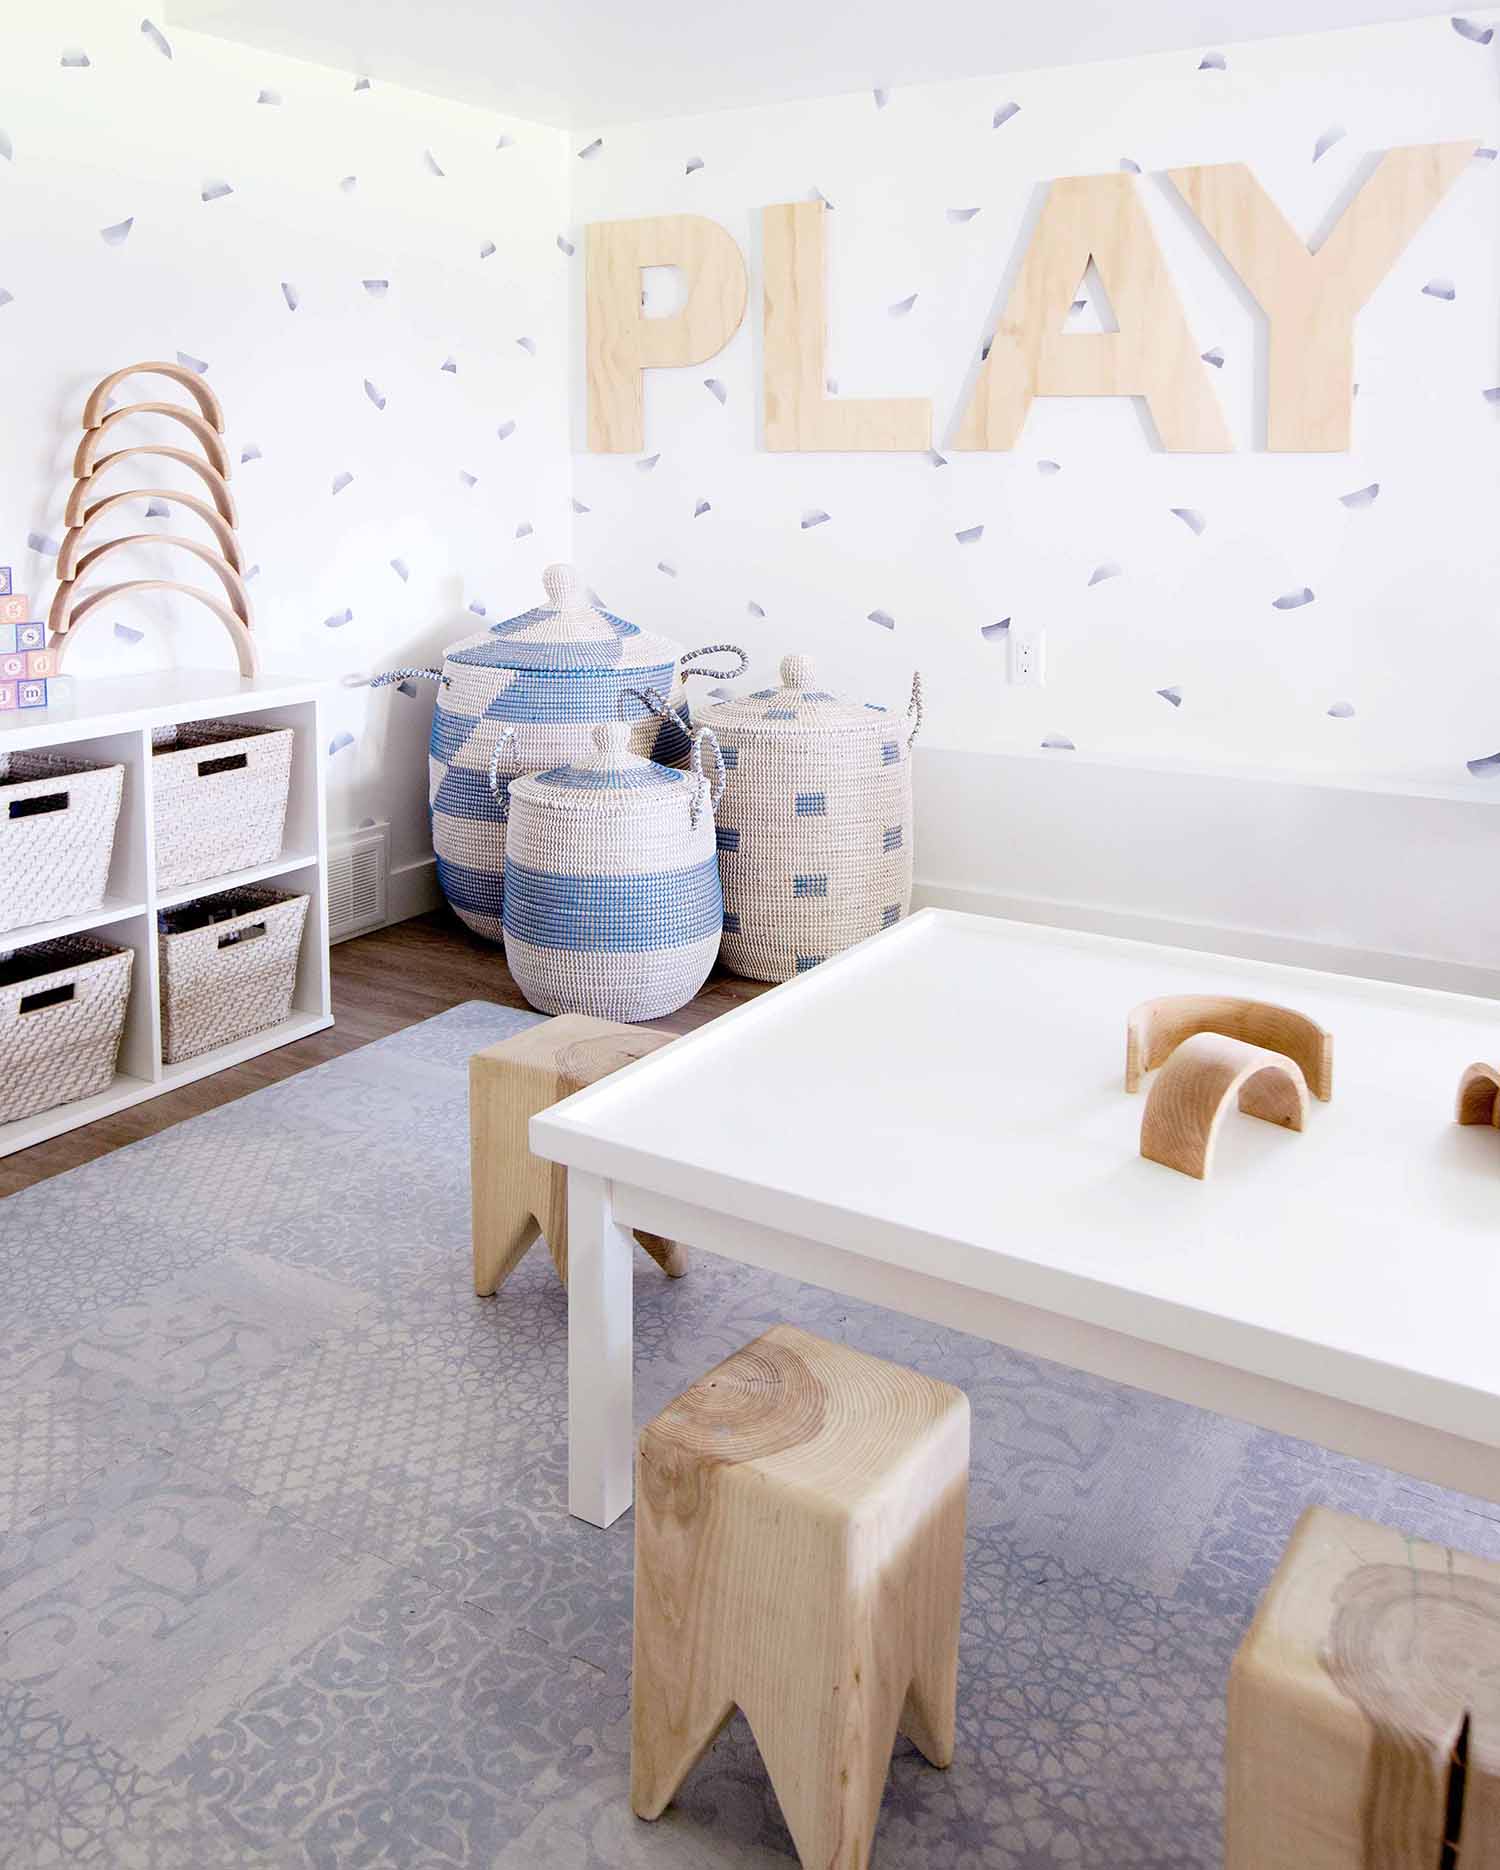
FRIDAY INSPIRATION: UNIQUE PLAY NOOKS
It’s Friday and that means we can all breathe a little easier knowing that the weekend is just around the corner. While it means full on kid mode for most of us, it’s also a time that our little ones play in the environment that they usually feel most comfortable; home.
Sometimes, by creating special little nooks or finding a new area to play helps while away the hours a little more easily. These unique spots to add toys either come about for function (there is no other space in the house!) or just for magical fun…either way, here are some of my favourite unique kids nooks that create the dreamiest environments for children’s play.
A Secret Room:
Yes, really! This dreamy little play nook WITH A SKYLIGHT is located behind a bookcase and houses one of the cutest play kitchens of all time.
Source: Emily Henderson
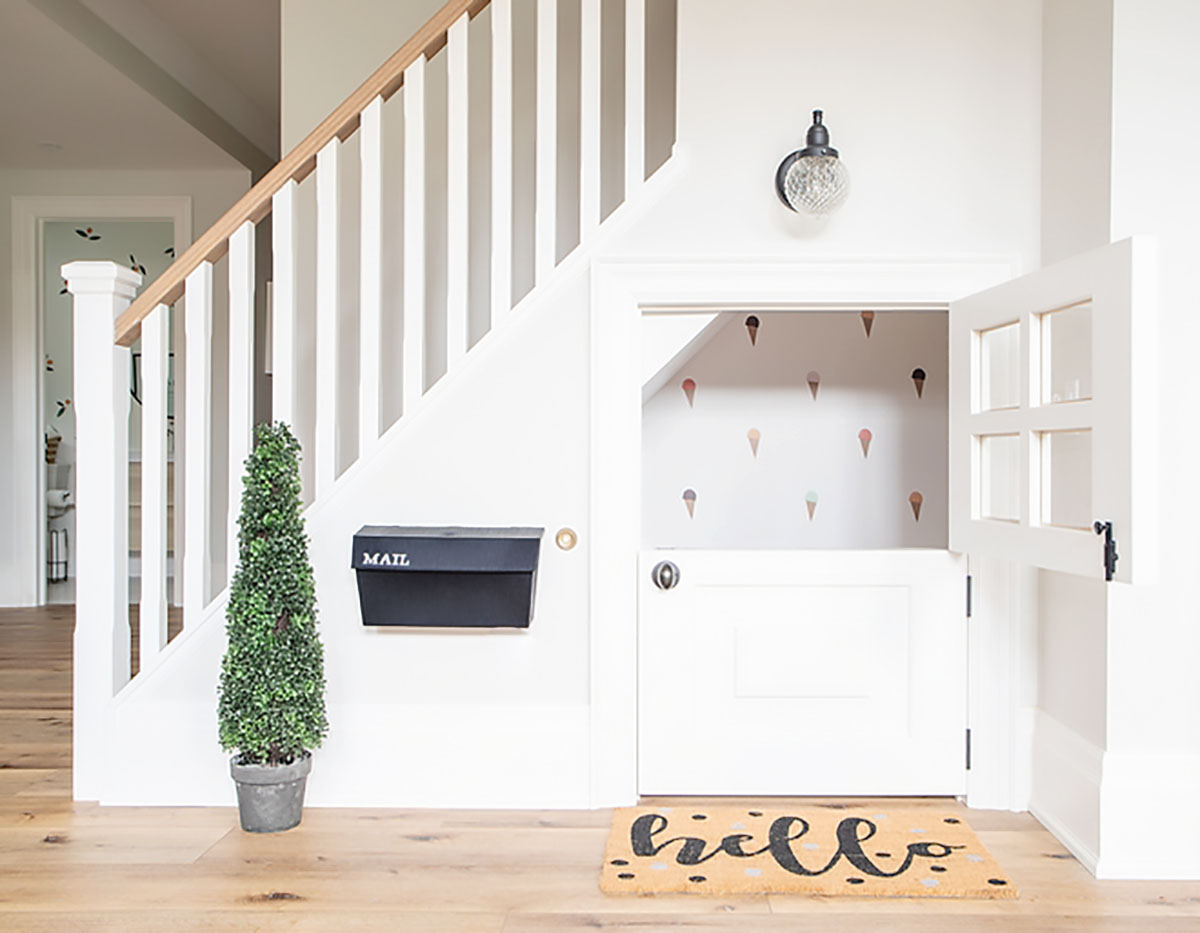
Playspace Under the Stairs:
It’s really such a great use of space! Add a few of these ice cream decals, and you have a playroom for the littles.
Source: Pinterest

Source: Von Fitz Design
Attic Playspace
Adding skylights to an attic opens the whole space up to so many possibilities. This play area is the perfect place to whittle away house while the sun shines in.

Source: Pinterest
WHAT GOES IN OUR EASTER BASKETS
It’s March and for us, that signals the start of ‘birthday season’, a time of year that launches Spring and always reminds me to get ready for Easter!
Last year, I shared a roundup of Easter gifts for kids and this year I thought it would be fun to share the EXACT items that are going into our Easter baskets!
While we do an egg hunt on the day, and are starting a tradition of drawing on a wooden egg each per year, I always like to leave a little basket of treats on their placemats at the breakfast table on Easter morning as a surprise and this is what is going in them this year.

01. // Easter basket; 02. // Bunny planter (for the twins’ room); 03. // Easter lego set; 04. // Mini Jellycat softie; 05. // The Country Bunny book; 06. // Mini eggs; 07. // Chocolate bunny; 08. // Bunny pjs; 09. // Striped pjs.

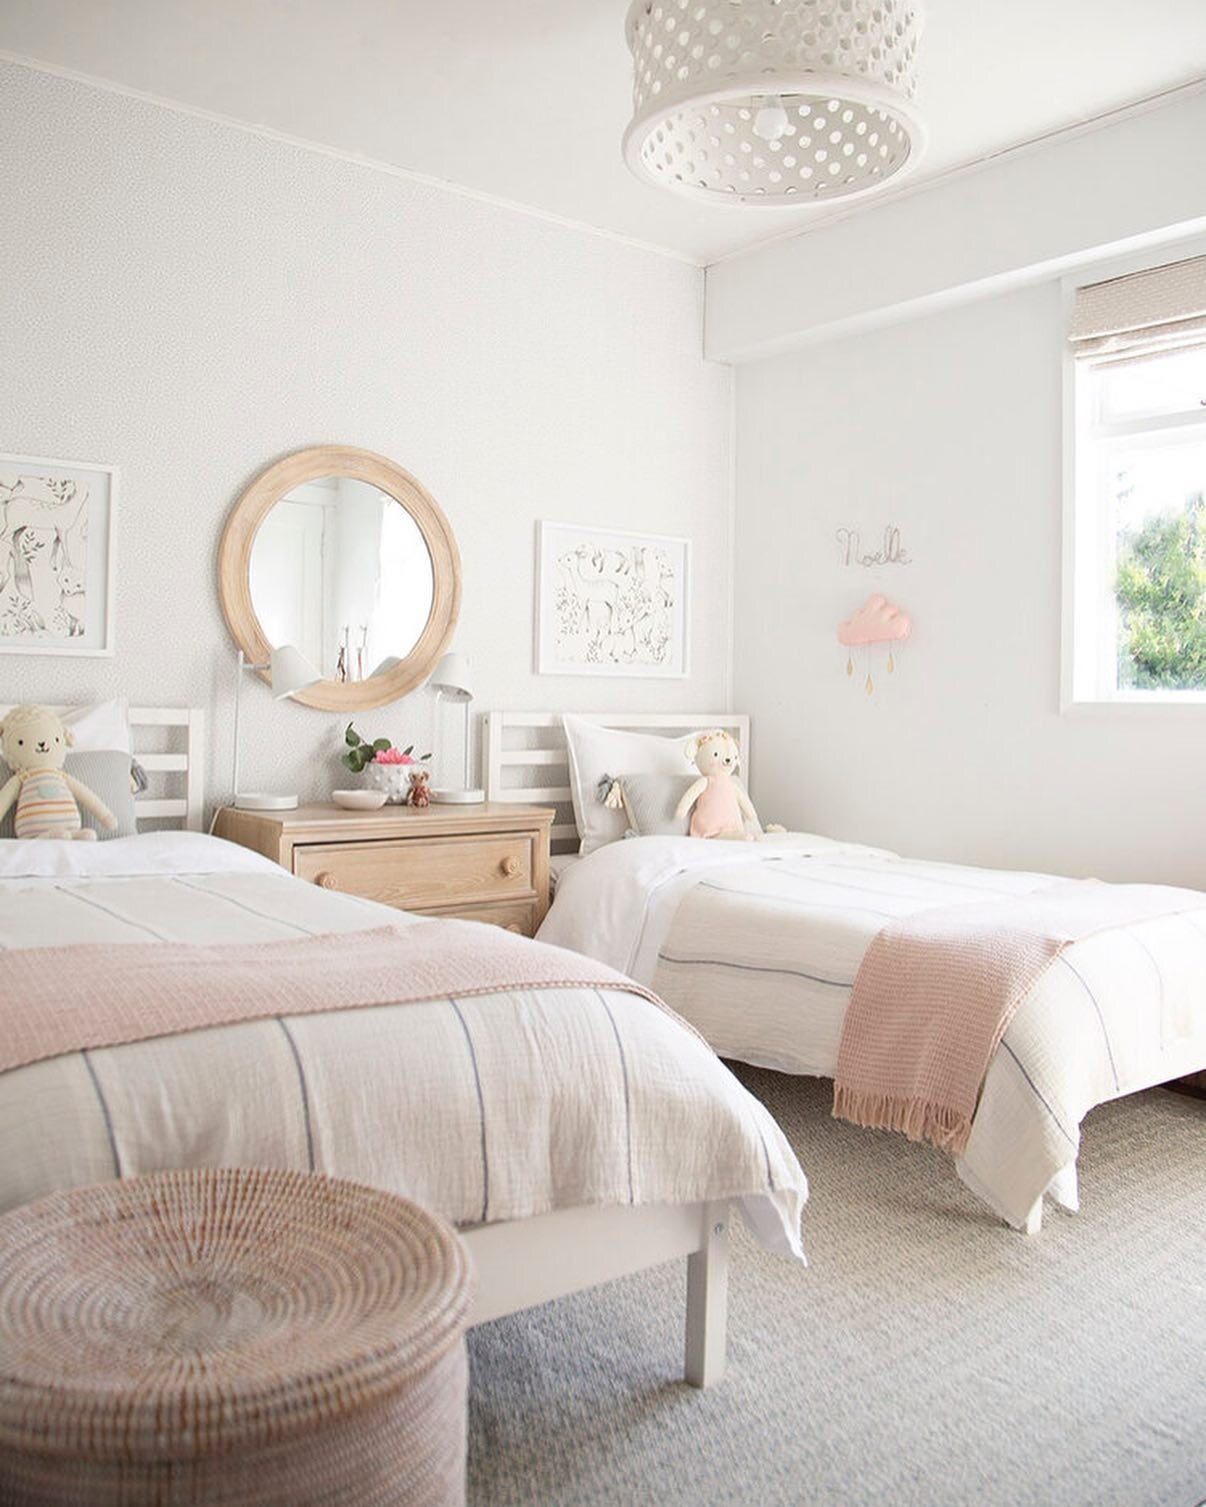
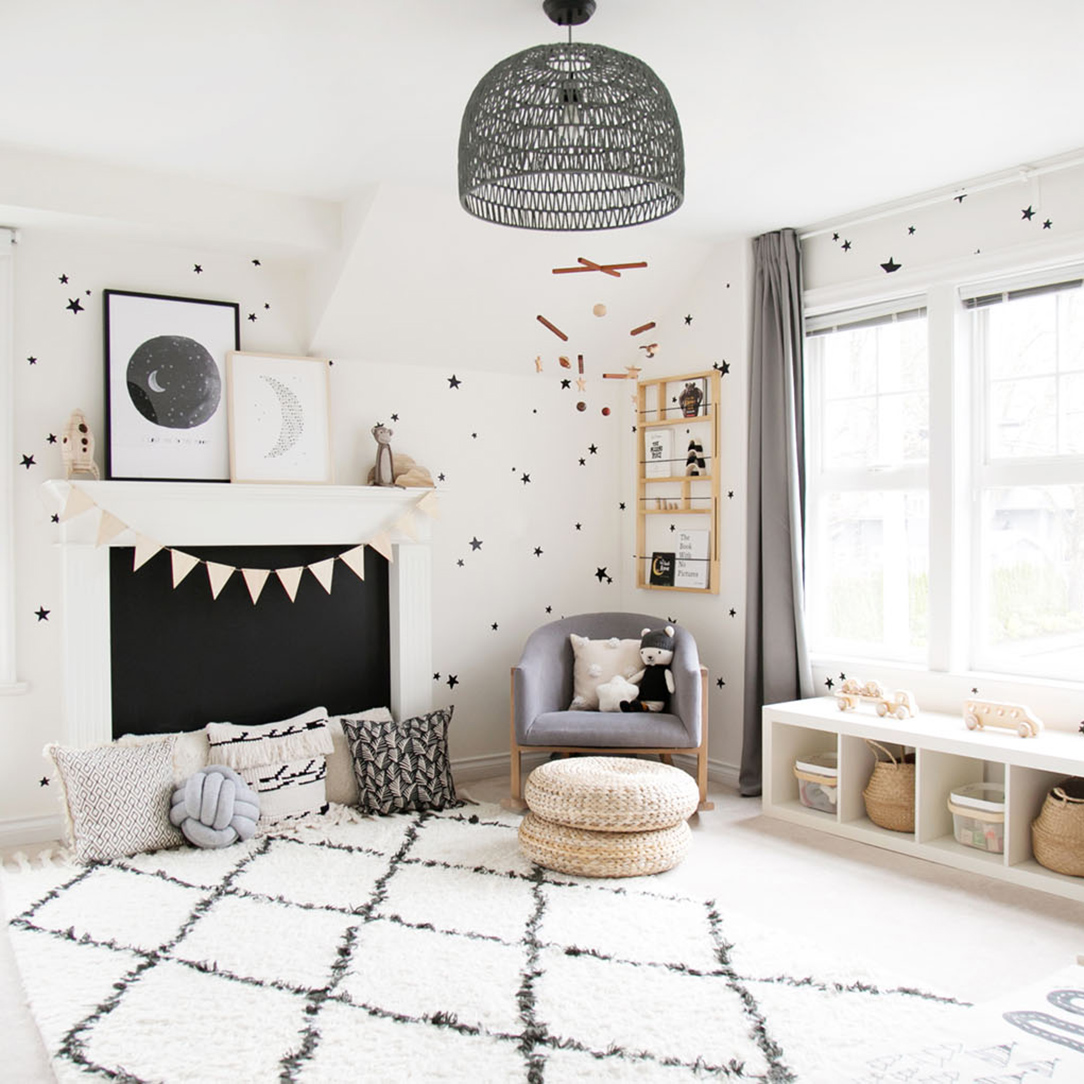
5 WAYS TO ADD TEXTURE TO A BABY OR CHILD'S ROOM
Texture is what gives a kids room that cozy factor and entices you to step deeper into the space. It’s the things that you can ‘feel’ and the things that add dimension and in my opinion, all baby and children’s spaces need a little (or a lot of) texture. Texture is what truly brings the space to life!

girl’s room e-design project

There are lots of furniture items that can add texture to a room (hello grasscloth covered dresser!), but today I want to make it easy and share 5 ways you can add texture no matter what your furniture is. Sound good?
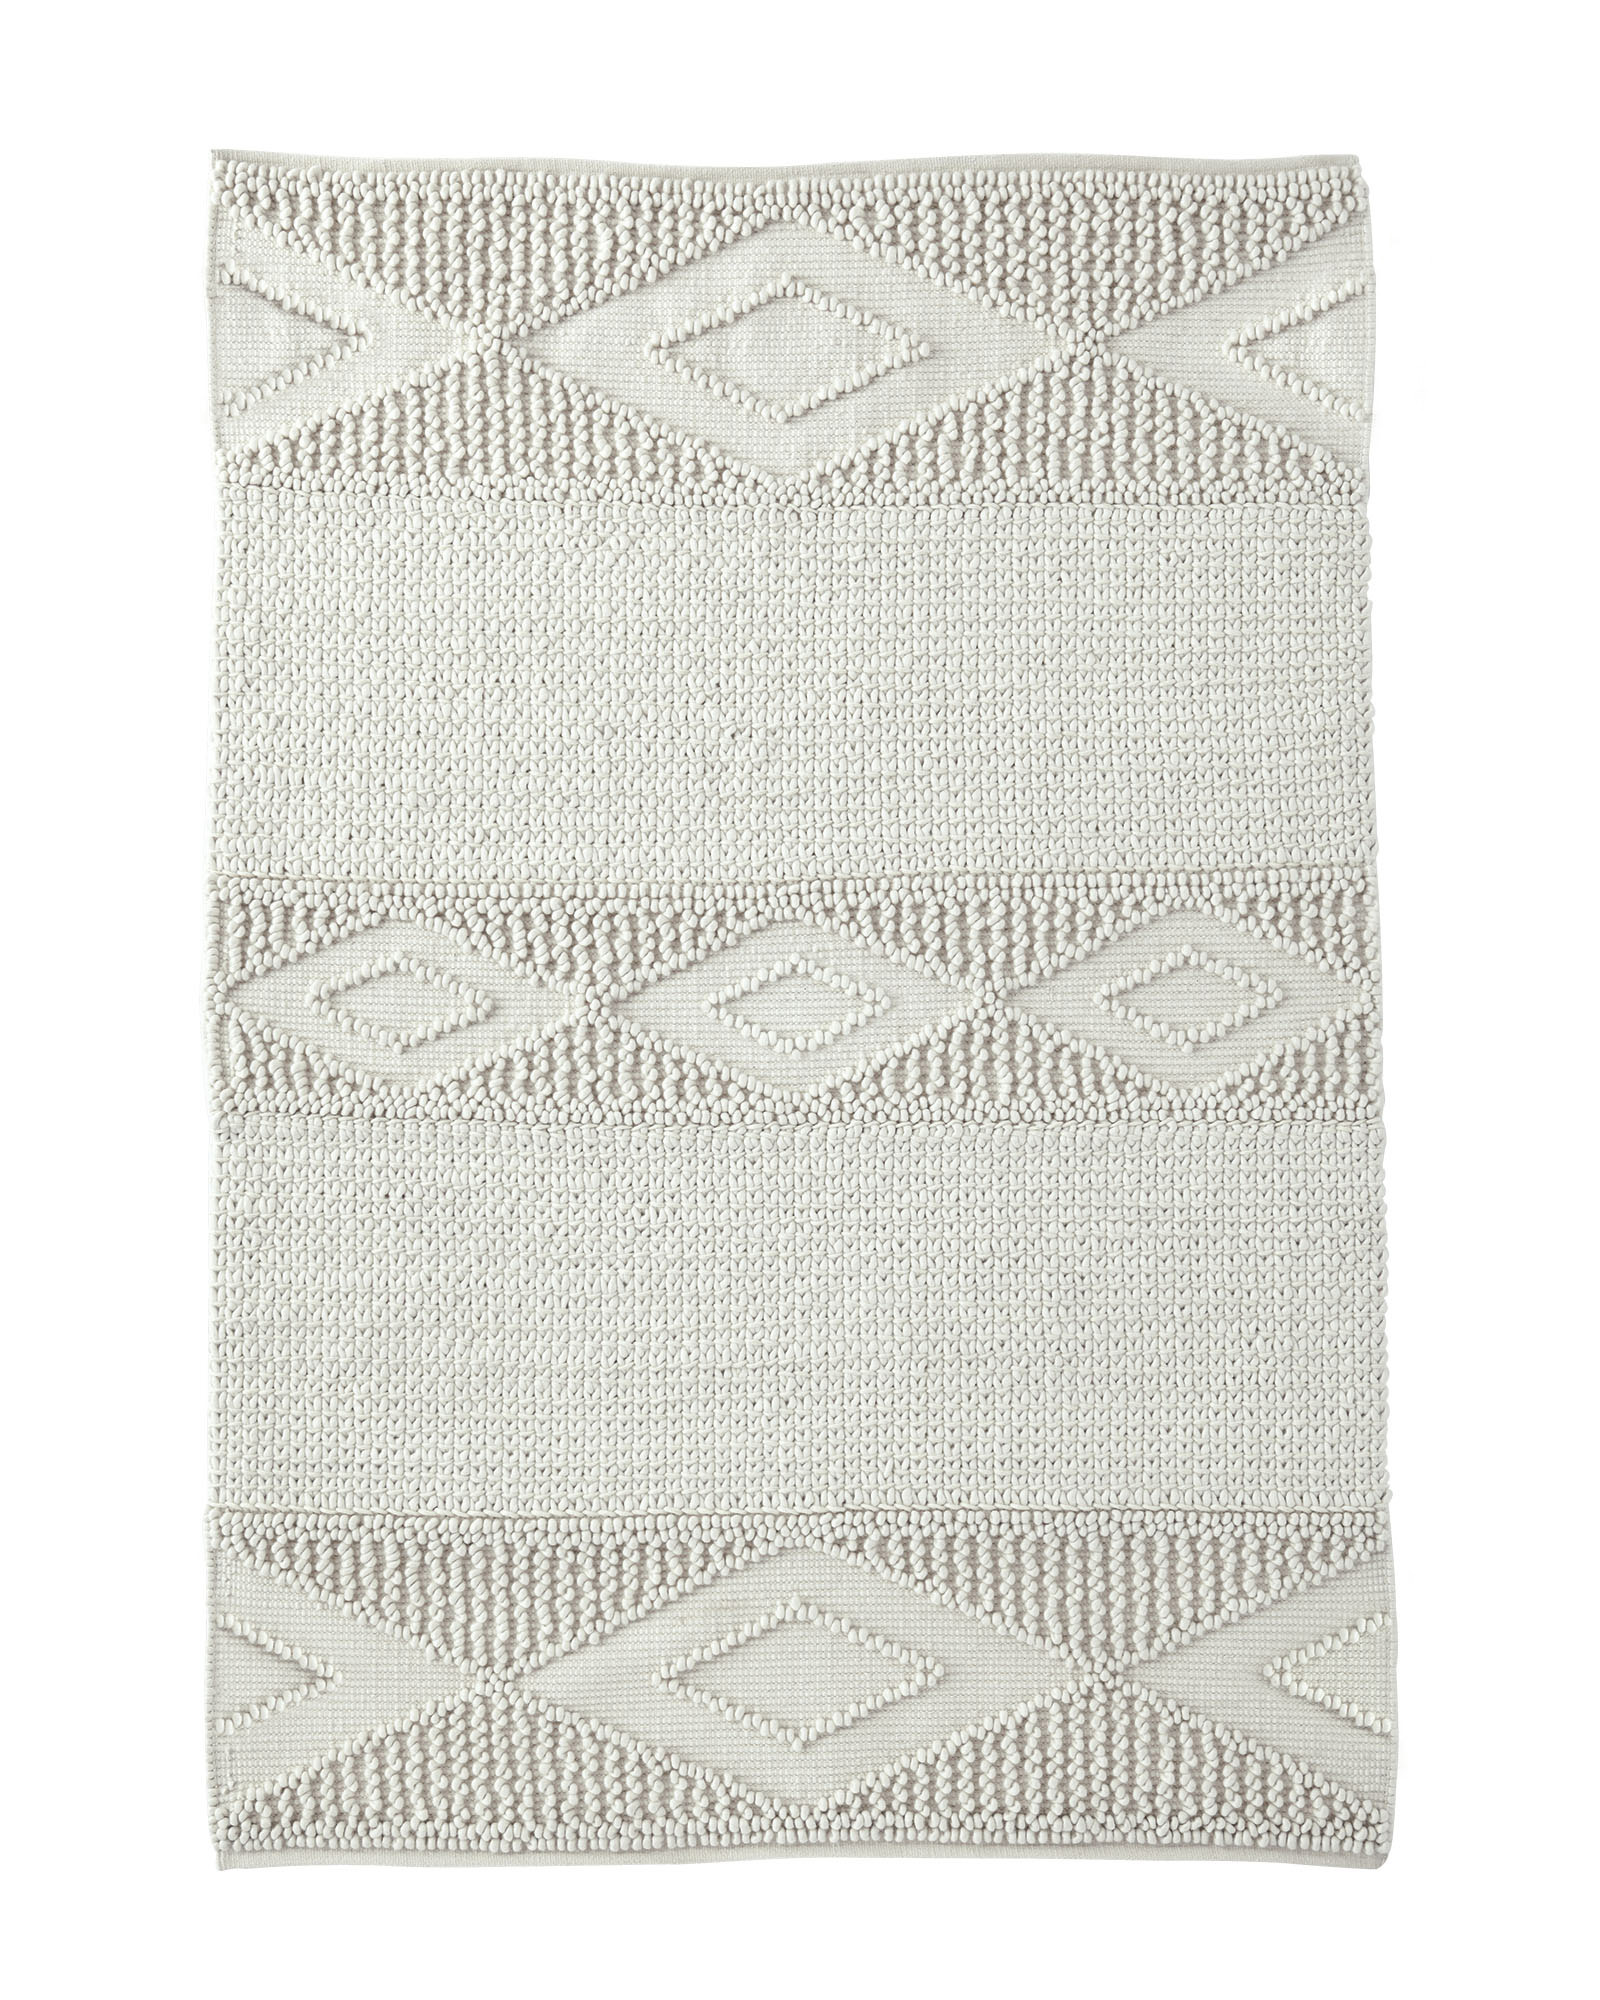
ONE. ADD A RUG
This is a simple way to add texture and nearly any rug will give an instant cozy lift to a space. Look for natural fibres; my favourites are wool or cotton. The boho shag rug below adds SO much texture with just one item!
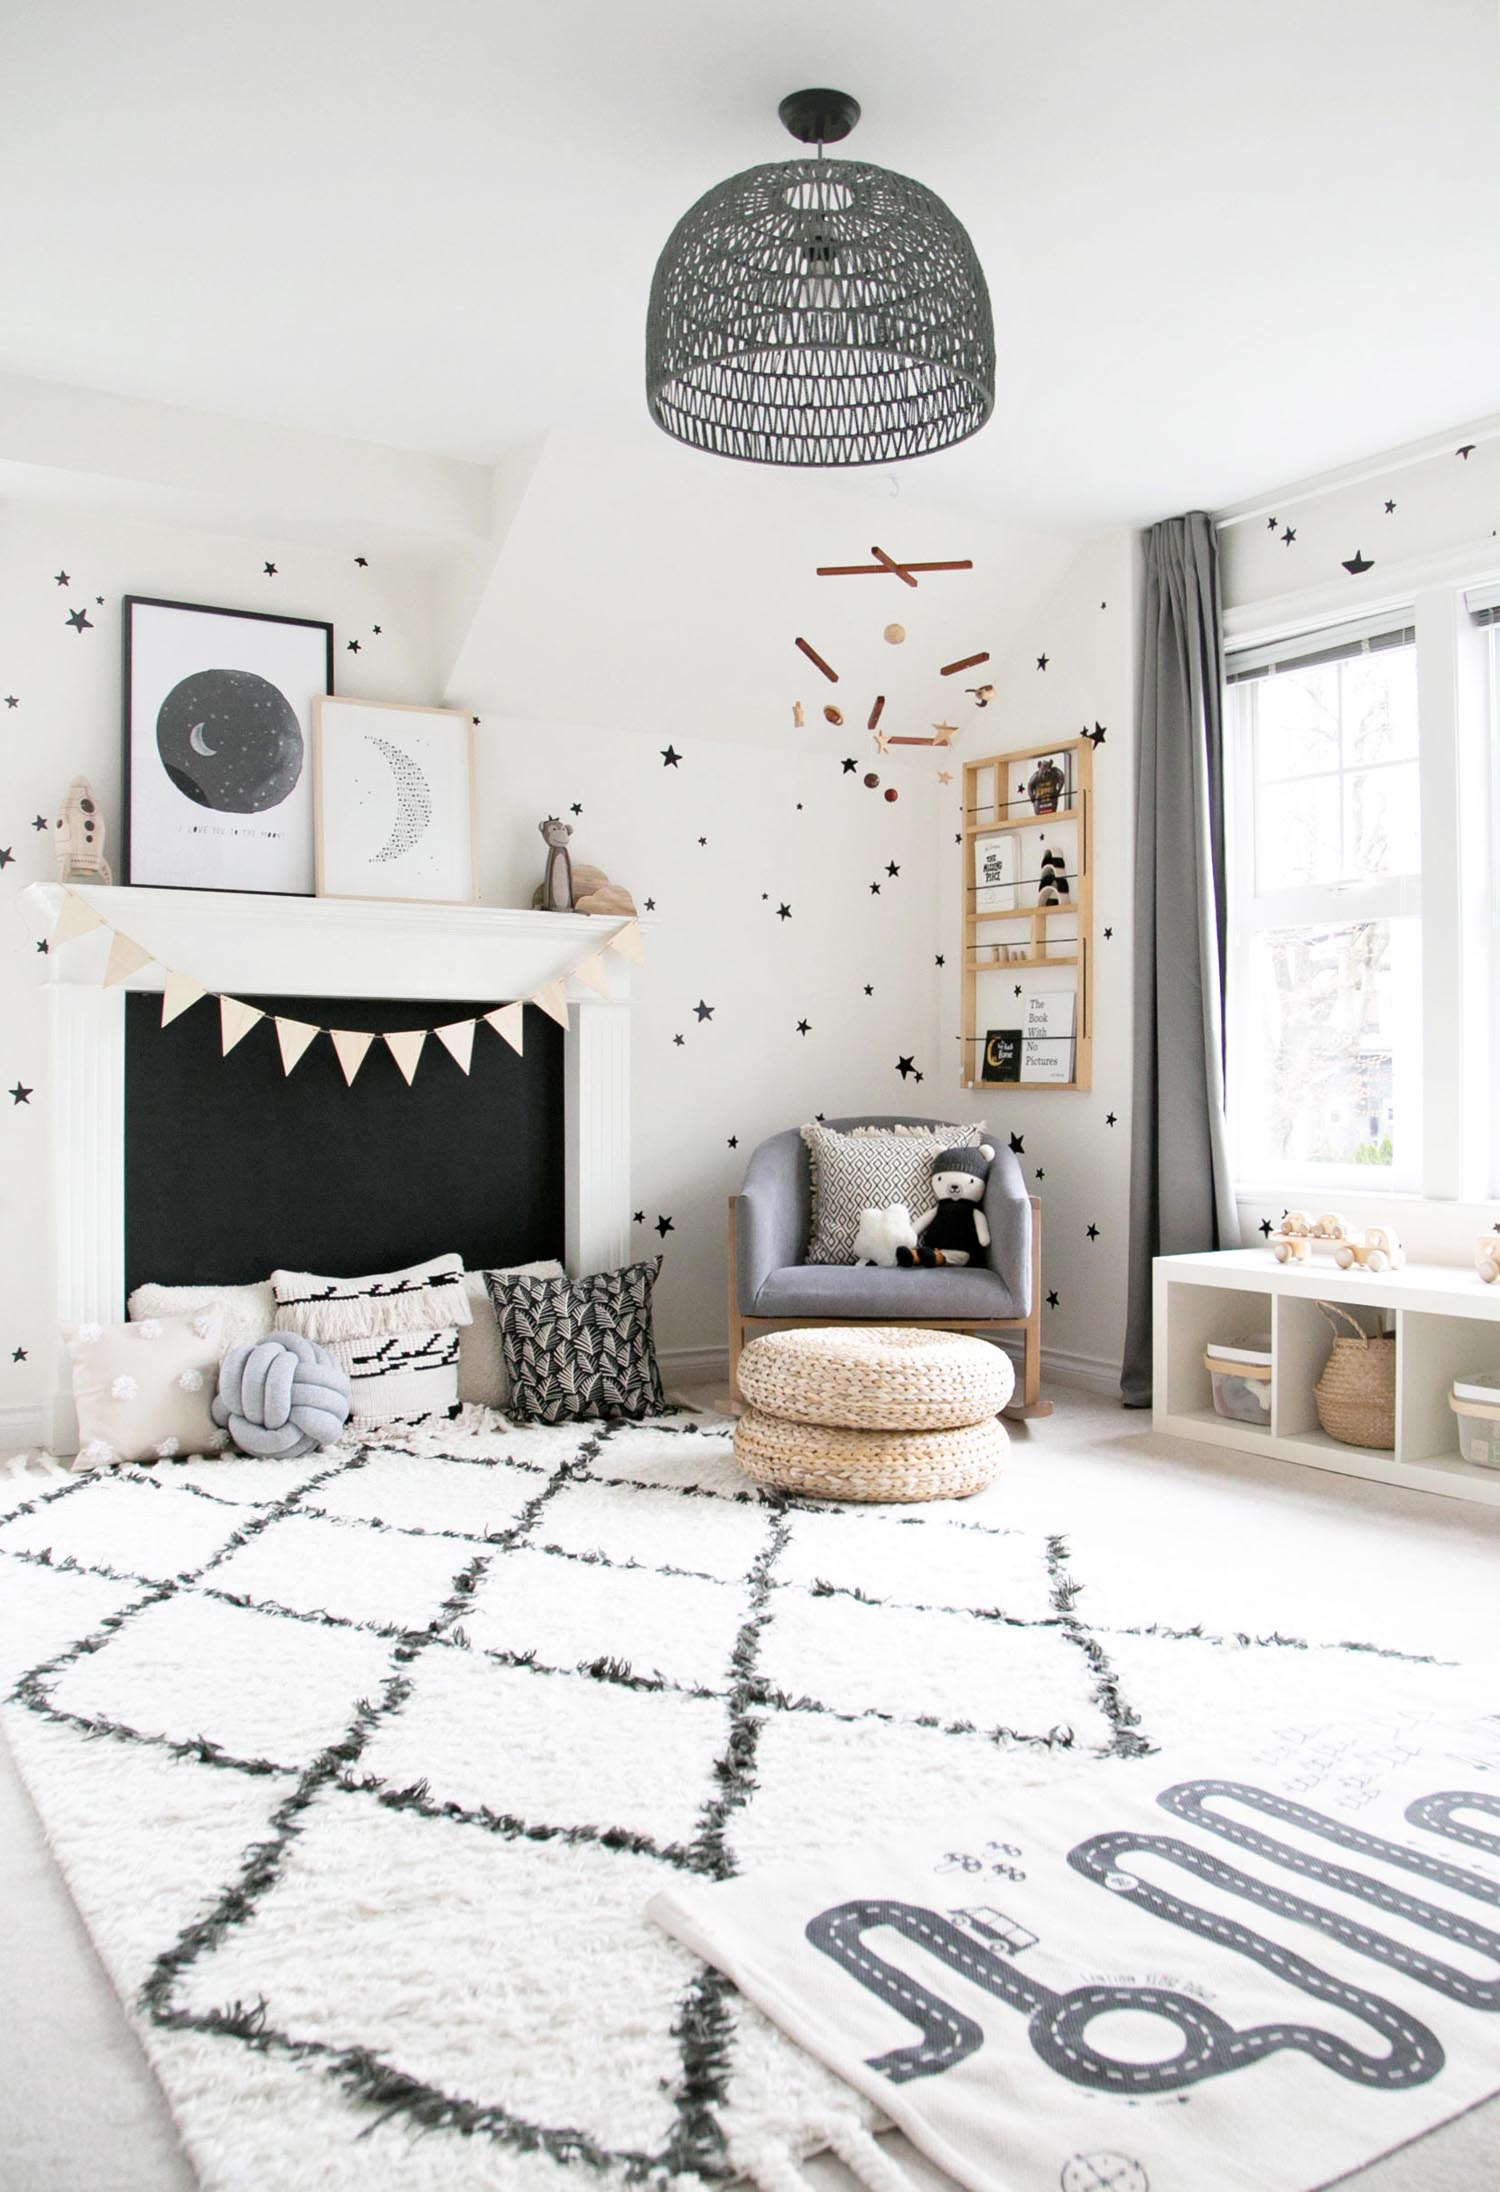
TWO. LAYER A BLANKET
Adding a blanket to any part of a kids room instantly makes the room say, “hey…come on in and snuggle up”. Just think about a blanket draped over a crib, or a chair, or even draped out of a basket.

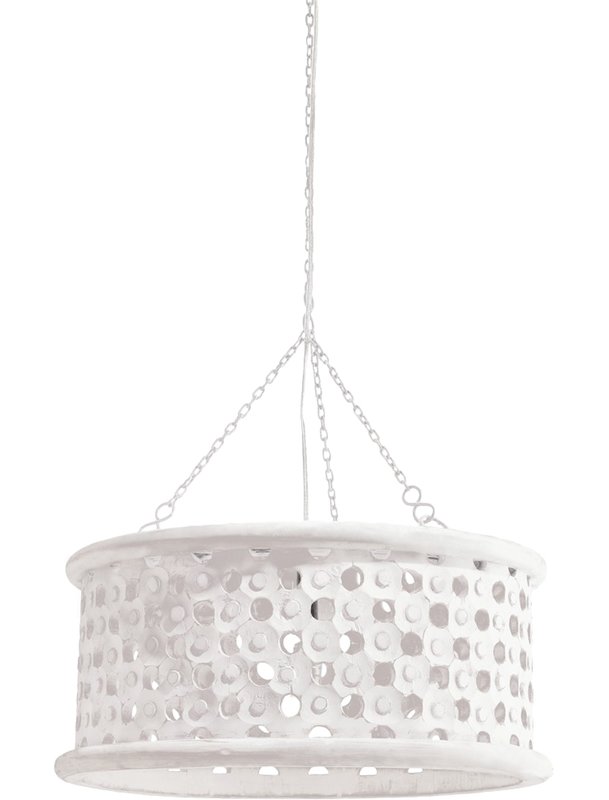
THREE. ADD LIGHTING!
You wouldn’t really think of it, but I believe adding a pendant light (especially this feather light), a wall light (even a nightlight!) and a task light (on dresser or desk) adds an extra layer to the whole place.

FOUR. PUT UP WALLPAPER OR WALL DECALS
While my true love affair will always be wallpaper (just order a sample to FEEL the texture and see the sheen), decals are a fabulous lower cost alternative that still give big impact, dimension and texture!
FIVE. INCLUDE SOFTIES!
Every baby and little one deserves a special stuffed toy and soft patterned pillows will provide a similar textural effect. There are so many adorable options on the market, it’s truly the EASIEST way to add a little texture.

IF YOU LIKED THIS…YOU MAY LIKE THESE TOO:

HELLO!
WINTER DAISY was created when Melissa Barling was laying on the couch while pregnant with twins. She dreamed of a beautiful baby room but couldn't get up and make it happen. The babies were born and in those mid night wakes and early morning feeds, she decided to leave her corporate job to start a design studio + blog. Welcome to WINTER DAISY.
Follow along on Instagram
POPULAR POSTS...


CATEGORIES
- BOOKS WE LOVE
- BOYS ROOMS
- DESIGN TIPS
- DIGITAL
- DIYs
- EFFICIENT MAMA
- FAVOURITE FINDS
- FREE PRINTABLES
- GARDENING WITH KIDS
- GIRLS ROOMS
- GIVEAWAYS
- HELLO
- HOLIDAY
- HOMESCHOOL SPACES
- HOW TO...
- I'M MELISSA
- INSPIRATION
- KID STYLE
- KIDS ROOMS
- MINI GATHERINGS
- MY FAMILY
- NURSERIES
- OH MONDAY!
- ORGANIZATION
- PICKS
- PLAYROOMS
- RECIPES
- RENTAL HOUSE
- RENTAL HOUSE #1
- RENTAL HOUSE #2
- RENTAL HOUSE #3
- REVIEWS
- ROUNDUPS
- SHARED ROOMS
- SHOPPING
- SHOPS WE LOVE
- STYLING
- TODDLER ROOMS
- TRENDS
- gift guide
SUBSCRIBE
Disclosure
WINTER DAISY BLOG contains affiliate links as well as advertising banners. I may receive a small commission on purchases made through links from this site. The content is always reflective of items, things and experiences that I genuinely like and I only work with companies whose aesthetic is in line with the WINTER DAISY brand.
Sponsored posts will always be clearly disclosed.