HOW TO STYLE YOUR KIDS' SHELVES IN 4 EASY STEPS!

If you’ve been blessed with becoming a parent, surely you are realizing that all of the toys, books, photos, stuffed animals (aka stuff) needs to be stored somewhere. It is likely that a bookshelf of some sort has made its’ way into your child’s room and if not, now is the perfect time to get one!

kids room shelves

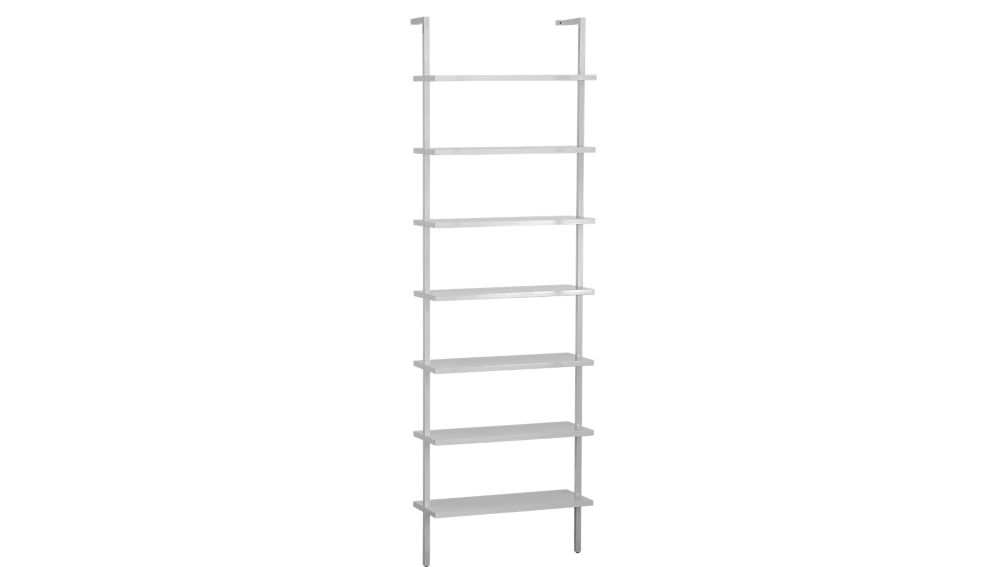
Pretty (and functional!) shelves aren’t as simple as they look but with careful thought, everyone can turn a mediocre bookshelf into something you will proud to see and use everyday. We love this plain white bookshelf that goes from floor to ceiling.

kidsroom shelves

SHOP THE LOOK…

Styling kids shelves starts with the most obvious step of all, but one that so many people often overlook.

STEP 1: CLEAR YOUR SHELVES

If you want to tackle the job of styling your shelves properly, start by taking everything off and giving them a good dust / clean. By starting with a clean blank slate, you will already be on your way to successful shelf styling!

empty CB2 stairway shelves - this is step 1

STEP 2: ADD BOOKS

Now that your shelves are clear, take this chance to go through the books and donate any that your children have finished with. This may sound like a no-brainer, but trust me on this one! Kids interests change quickly and you will surely find at least a few that are no longer needed.

Once you have all the books that are going back on the shelf, break them up into sections, such as board books on one shelf or chapter book series grouped together. IF you are super particular with the way the shelves LOOK, you can also get as choosy as same size books or same colour spines together. You can also use special books, photos or actual art pieces and lean them against the back of the shelf or wall. By doing this, it adds an extra layer of depth making shelves appear deeper.

In the photo below, there are 57 books! If you have many more than this, fill up every second shelf leaving the bottom shelf empty for baskets or bins.

cb2 stairway bookshelf with books - this is step 2

STEP 3: ADD STORAGE BASKETS AND SMALL CONTAINERS

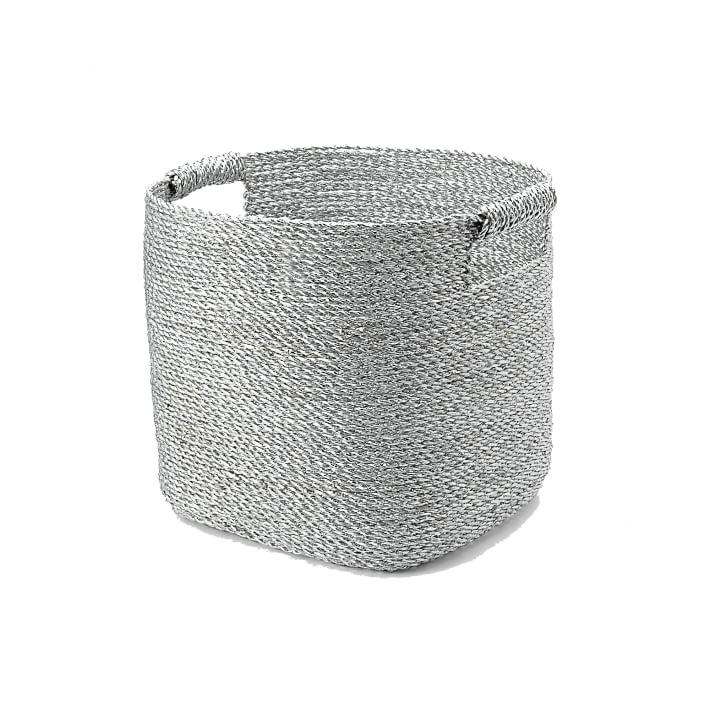
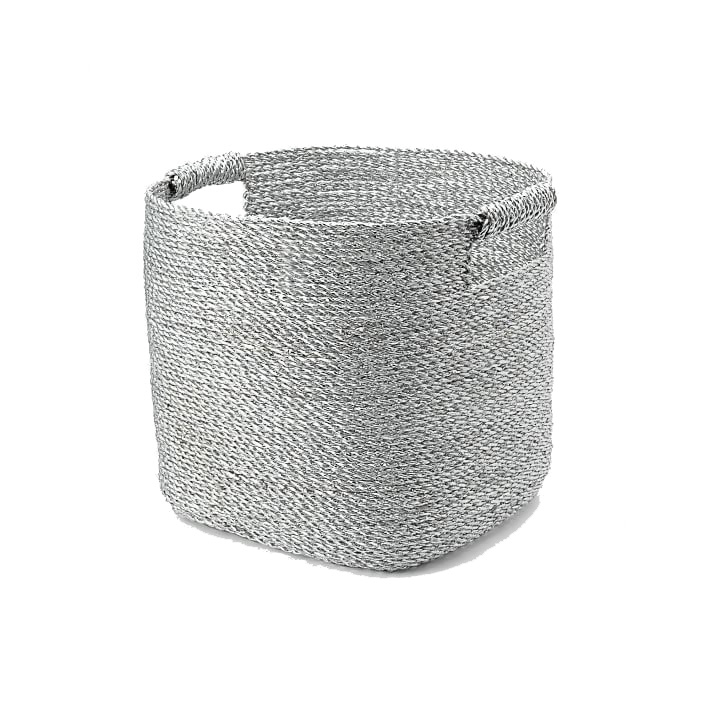
Start with your biggest storage baskets or bins on the bottom shelf. We use these metallic baskets for everyday items that get left on the floor. It keeps the floor tidy and the kids know where to find items that they have left around the house. As kids get older, I find the toys get smaller! This means that there are lots of little ‘treasures’ and it’s handy to have little boxes in their rooms for these items.

cb2 stairway white shelf with books and baskets - this is step 3

STEP 4: ADD ACCESSORIES (AKA THE FUN PARTY!)

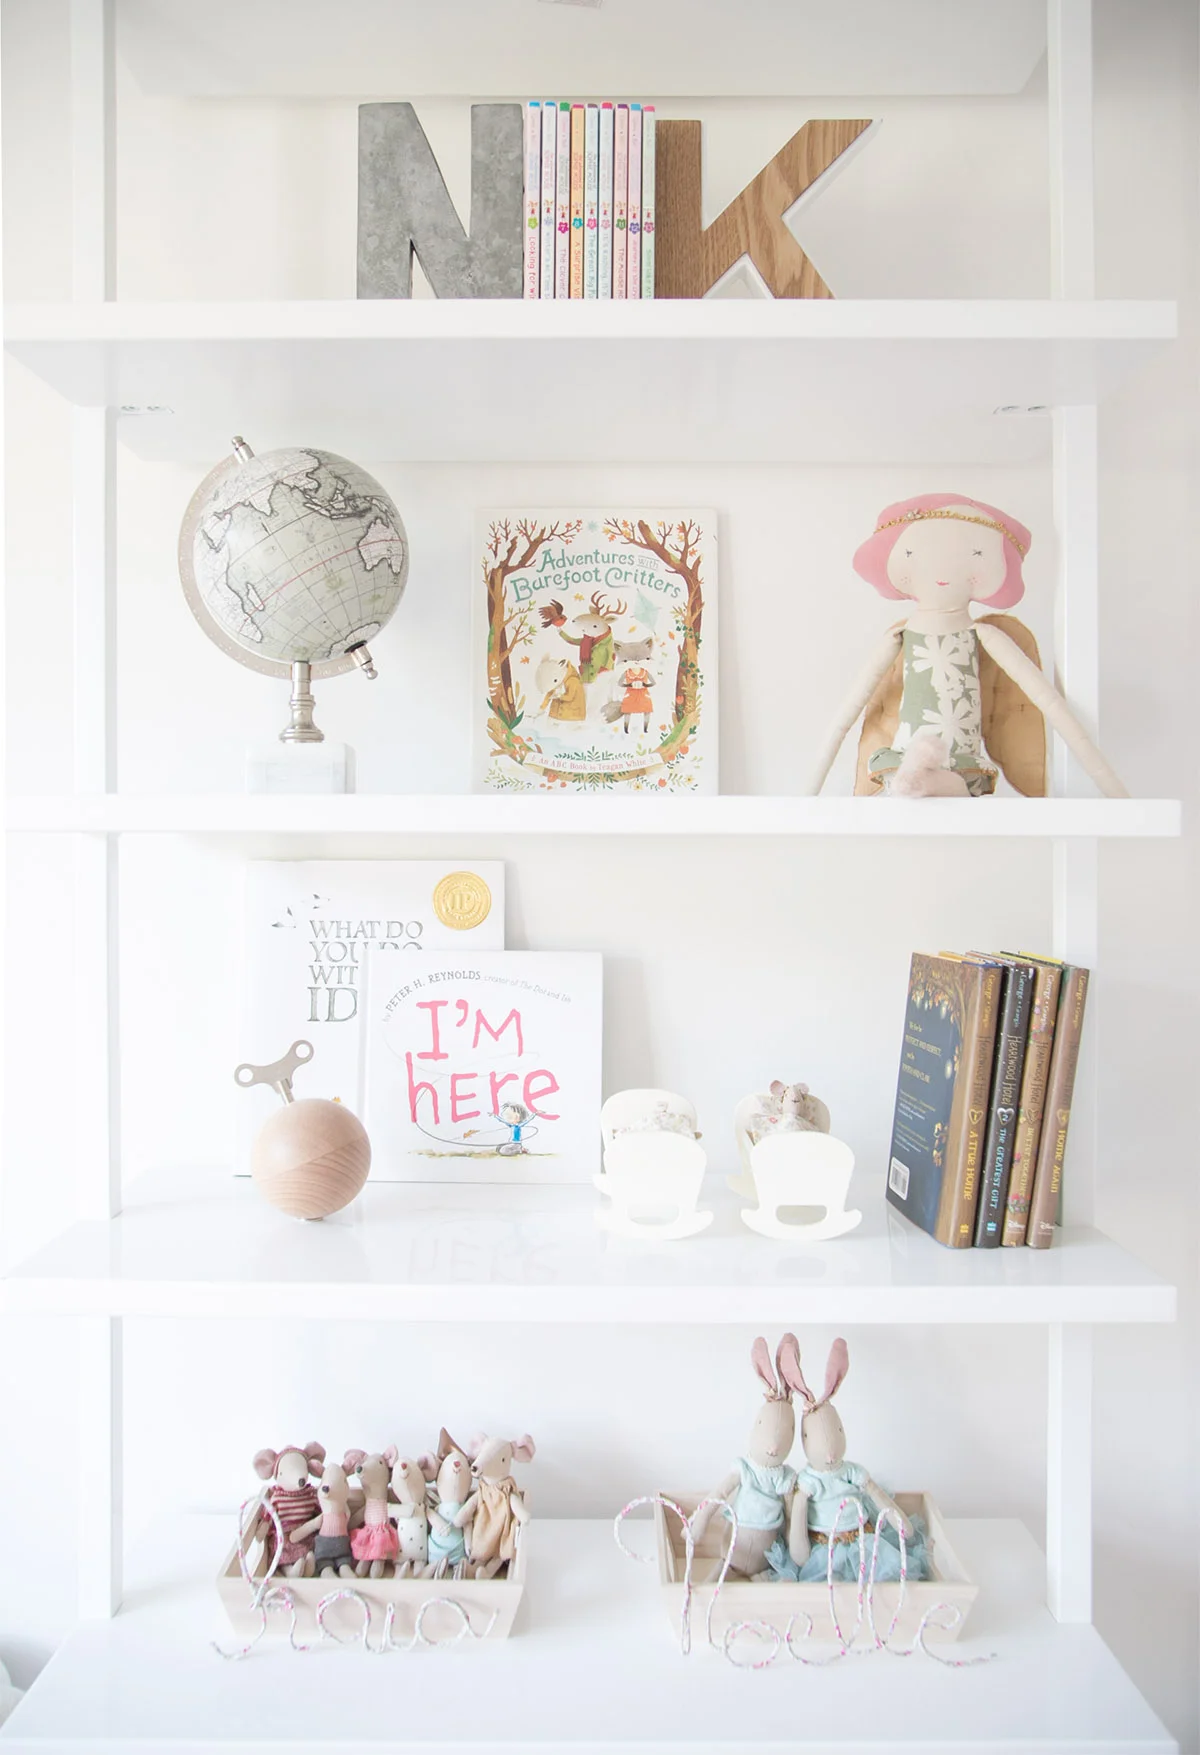
This is where the true fun comes in! Keep in mind that empty or white space is just as important as the items you place on the shelves. Here’s your chance to add little vases, candles, wooden toys for younger kids, or in my twins’ case, the Maileg collection that has grown over the years. These are perfect for adding to the shelves along with their mini globe (similar), daily calendar, and letter bookends. If you aren’t sure where to place things, just try it and then stand back and see what you think. Try to add smaller items next to larger and mix it up between placing things right in the centre or 1/3 of the way in on either side.

girls room styled bookshelves
Sophie Mouse series with letter bookends
kids book collection
girls shelves

If you have any questions about how to style a functional and pretty shelves for your kids, ask away in the comments below and if you redo the shelves at home, I’d love to see!

SHOP THIS POST…

5 WAYS TO ADD TEXTURE TO A BABY OR CHILD'S ROOM

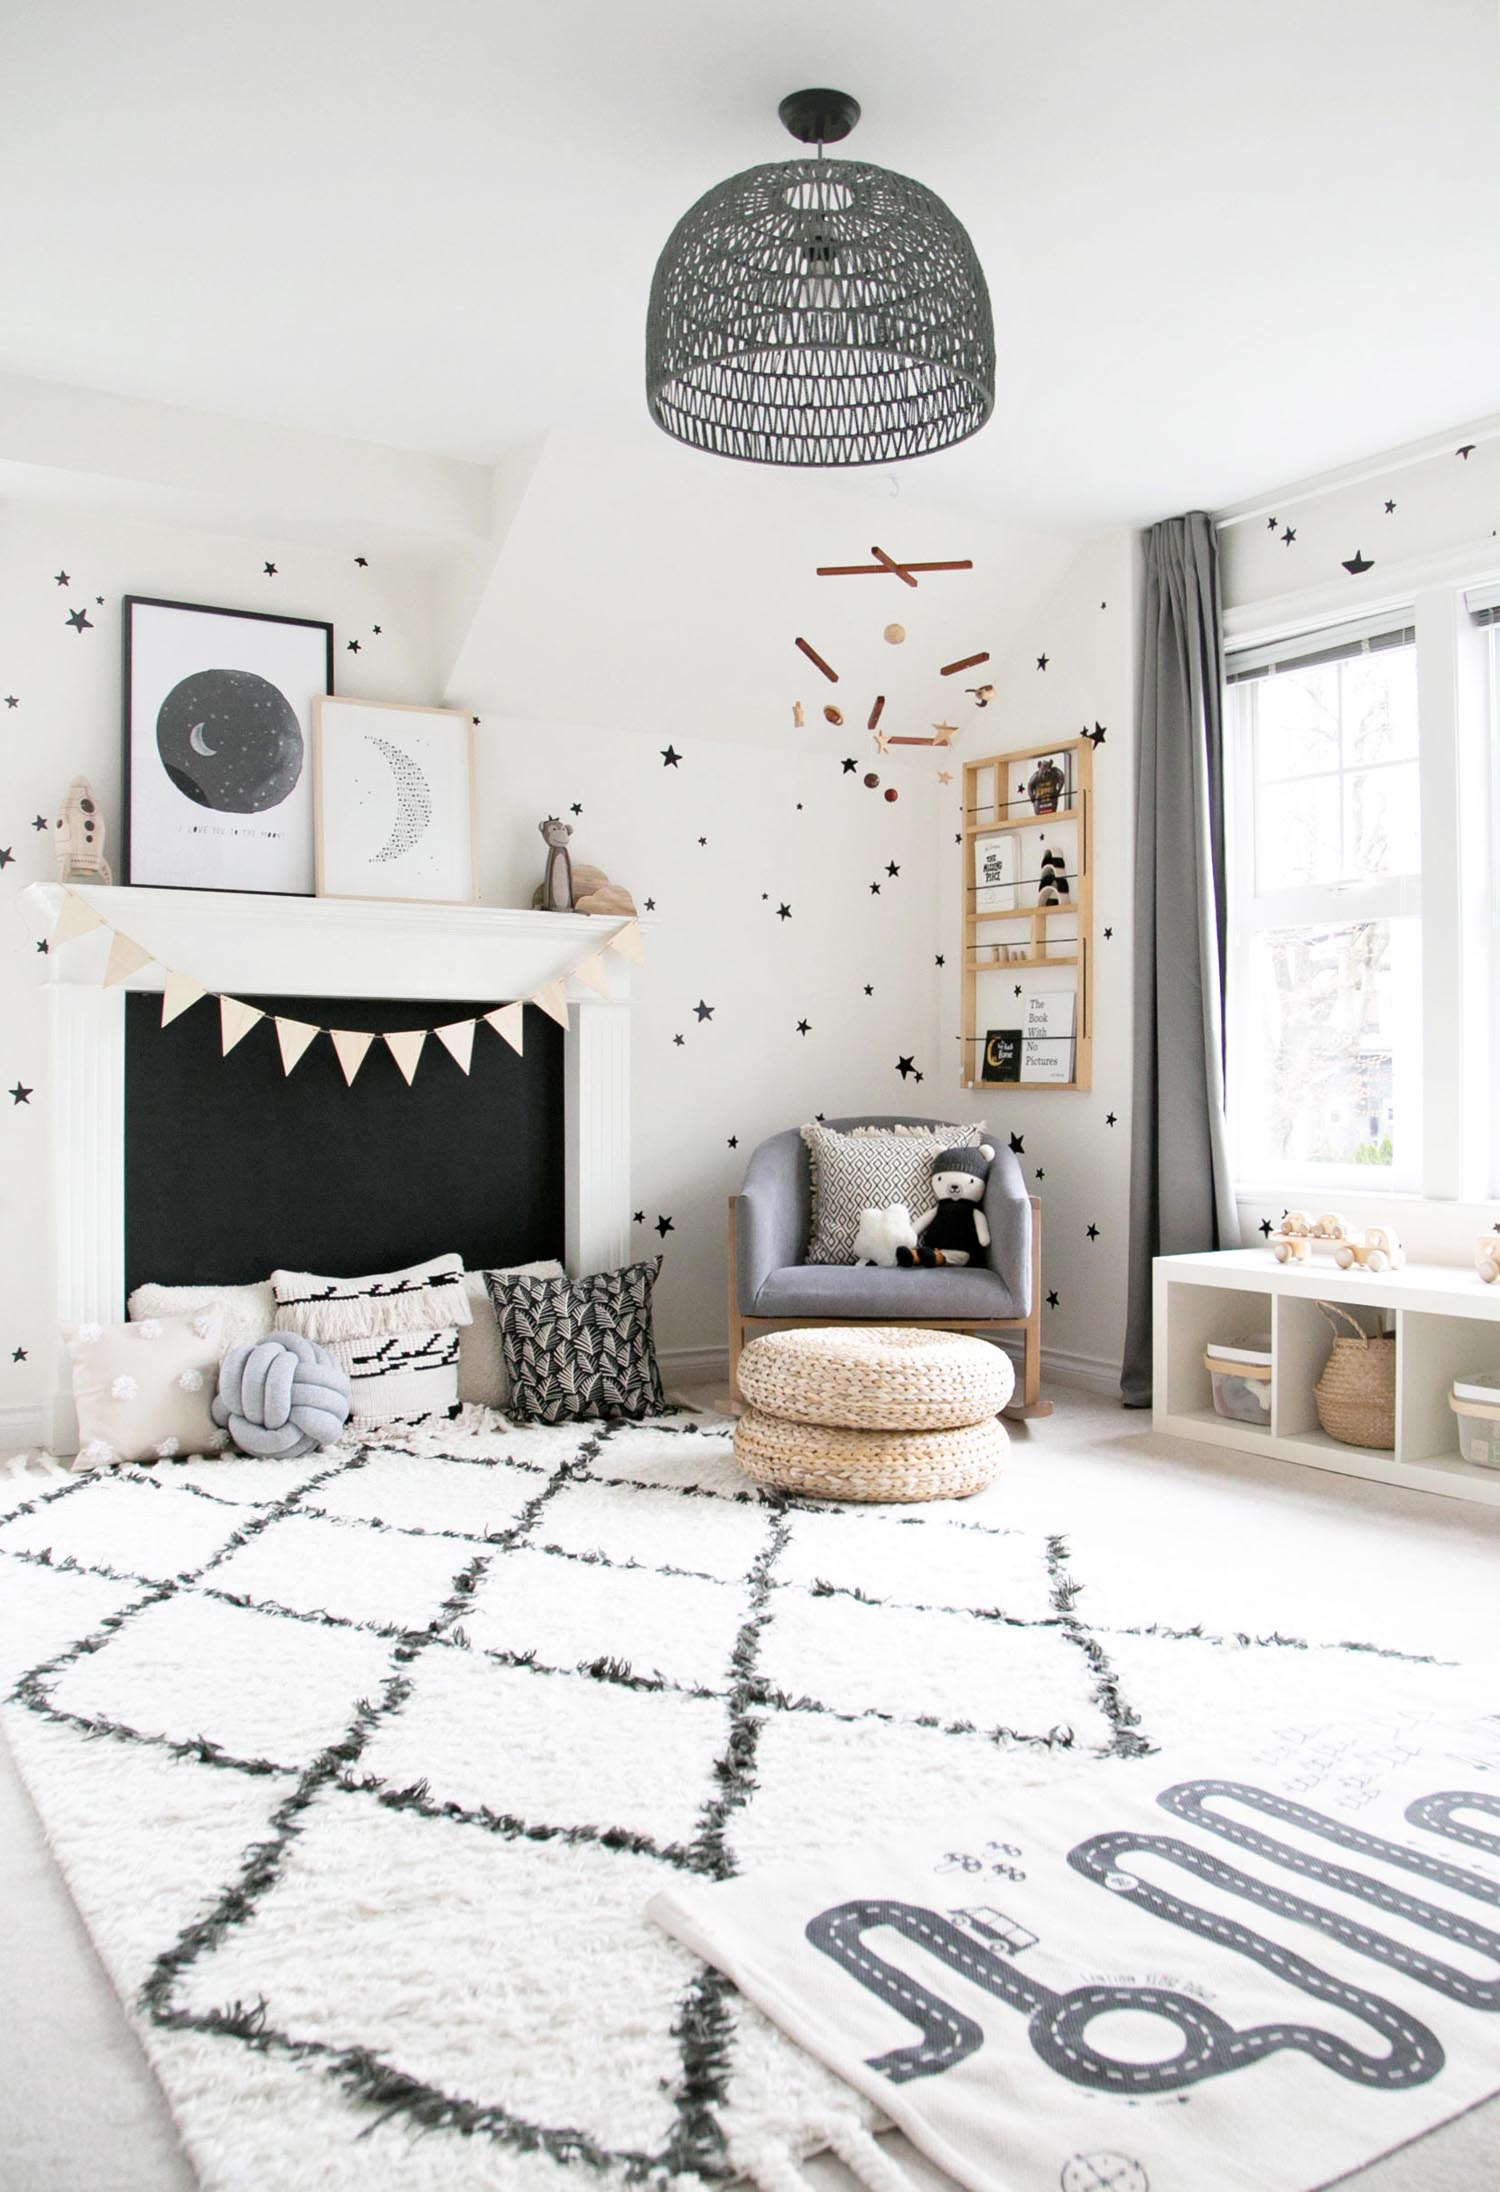
Texture is what gives a kids room that cozy factor and entices you to step deeper into the space. It’s the things that you can ‘feel’ and the things that add dimension and in my opinion, all baby and children’s spaces need a little (or a lot of) texture. Texture is what truly brings the space to life!
Pink, gold and cream girls room

girl’s room e-design project

There are lots of furniture items that can add texture to a room (hello grasscloth covered dresser!), but today I want to make it easy and share 5 ways you can add texture no matter what your furniture is. Sound good?

ONE. ADD A RUG

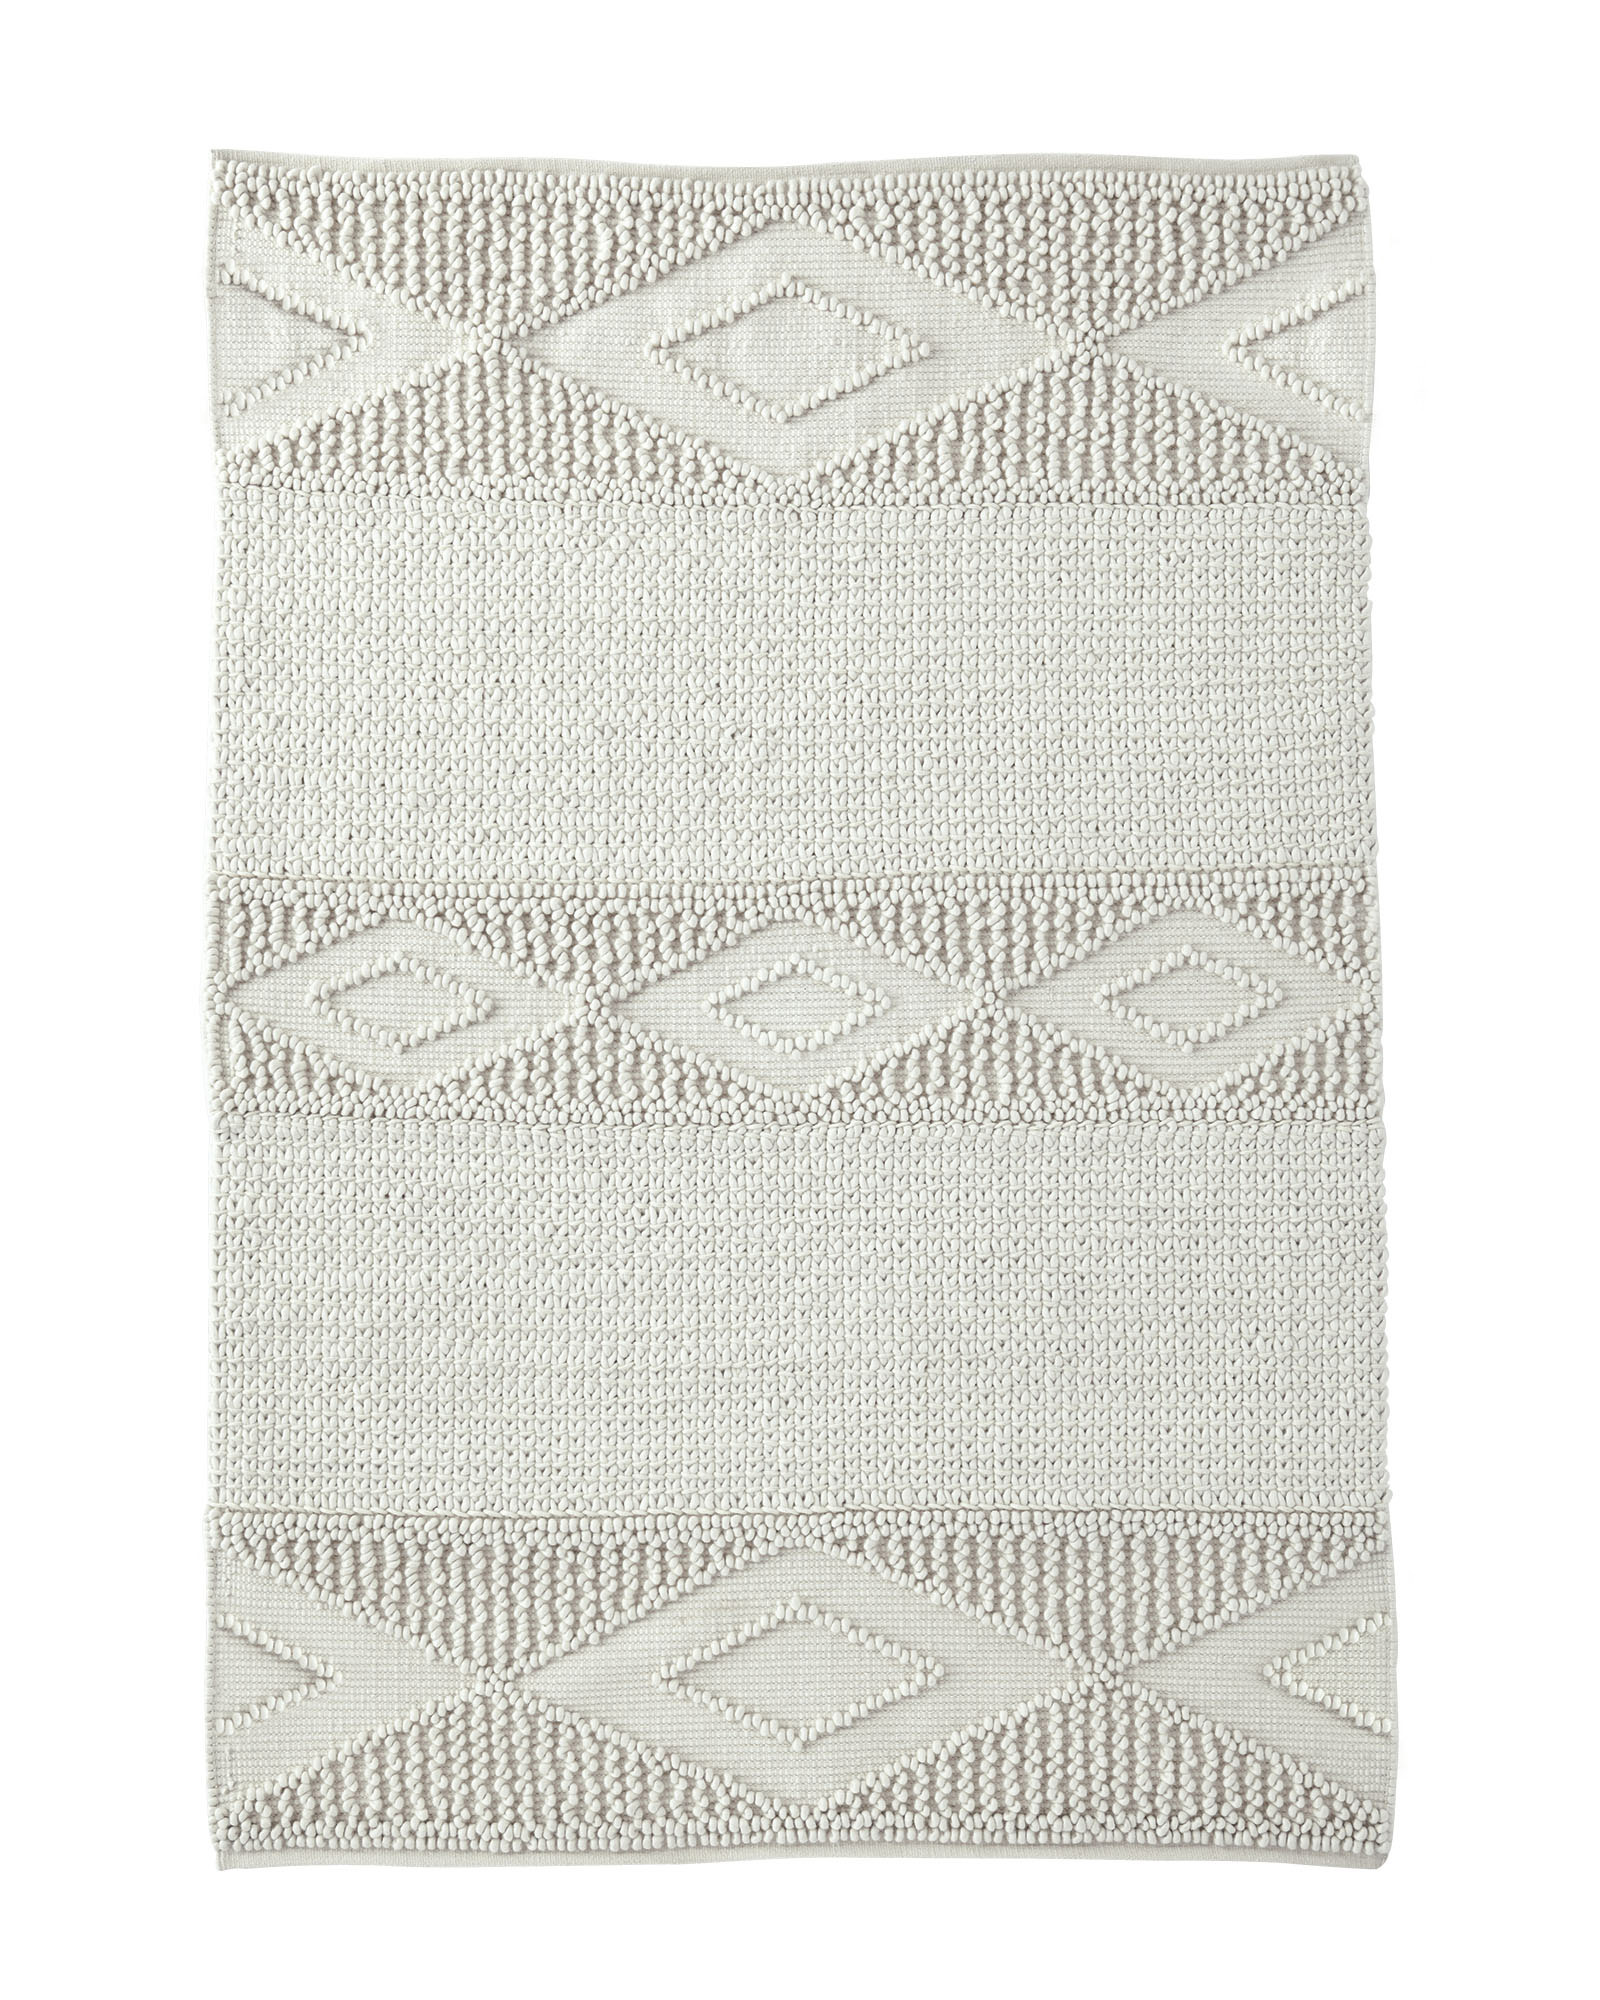
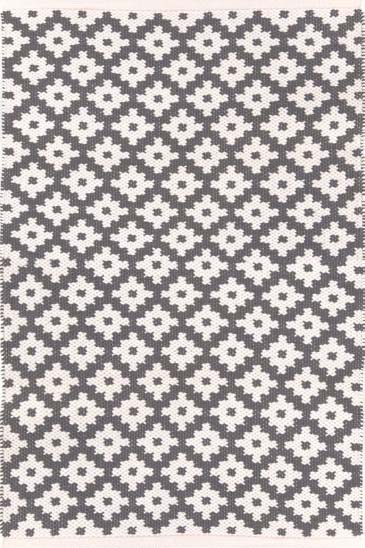
This is a simple way to add texture and nearly any rug will give an instant cozy lift to a space. Look for natural fibres; my favourites are wool or cotton. The boho shag rug below adds SO much texture with just one item!
boho monochrome boys room

TWO. LAYER A BLANKET

Adding a blanket to any part of a kids room instantly makes the room say, “hey…come on in and snuggle up”. Just think about a blanket draped over a crib, or a chair, or even draped out of a basket.

warm neutral reading corner in a children’s room

THREE. ADD LIGHTING!

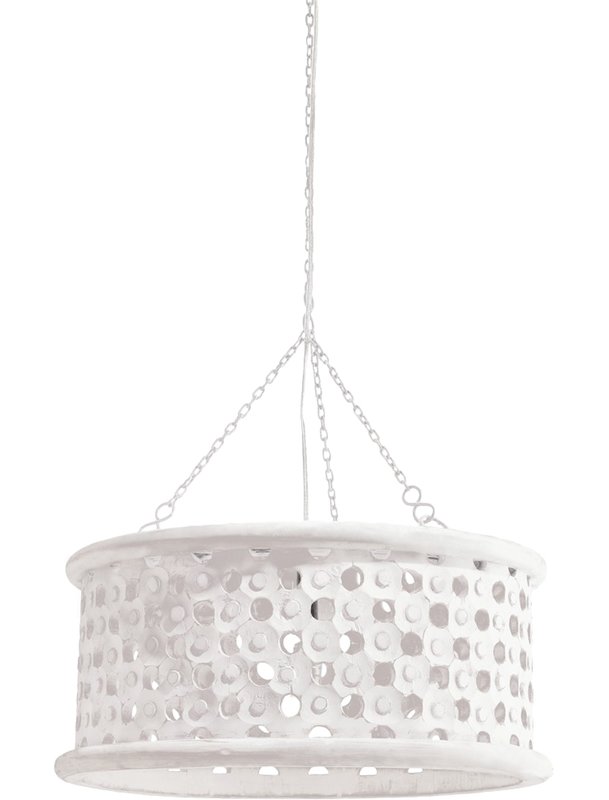
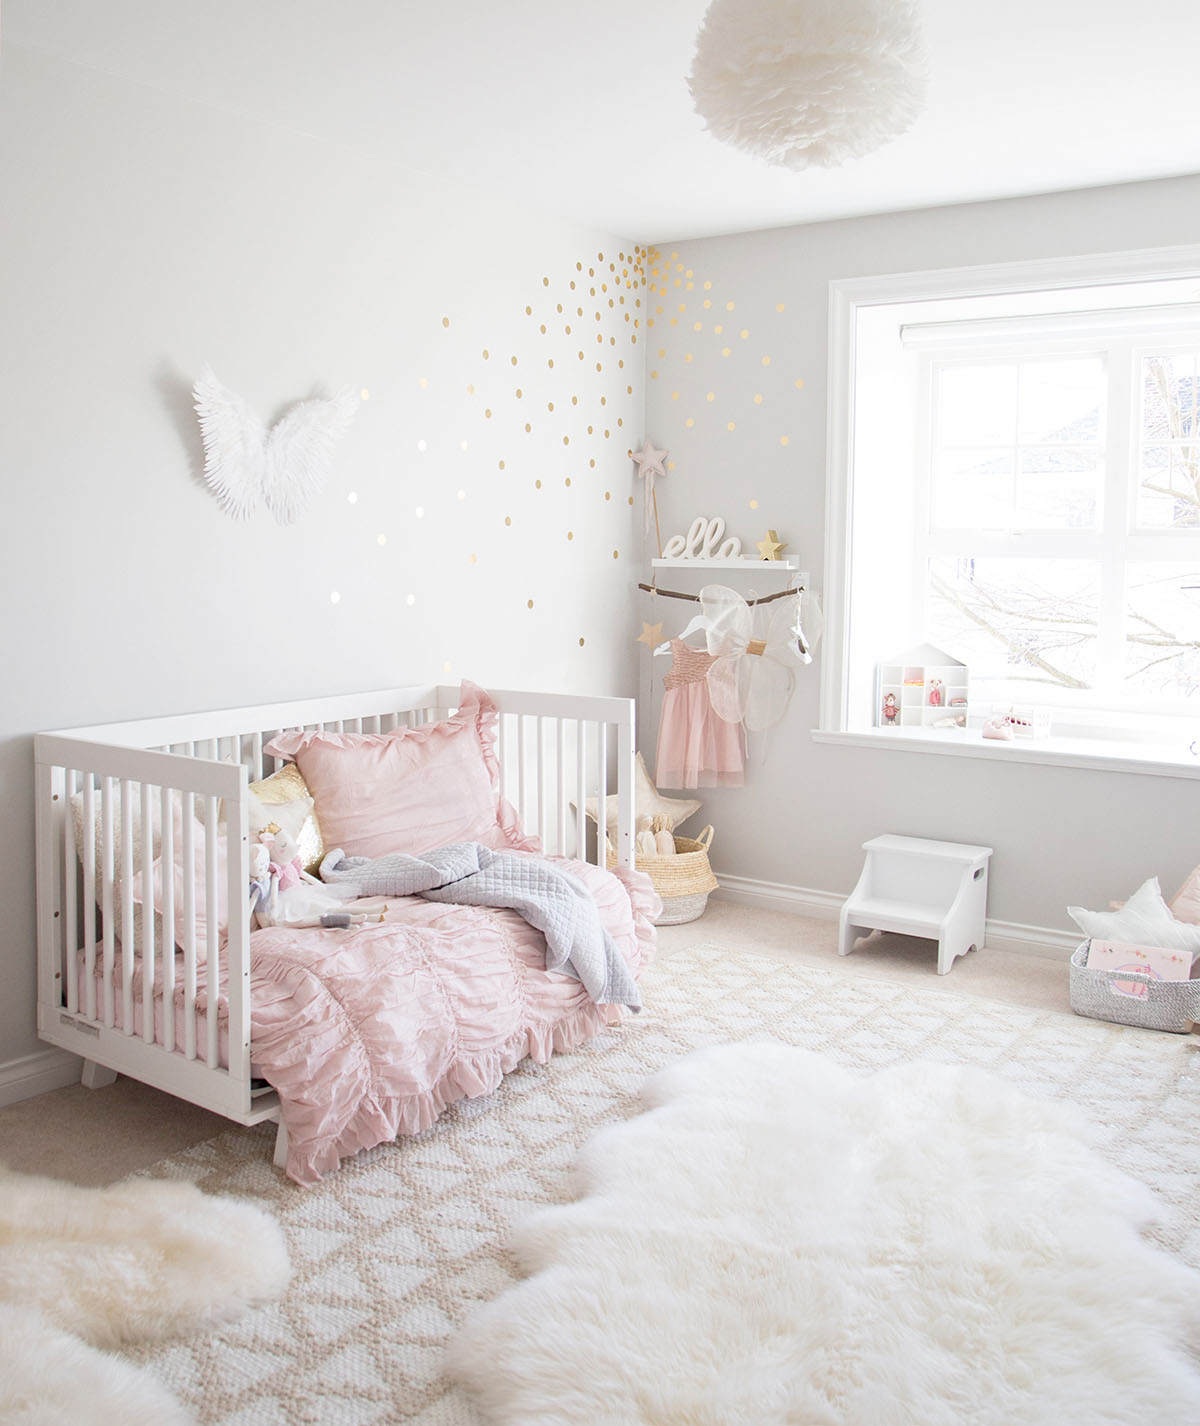
You wouldn’t really think of it, but I believe adding a pendant light (especially this feather light), a wall light (even a nightlight!) and a task light (on dresser or desk) adds an extra layer to the whole place.

Ella's room.jpg

FOUR. PUT UP WALLPAPER OR WALL DECALS

While my true love affair will always be wallpaper (just order a sample to FEEL the texture and see the sheen), decals are a fabulous lower cost alternative that still give big impact, dimension and texture!

neutral basement playroom with decals

FIVE. INCLUDE SOFTIES!

Every baby and little one deserves a special stuffed toy and soft patterned pillows will provide a similar textural effect. There are so many adorable options on the market, it’s truly the EASIEST way to add a little texture.

monochrome reading corner in boys room

IF YOU LIKED THIS…YOU MAY LIKE THESE TOO:

HOW TO DECORATE YOUR ENTRY FOR CHRISTMAS

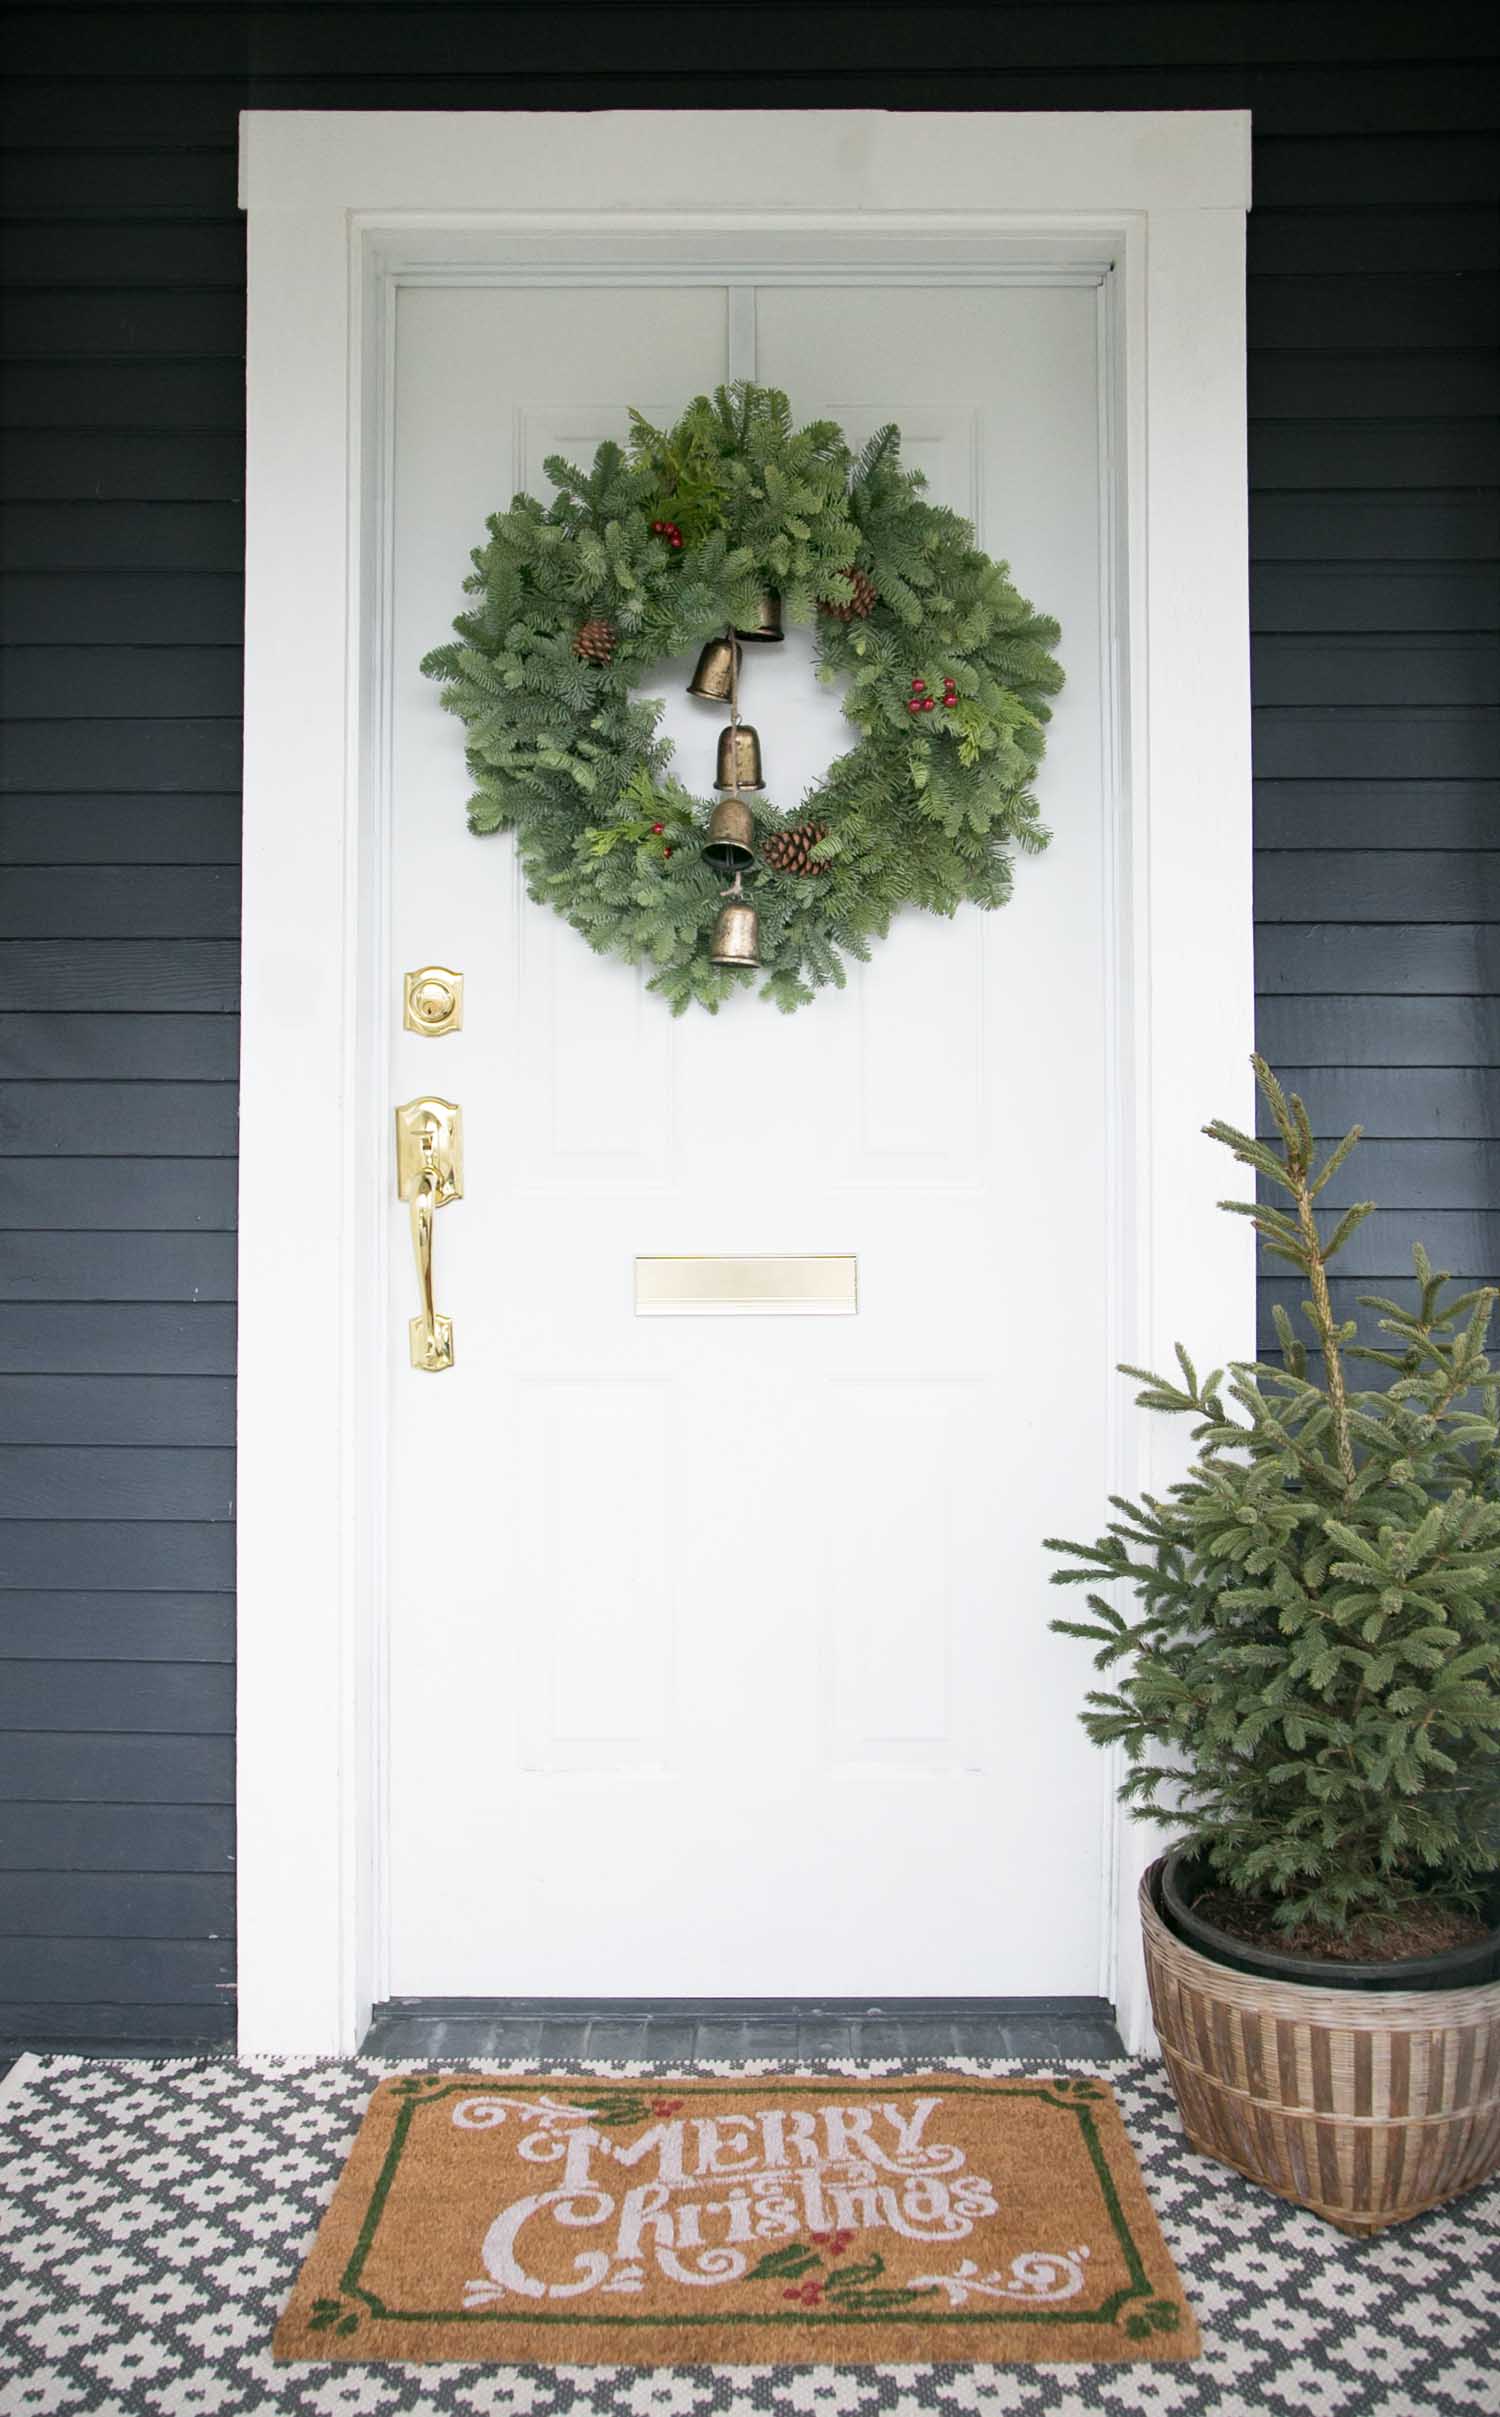
Outdoor front door christmas entry

If your kids are anything like mine, they have been begging to hang up the wreath and decorate the house for Christmas since the day after Halloween! While we’ve fought this a little bit over the last few years, their excitement won us over this year and we are decorating extra early. I love the holiday season, mainly more catch ups with friends and seeing the magic of it all on the faces of the kids. To create space to enjoy this special time with them, I try to get as many things done before December, such as decorating the front entry and ordering Christmas cards so they can be written and sent in the first week of December. Last year’s cards were so cute and I can’t wait for this year’s to arrive! Even though we are the first family on our street to have a wreath up, it feels great to be ready when guests arrive. It really is just three simple steps to make your entry extra special.

STEP 1: HANG A WREATH

christmas wreath and bells

WHY NOT ADD SOME BELLS TO MAKE YOUR WREATH FEEL EXTRA FESTIVE?!

gold bells for front door wreath

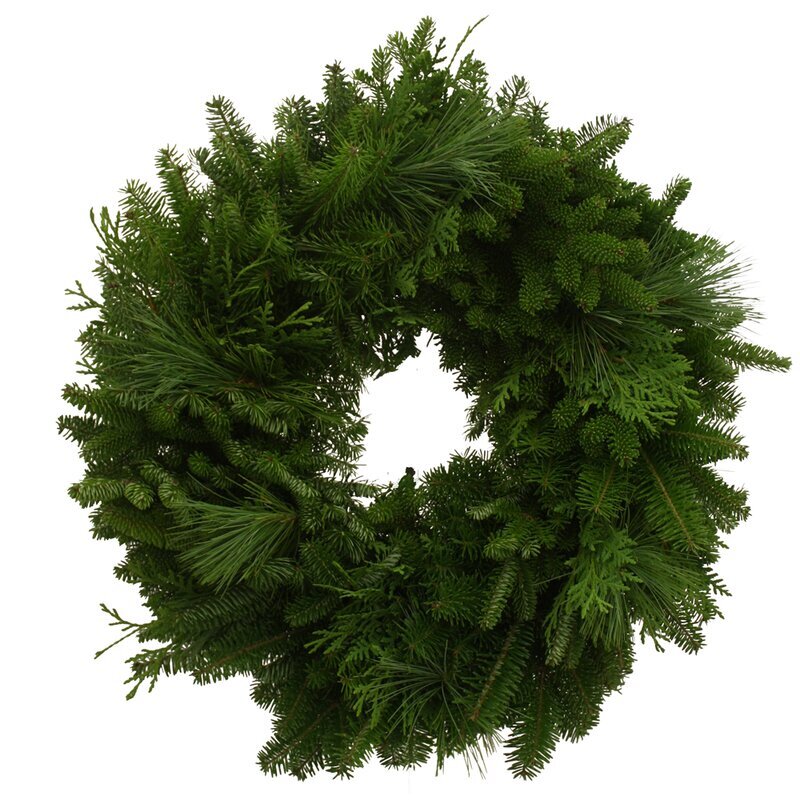
I chose a fresh wreath this year but if your climate doesn’t allow for that, this fresh wreath is by far the prettiest I’ve found online. Use a sturdy door hanger to hang it. I like to match the colour of the hanger to the door so that it is as inconspicuous as possible.

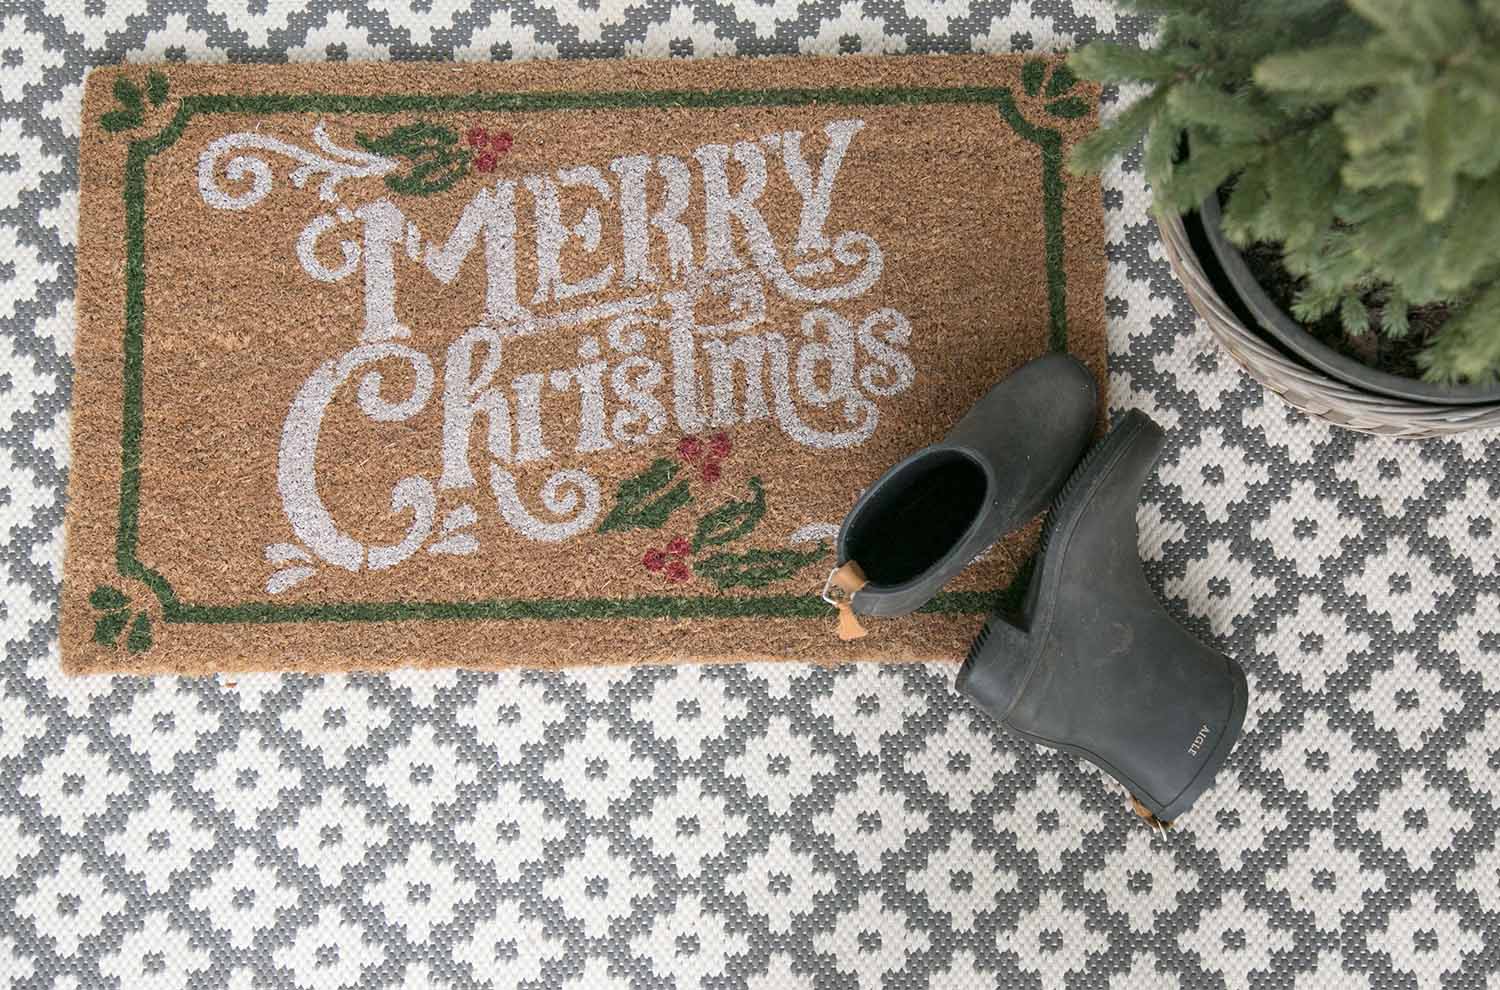
STEP 2: ADD A FESTIVE DOORMAT

Merry Christmas doormat and entry rug

Buy a fun and festive doormat wherever you can find one. Hardware stores often stock seasonal mats and this doormat is on its’ second year at our house. If you are ready to splurge on a gorgeous mat, this Merry + Bright doormat is modern and pretty much perfect. Where size permits, I love to add an extra rug as a base layer to an outdoor entry. Use a 3’ x 5’ rug suitable for the outdoors as a pretty underlay for the doormat and why not take this chance to add a pretty pattern or some colour. This indoor outdoor rug is THE BEST and we have owned it for over a year with three kids tromping over it daily and IT STILL LOOKS NEW!

STEP 3: ADD ACCESSORIES

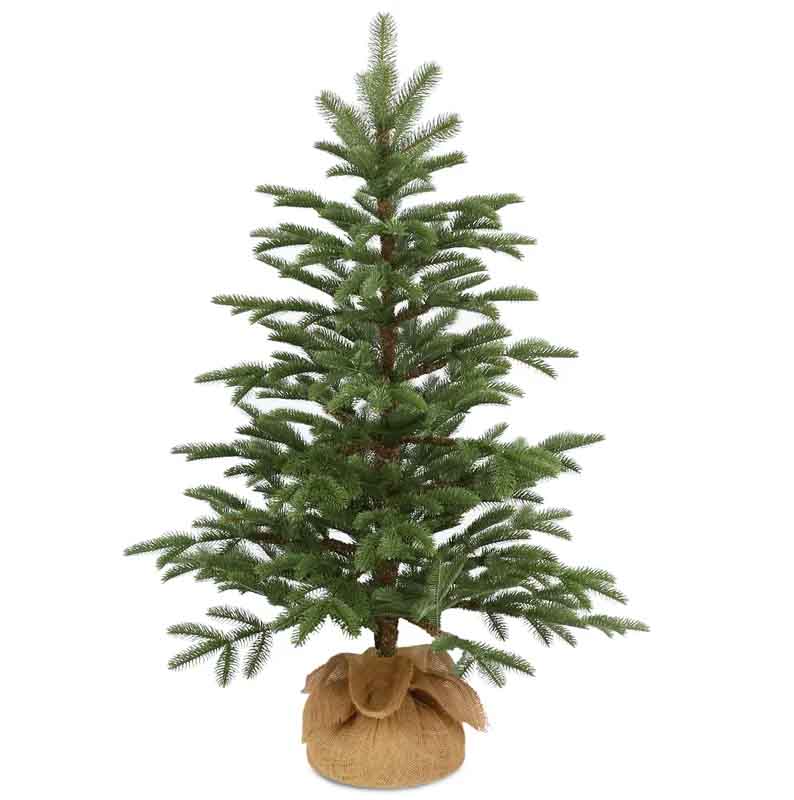
Use this moment to have fun adding decorative features! Get the kids to help (cute buckets are a perfect place for them to add sticks or pinecones that they collect on walks). Display a small tree like this 3’ one in a wicker basket if your entry is under a covered area and add festive bins for added fun.

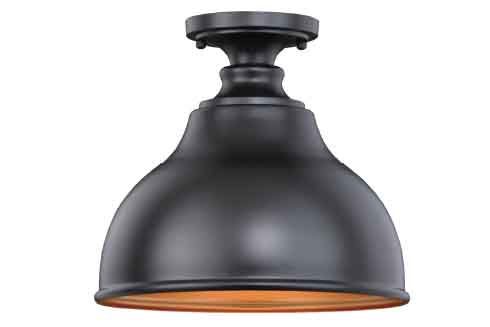
CHOOSE A LIGHT THAT ALLOWS THE LIGHTBULB TO BE CHANGED EASILY - I LIKE OPEN BOTTOM PENDANT LIGHTS OUTDOORS FOR THIS REASON

USE A BASKET FOR A SMALL TREE, FIREWOOD OR EVEN PINECONES! THE TEXTURE ADDS A LAYER OF WARMTH + INTEREST

PIN the image below to save the full look of a jolly, festive and bright entry for the holiday season below.

outdoor entry decor for christmas and holiday


YOU MAY LIKE THESE HOLIDAY POSTS TOO…

CHRISTMAS BOOKS FOR KIDS

HOLIDAY GIFT GUIDE (ETSY)

KIDS HOLIDAY PLAYHOUSE

6 WAYS TO ADD LIGHTING (TO YOUR CHILD'S ROOM)

That warm sunshine through your windows is quite literally happiness for the soul, but as the days shorten, lighting up the inside of our homes is the next best thing. When thinking about ways to add light to your nursery, children's rooms, or playroom, consider one (or more!) of these six key ways to light up the space.

1. Make use of overhead light

There are SO many beautiful pendant lights to choose from and many allow for a dimmer switch, sometimes making this the only light you actually need to add to a child's room. I love this pretty feather pendant from Ella's room.

Ella's pink and gold toddler girl room

2. Use a floor lamp

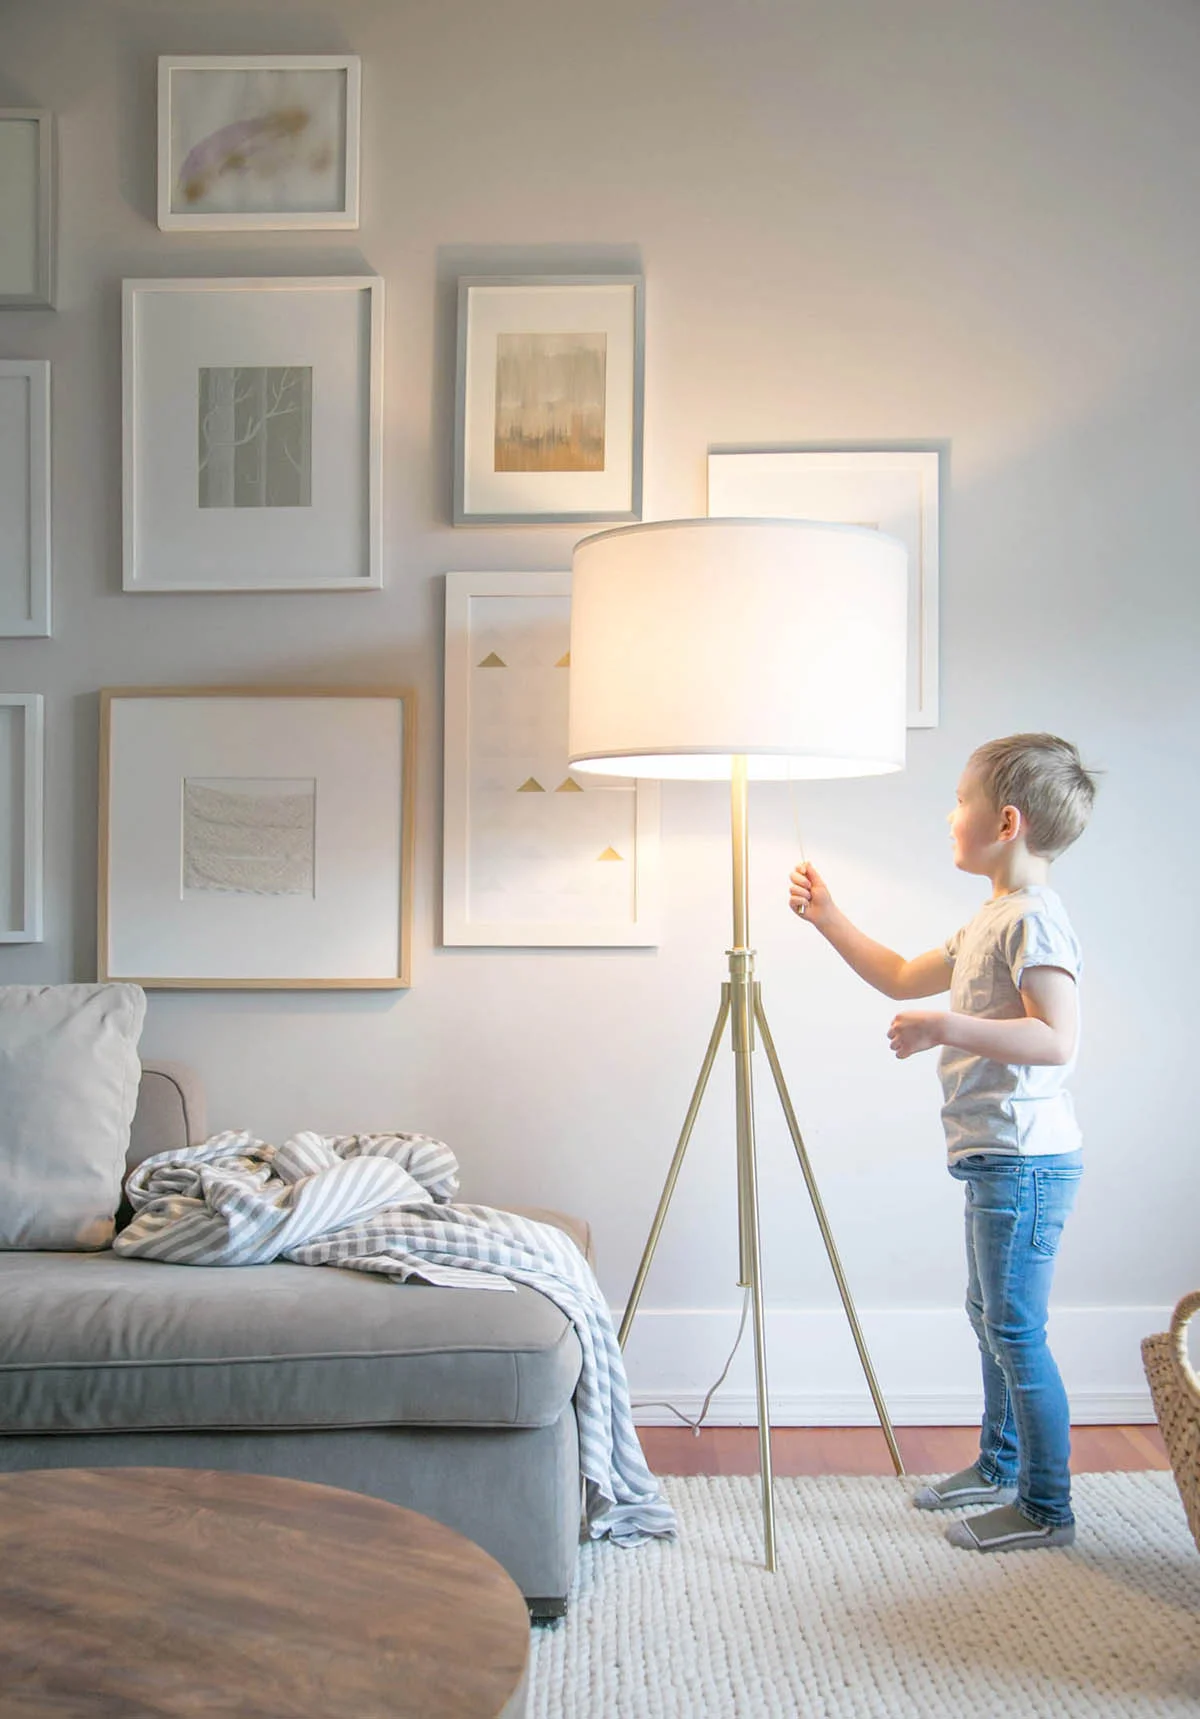
Simple for kids to switch on and off and handy if next to a rocking chair for reading, a floor lamp can provide task lighting as well as overall ambience. This budget friendly tripod lamp is sturdy and looks pretty too. 

floor lamp in living room

3. Install wall sconces

Use wall sconces for a high-end look that provides just the lighting you need in the exact position you'd like it. I love using wall sconces above kids beds, especially where there isn't space for other options, like in Rafa and Leo's room below. 

shared neutral baby and toddler room

4. Use a night light

I've shared some of my favourite night lights before and I love to include them in the rooms I design. So many kids love having a little light they have control over turning off and on themselves and they are handy in a nursery to ensure you can see what you are doing in those mid-night changes! This rocket nightlight is from Etsy.

rocket night light in kids room

5. Use string lights

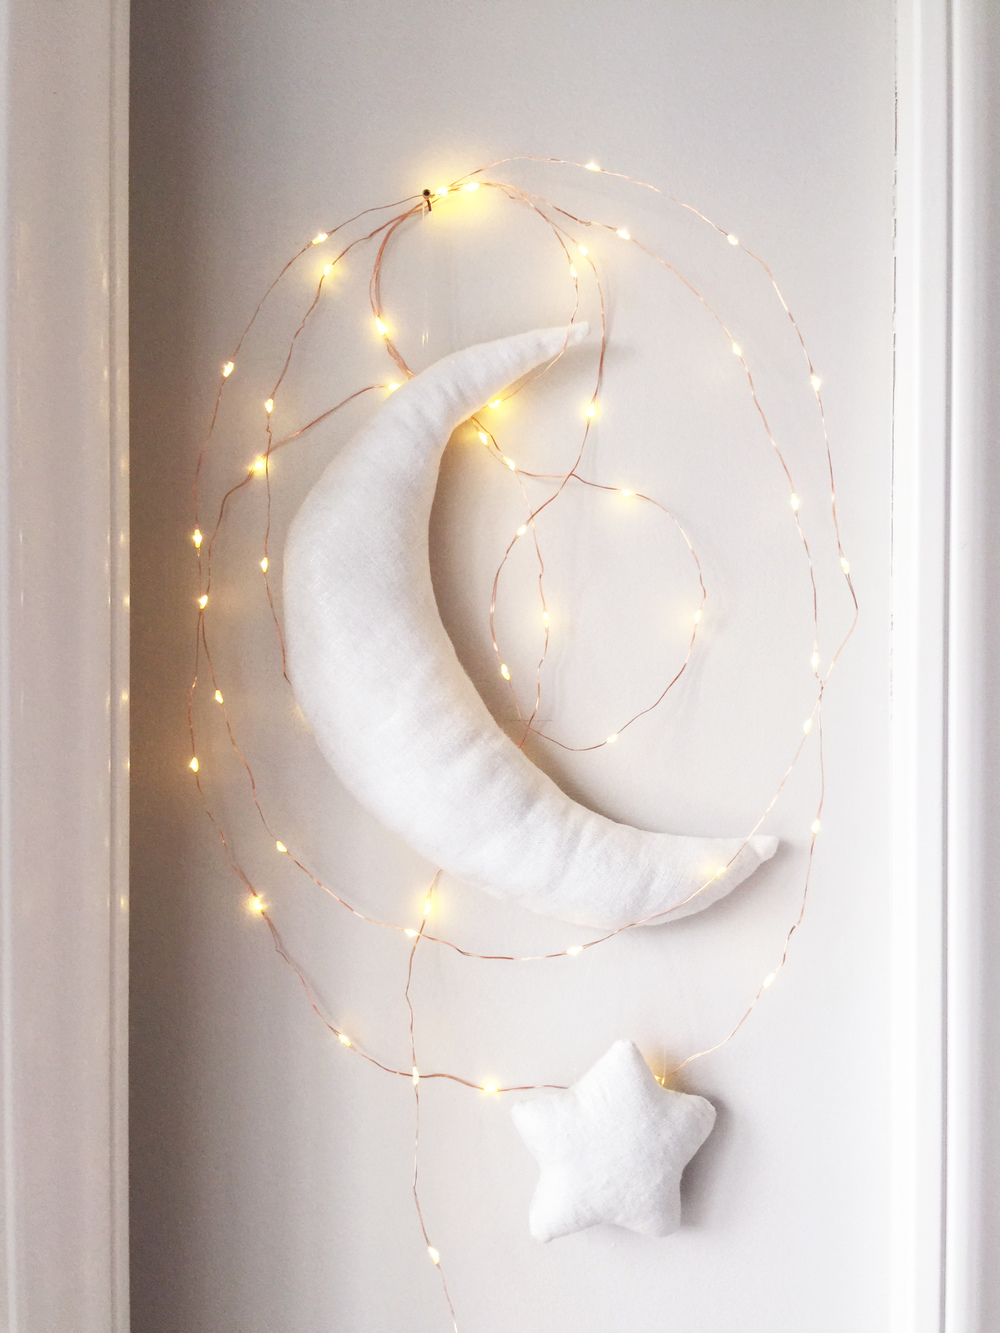
Lights on a string come in so many ways, that the options are limitless. I love the bright ball lights, fairy lights, star lights, you name it. They are practical and add such a soft touch for calm light and decor on a wall or draped over a book wall. 

fairy lights with moon and star
star lights over a book wall

6. Use a table lamp

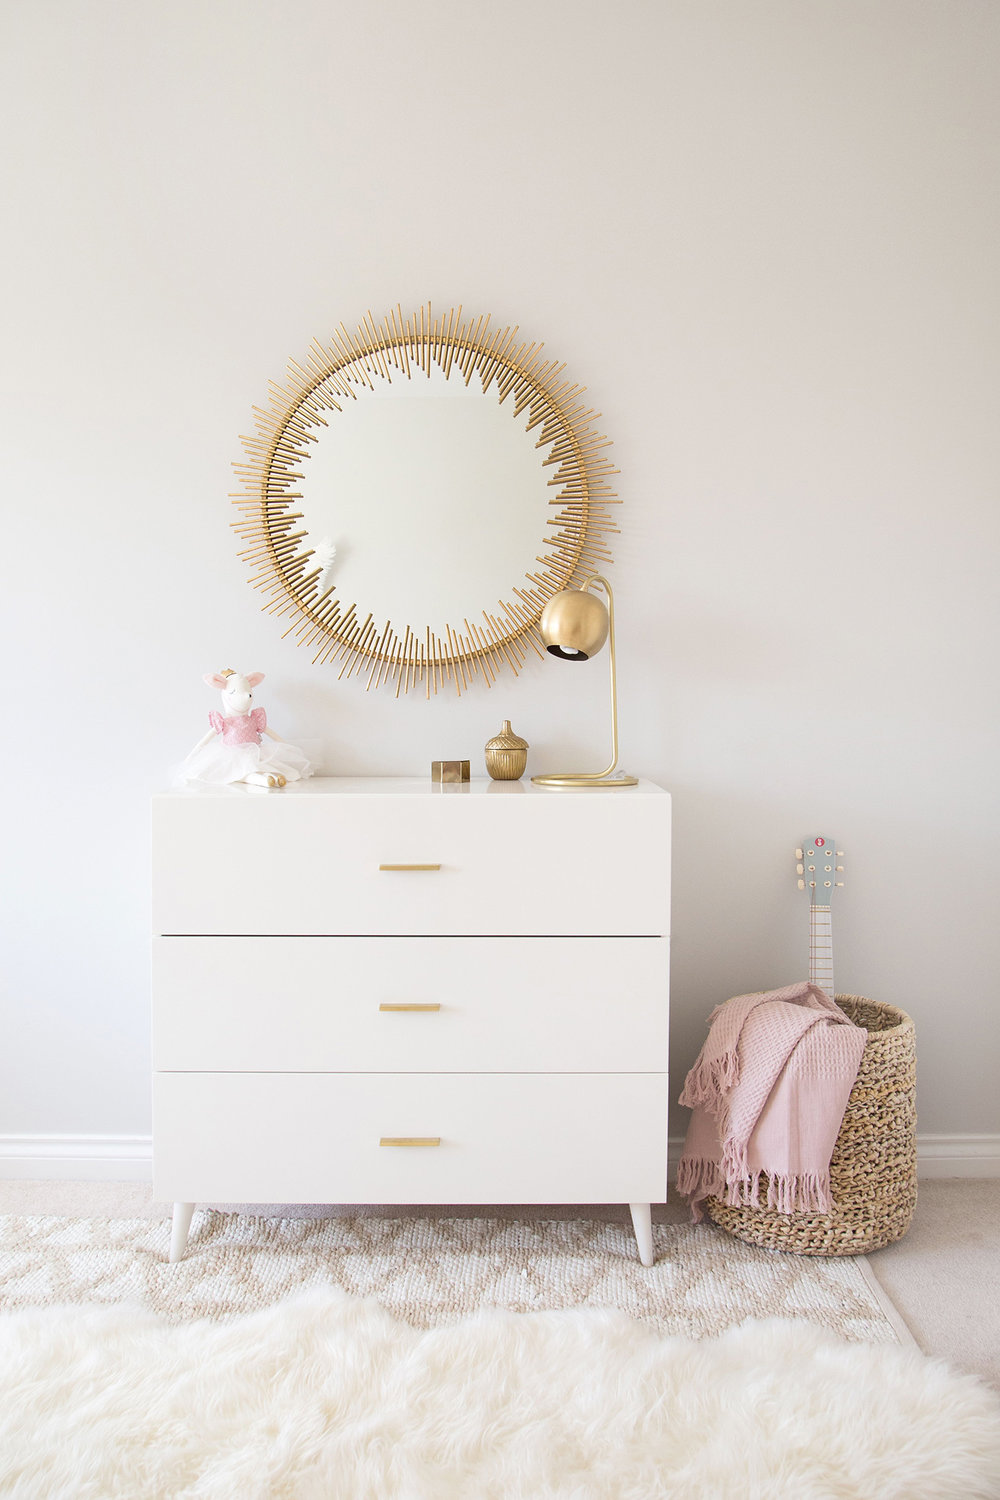
Table lamp or task lamps can provide just the light you need for a change table in a baby room, a little light in a toddler room or on a desk as children get older. I love pieces that carry through from baby to teen and a solid table lamp will do just that.

dresser and mirror in girls room

I like to include at least two of these ways in each room that I decorate so that there are a couple of options for providing the light you might need. An overhead light and a night light will work in many cases, but ambience lighting in the form of a lamp is almost always welcome too.

HOW TO CREATE A HOMEWORK AREA FOR KIDS

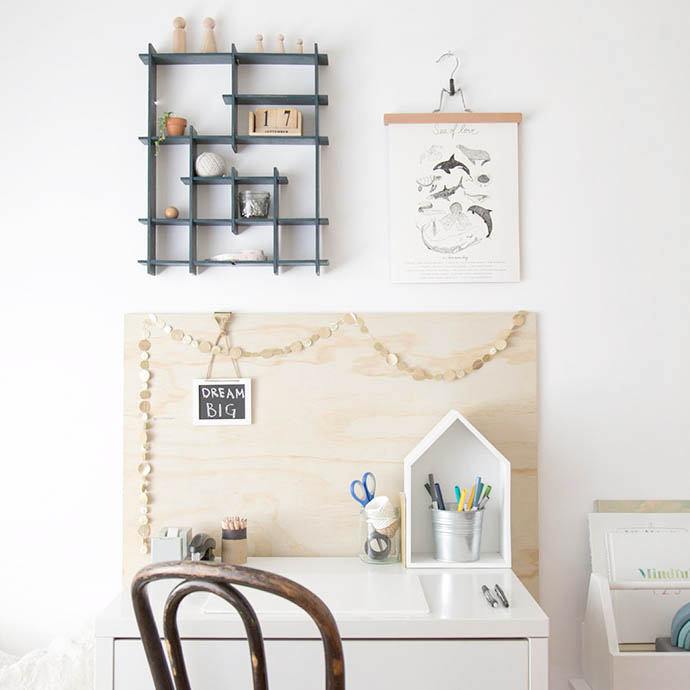
kids desk setup
children's homework desk area

To create a homework station in your own home, you really only need a few basic things:

  1. A table or desk;

  2. A chair;

  3. Some type of light (either natural or a lamp); and

  4. Basic supplies (pens, pencil, eraser, scissors, tape, etc).

As with any space, creating an organized and inviting area to tackle tasks, such as homework, is key for kids. I love to think that it’s a great starting point for staying organized through life, that good habits start early and that making it fun goes a long way to making kids work hard too!

For younger kids, I love to put a desk next to a reading corner. Reading is one of our favourite ways to learn and it's handy to go from sitting on a chair to a more cozy and casual floor area where we can snuggle and read. For us, our only homework for Kindergarten was to read to our kids. I also love to keep a few books and toys nearby for those frustrating moments when everyone needs a break. It’s a great time to connect and reset.

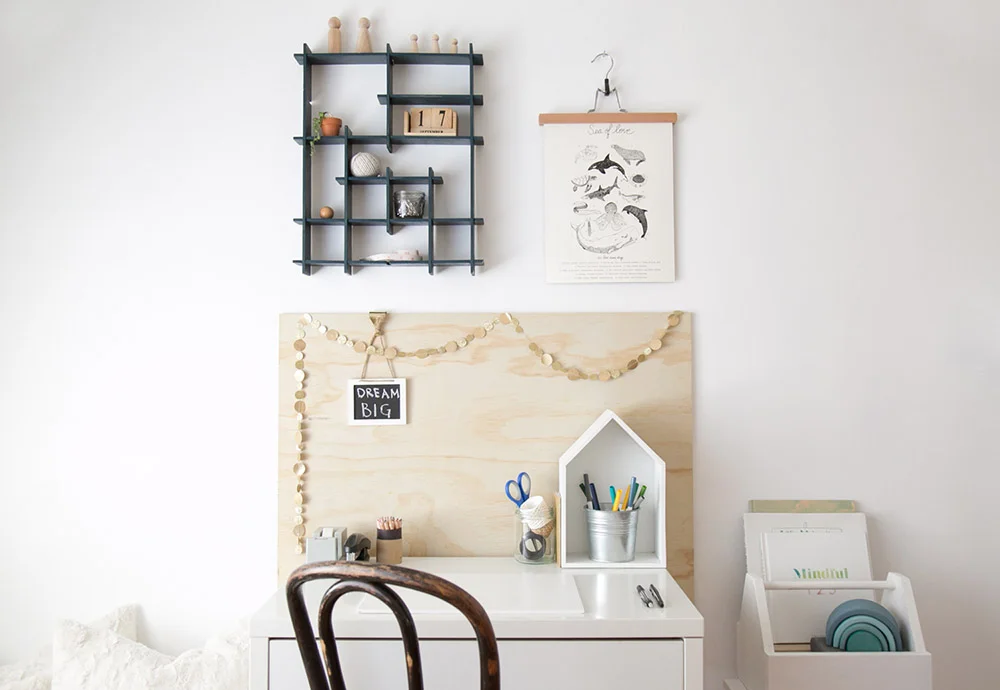
dream big sign on kids homework desk

I like to think about ergonomics when setting up a desk. Make sure that the child fits correctly with feet flat on the floor and knees at a 90-degree angle. The desk surface should be 2-3 inches above their elbow when bent.

If you can, put the desk near natural light. Looking out a window is helpful to rest little eyes as well as enhance productivity. If this is not possible, a lamp works well too. 

Keeping basic supplies handy ensures the child can focus on the task at hand. We like to keep supplies minimal and tidy, such as a pencil, pens, stapler, tape, scissors and paper clips and add in any other supplies when they are needed for the homework.

art above desk

The final touch is adding a few fun pieces like inspirational quotes, art and even a plant. Using little extras like a chalkboard or letterboard is a great way to keep key reminders close at hand.

Setting up an ergonomic environment, with comfortable surroundings and inspiring extras helps to make the space feel cozy and inviting, hopefully encouraging kids (and you!) to enjoy their homework time as much as possible.

YOU MIGHT LIKE THESE BLOG POSTS TOO...